The milling cutter carousel
A storage for milling cutters, drills and similar tools needs every hobbyist. And every do‐it‐yourselfer knows how much space these things can take. My version of a milling cutter cabinet requires only a base of 20 x 20 cm. In this cabinet you can easily accommodate all accessories, which hasn´t found a place in your workshop yet. This magnetic „milling cutter carousel“, as I call it, is an absolute eye‐catcher and additionally a space‐saving alternative to the conventional tool shelf.
| Material | Tools |
|---|---|
| (a) 2 wood panels 12 mm thick, 60 x 18,4 cm | Band saw / table saw / circular saw |
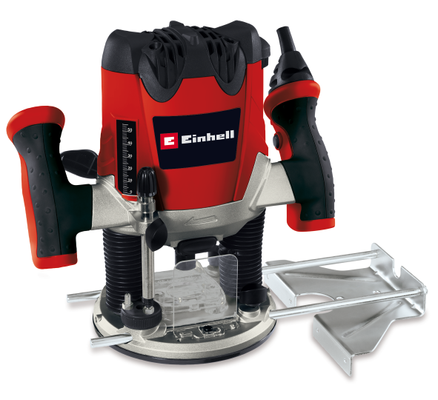
| (b) 1 wood panel 12 mm thick, 60 x 20,8 cm | Router |
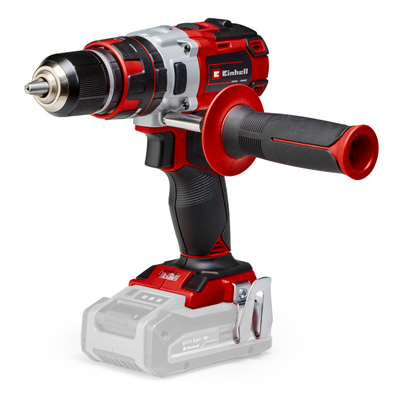
| (c) 2 wood panels 18,4 x 18,4 cm | Cordless screwdriver |
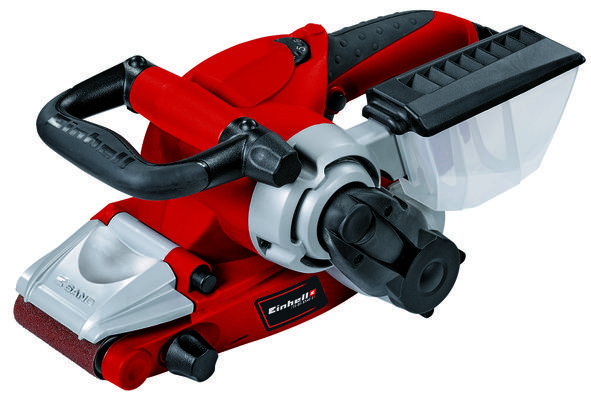
| (d) 4 wood panels 20 x 20 cm | Belt sander / belt-disc sander / delta sander |
| 1 Thread rods 8 mm ca. 65 cm long | Forstner drill for ball bearings |
| 11 Nuts 8 mm | |
| 2 ball bearings 8mm inner diameter | |
| 20 magnets |
Step 1: The cutting
First, you should cut the cabinet parts a, b and c after the measurements which you can see in the material list above. Then you can saw or mill 4 circles, with a diameter of 18 cm out of each of the remaining 4 wooden parts (d). Please make sure that the hole in the center doesn’t exceed a size of 8 mm.
Step 2: The division
The circles that I cut out with a band saw and a circle cutter now need to be drilled for the corresponding tool. I drew a circle of 16 cm diameter on each disk. I then split it into small sections of 2 cm, which represents the distance between the drills and cutters. It is very important to make sure that the correct size is used while drilling, so that the mills don´t sit loose at the end. However, the holes should be 0.5 mm larger than the intended milling cutters, so that the items can be easily placed in the notches. Then the holes only need to be slightly phased with the countersink.
Step 3: Magnet mechanism
Next, let’s take a look at the magnet mechanism. I wanted to reach a kind of detent mechanism with the help of magnets. For that I attached the magnets on the base plate, as you can see on the pictures below I marked the positions of the magnets. To keept it symmetrically right you should mark the points along from the outer edge of the wood circle over the middle you should lay a ruler over the middle point and mark two points on each of the opposing edges. When everything is marked, the holes for the magnets can be drilled. My holes have a diameter of 12 mm with a depth of 2 mm. Afterwards we attached the magnets with epoxy resin. Alternatively magnets with holes can be used, which can be screwed on. Now we embed in the middle of the upper and lower wood plate a ball bearing with the Forstner drill. It is important to ensure that there is an additional hole with an approximate size of about 9 mm in the middle of the upper plate drilled. We need this to be able to install and remove the carousel later without any problems.
Step 4: The carousel
Now we reach the part where we actually build the carousel. The division of the slices depends on the length of the drills and cutters. We now secure each disc with two nuts. One should be mounted at the top and the other one on the bottom of the plate. In the meantime, we glue the „box“, which consists of the parts a‐d, together. When everything is dry, we place the carousel in the ball bearings and mark the point at the back wall where we want to attach the main magnet. Then we take out the carousel and build the magnets in our construction. A distance between the magnets of about 5 – 6 mm is recommended.
Step 5: The Finish
Finally, we stain the interior red. This enhances the appearance of the drills and cutters even more. I stained the outer box and the carousel with oak as well. This gives the whole cabinet a higher quality finish, but you can customize the design according to your taste. After that we install the carousel between the ball bearings and secure the nuts, so that they don´t have much movement. And if you want, you can attach a door to achieve a neater look.
And finished is our milling cutter carousel.
I wish you a lot of fun and success in building the project. Now you obtained a repository which is cool and practical at the same time.
Your Lutz Steiner
Our recommendations for your project
In this article you will learn all about:

Homemade instead of store-bought! Lutz Steiner is a freelance blogger and an enthusiastic DIY expert. You can find out how to create practical DIY projects at home using various Einhell tools in his blog posts. With the clear step-by-step instructions, you'll become a pro craftsman in no time!