


In this article you will learn all about:
Building Instructions and Safety Guidelines
Discover a complete assembly manual of the BBQ-smoker via video. In only 5 minutes you will get an impression how fast you can create your own self-made smoker grill. The helpful tips even show you that the smoker can also be used as a "normal" grill.
Discover the whole smoker construction in our video
Before you start, please read the security information extensively that are provided in the manual. When handling things that have something to do with fire, certain rules have to be followed.
Assembly manual for BBQ-smoker
PDFConstruction diagram and materials
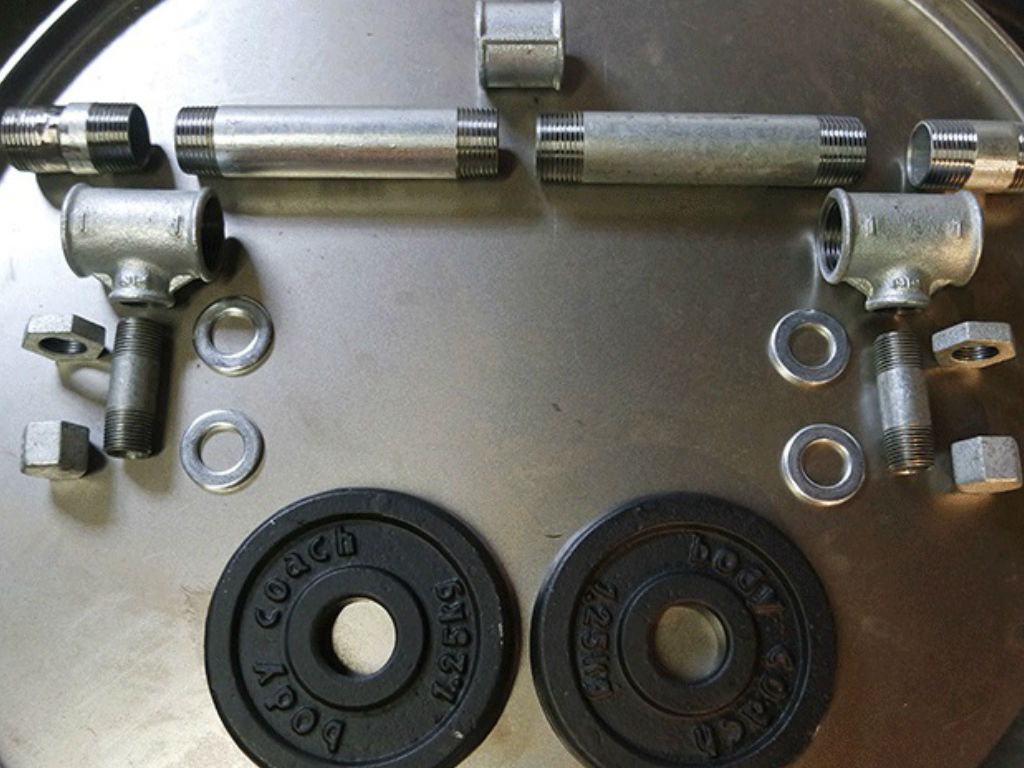
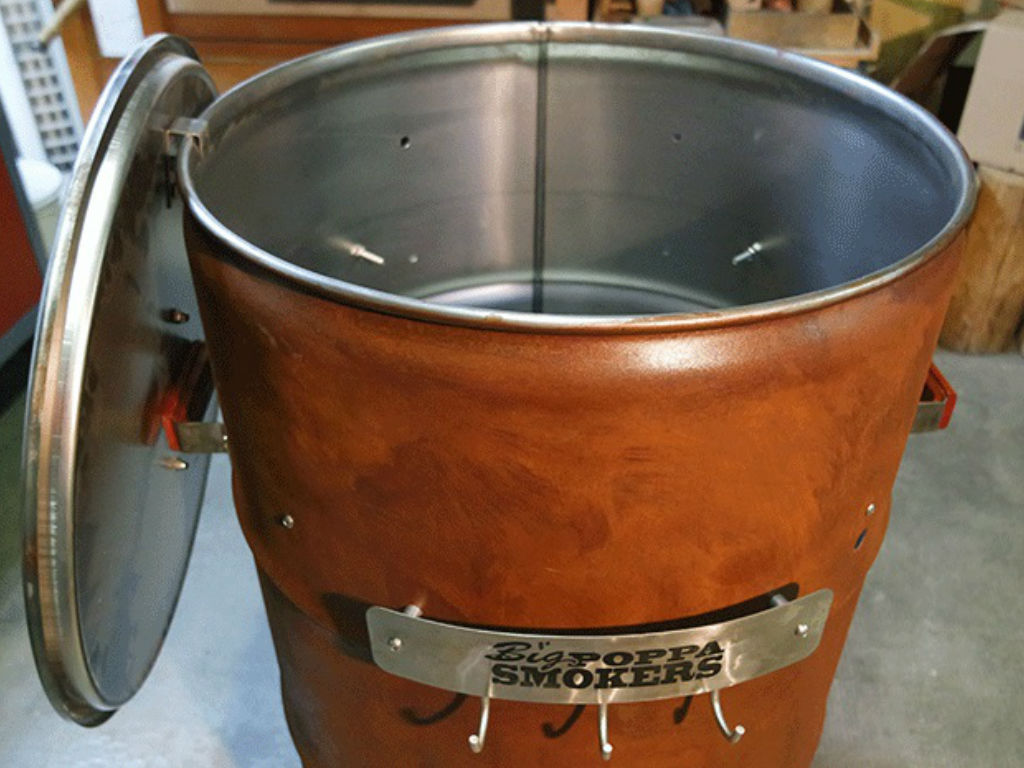
To build your Smoker, in addition to the Big Poppa Drum Smoker Kit and oil drum, you will need the following things...
Material list
- Water pipe bits
- 2x old weight plates
- Locknuts
- Plywood sheet
- Safety cotter pin
- 2x metal brackets
- Offcut of a kitchen worktop
- Wood preservative
Tool list
- Cordless drill
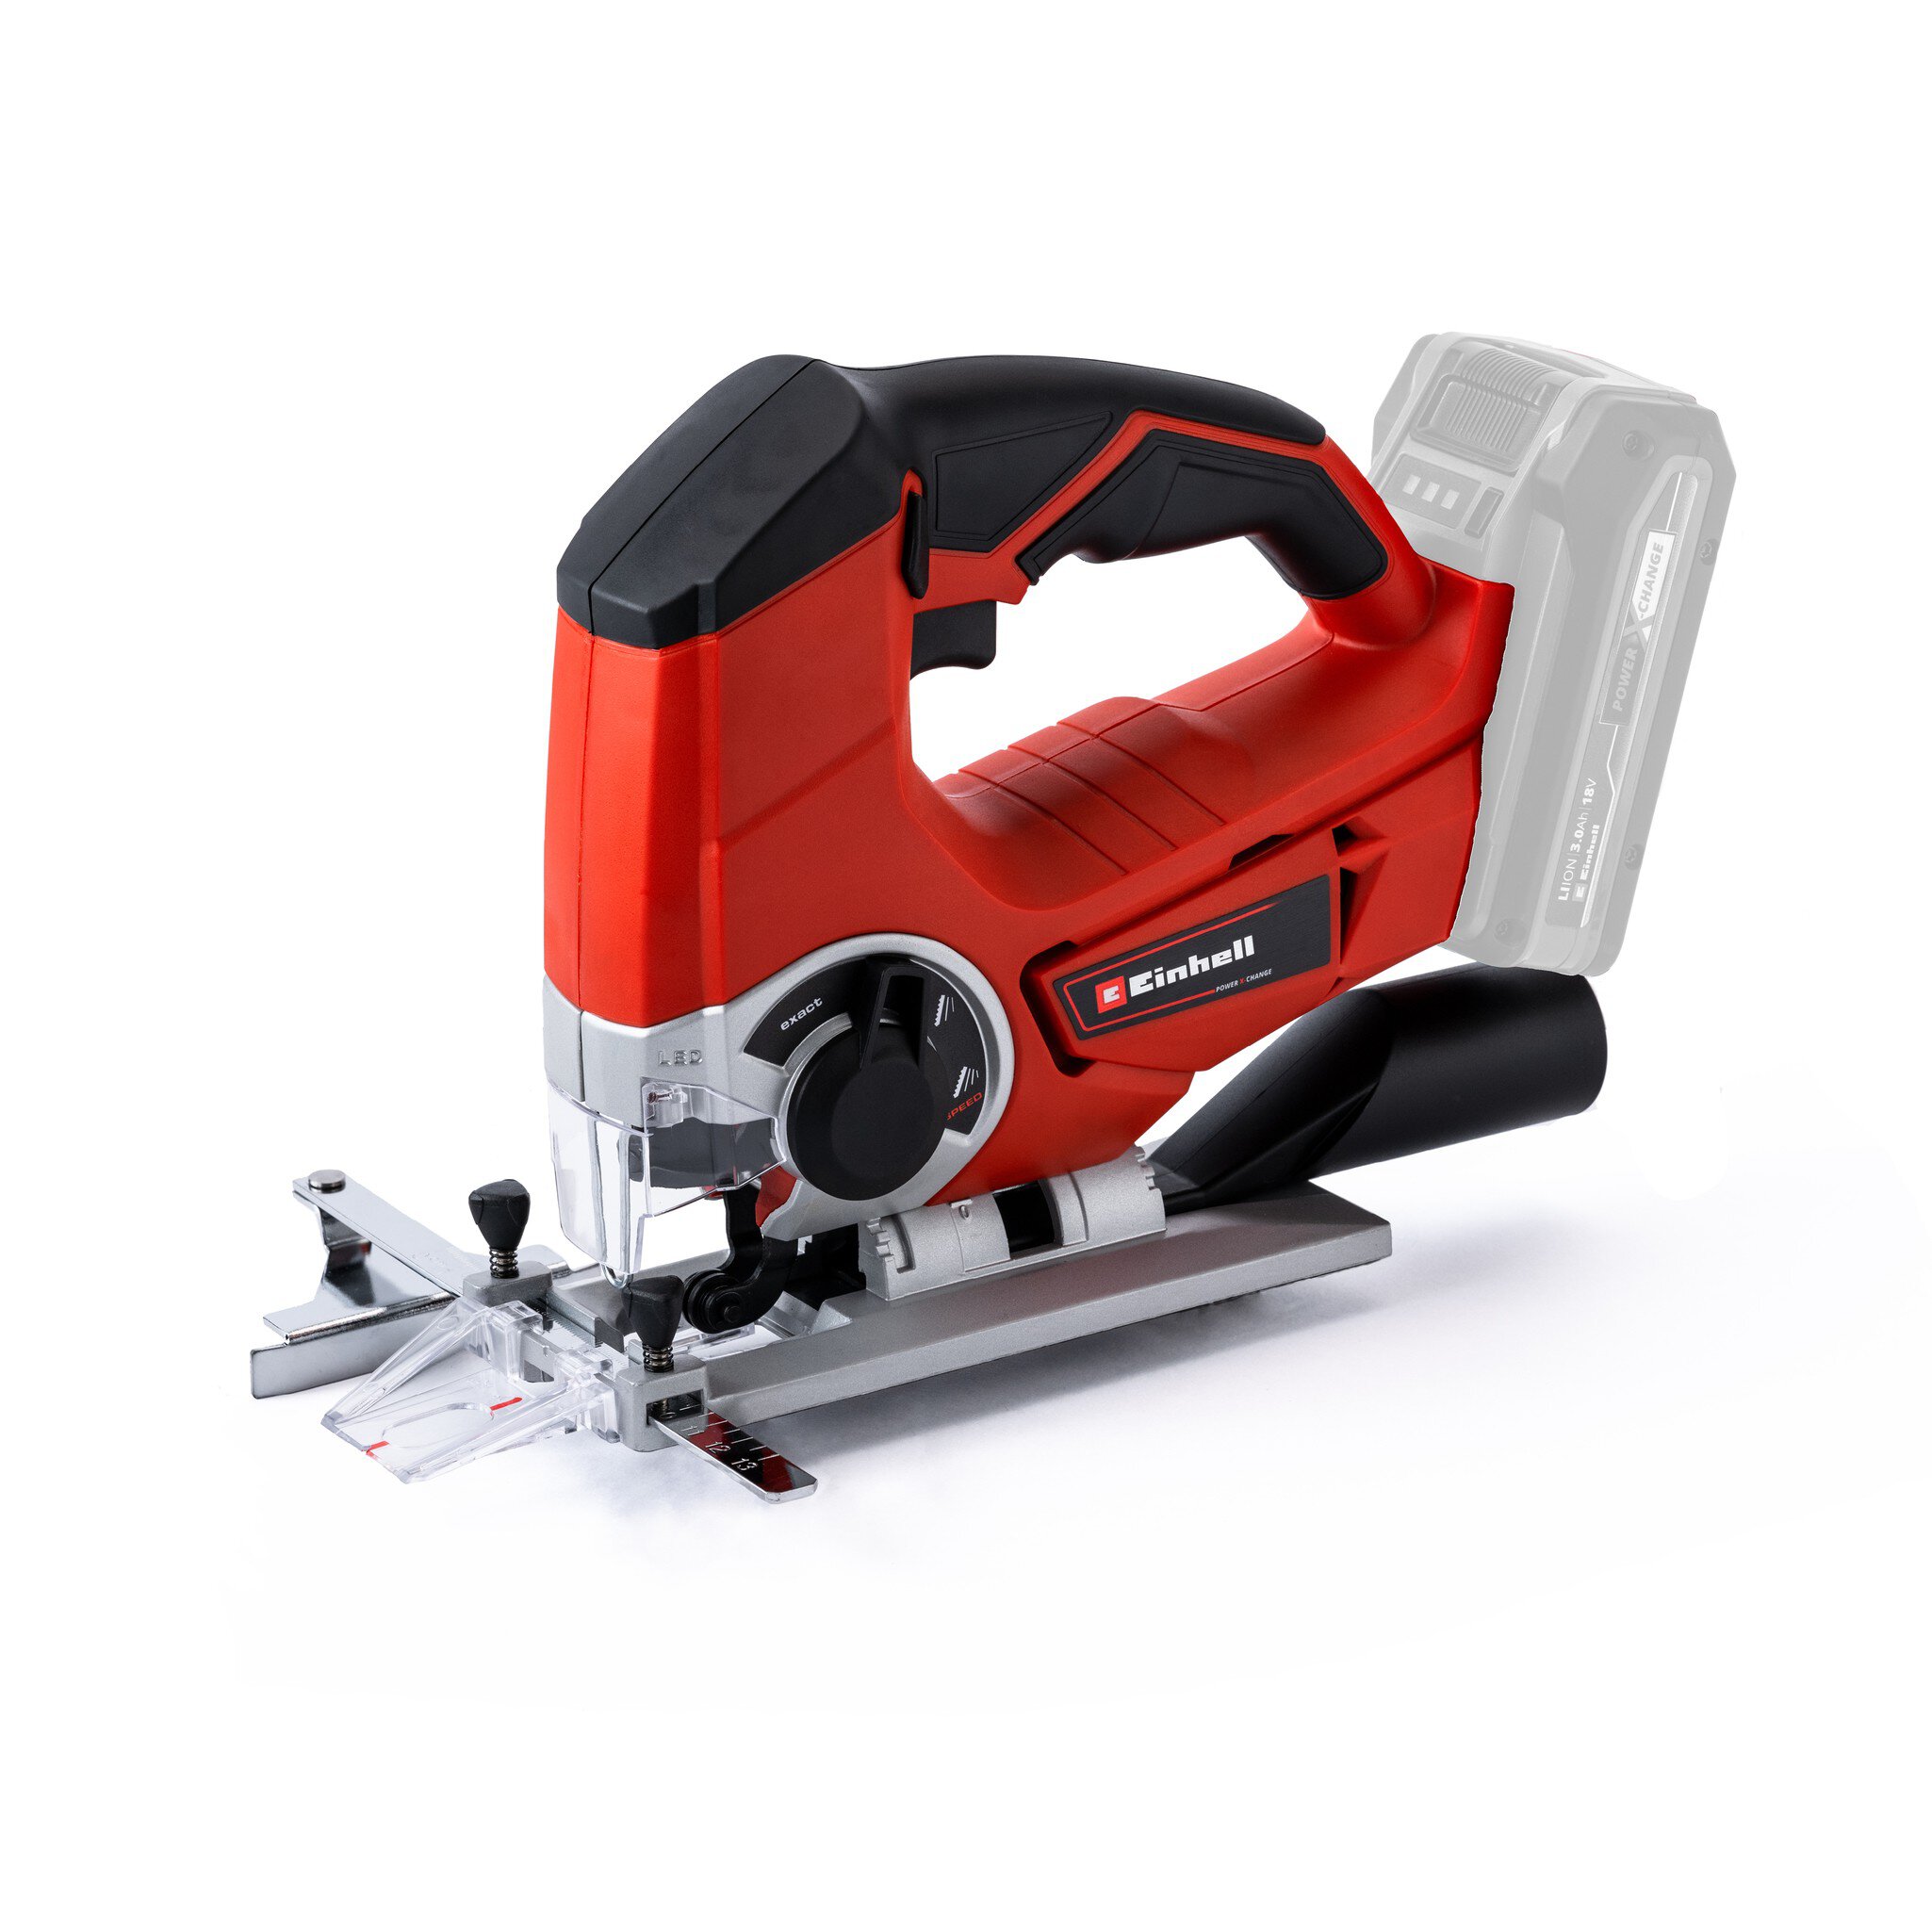
- Jig saw
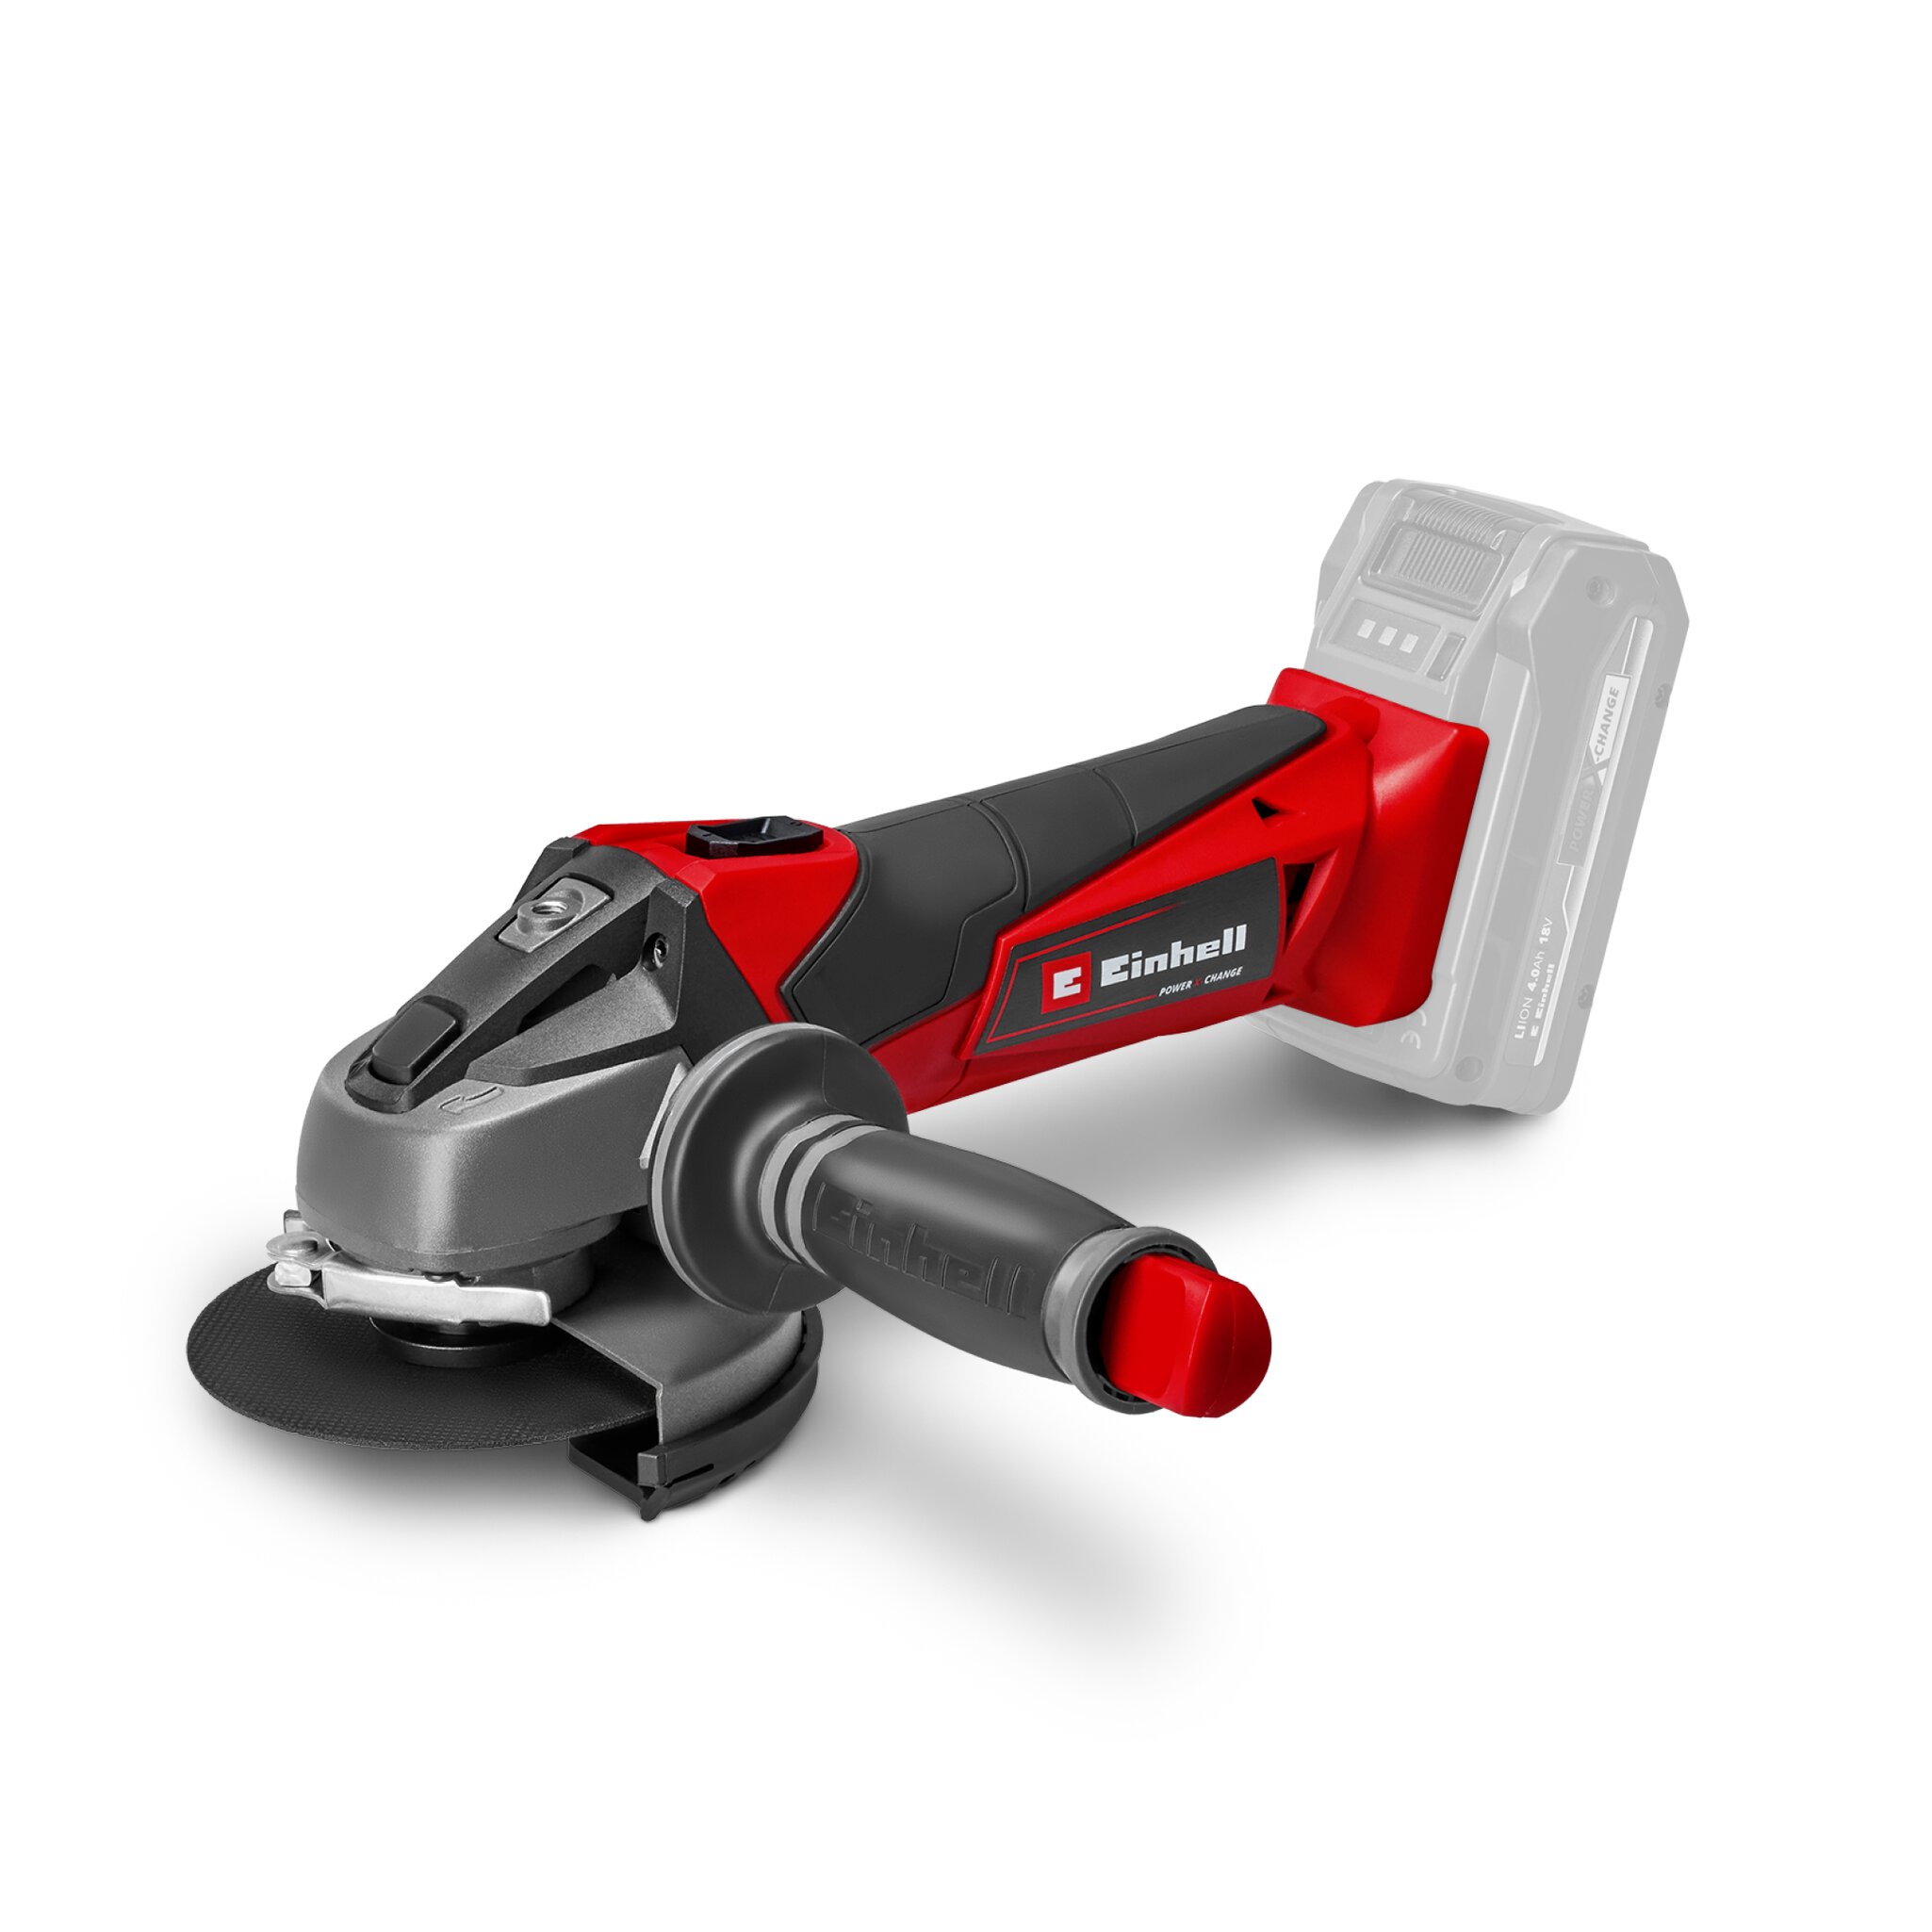
- Angle grinder (opt. with roughing or wire brush)
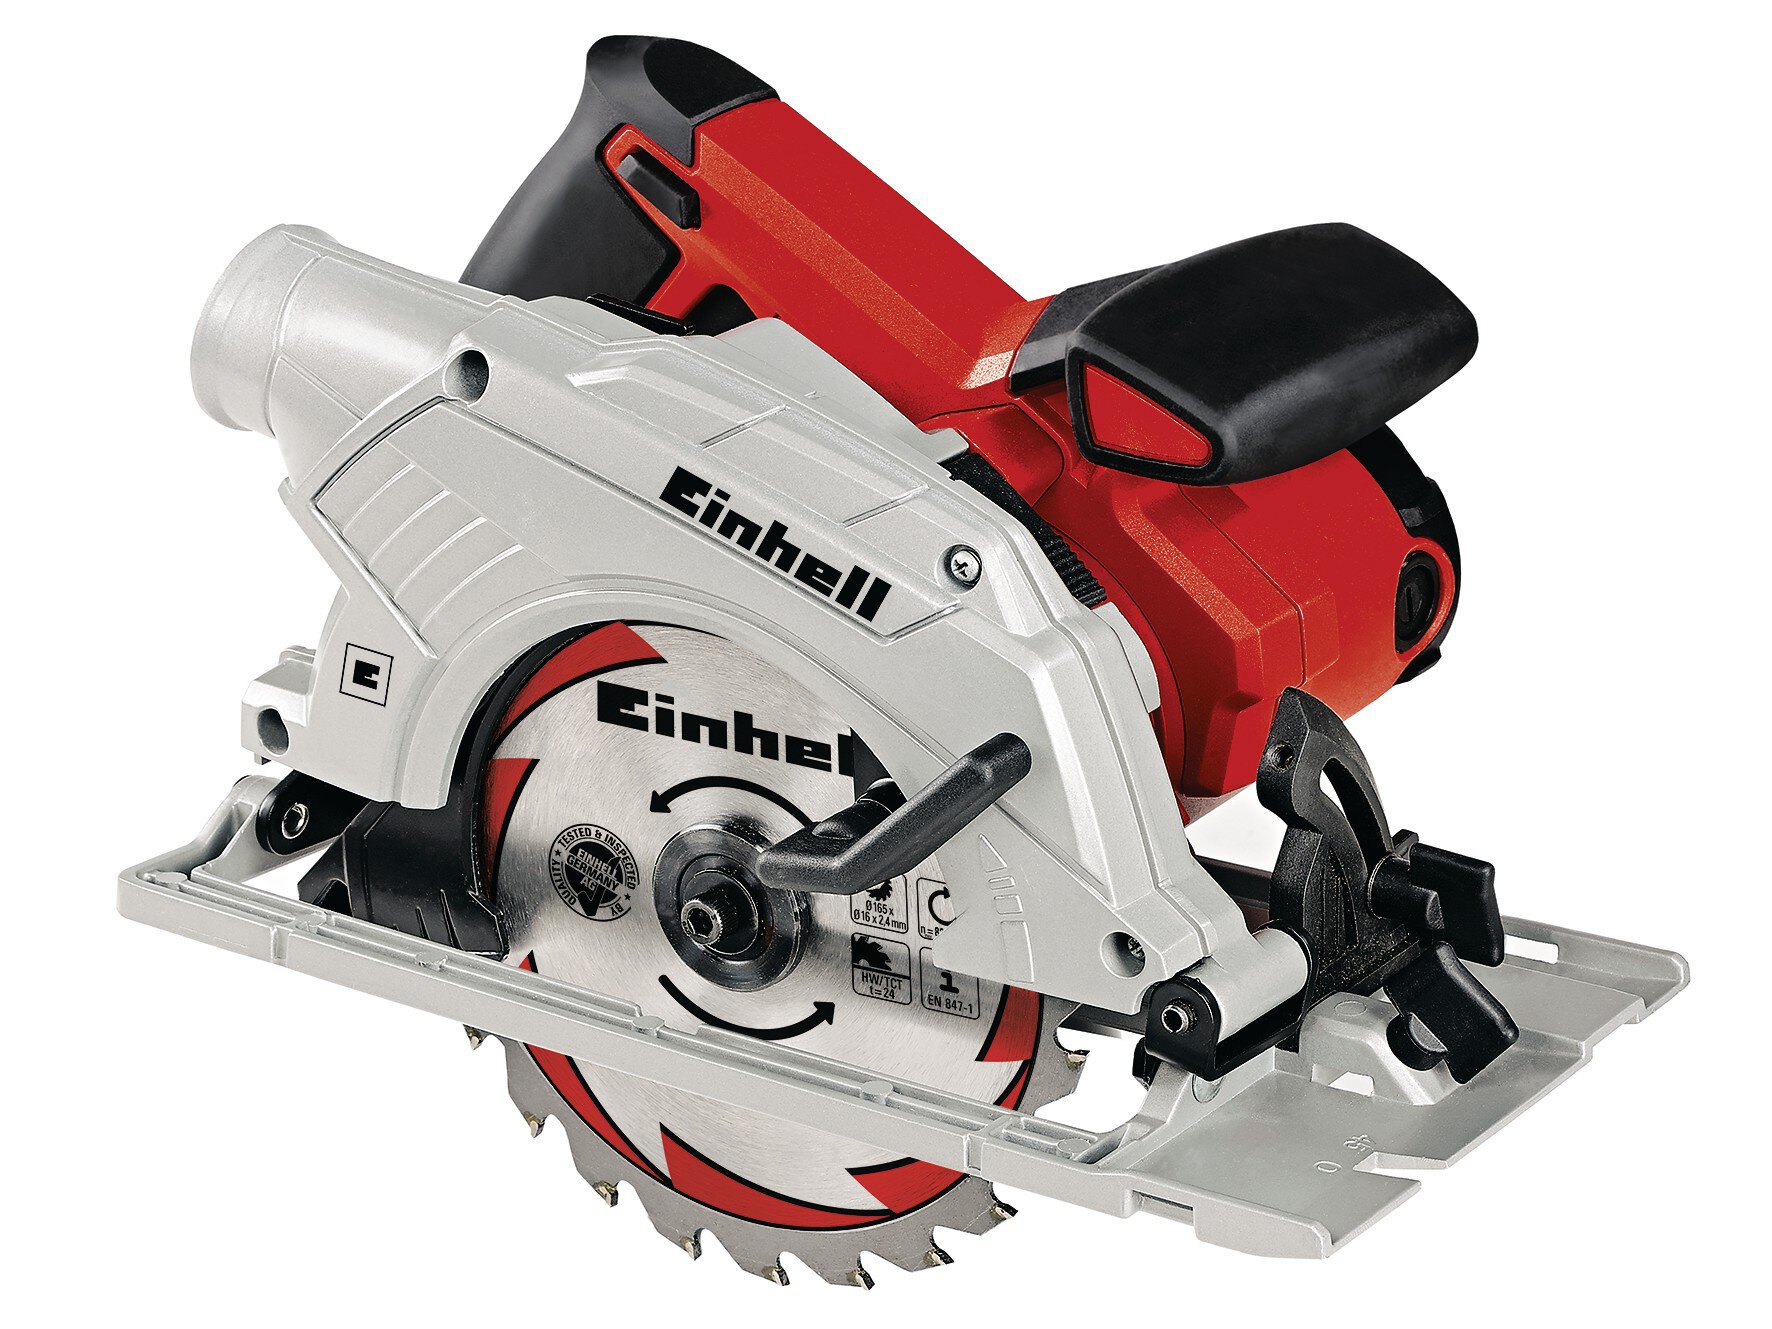
- Hand-held circular saw
- Hole saw
- Spanners (set or also adjustable)
- Philips-head screw driver
- Measuring tape/carpenter's ruler
- Ruler or spirit level
- Metal round-file or metal countersink

The sketch gives you a schematic overview of how the smoker works.
Guide: Building the Smoker
Step 1 - 4: Preparation, Drilling holes
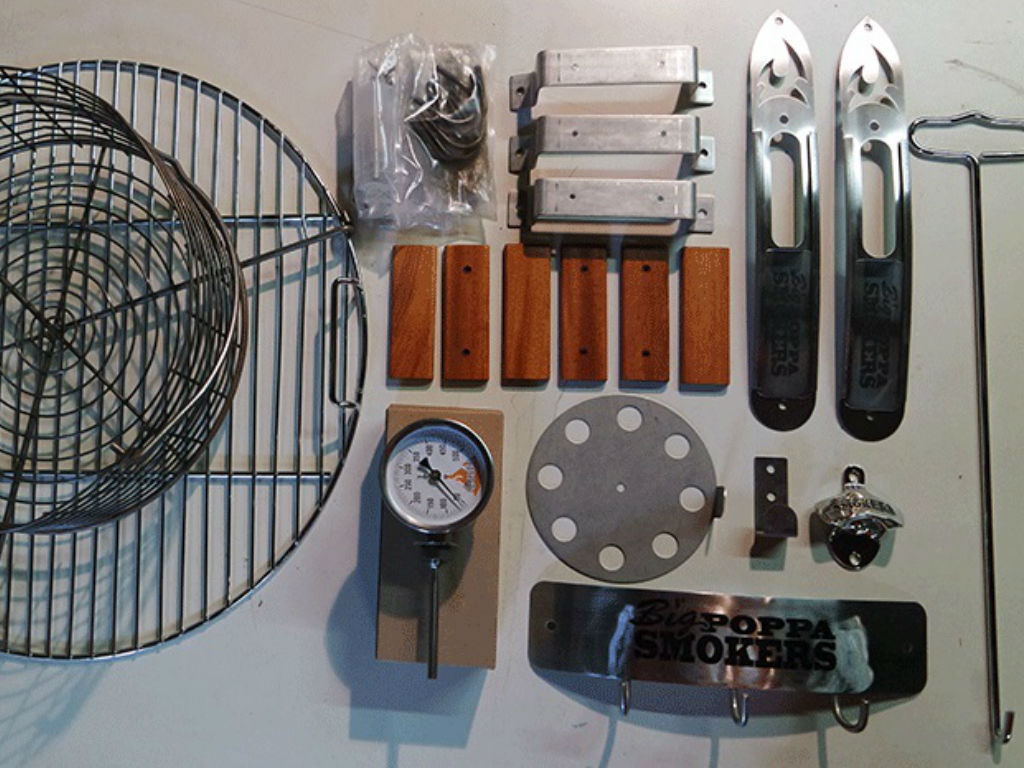
The Smoker Kit contains many components for your Smoker Grill. First unpack all parts carefully and check that you have prepared all necessary materials and tools. Now you can start with the drilling holes.
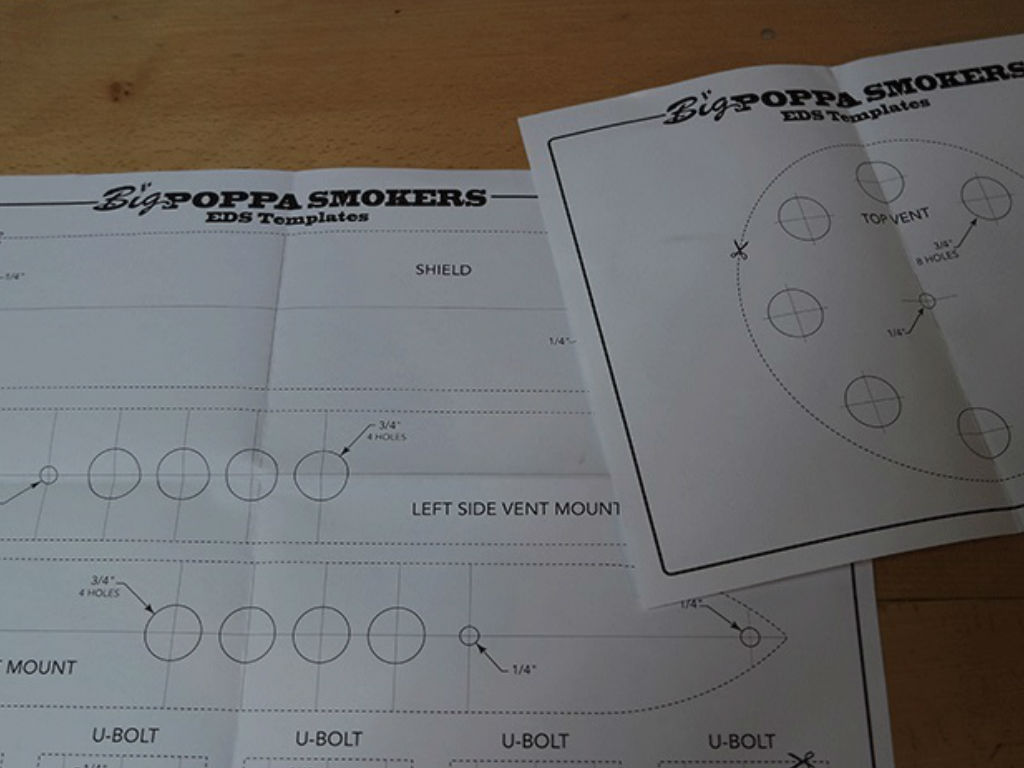
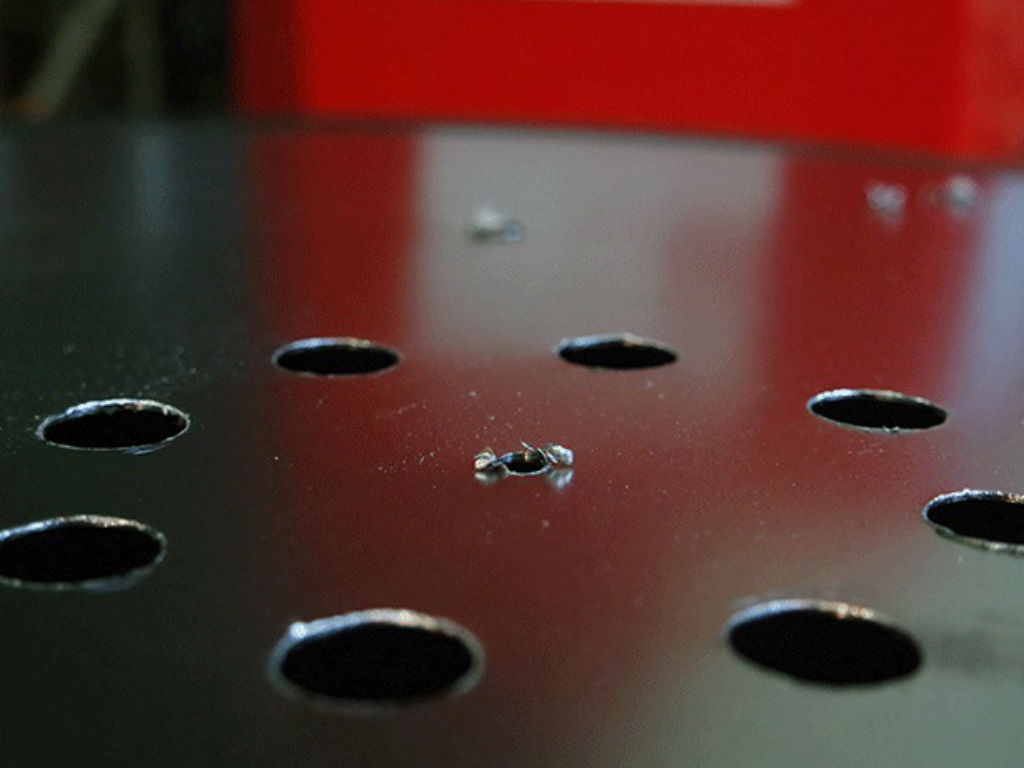
To save you from the trouble of measuring each hole by hand, we have provided a handy drilling template in the kit. You just have to cut this out and position it at the right place (which you still have to measure) with adhesive tape.
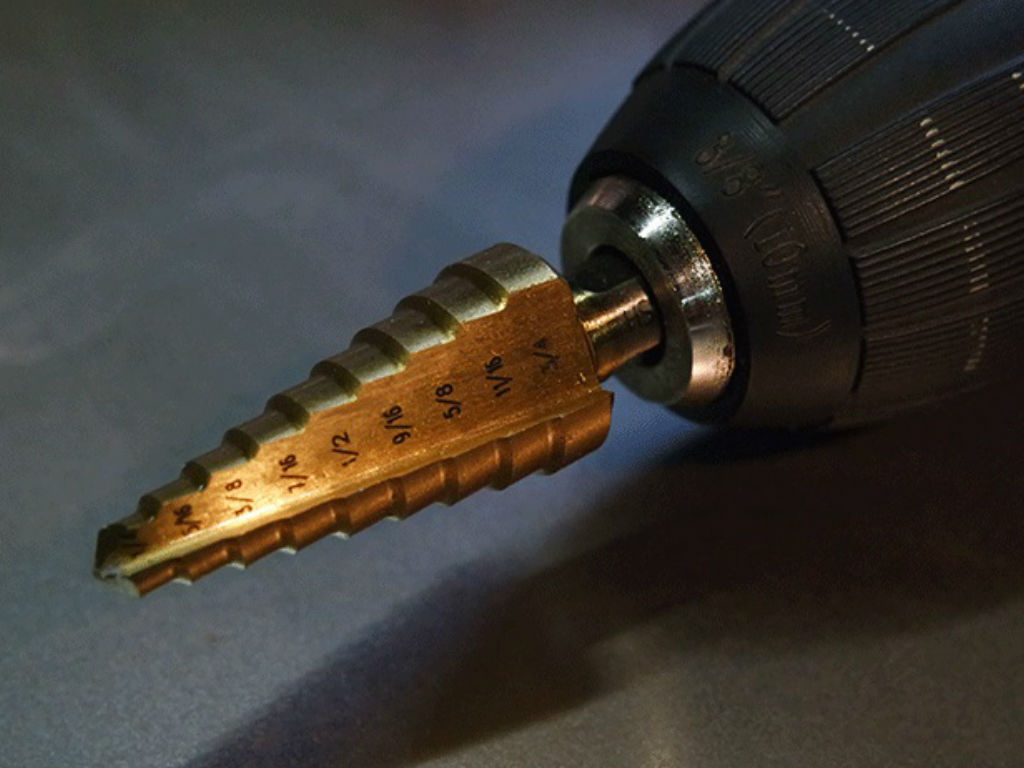
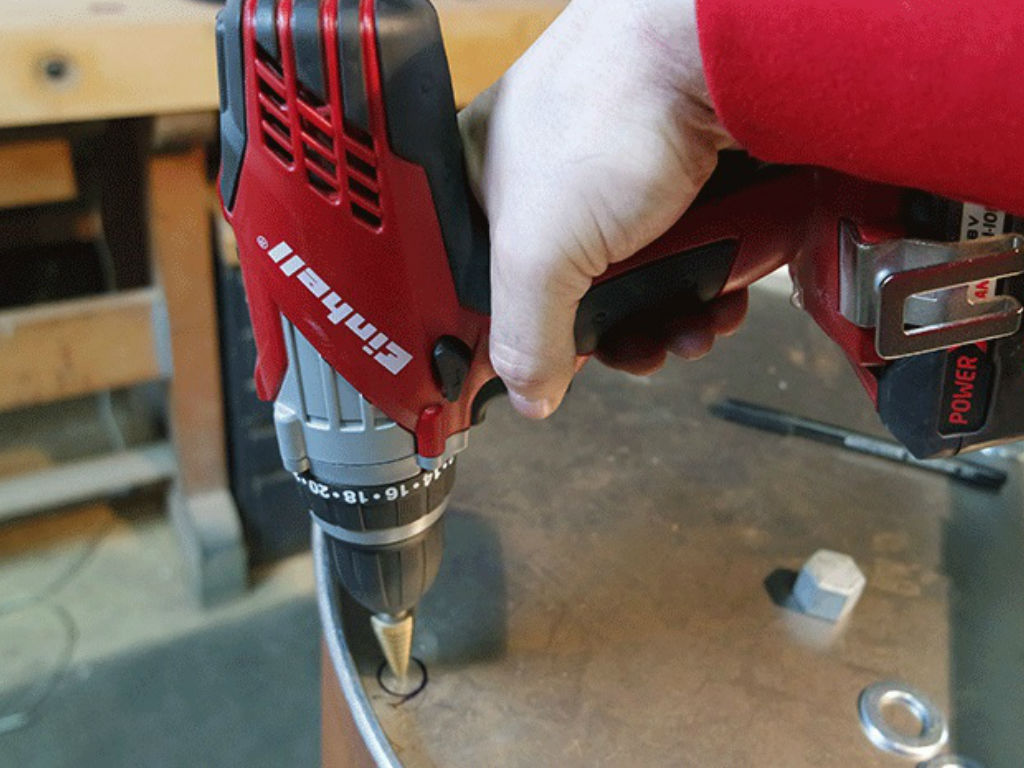
The practical drill, also part of the kit, makes drilling really very easy. You can drill holes with the required diameter without the bother of having to change the drill bits. But careful: Do not press too hard into the material, so that the next diameter gets drilled. Therefore, release the pressure just a little before the diameter you want, so that the hole does not become too big. A little drilling oil makes the job easy and increases tool life.
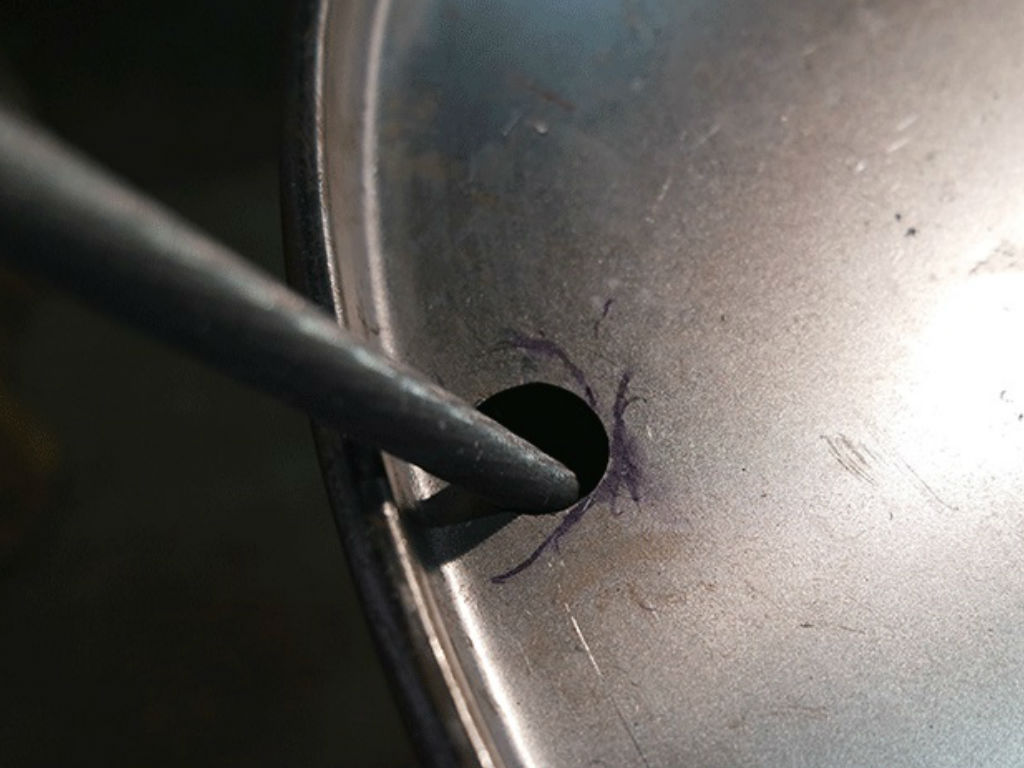
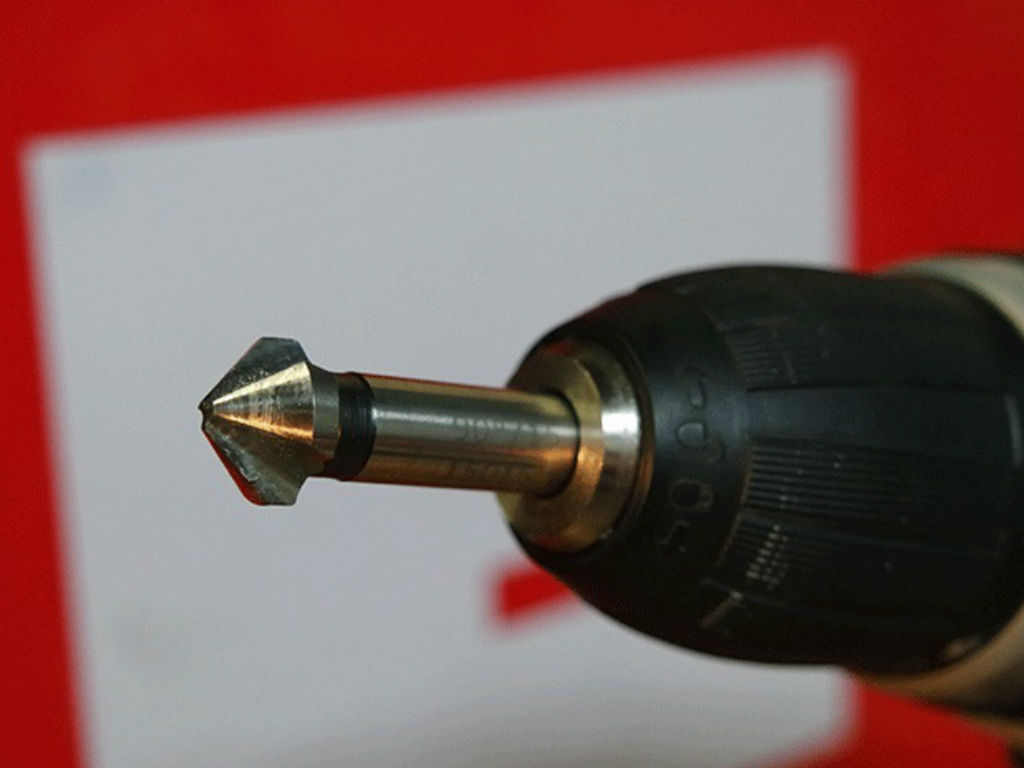
Now, use a metal file, hand-held deburring tool or what is called a metal countersink for the cordless drill and remove the sharp burr from all the holes from the inside. This will prevent eventual injuries and all the components can be assembled on the drum without any problem.

Step 5 - 7: Finishing the surface of the metal drum, styling and customisation
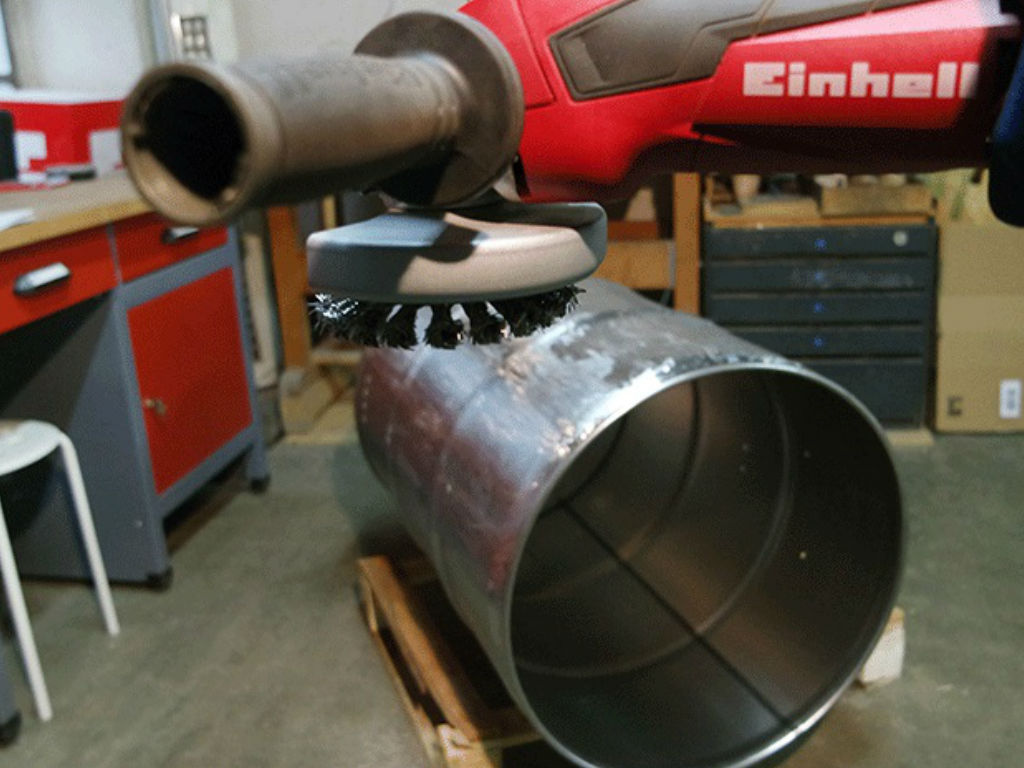
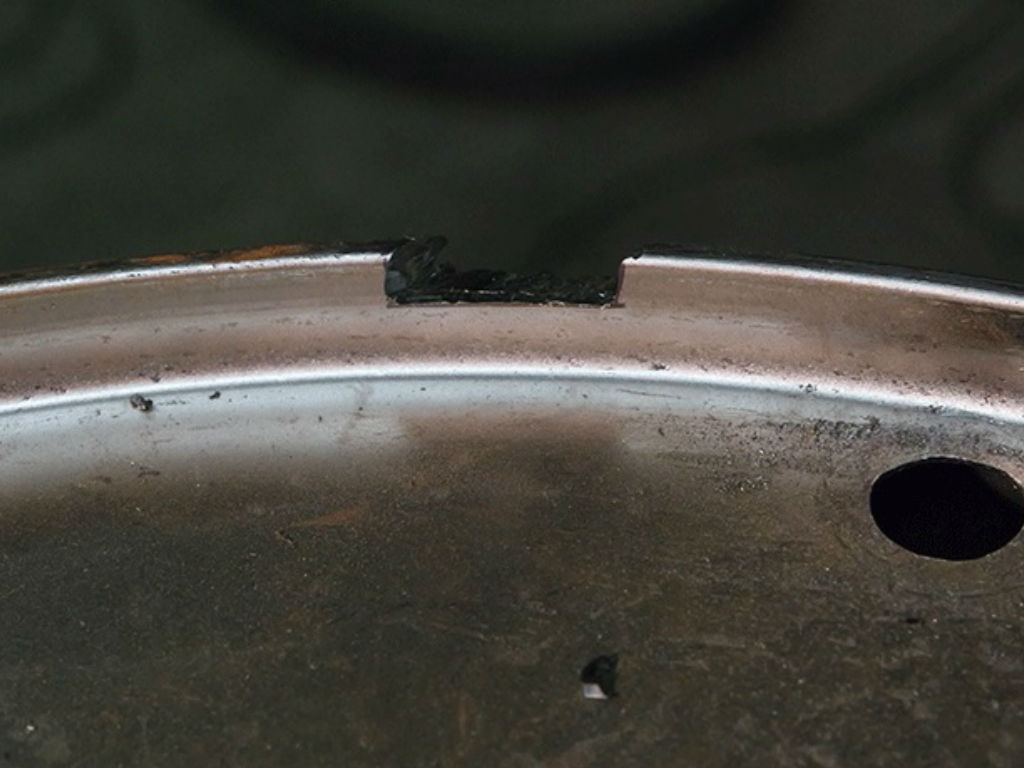
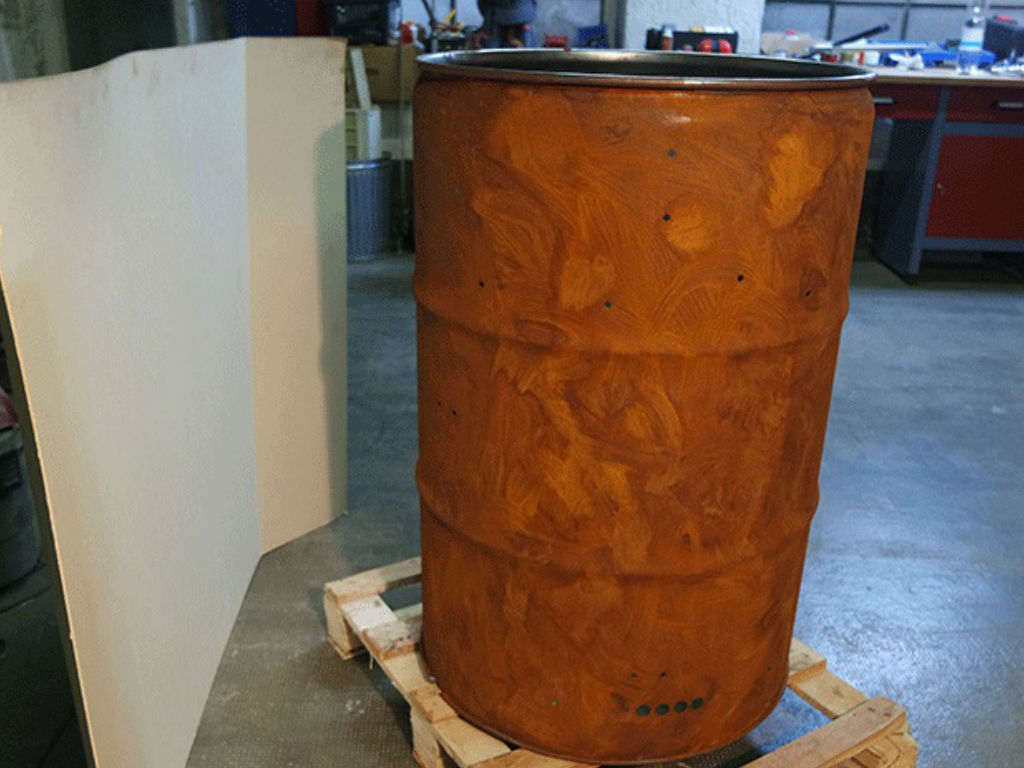
Before assembling, if it is a new oil drum, you can straight away use an angle grinder to work on the surface of the drum. If you want a raw "used" look, and do not want the drum to look too new and boring, use a roughing or wire brush. Of course, it is up to you to decide how the surface should look.
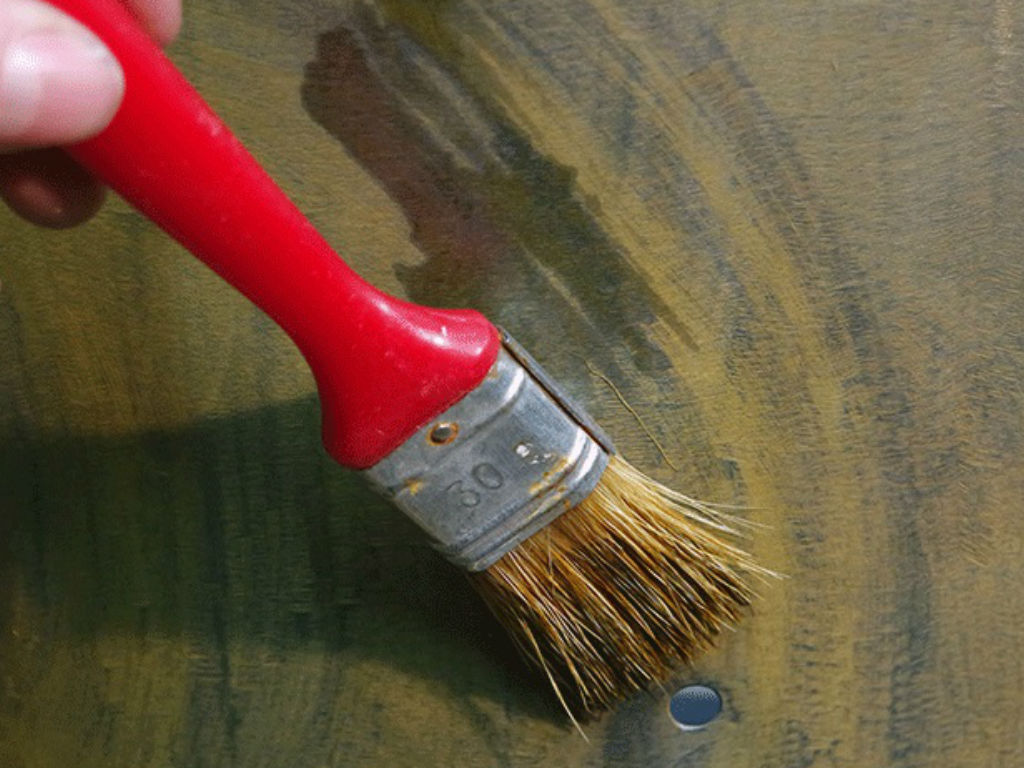
We gave our drum a coat of oxidising finish. This finish oxidises bare metal very quickly and you get that exciting rusted look "overnight". You can get such oxidising agents in any well-stocked art supplies stores.
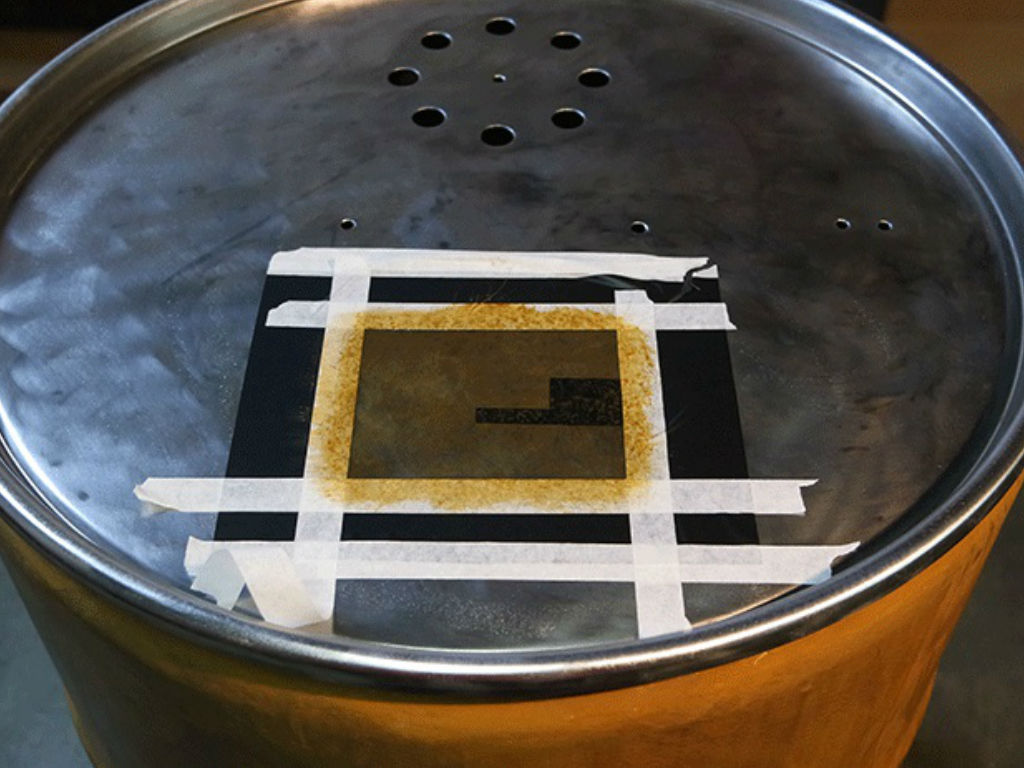
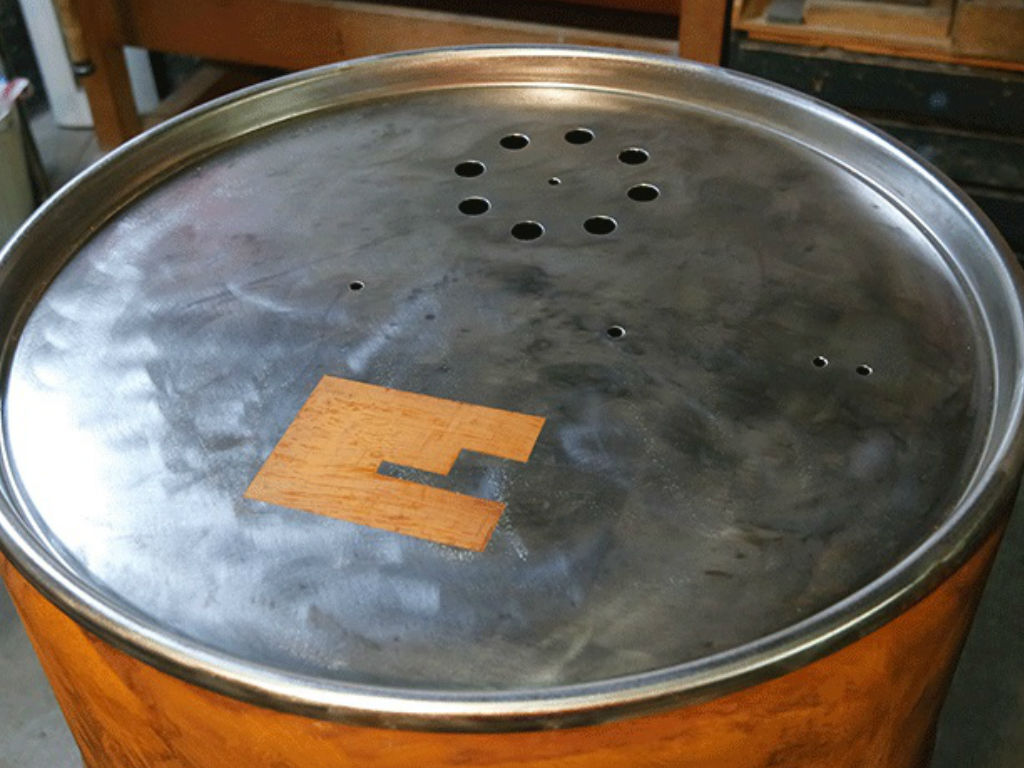
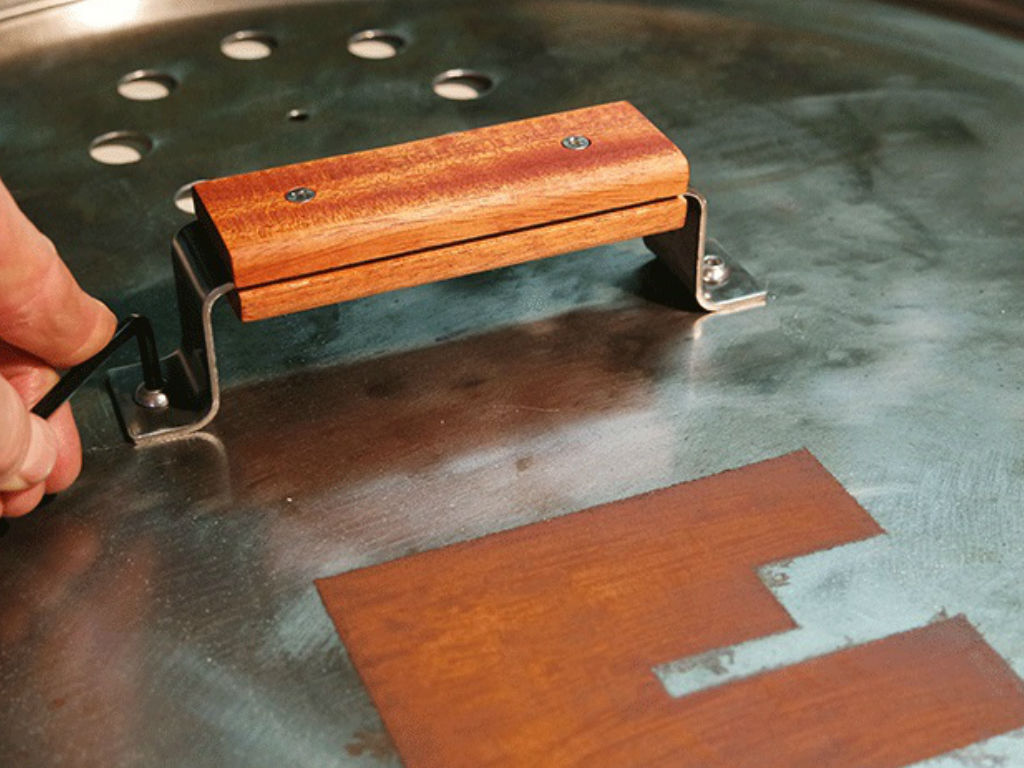
For the special "Einhell-Edition", we just stick the Einhell logo on the bare lid and get a rusty looking "E". There are no bounds to your imagination.
Step 8 - 10: Undercarriage from water pipe pieces & weight plates - Attaching & assembling
We will now make an undercarriage. This prevents the Smoker from being in direct contact with the floor (hot pieces may damage the lawn and terrace). The undercarriage can also be used to move the grill from place to place. We will build the undercarriage with pieces of water pipe. You can get these at any well-stocked DIY warehouse. For the wheels, we will use old metal weight plates. You perhaps have these lying around somewhere (you can also get new ones quite cheaply).
You must now drill holes in the base of the Smoker for attaching the undercarriage. Careful: Measure the width and height of the wheels before anything, so that they do not collide with the drum - otherwise you will have to run the angle grinder again, to get the suitable sections!
We will now assemble the undercarriage. You can use locking nuts to fasten the pieces to the base of the drum.

Step 11 - 13: Assembling the weight plates & final assembly of the undercarriage
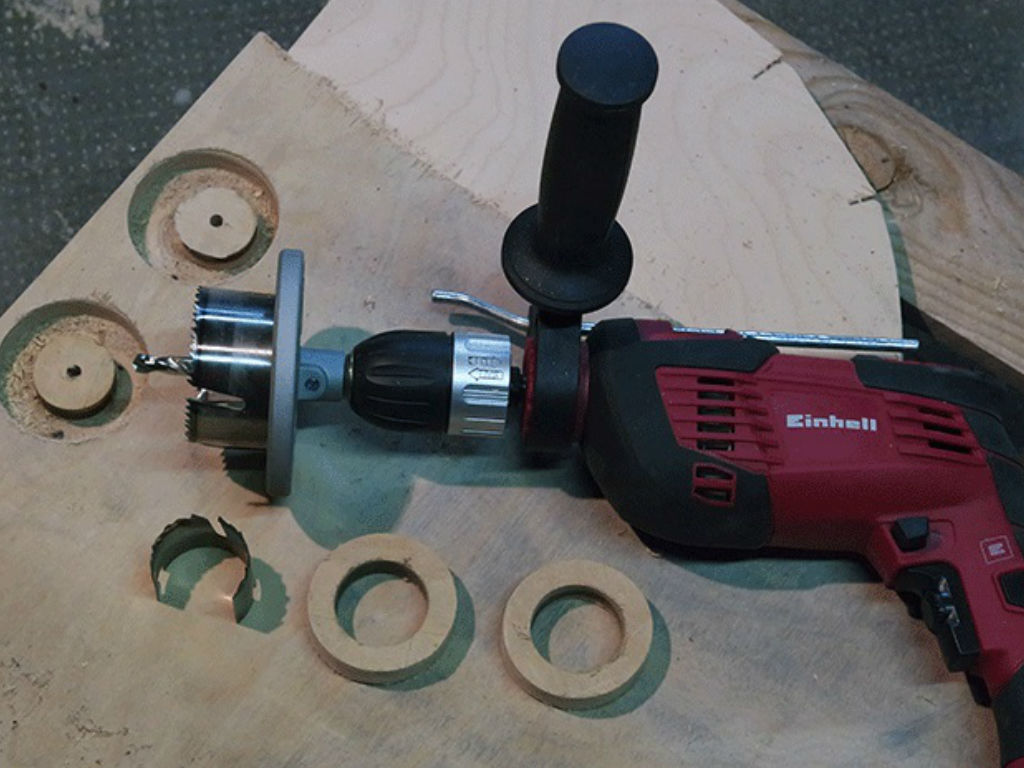
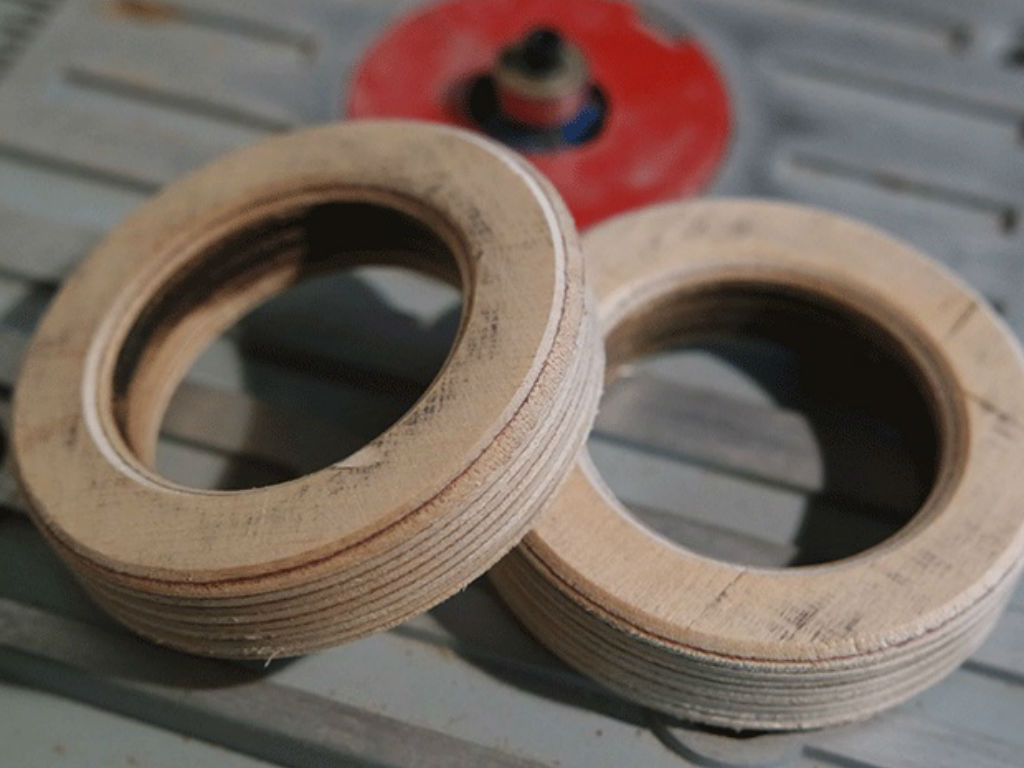
To make sure that the weight plates do not wobble too much later, we will make appropriate reducing washers from plywood. First, drill the small inner diameter using a hole saw and a drilling machine. Now take the centre of the first hole and set in the larger diameter - you get a faster wood ring this way. But careful: Do not forget to clamp the plywood sheet and do not change the plywood sheet that is beneath it, this will help you locate the centre always!
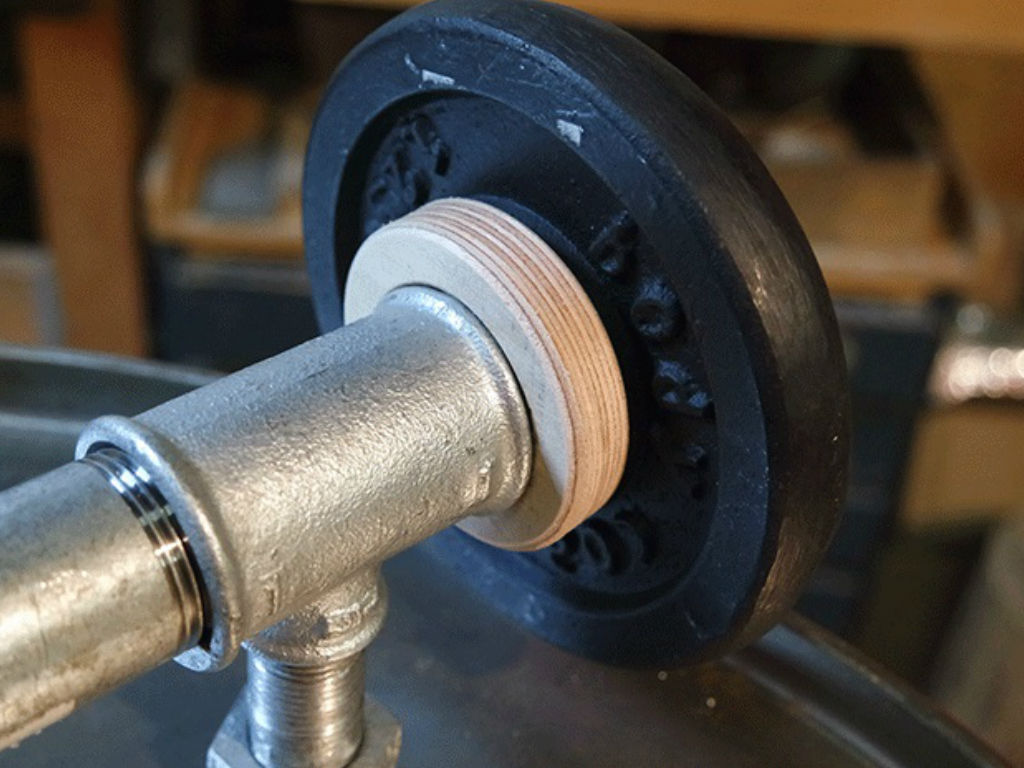
The reduction ring is now fixed on the undercarriage along with the weight plates. The wood ring also helps the weight plates rotate better because they are not rubbing against the metal socket.
The wheels are held in place on the undercarriage using a large nut. To ensure that the nut does not slip loose while rotating, a hole has been drilled through the nut and undercarriage. The nut is securely held to the undercarriage with an additional safety cotter pin.

Step 14 - 16: Building & assembling the base pedestal and a tray
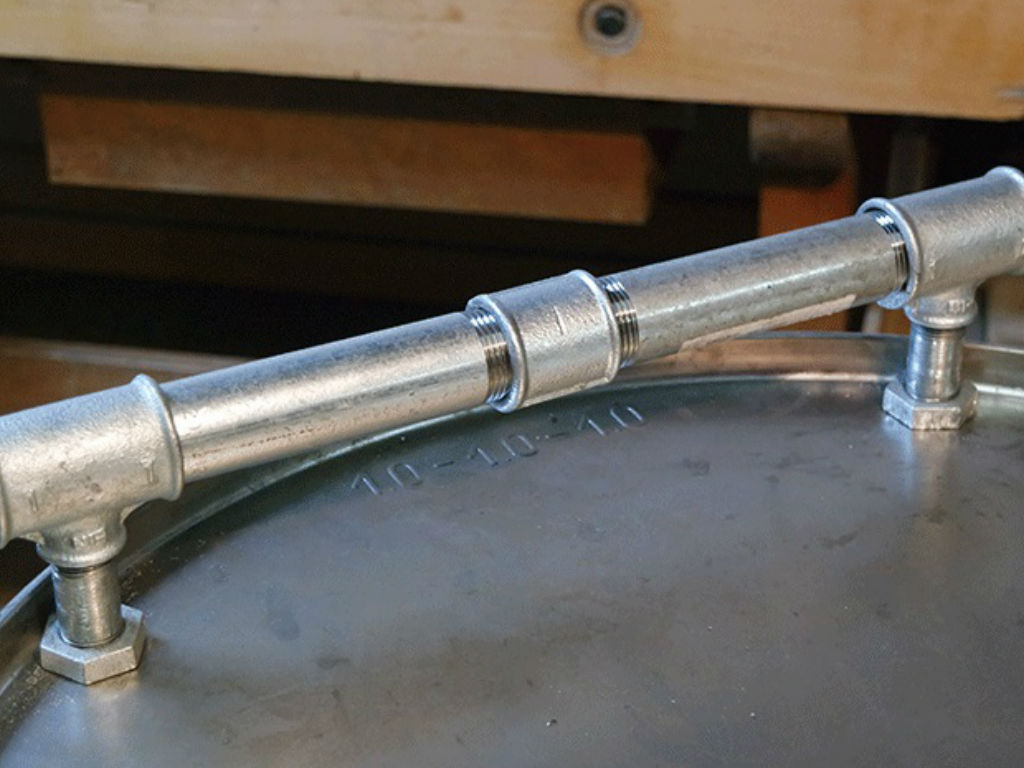
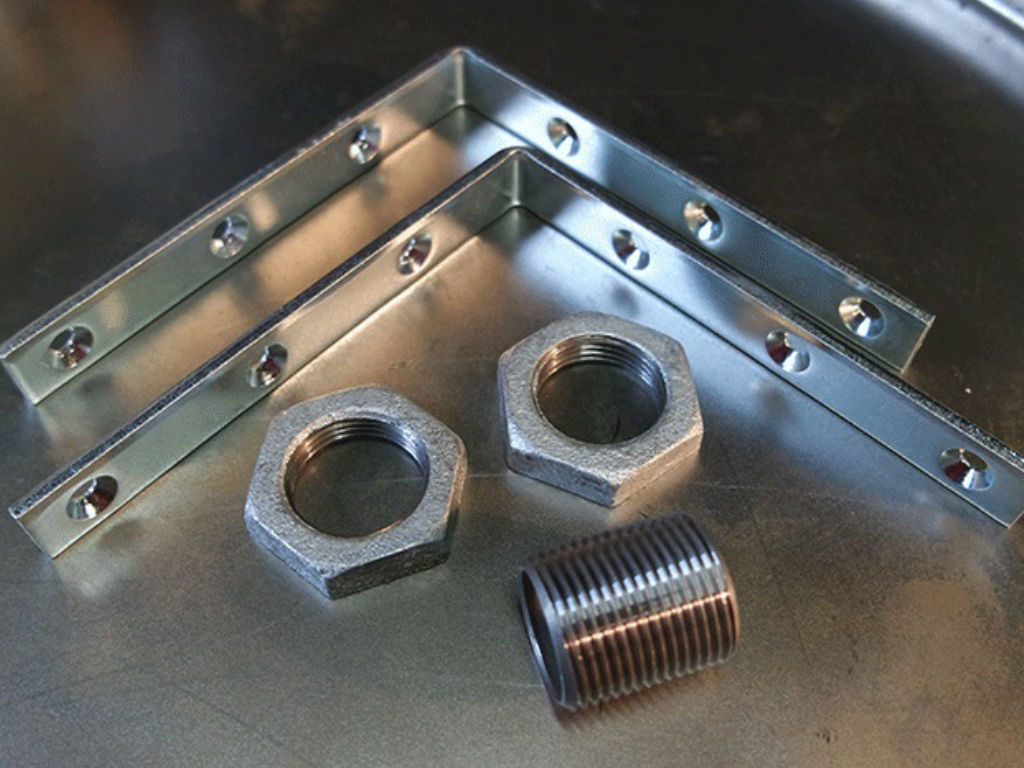
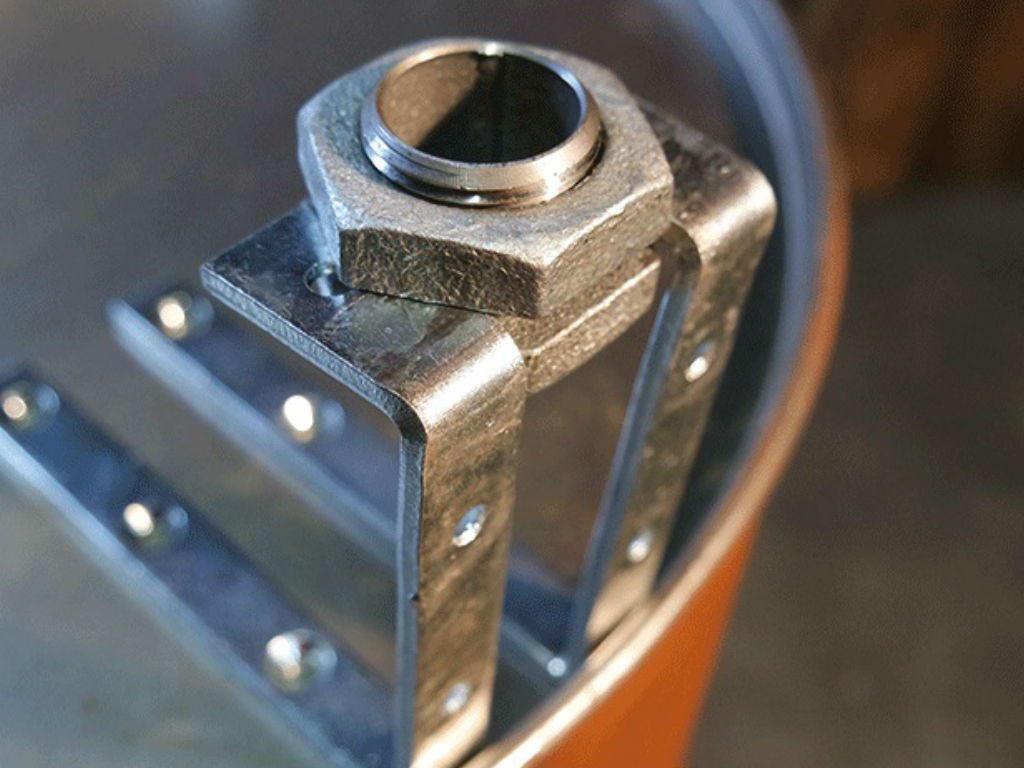
To ensure that the Smoker stands stable on any type of ground, you will naturally need a base. A three-legged base stands better on uneven surfaces (for example lawn or terrace) than a four legged base. We will use two conventional metal brackets and other accessories from the water installation to build a stable pedestal. We will align it vertically to the undercarriage (highest point of the wheel!).
We will now assemble the base. Assemble the foot completely to be able to mark the holes on the base of the drum. These are thereafter drilled and the foot can be assembled. The advantage of the socket with threads is that you can adjust the height later quickly and align it with the undercarriage or when on uneven ground. If you turn the lower part of the angle in the other direction, that is towards outside, the base can also be used as a practical umbrella stand. You can see how it looks in our video.
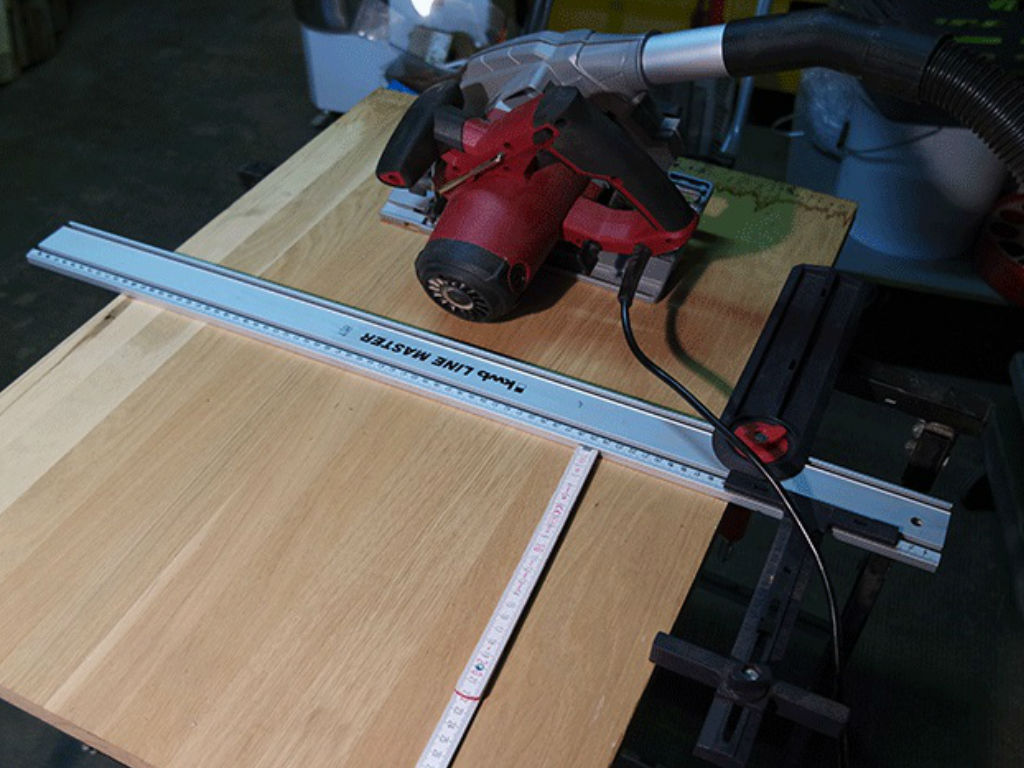
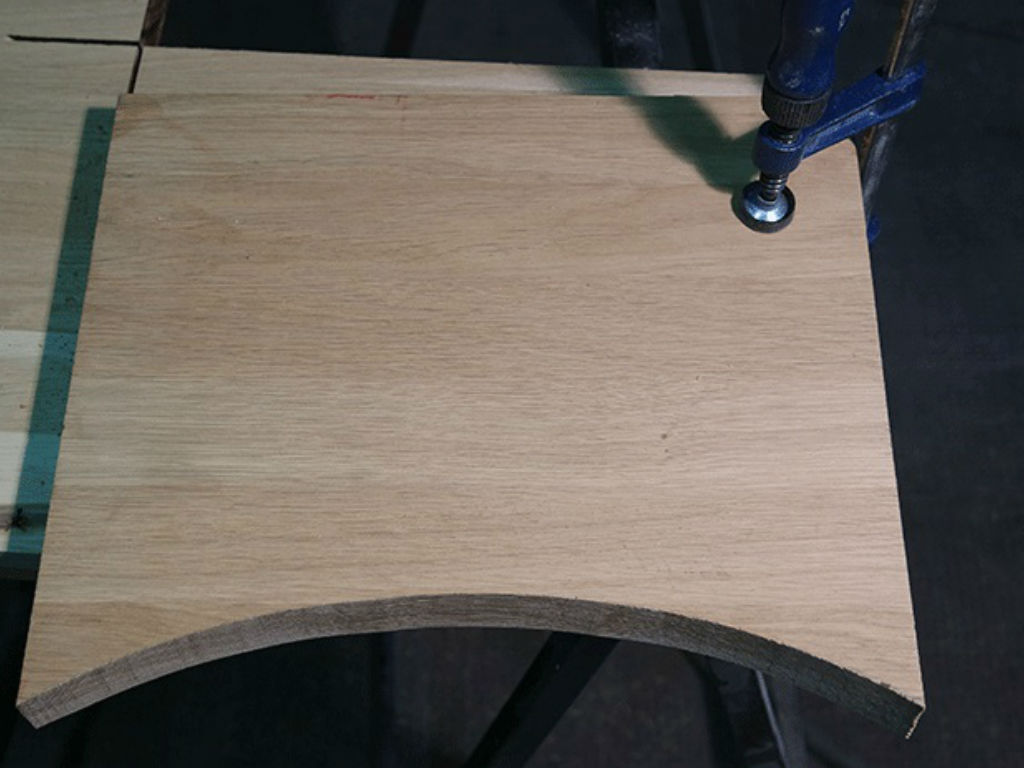
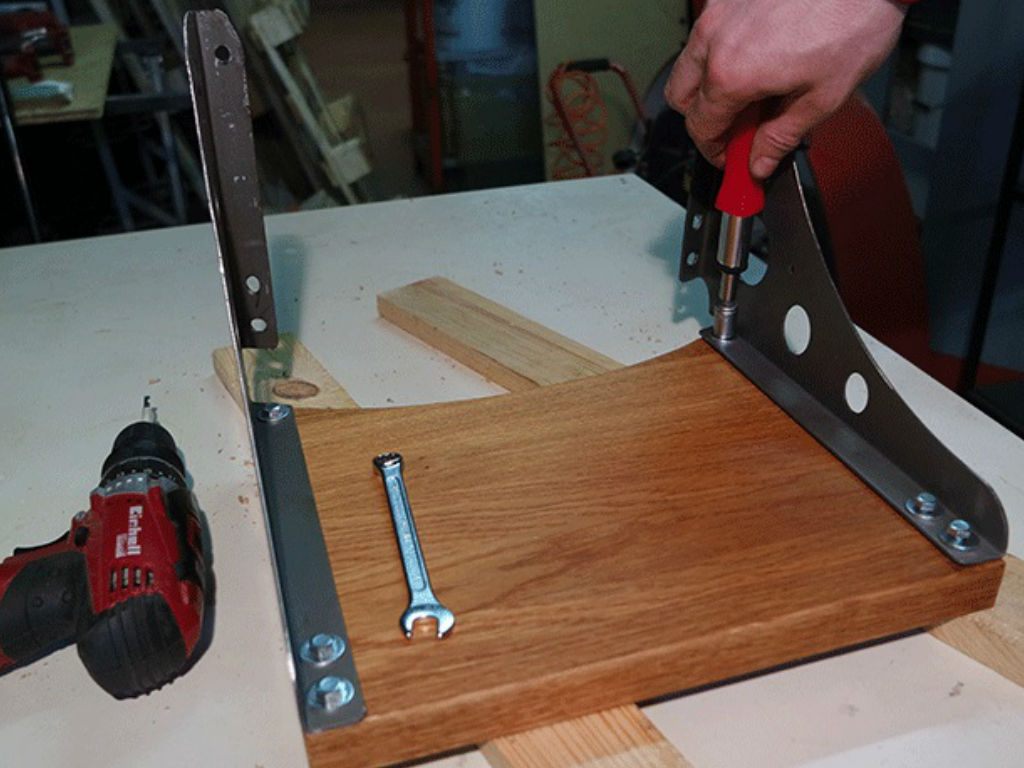
To help the grill chef relax while working, we will now slip into this home-made Smoker a handy wooden tray. We will make the tray from an offcut of a kitchen worktop made of solid oak (we used a 25 mm piece here). You will find these at a DIY warehouse for low prices in the remainders bin. You must absolutely make sure, that there is sufficient space between the grill and worktop, so that the wood does not get damaged due to the heat from the grill.
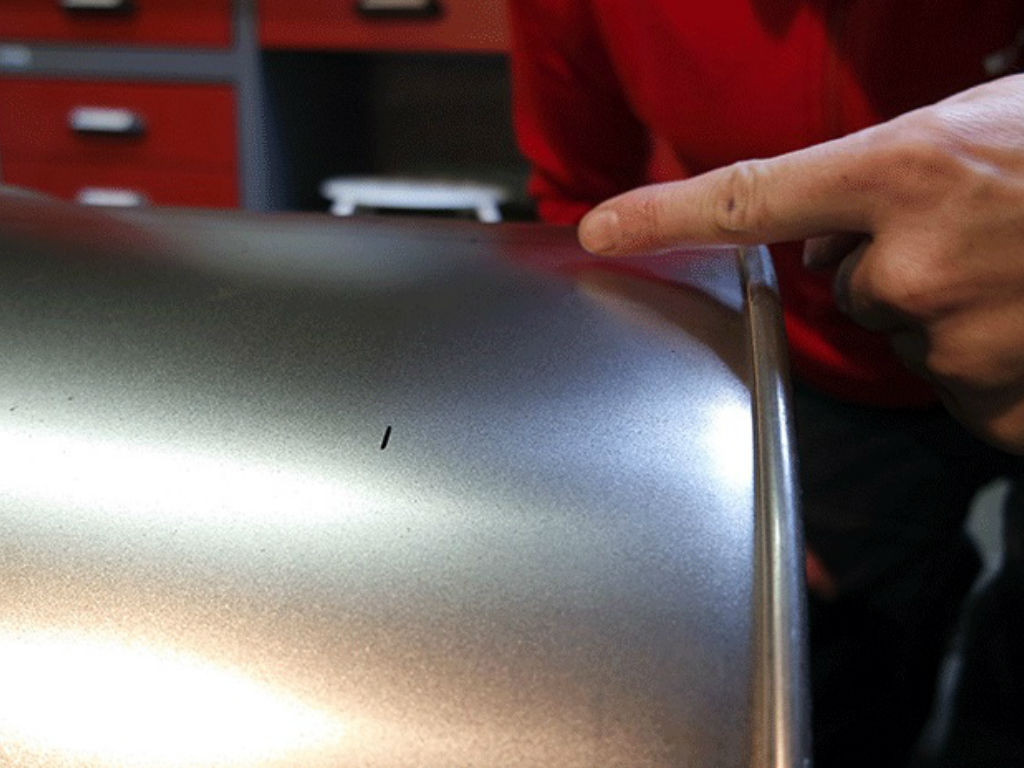
For this, we made a spacer (small block of wood) to mark a clean line with a pencil on the panel parallel to the drum lid 's diameter. This way you will get an exact parallel to the outer diameter of the drum. Finally the wood will need to be protected for outdoor use with a wood protection product. We used linseed oil.
Step 17 - 19: Varnishing with heat-resistant clear lacquer, smoker kit assembly, attaching fire basket
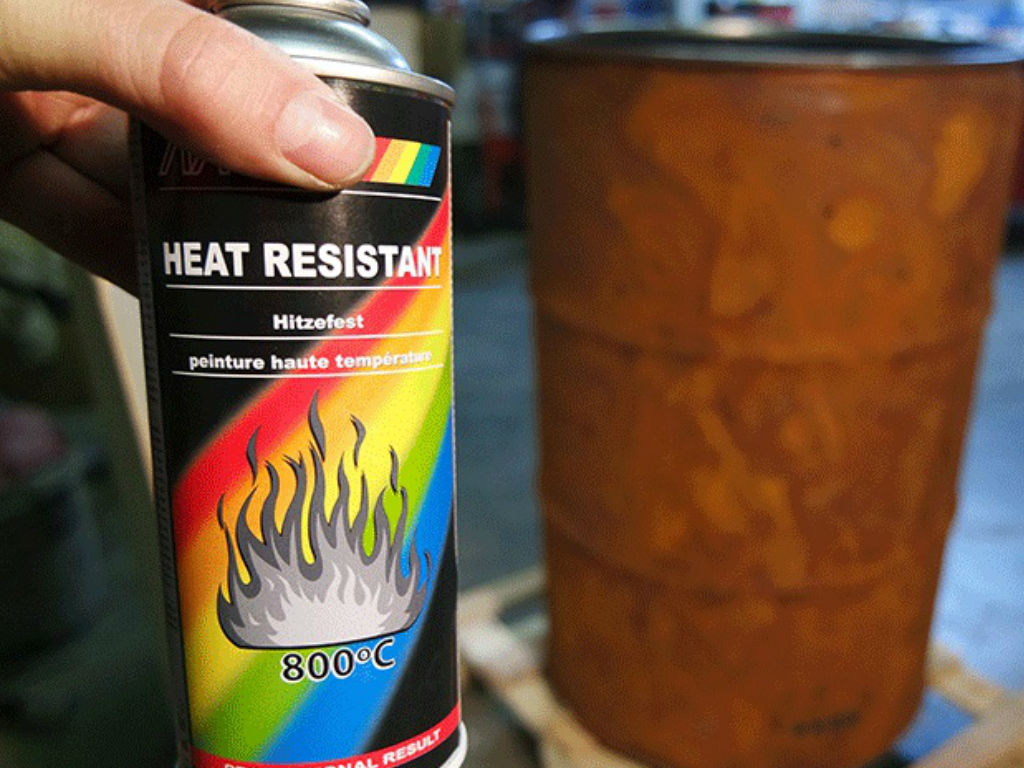
The drum is finally all ready to be varnished. We want the surface to retain its rusted look and the bare metal to not get rusted, so we will use clear lacquer to varnish. You must absolutely make sure to use a heat-resistant lacquer - because obviously the drum will get very hot when in use. You will get such lacquer also in spray cans in speciality shops. Whether it should be transparent clear varnish or in colour, is something you have to decide based on how you want your Smoker to look. But you must always follow the manufacturer's recommendations, because this lacquer must first be dried and then brought to a temperature, before it attains its final heat resistant property.
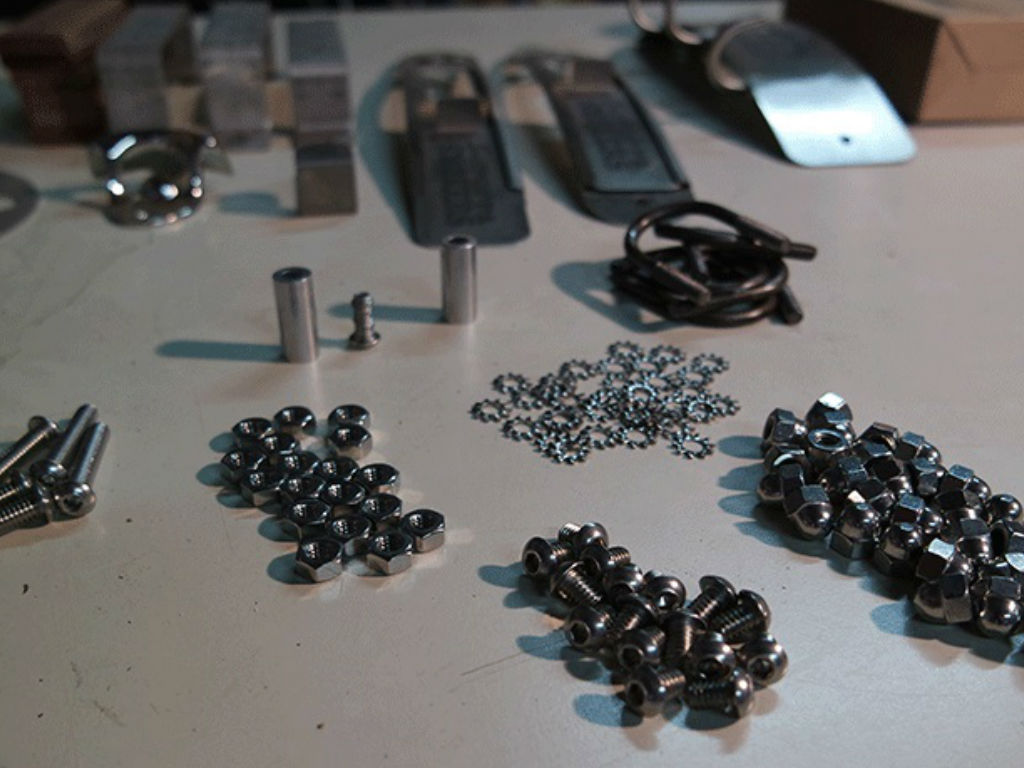
After the lacquer hardens, the Smoker-Kit can finally be assembled. All the bolts, nuts, washers and other important parts required for this are available in the kit. You will only need a spanner and a hex key (which is anyway enclosed).
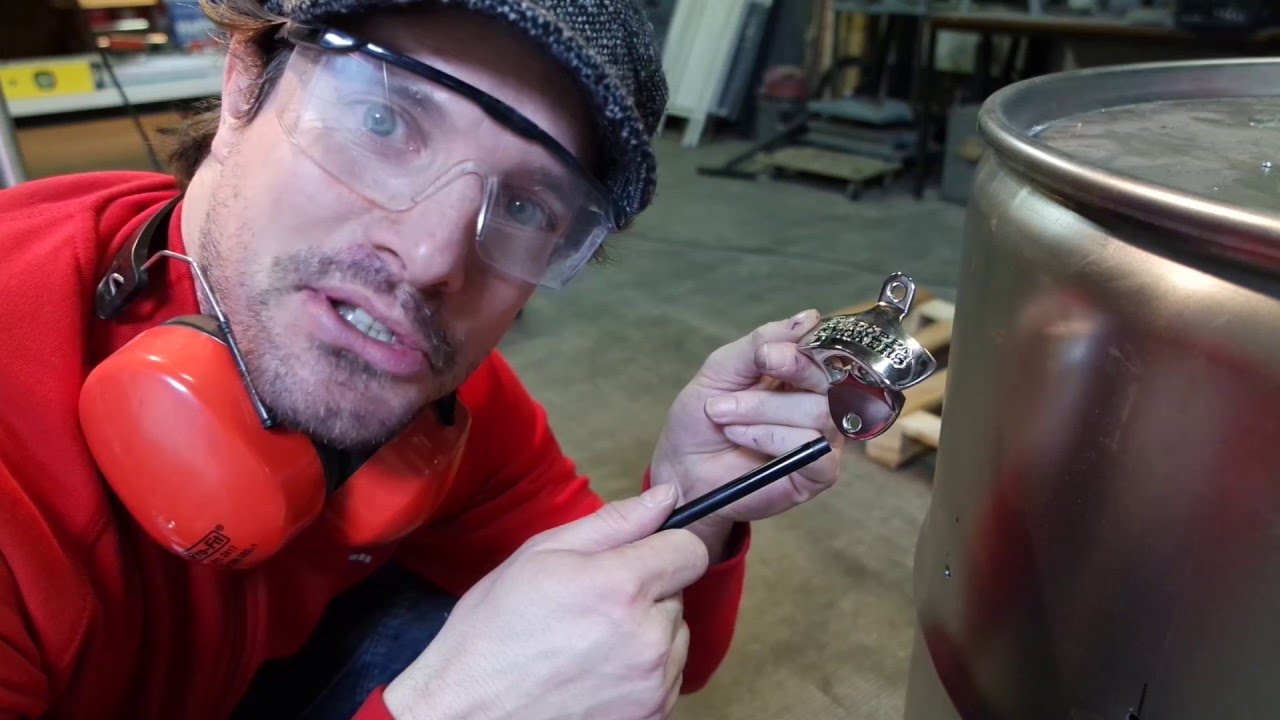
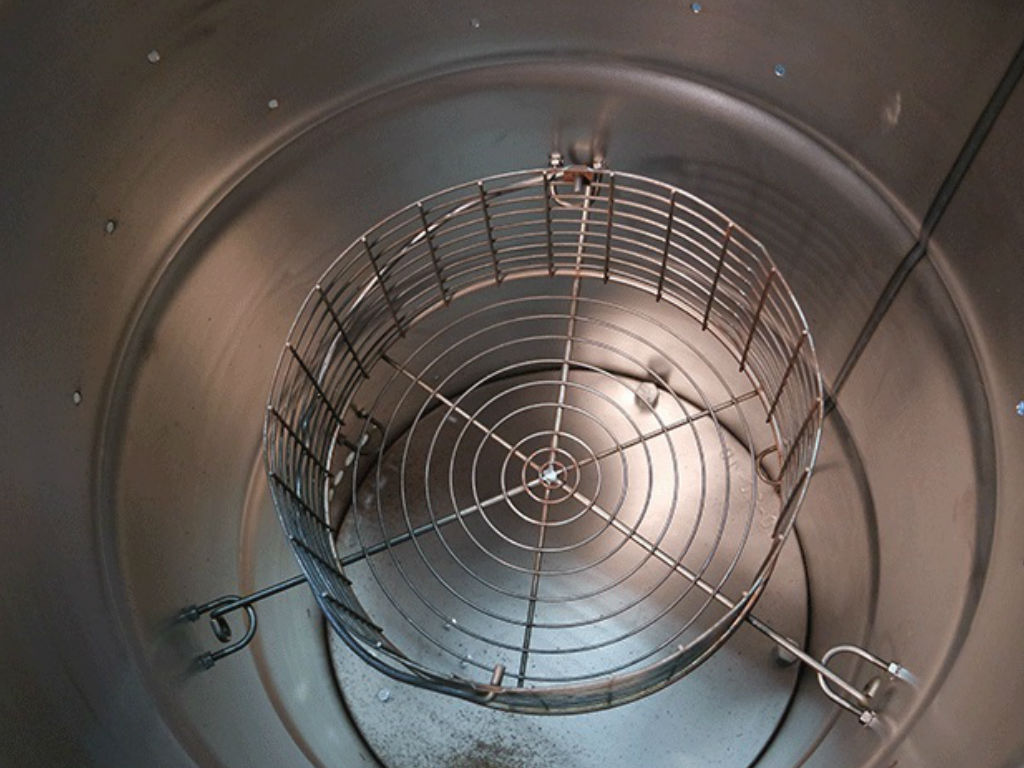
After assembling the attachment for the charcoal nest, you can test if it hangs well in the drum. You can see the two ways it can be used - as a smoker and as a grill: If the charcoal nest is hung on the lower level, it becomes a smoker. If you hang the charcoal nest on the upper level, the burning coals are under the grill cooking grate - the Smoker can also be used as a traditional grill.
Step 20 - 22: Assembling handles & tray - ready to grill!
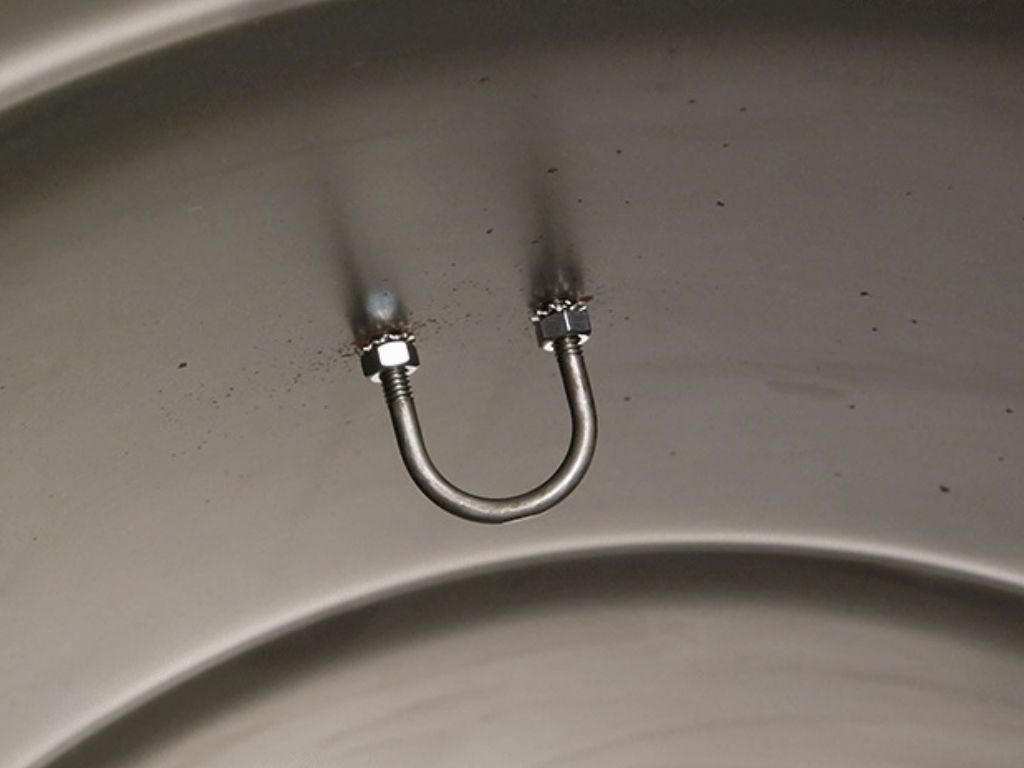
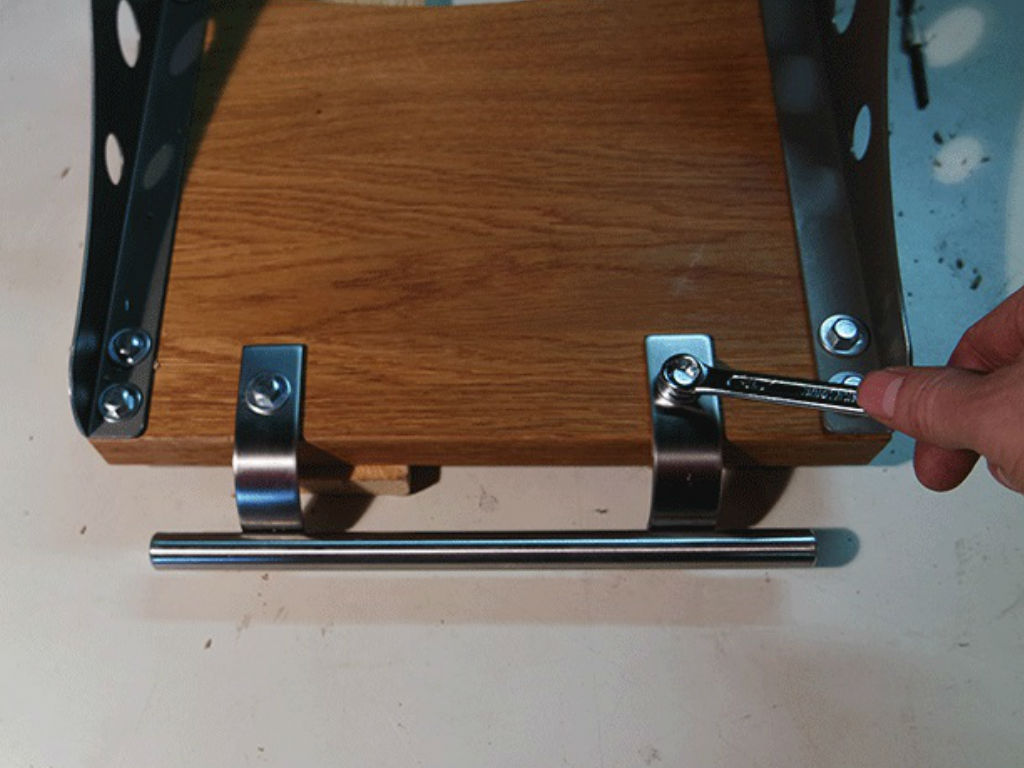
We still have to fasten the handles. Metal handles are screwed on to each of the two wooden plates giving us two beautiful grips. Finally these are assembled on the Smoker, one on each side of the drum and one on the lid.
The tray is assembled on the drum using the metal brackets that can be got at any DIY warehouse. To align to the curve of the drum, this bracket is suitably adjusted with a club hammer on a small anvil. To help us also use the tray as a handle to hold the Smoker and move it, we fix an old stainless steel refrigerator handle to the front of the worktop.
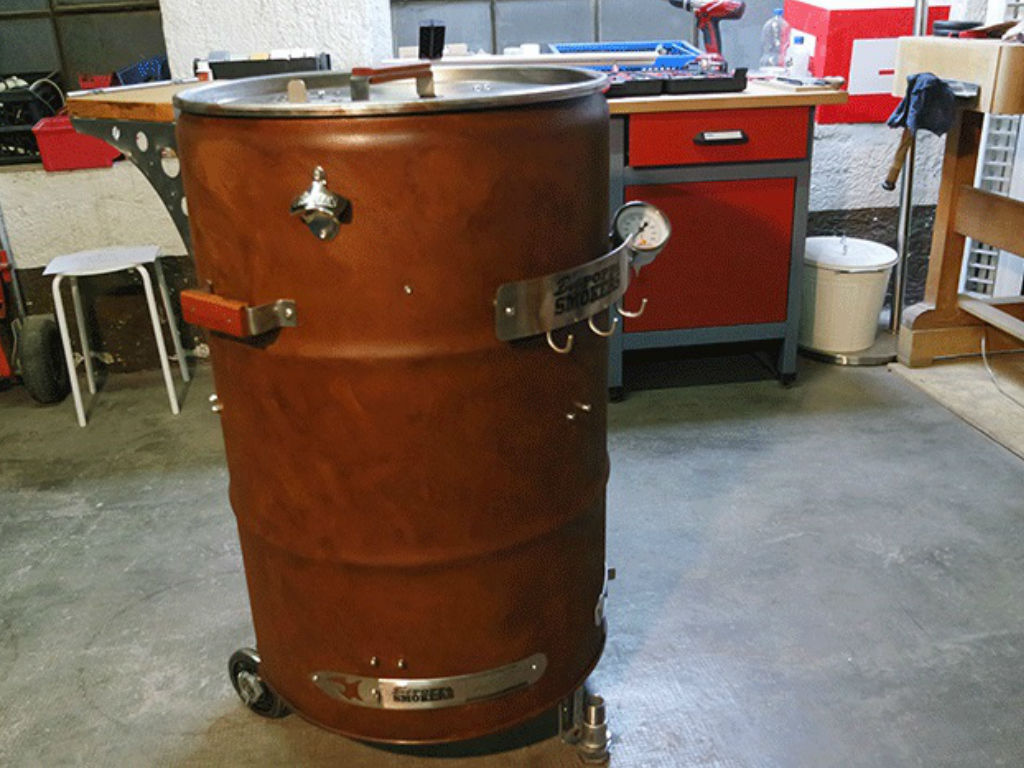
The Einhell Smoker is now ready and waiting to be used. The manufacturer of the kit recommends that when first firing it, to rub the inside of the drum with vegetable stock; to get a nice spicy flavour. Enjoy the meal and the football match!

Our product recommendations for your DIY project

Published on 01.03.2018
Whether it's drilling, hammering, or sanding, our professionals in the workshop and DIY field will show you how it's done. Tobias Guttenberg is a freelance blogger and a passionate craftsman. With his tips and tricks about Einhell tools, you will not only become an absolute DIY expert but also learn how to safely use each device.