


In this article you will learn all about:
Column drill, pillar drill or bench drill?
These stationary drills can be found under different names. Whether a column drill, bench drill, stand drill or pillar drill – model names often differ from manufacturer to manufacturer. A central, important distinguishing feature for you is probably the size of the device, because you can use it to assess whether the machine is intended for industrial or domestic use. The price of the large floor-standing drills is also much higher compared to conventional DIY bench drills. In industrial applications, it is mainly large, heavy column drills with high performance that are used for precise drilling of large diameters.
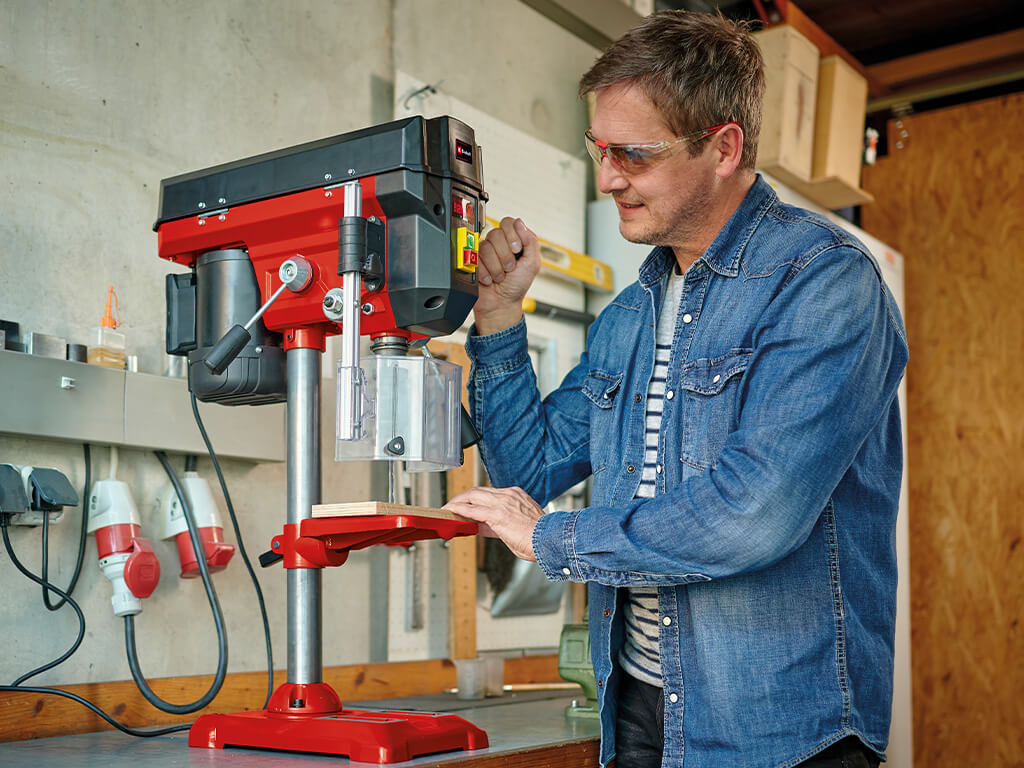
Bench drills for DIYers are the smaller version that can be found on the workbench in local workshops. Incidentally, the "bench" in the name of bench does not come from the fact that the device is placed on a bench, but from the work table or bench that is attached to the column. In Einhell column bench drills, the working table is infinitely variable and can be adjusted in height without the need for additional tools. In addition, it can be tilted and rotated for drilling in different positions.
Characteristic of the name "column drill" is the central column, which connects the motor head, working table and stand.
How the bench drill works
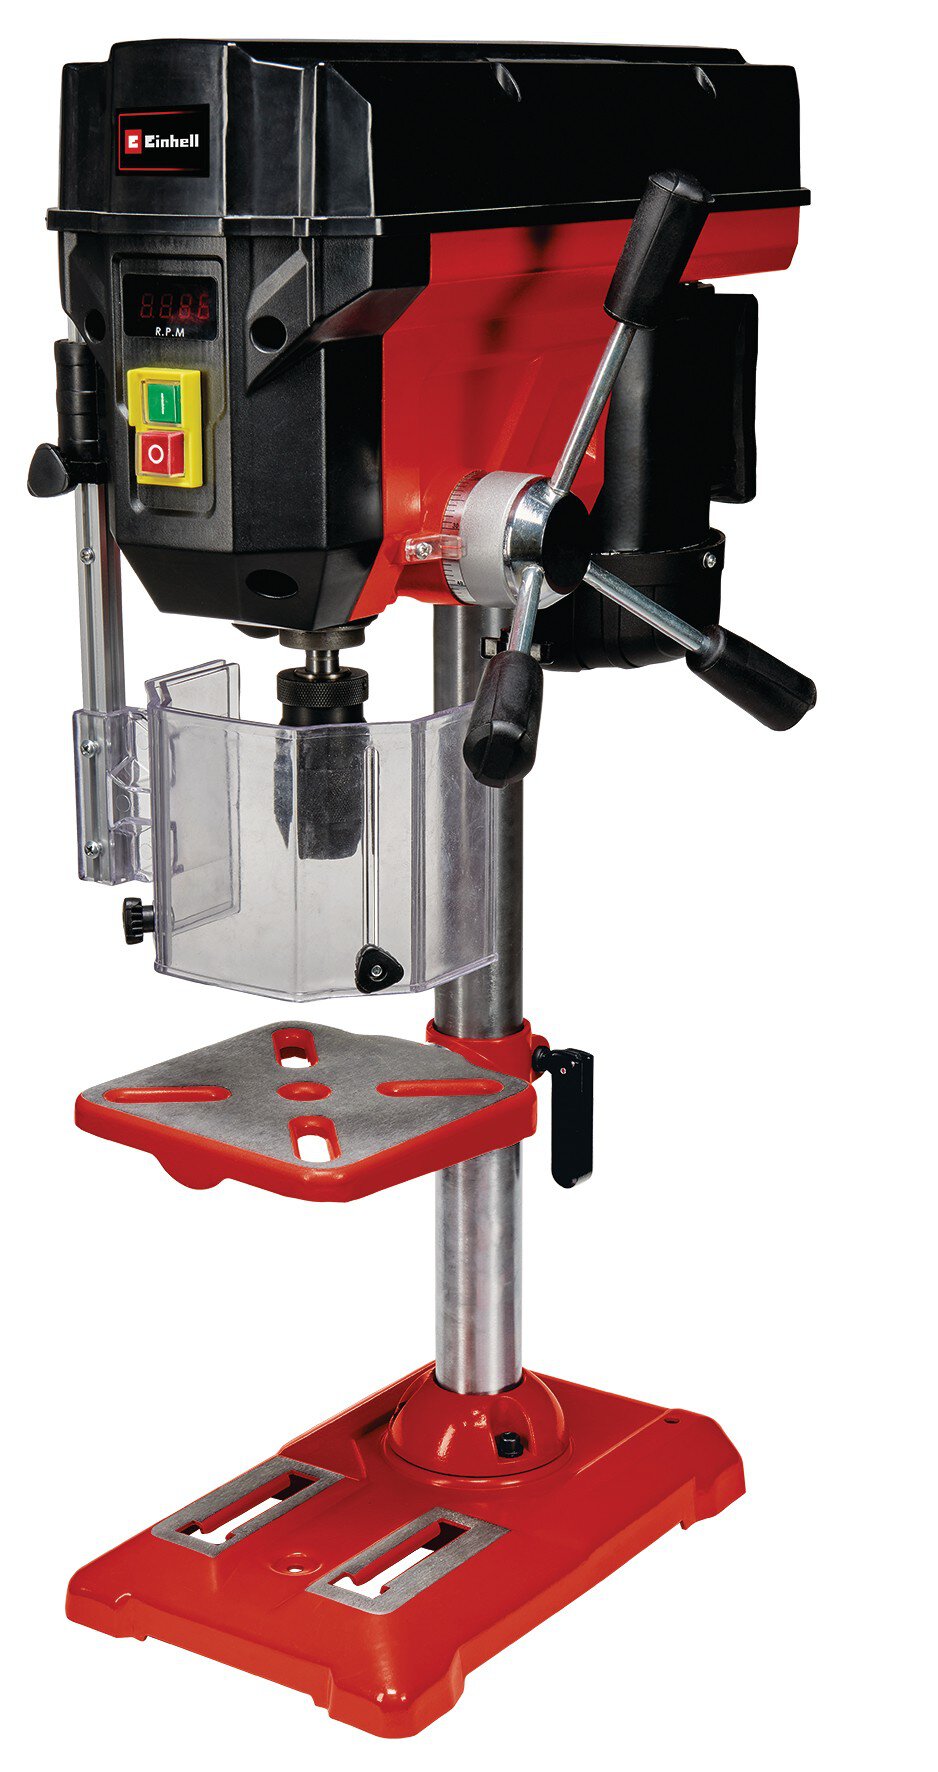
The classic bench drill basically consists of:
- a sturdy machine base
- a stable column or pillar
- a drilling table
- a drilling spindle
- a feed lever
- a machine head with a motor and V-belt drive

The bench drill is a stationary device. Above all, the working table and the drilling spindle can be moved on it.
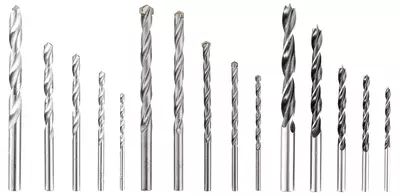
Use of different drills
Depending on the model, the drilling spindle of the Einhell bench drills is equipped with a toothed chuck or quick-release chuck. All common drills with diameters between 1 and 16 mm (depending on the model) can be clamped in it. If you want to use tools with a conical shank, for example Morse cone drills, or MK2 drills, you can disassemble the drilling spindle with the help of the supplied expeller wedge and replace it with the desired tool with a conical shank. A detailed explanation can be found in the operating instructions.
Setting the speed
The drilling spindle is driven by a powerful motor. Depending on the model, you can adjust the speed of Einhell bench drills continuously by means of a lever attached to the side of the machine or gradually by opening the V-belt cover and converting the belt according to the desired speed. An overview of the respective setting is clearly visibly attached to the device. How exactly the speed control works on your device can always be read in the enclosed operating instructions. Not sure what speed to set for your drilling plans? You can also find indicative values in the manual, because the appropriate speed always depends on the drill diameter and the material to be processed.
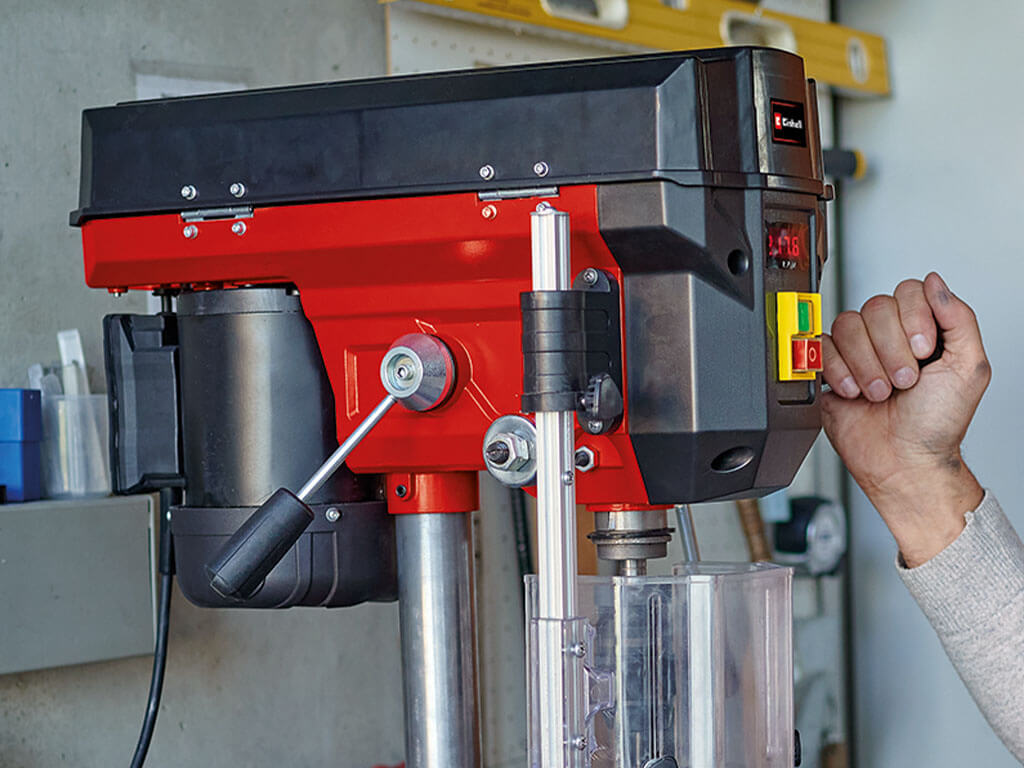
When the motor is running, the speed can be set exactly with the help of the side lever and the speed display.
Targeted drilling
With the help of the three-armed rotating handle, you can guide the rotating drill down into the workpiece you've placed and fixed on the work table. The mode of operation also differs here depending on the manufacturer. While in Einhell bench drills you only move the ball-bearing drilling spindle downwards, there are also models where you move the spindle downwards together with the motor head.
If you want to drill at a certain angle, you can tilt or rotate the work table first. In addition, you can adjust the height of the drilling table exactly. How deep you want to drill into the workpiece can also be determined with the help of the drilling depth stop.
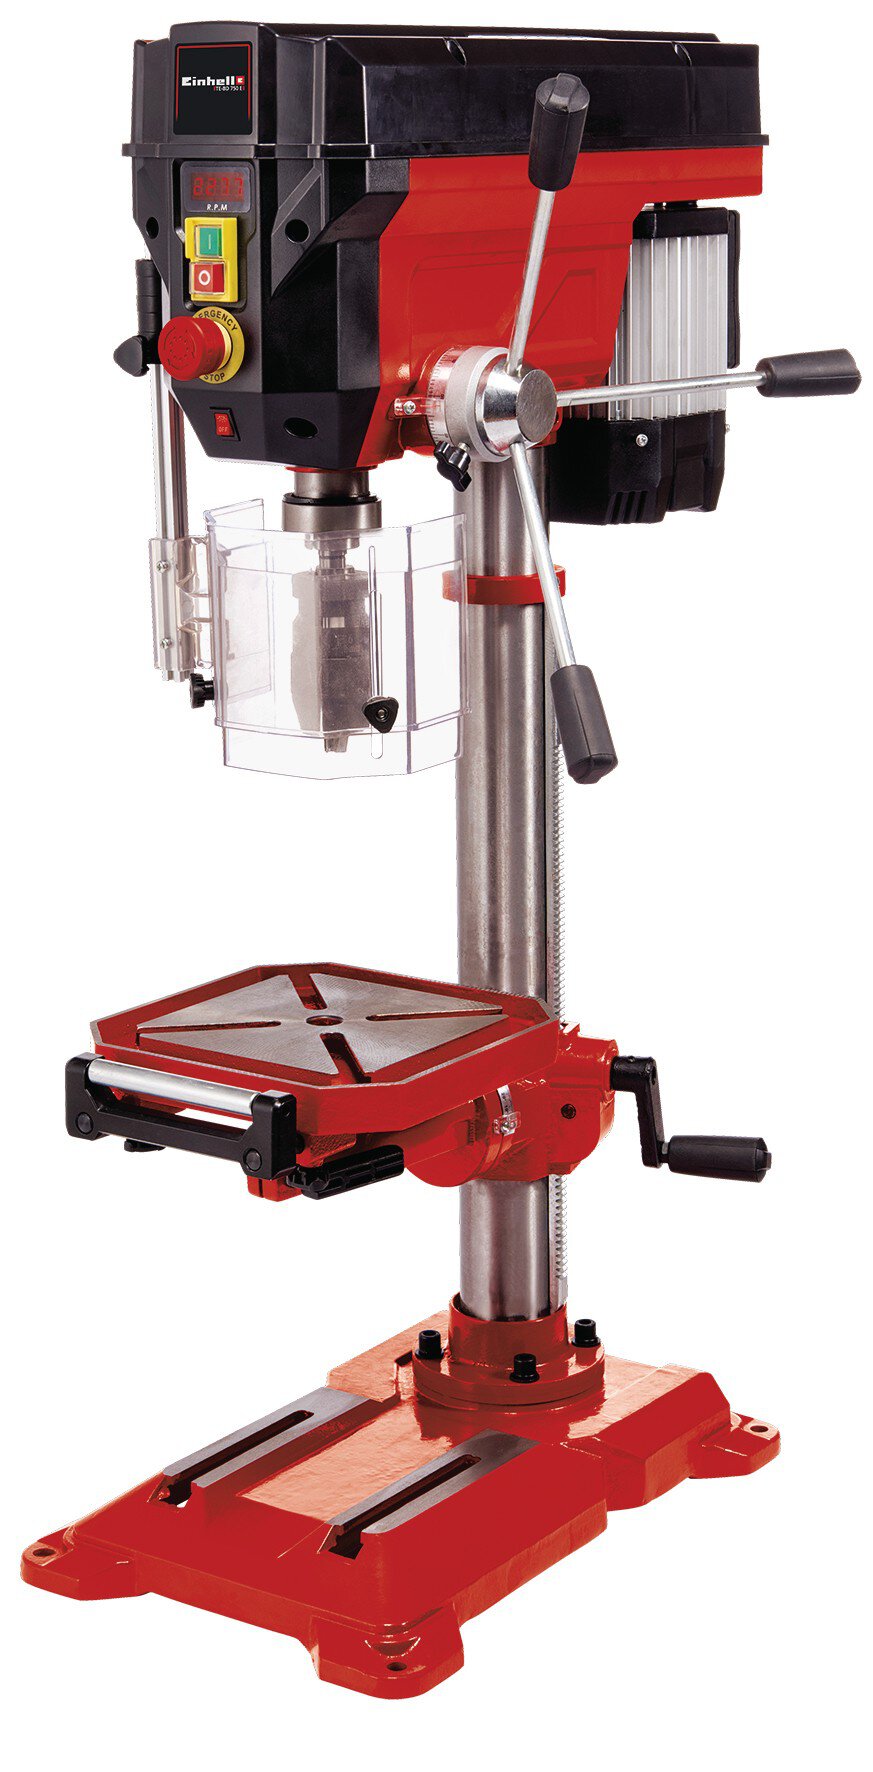
Recommendation for ambitious DIY enthusiasts: TE-BD 750 E
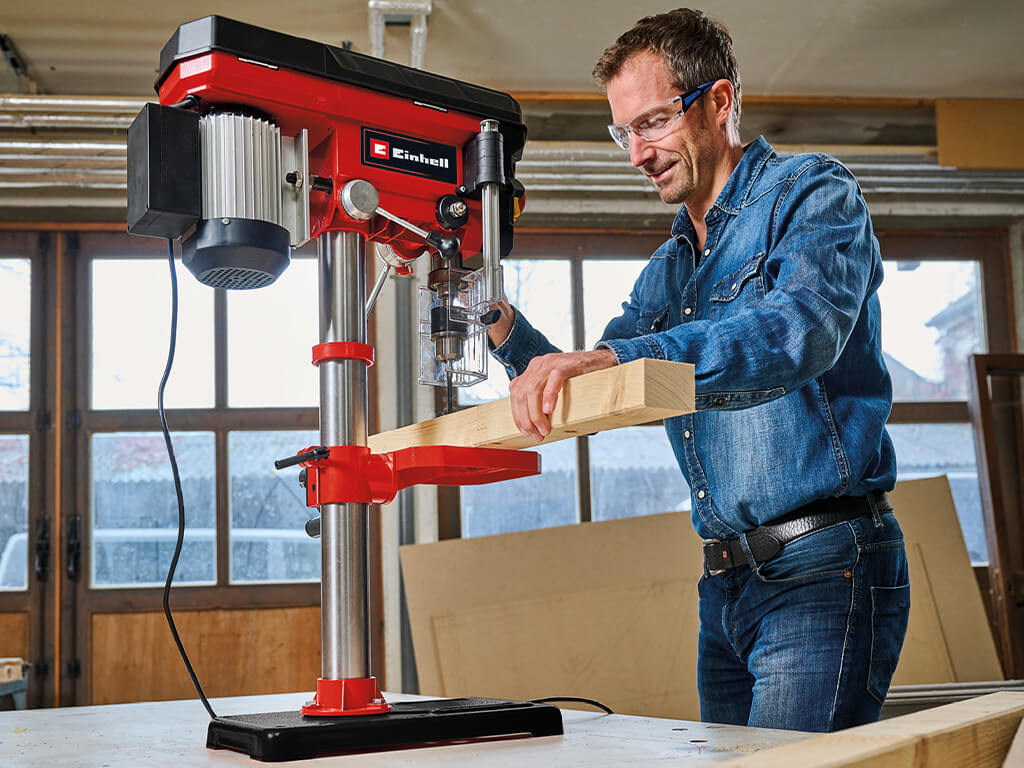
Want to get the most out of your DIY projects? Then take a closer look at the Einhell bench drill TE-BD 750 E, because it offers you many advantages over other models. In addition to a practical quick-release chuck for tool-free drill bit changes, it also impresses with a comfortable, stepless speed control and a digital speed display. The LED light ensures optimal allumination of the working area. The drilling table can be enlarged using the integrated drilling table widening to work optimally even with longer workpieces. The solid base made of cast iron ensures a secure standing. A red emergency stop switch is also located centrally under the on/off switch, allowing you to stop the machine immediately in case of an emergency.
What bench drills are used for
Pinpoint and precise drilling – this is the main task of the bench drill. Due to the exact depth adjustment, it is suitable for all tasks where detail is required. Want to build a cabinet and pre-drill dowel joints and screw holes? Once the drilling depth is set, you can make many holes directly in series.
In addition, depending on the drill used and the speed set, the bench drill press can drill into various materials, such as:
- Wood
- Metal
- Plastic

Depending on the drill used and the set speed, the bench drill can drill into various materials.
Working safely – What to pay attention to
As with all tooling and machine work, there are a few things you should look out for when using the stationary drill to avoid getting hurt.
- Chip guard: Einhell bench drills are equipped with a folding, height-adjustable chip guard. This is intended to prevent injuries caused by flying chips. For your safety, the chip guard has a microswitch that ensures that the drill can only be put into operation when the chip guard is closed. You only have to fold the guard to the side when changing the drill bit.
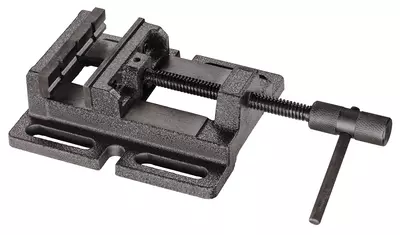
- Safe fixing of the workpiece: In order to drill not only safely, but also precisely, you should first always fix the workpiece firmly on the work table with a suitable clamping system, e.g. a machine vice, screw clamps or clamping claws.
- Checking the drill: Before switching on the stationary drill, it is always advisable to check the seat of the drill in the drill chuck again and, if necessary, to fix it again.
- Proper clothing: When handling rotating tools such as drills, you should avoid wearing jewellery, because chains and bracelets could get caught on the tool. It is best to wear tight-fitting clothing and protective goggles. If you are working with wood, you should also wear a protective mask so that you do not inhale dangerous wood dust. If you are sensitive to loud noises, hearing protection is recommended.
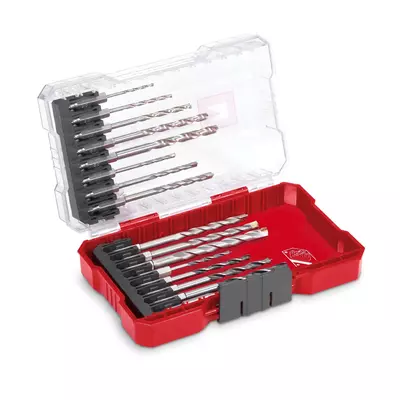
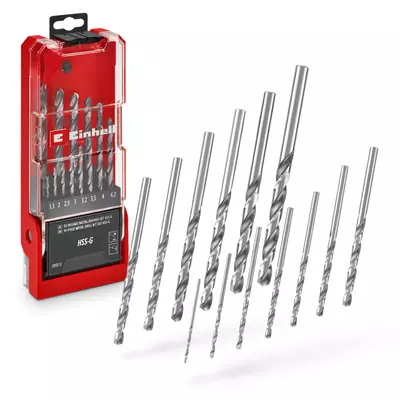
Suitable Accessories for Bench Drills

Published on 22.02.2023
Marina Liefke is an Online Editor at Einhell, where she deals with virtually all texts related to tools, garden equipment, and accessories. She acquires the necessary know-how through practical product training and close collaboration with the Einhell product managers. Her favorite tool is the PRESSITO cordless compressor because when the air is running out, it pumps it right back in.