


Staircase renovation
DO IT YOURSELF
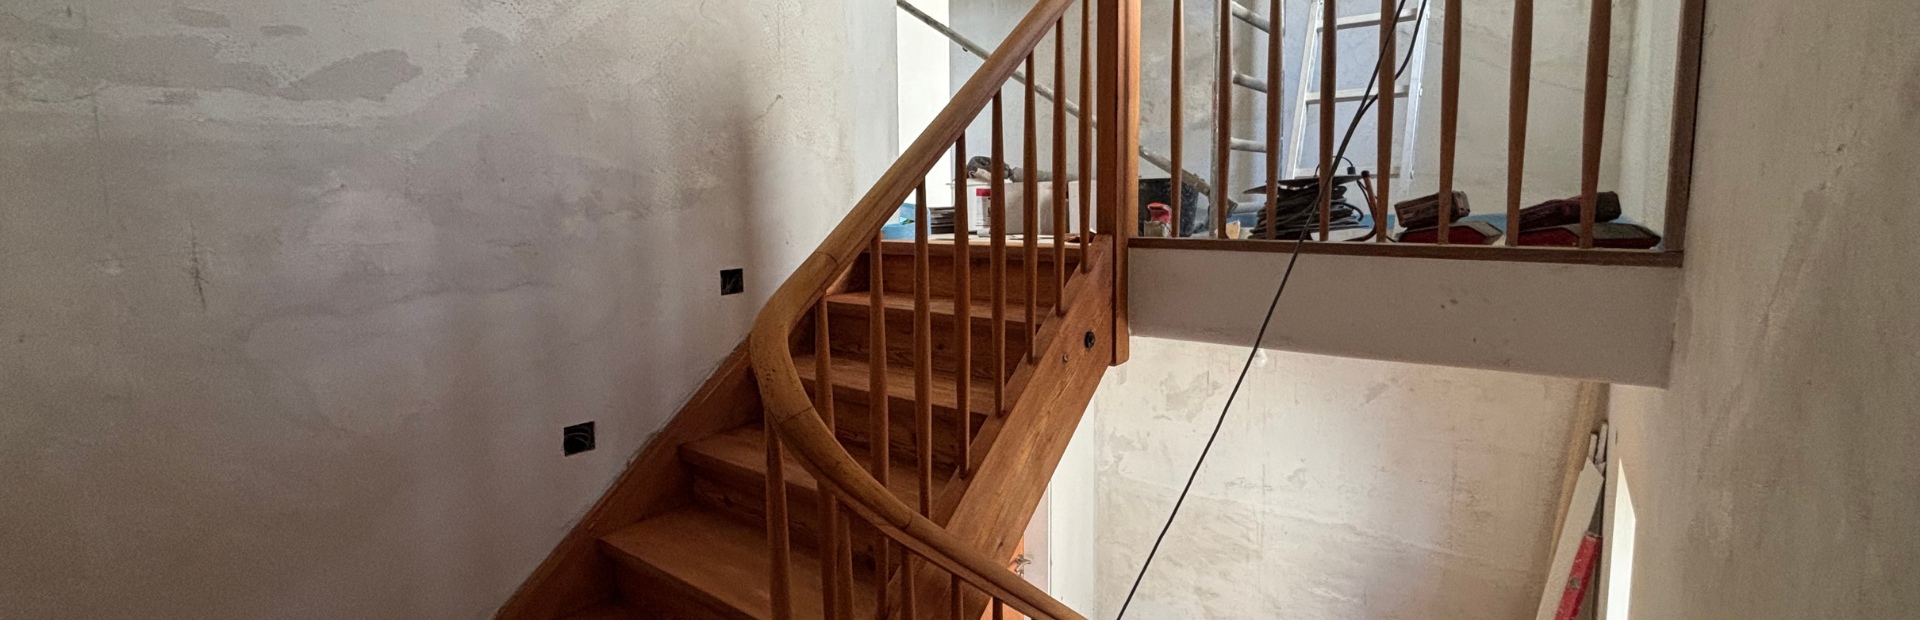
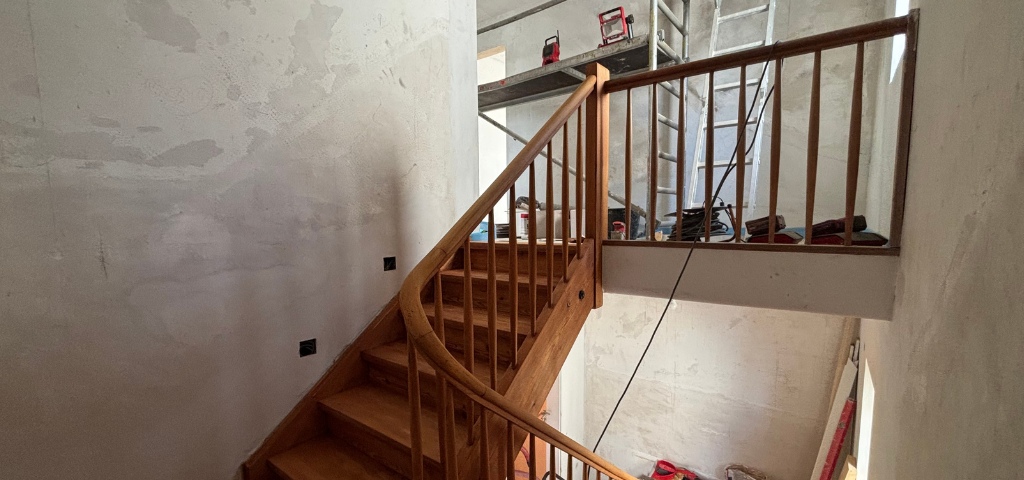
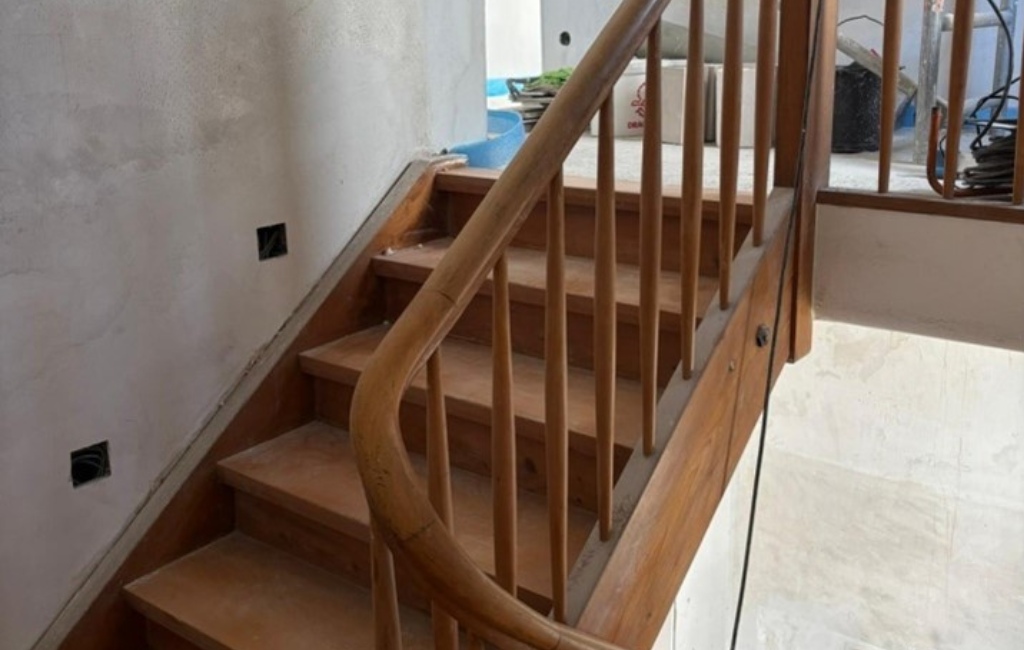
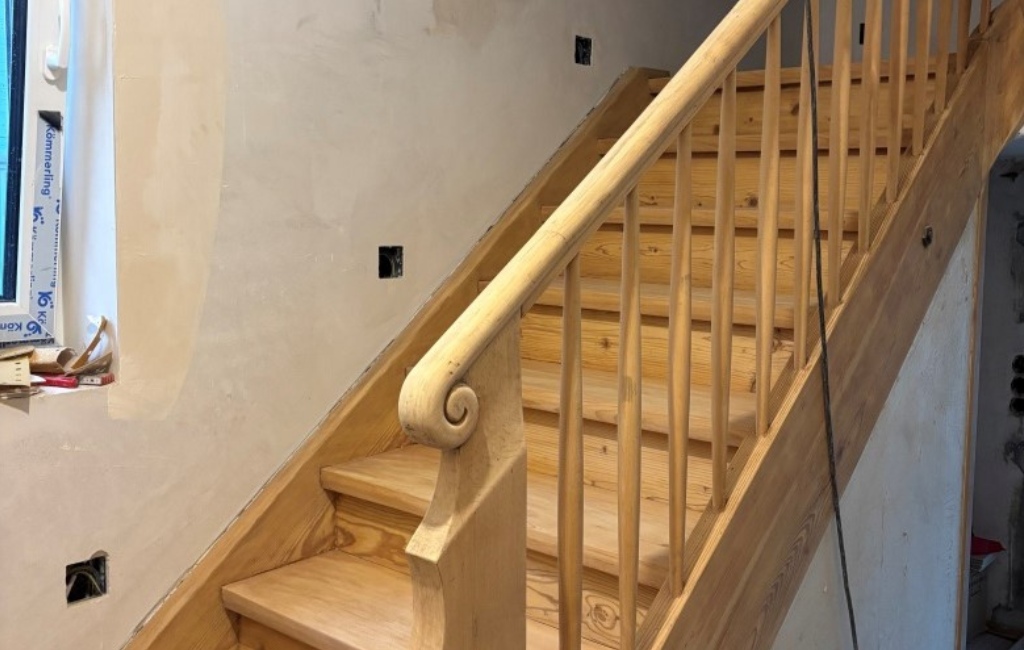
Our staircase is as old as our house and dates back to 1950. And although it has seen better days, we were determined to keep it. Instead of replacing it, we decided to breathe new life into it. With a few tools from the Einhell cordless system, a little patience and a lot of attention to detail, it turned into a really nice DIY project.
It was a lot of work, but the result is impressive – and best of all, we worked on every level ourselves and are now really proud of it.
We will show you how you can easily renovate your wooden staircase.
Tools and Materials
Material
- Sanding paper, grit P40–P120
- Sanding blocks
- Sanding sponge
- Old T-shirts/microfibre cloth for oiling
- Hard wax oil
Instructions: Staircase makeover
Step 1: Preparations
The old staircase had a layer of varnish on it – typical for staircases from that period. We wanted to remove this completely in order to expose the original wood. This is the only way to bring out the true structure and colour of the wood. Before we could start the actual refurbishment, the old surface had to be removed. We first thoroughly cleaned and dusted the entire staircase so that no dust or loose dirt would interfere with the sanding results.
Step 2: Remove old paint – the basis for everything
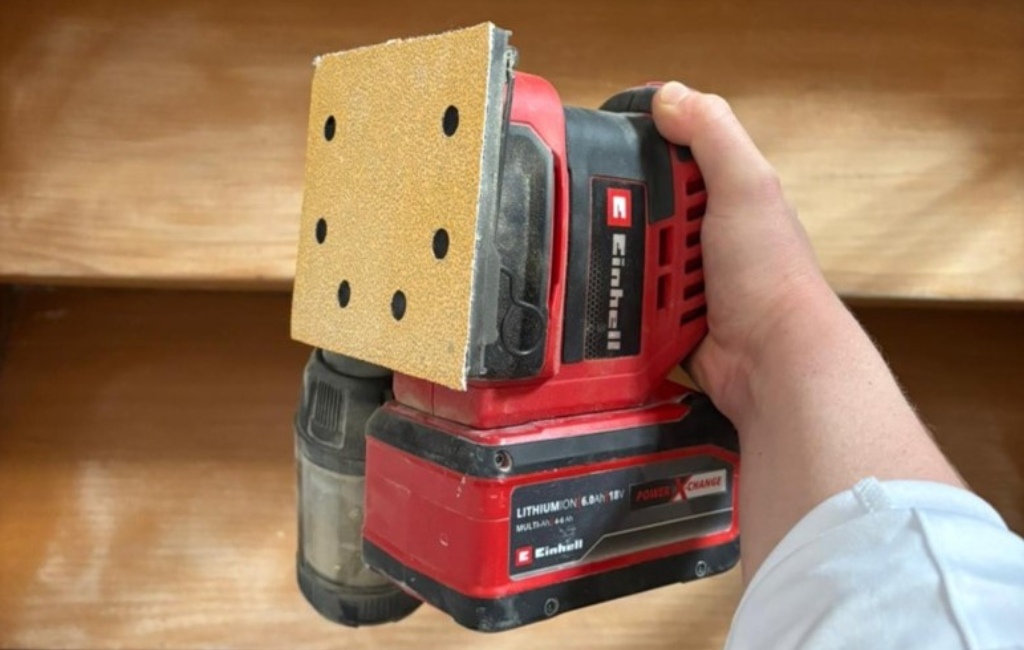
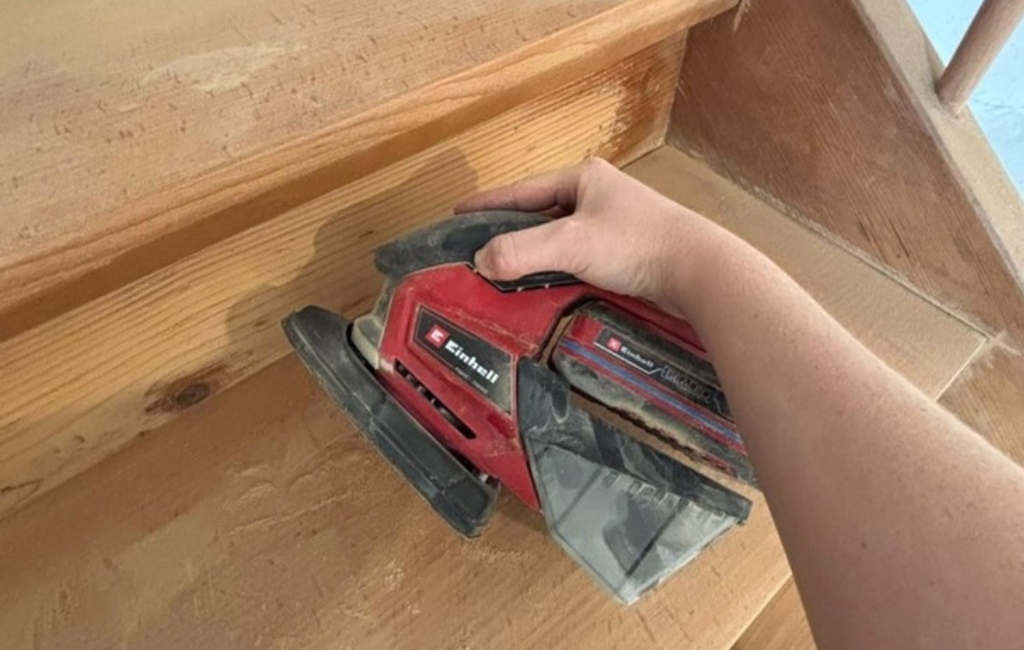
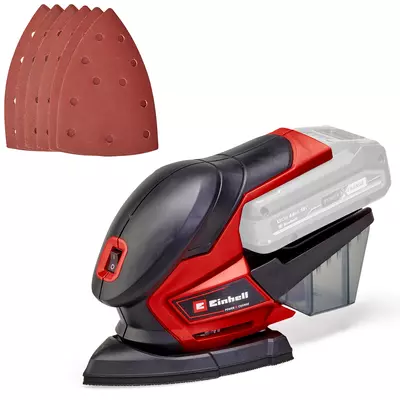
Then it was time to get down to business – sanding! We used the Einhell palm sander with coarse grit for the steps.
❱❱ Tip: Start with coarse grit (P40). This will reliably remove old layers of paint.
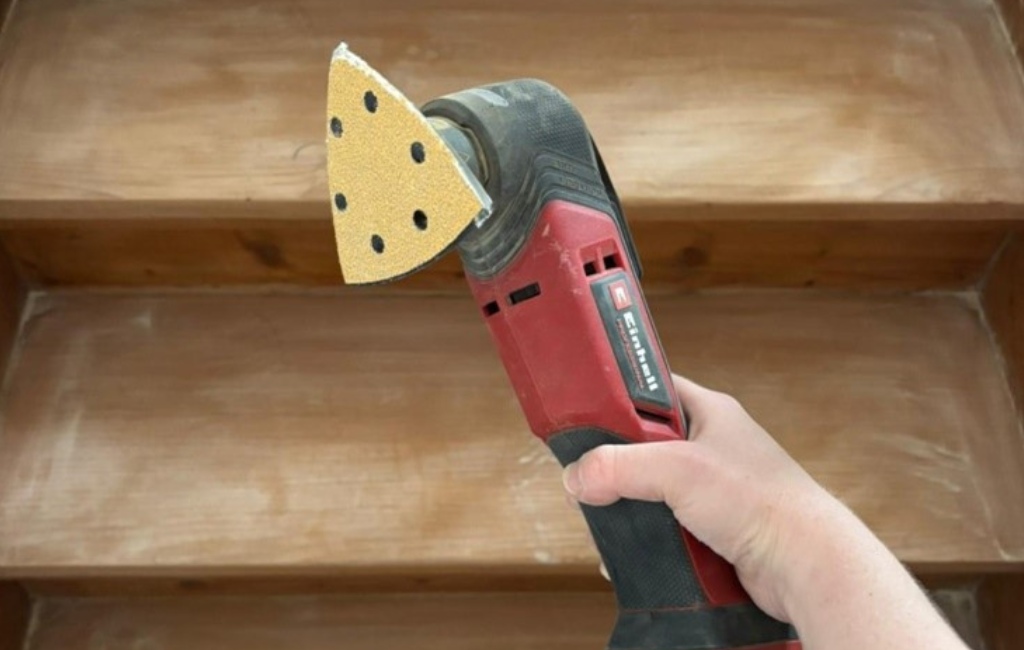
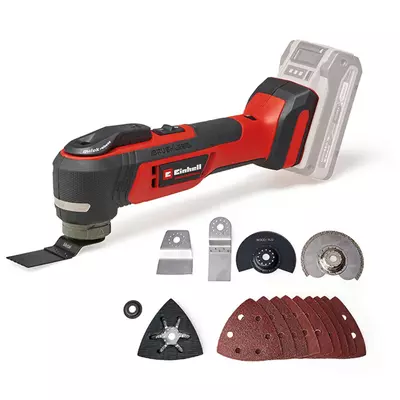
For smaller or hard-to-reach areas, such as the spaces between the levels or the side stringers, we used the Einhell multi-tool with the triangular sanding attachment. This allows you to reach all corners and edges easily. Here, too, we worked with P40 to reliably remove the coating.
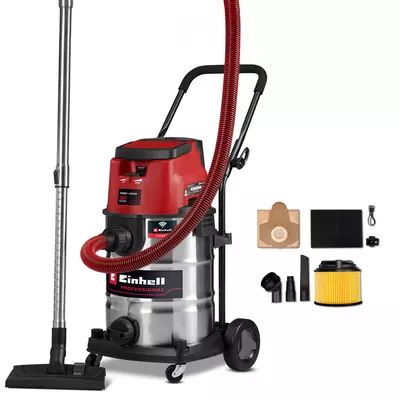
We then simply used the sanding paper by hand on the banisters and handrail – sometimes there's no other way. It's important to vacuum regularly so that the sanding paper doesn't stick and you get an even result.
- ❱❱ Tip: You'll need more sanding paper than you think at first. So be sure to buy a little more than you planned!
Finally, we went over all surfaces again with a finer grain of P120. This made the wood pleasantly smooth but not too slippery – perfect for everyday use.
Be careful not to sand the stairs too finely! A slightly rougher surface ensures that you will have a secure footing later on, even when wearing socks or slippers.
Step 3: Oil & protection – the right surface treatment
After sanding came the most exciting part: oiling. We wanted to preserve the natural structure and colour of the wood, so we opted for hard wax oil. It provides better protection than pure oil, but doesn't seal as tightly as varnish – so it was just the right compromise for us.
Before we got started, we cleaned the stairs thoroughly – vacuuming them once and wiping them down several times with a damp cloth. We then tested the colour in an inconspicuous spot. To do this, simply apply a little hard wax oil, allow it to soak in and check whether you like the colour. Once we were satisfied with the test, we applied the oil to the entire staircase. All you need is a microfibre cloth, a cotton cloth or an old T-shirt.
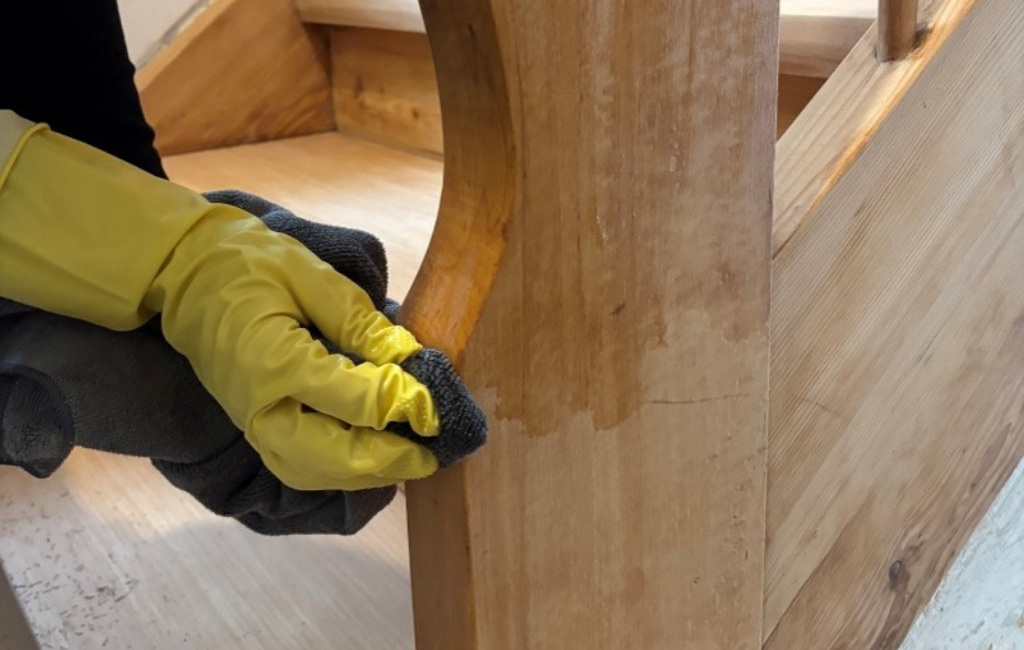
- ❱❱ Tip: Dip the cloth lightly into the oil and apply evenly in the direction of the grain – don't forget the railings and bars. Then leave it to soak in well. And don't forget your gloves!
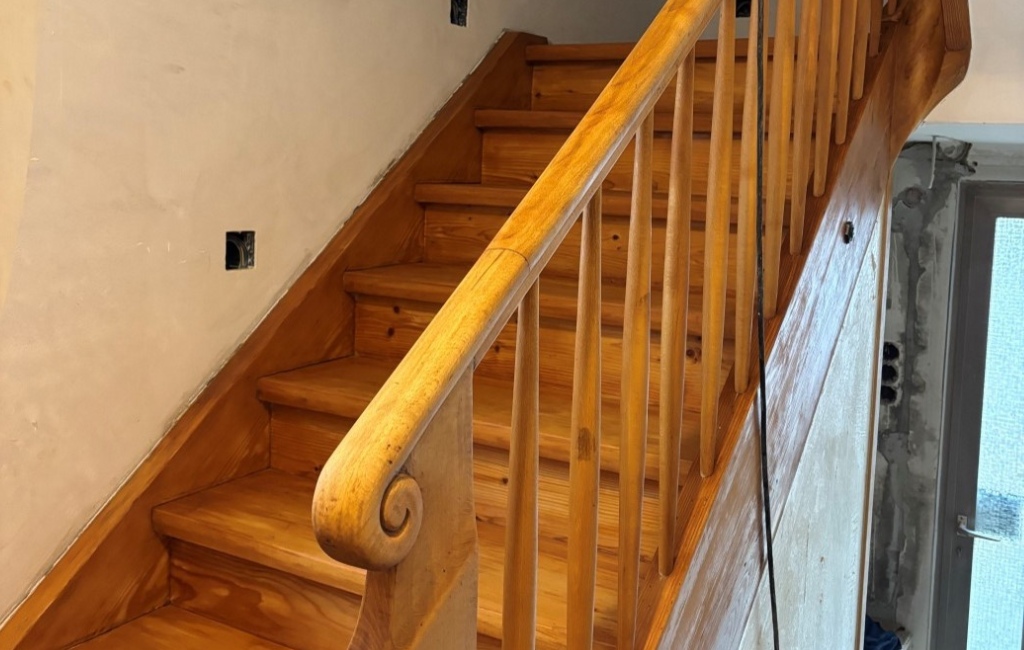
After the first application, the wood darkened more than we had expected. Therefore, after drying (as indicated on the packaging of the hard wax oil – in our case, this took 24 hours), we lightly sanded it again with fine sanding paper. This lightened the tone slightly and brought out the grain beautifully.
Finished: Old staircase, new look – no problem with Einhell!
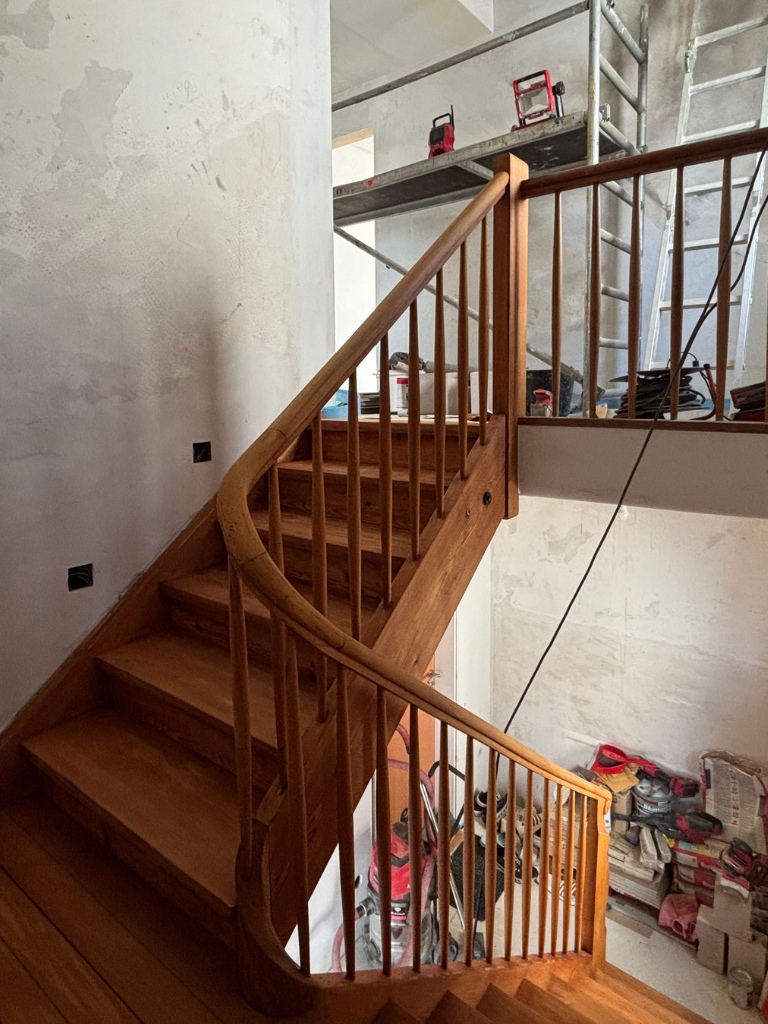
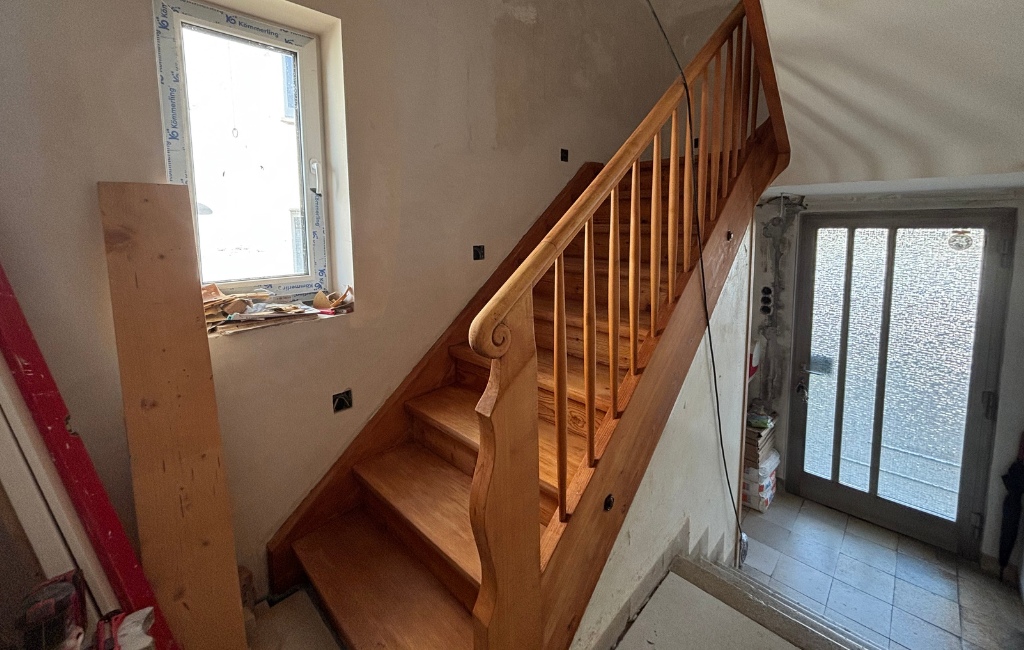
Our old staircase is now a real gem again – without having to replace it. The project showed us once again how much fun it is to breathe new life into old things. Our 1950s staircase now shines again in a warm wood tone – and thanks to Einhell's tools, the work went really well.
It can be that simple to breathe new life into old things – and you can have fun doing it too!
Suitable Tools for the Project
Here you'll find Einhell tools and accessories that are perfect for bringing this DIY project to life.

In this article you will learn all about:

Published on 20.02.2026
We are Lea and Nick, and we take you along on @our.house.journey_ as we renovate and remodel our 1950s detached house. For almost two years, we have been sharing our DIY projects, insights into the house renovation and lots of tips on renovating, designing and doing it yourself on Instagram and TikTok. With passion, creativity and a dash of humour, we show how our dream home is coming together piece by piece – feel free to follow us on this journey!