


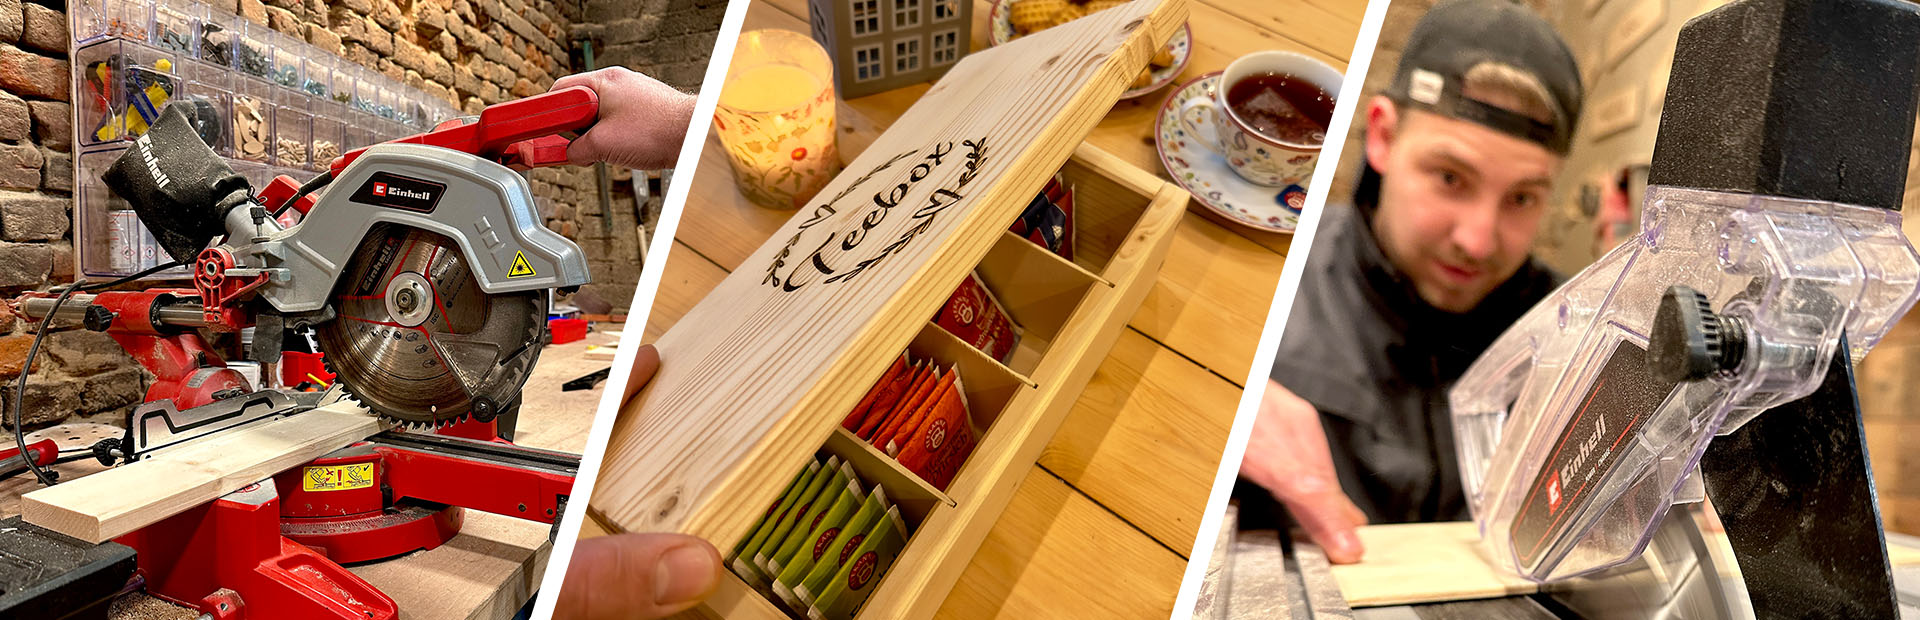
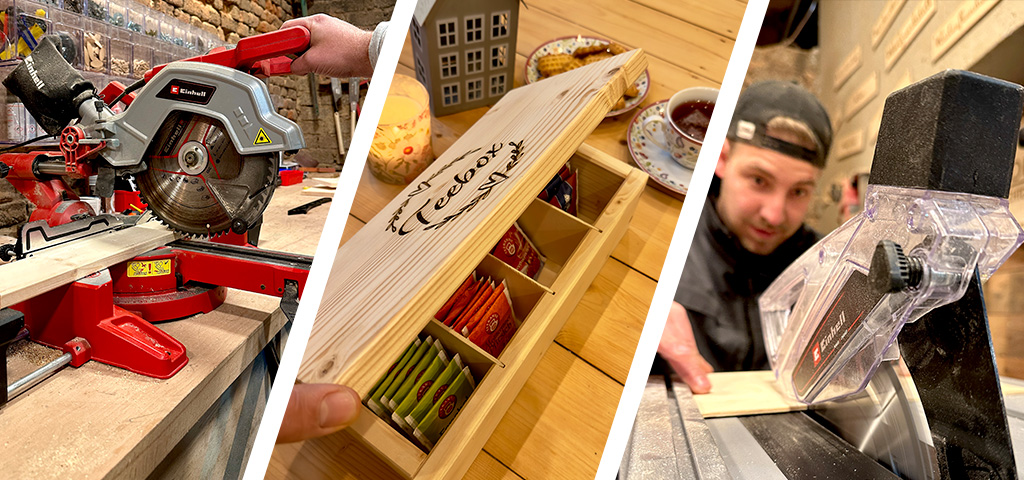
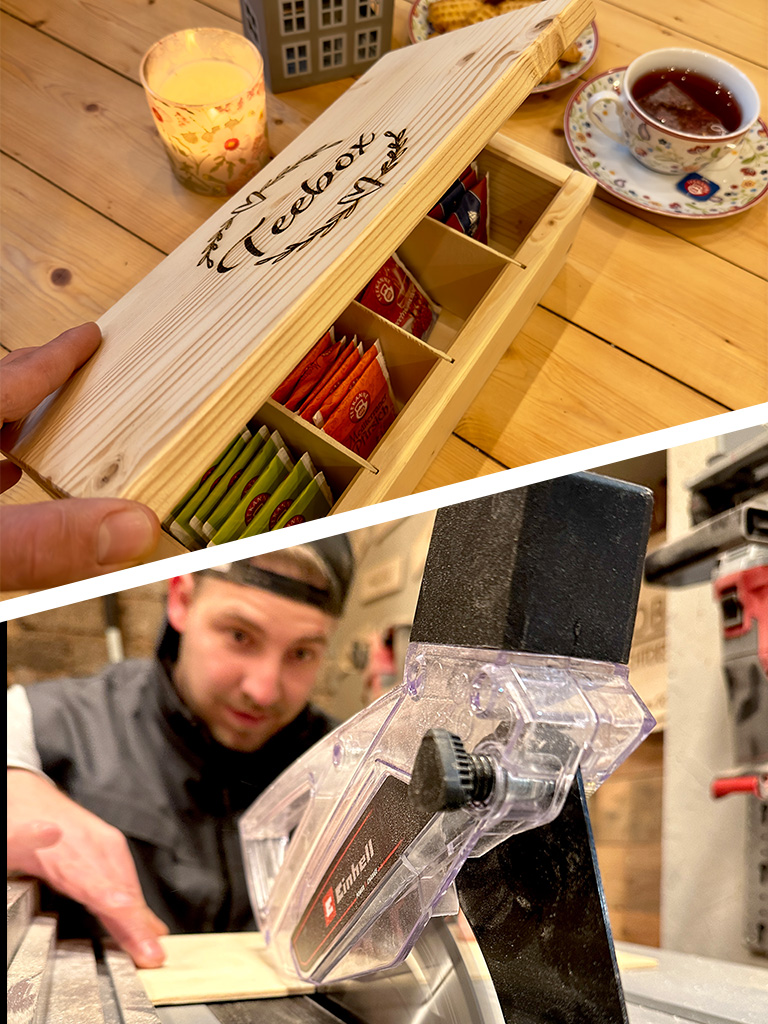
Wooden tea box
DO IT YOURSELF
For all the tea lovers out there, we have a practical DIY project idea: a wooden tea box for all your favourite varieties. Of course, you can also use the wooden box with compartments for other purposes, for example as a jewellery box or an organiser for screws and nails.
DIY expert Tobi shows you step by step how to recreate this beautiful wooden box.
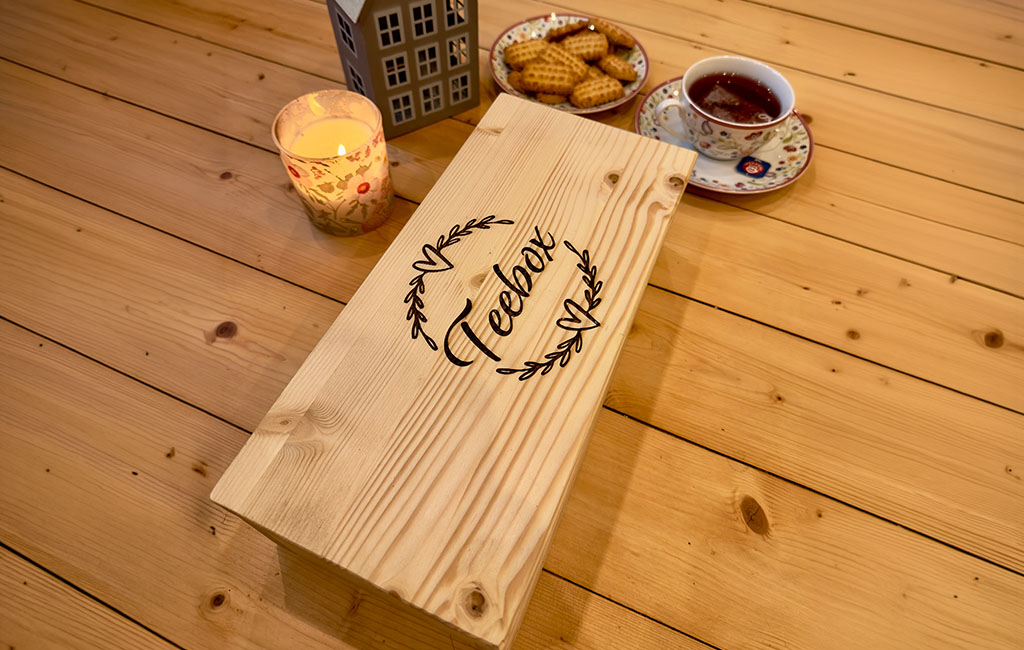
Perfect for tea lovers: In this post, we provide you with instructions for a handmade wooden tea box.
Tools and material
Material
- 2× wooden boards (800 mm × 300 mm × 20 mm)
- 2× poplar plywood panels (400 mm × 250 mm × 3 mm)
- 2× hinges
- Wood screws
- Wood glue
- Dowel rod
Instructions: Building the Tea Box
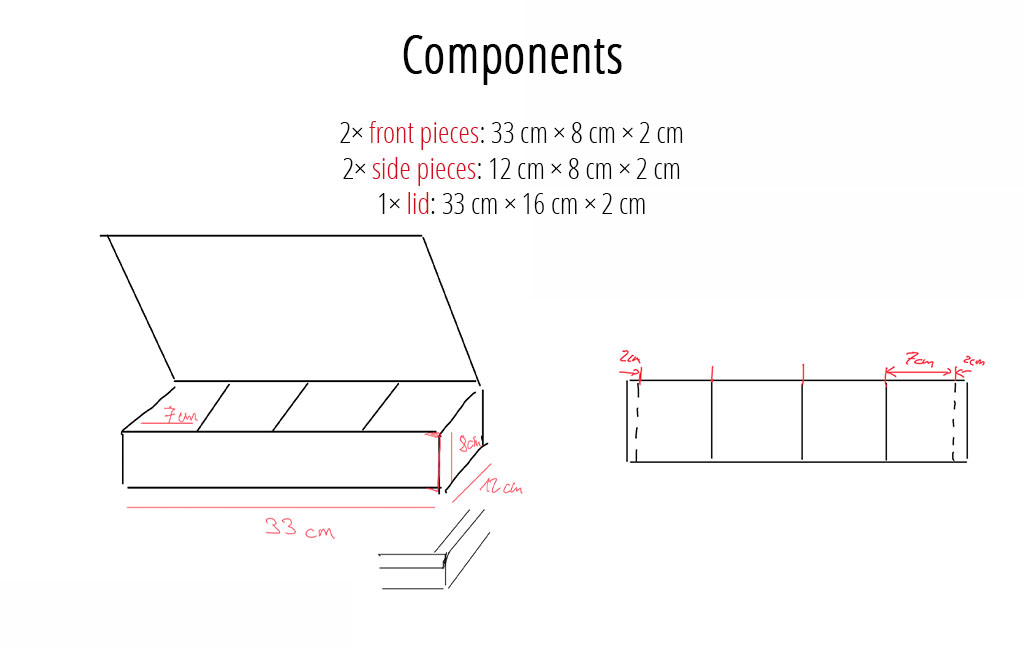
Before I started building the tea box, I made a sketch to plan how large the box should be:
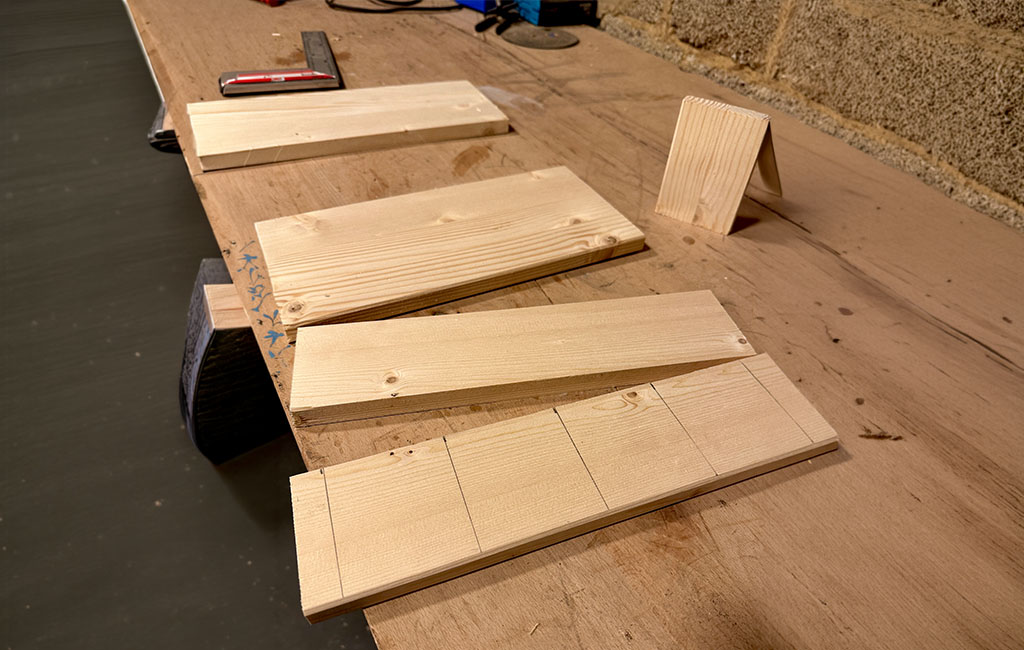
Step 1: Cut the box pieces
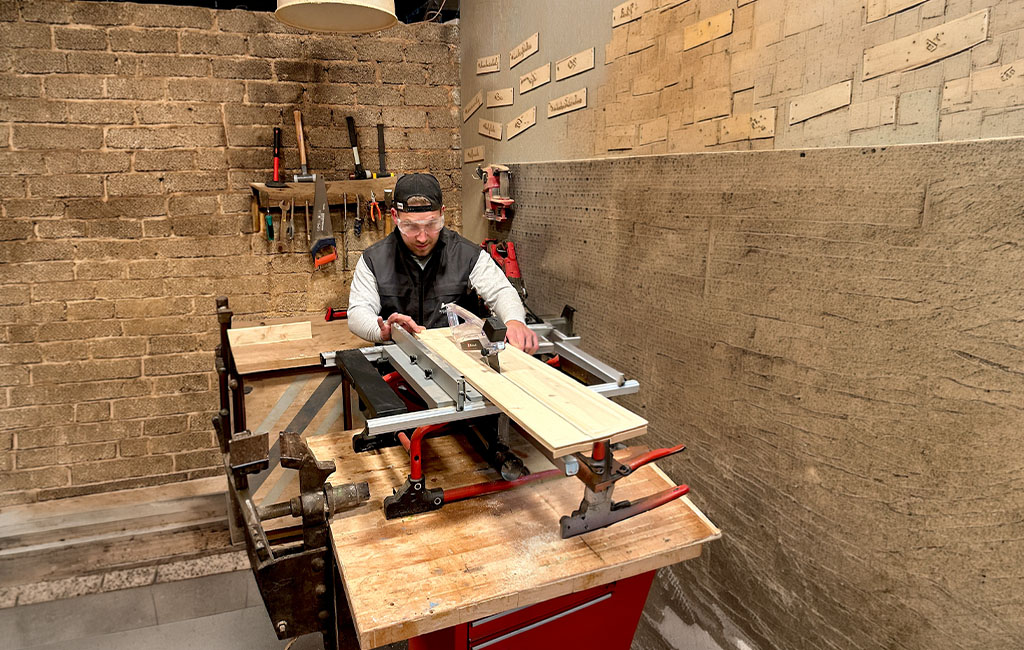
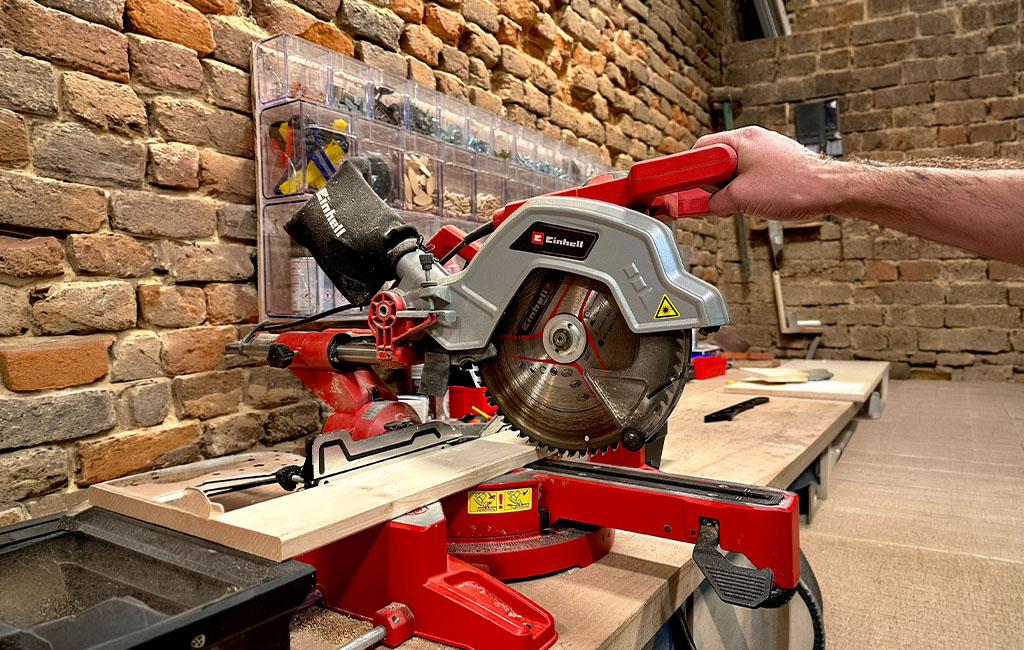
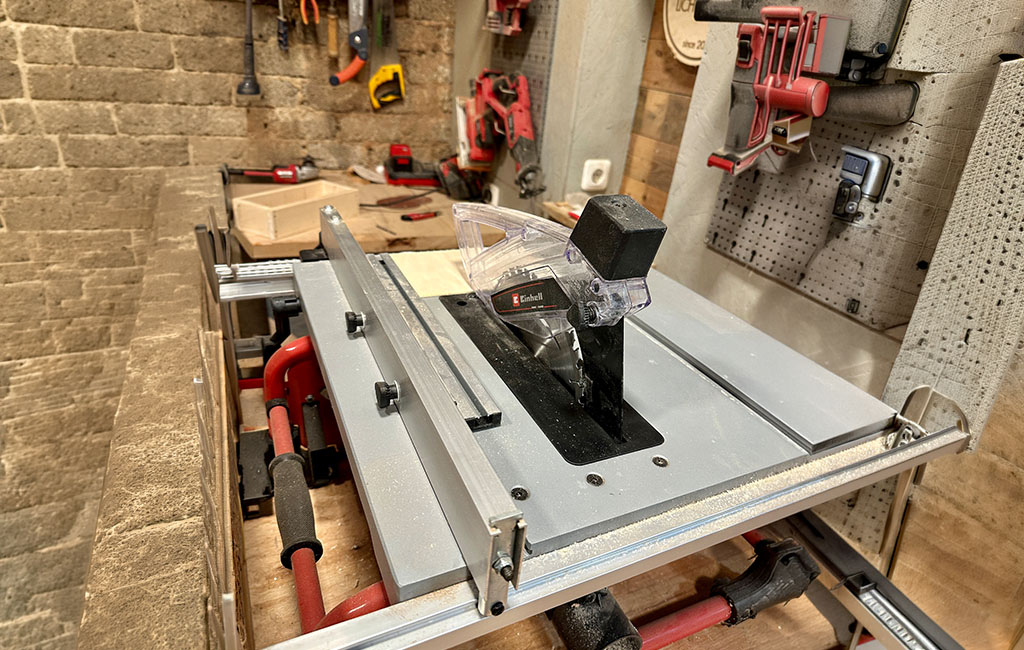
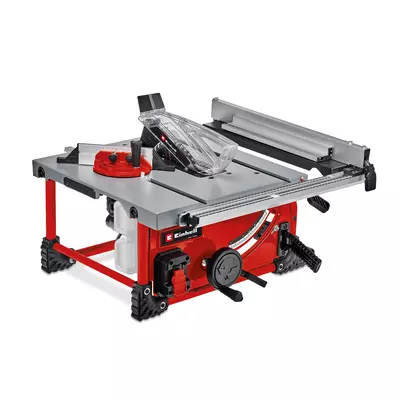
First, take your two wooden boards and cut them to size using the table saw and the miter saw.
Pay attention to the following dimensions: cut two pieces to 33 cm × 8 cm for the front and back, and two pieces to 12 cm × 8 cm for the sides. Cut the final piece to 33 cm × 16 cm for the lid.
For the bottom, use your 3 mm poplar plywood and cut one piece to 33 cm × 16 cm.
Step 2: Dividers for the interior
The tea box will have an internal divider with separate compartments. For these dividers, you will also use the poplar plywood. Each compartment should be 7 cm wide.
❗Attention! When cutting the slots at the edges, make sure to account for the wood thickness of 20 mm and include it in your measurements.
To secure the dividers later, cut three 8 mm deep slots into both the front and back pieces. You can make these cuts with the miter saw by setting the depth stop to 8 mm.
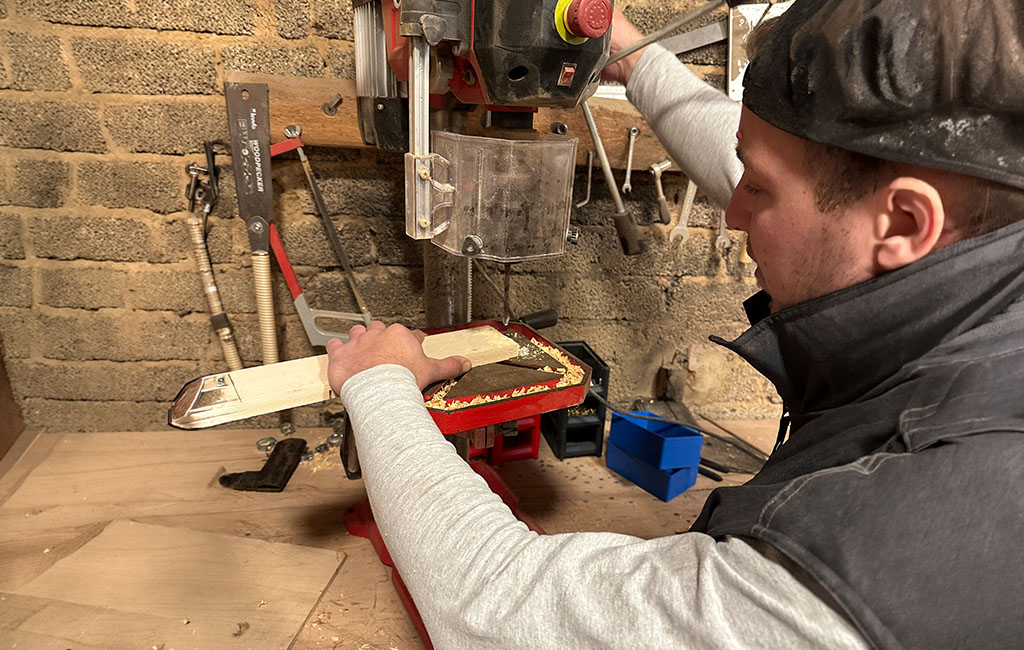
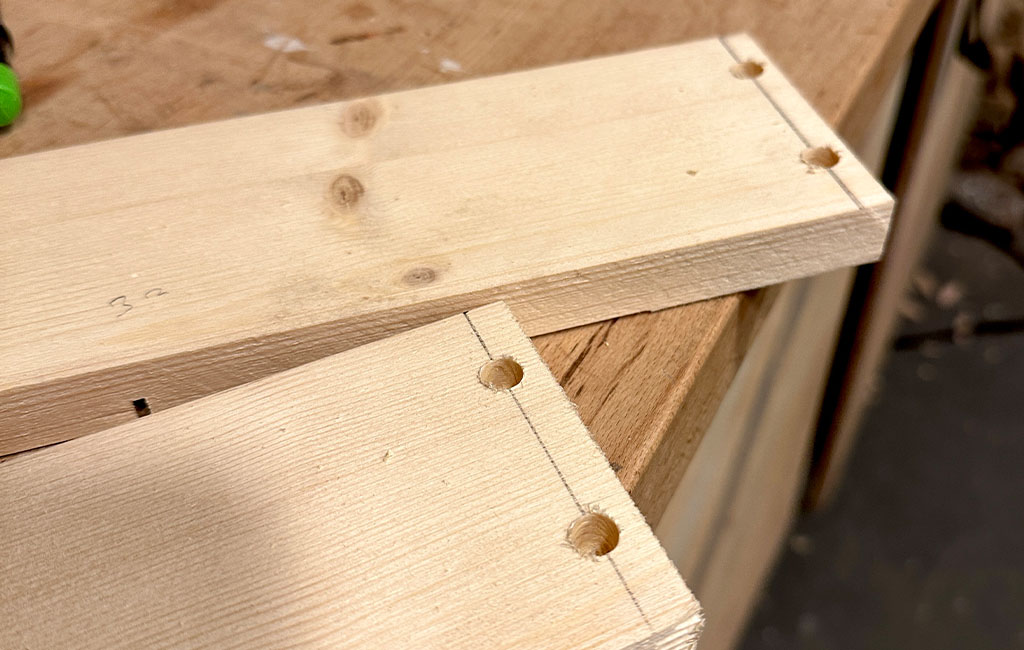
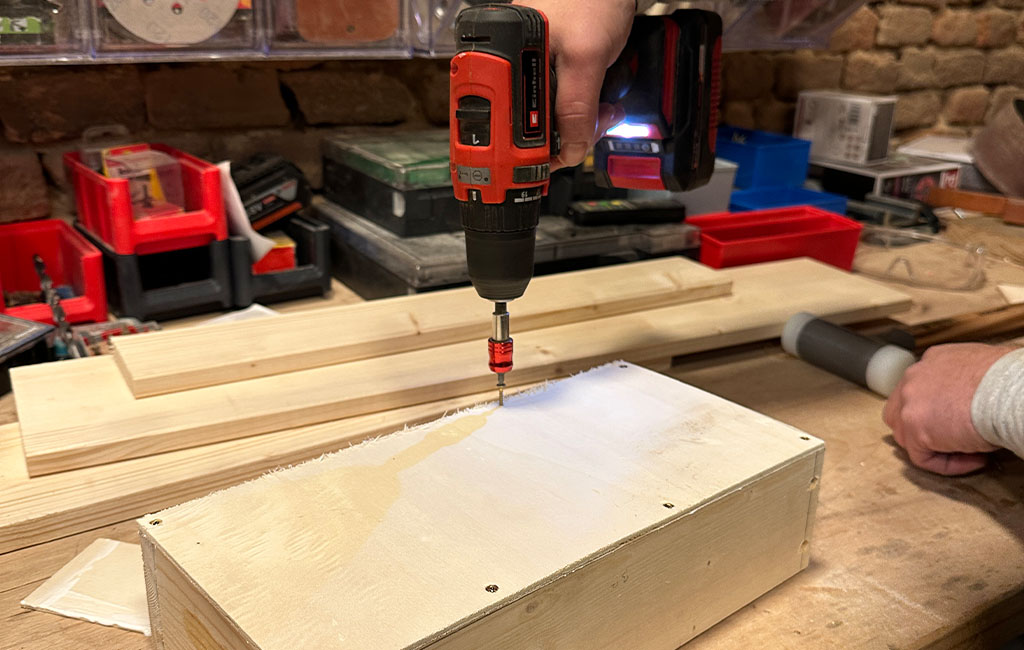
Step 3: Pre-drill holes for the screws
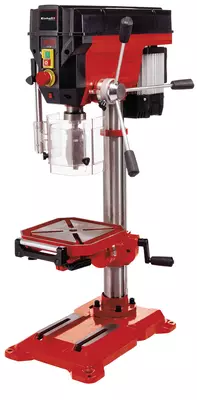
Once all parts are cut to the correct size and the slots have been made, you can move on to drilling the holes for countersinking the screws. For this, I used a drill press and an 8 mm wood drill bit, drilling the holes about 1 cm deep into the wood. You will need 4 holes each on the front and back pieces (2 on each side).
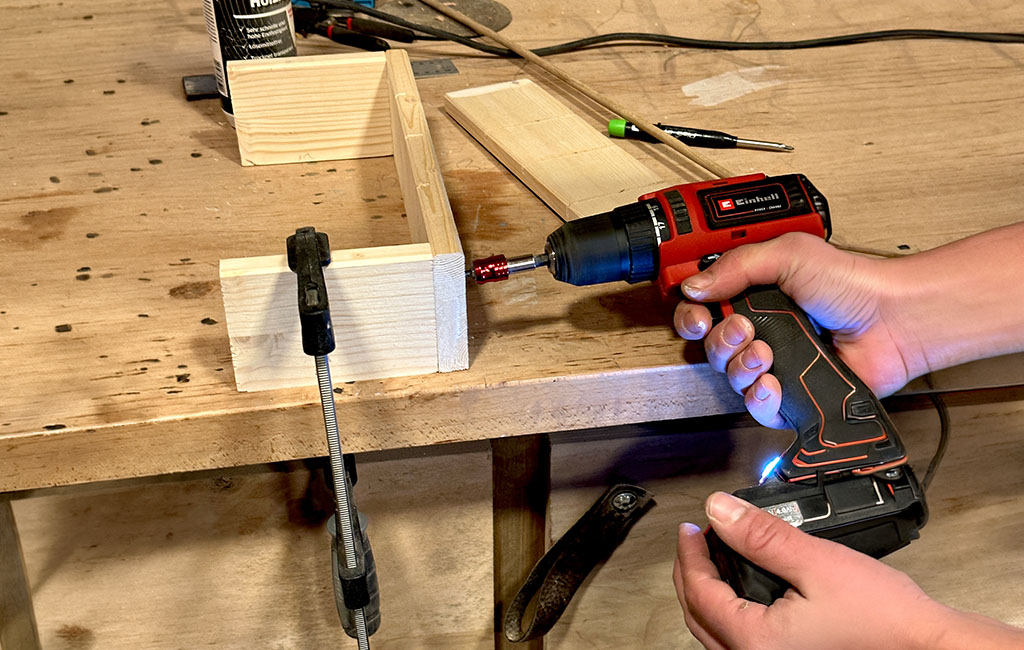
Step 4: Assemble the box
Next, you can connect the front and back pieces with the side panels. For this, it’s best to use 4 × 30 mm wood screws and add some wood glue for extra support.
Step 5: Cut the dividers and sand the wood
Now cut the dividers for the tea box using the table saw or miter saw. In my case, the dimensions are 13.5 cm × 8 cm. Once they are cut, you can lightly sand the edges if needed. Then slide the dividers into the slots you cut earlier. You can gently tap them into place with a rubber mallet if necessary.
Step 6: Attach the base and close the holes
Attach the previously cut base to the frame using 4 × 30 mm wood screws. Then close the 8 mm holes in the side panels with wooden plugs. To do this, use an 8 mm dowel rod, apply a bit of glue to the tip, insert it into the hole, and cut it flush with a hand saw.
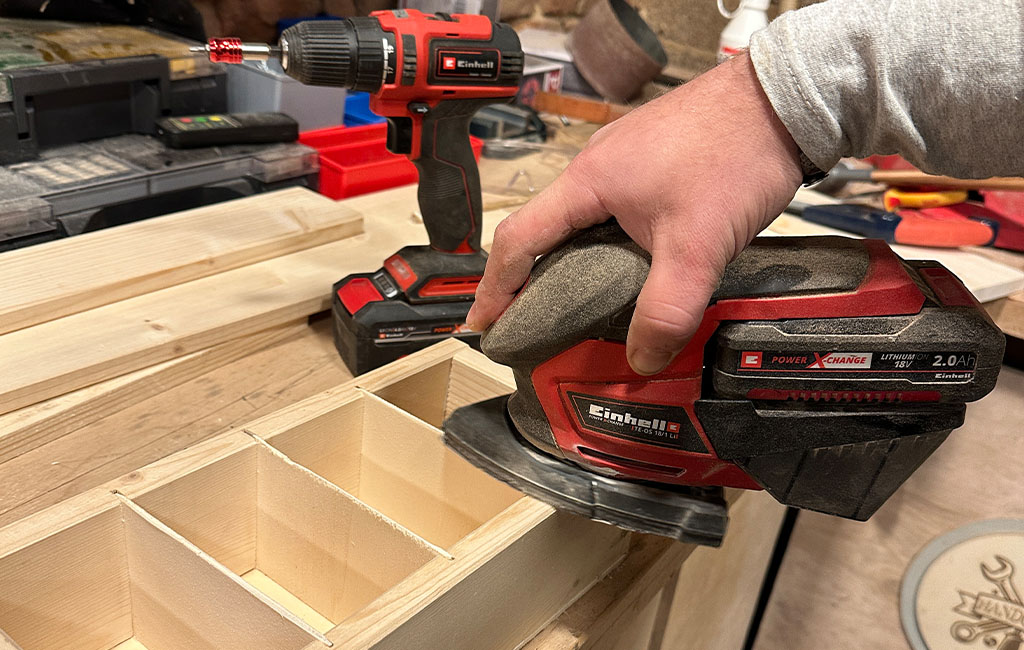
Step 7: Cut the dividers and sand the wood
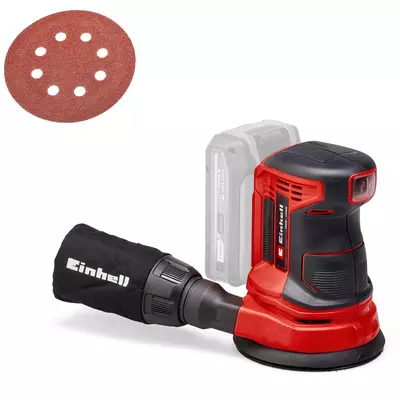
Next, sand all surfaces using a random orbital sander or a detail sander, working your way from 80-grit up to 240-grit. Lightly ease the edges as well to remove sharp corners and create a smooth finish.
Step 8: Attach the hinges and fill the box
Once the oil has been absorbed, you can attach the two hinges using 4 × 16 mm wood screws.
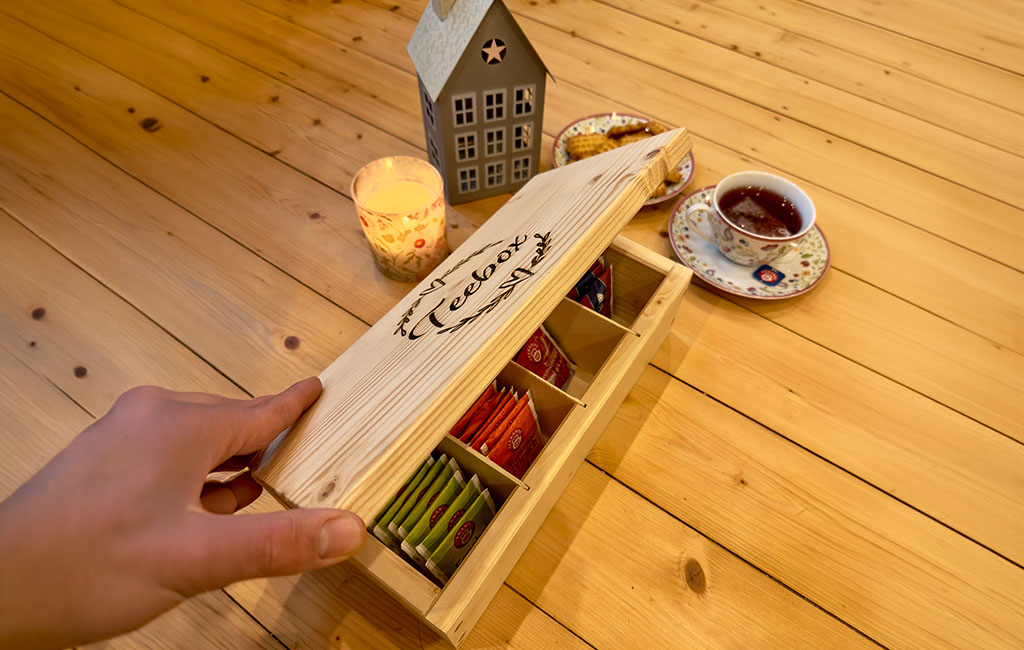
If you like, you can also engrave or decorate the tea box as I did. And that’s it — your DIY tea box is finished!
- Your homemade tea box is complete! It’s a real eye-catcher in any kitchen.
Enjoy building your own!
Suitable Tools for the Project
Here you'll find Einhell tools and accessories that are perfect for bringing this DIY project to life.
In this article you will learn all about:

Published on 08.12.2022
Tobias Peters is a passionate DIY enthusiast who shares a wide range of projects on Instagram @tobis_handcraft and his website tobis-handcraft.de – from furniture making and decoration to lighting design. Together with his partner Steffi, he is also renovating a 1950s country house. On the Einhell Blog, Tobi offers practical tips and step-by-step guides for creative home improvement projects.