



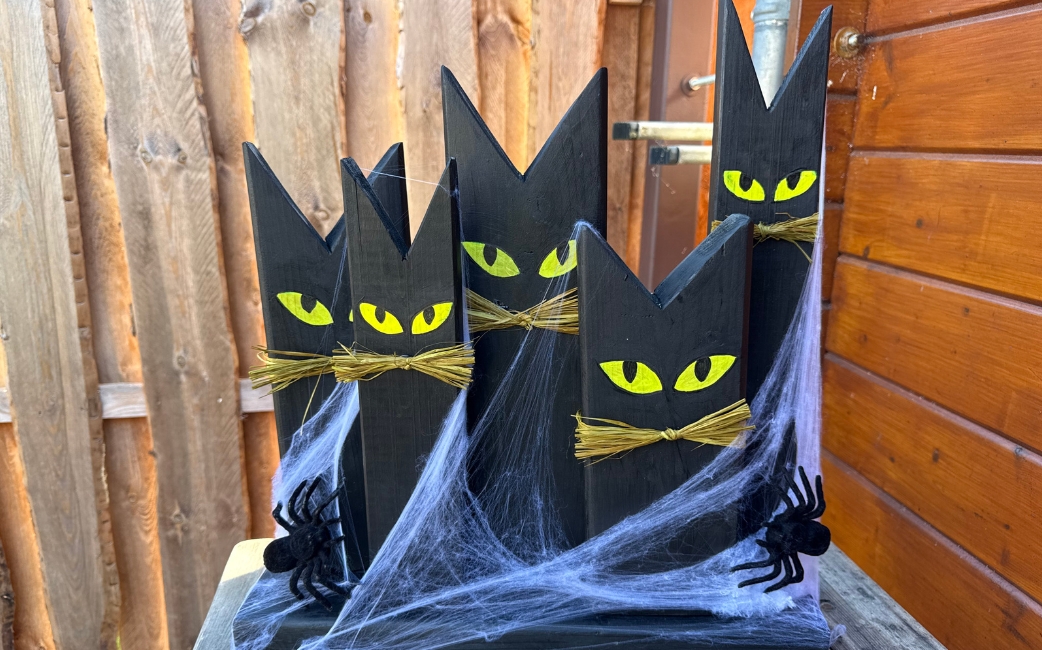
In this article you will learn all about:
Tools and Materials
Materials
- Wooden boards of various thicknesses
- A sturdy wooden board to use as a base (you’ll find the exact measurements in step 1)
- Acrylic paint in black and yellow
- Paintbrushes and permanent markers
- Screws, with a length of approx. 7 cm, and a thin wood drill bit
- Fake spider’s web and decorative spiders
- Straw ribbon for the whiskers
Step-by-step guide
Step 1: Transferring the cat design onto the wood
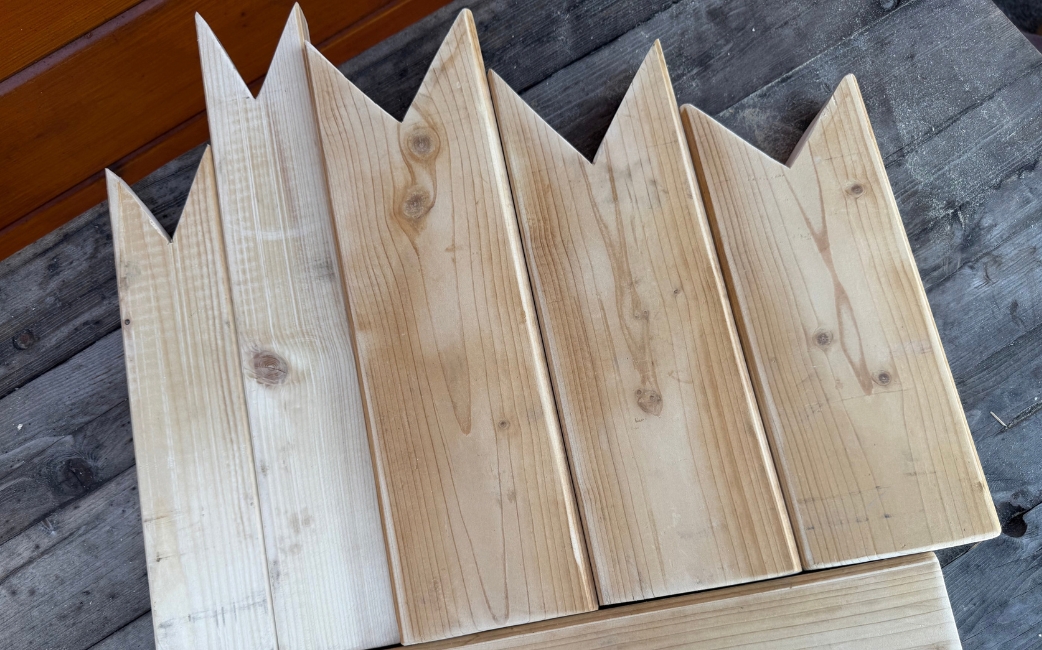
First, transfer the outlines of the cats onto the wooden boards or planks. I deliberately chose pieces of wood of varying thicknesses, as this makes the overall effect more varied and lively.
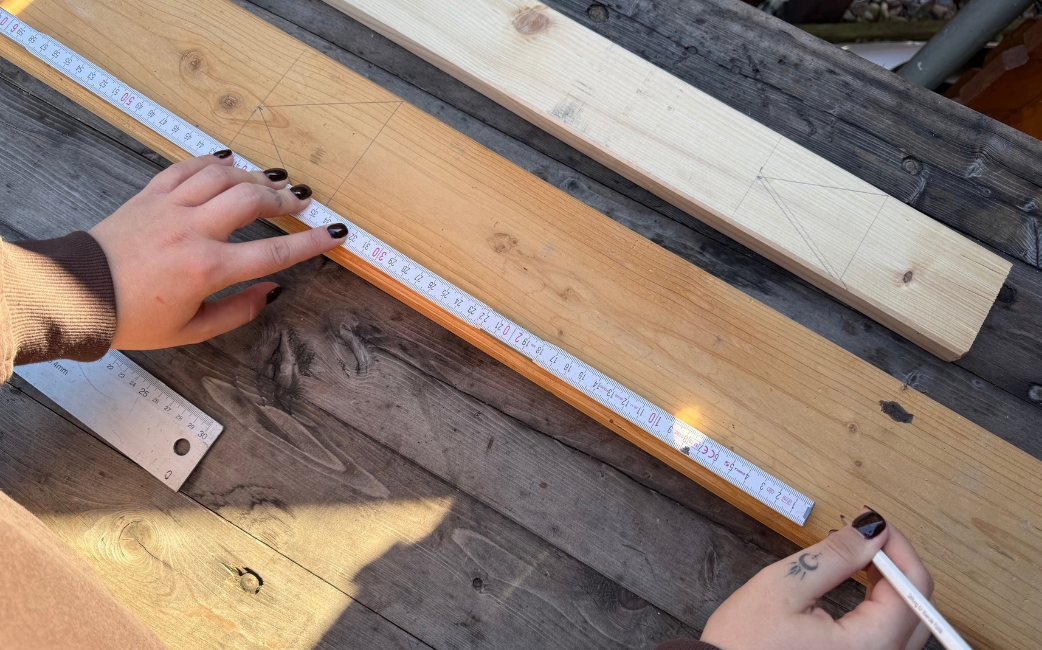
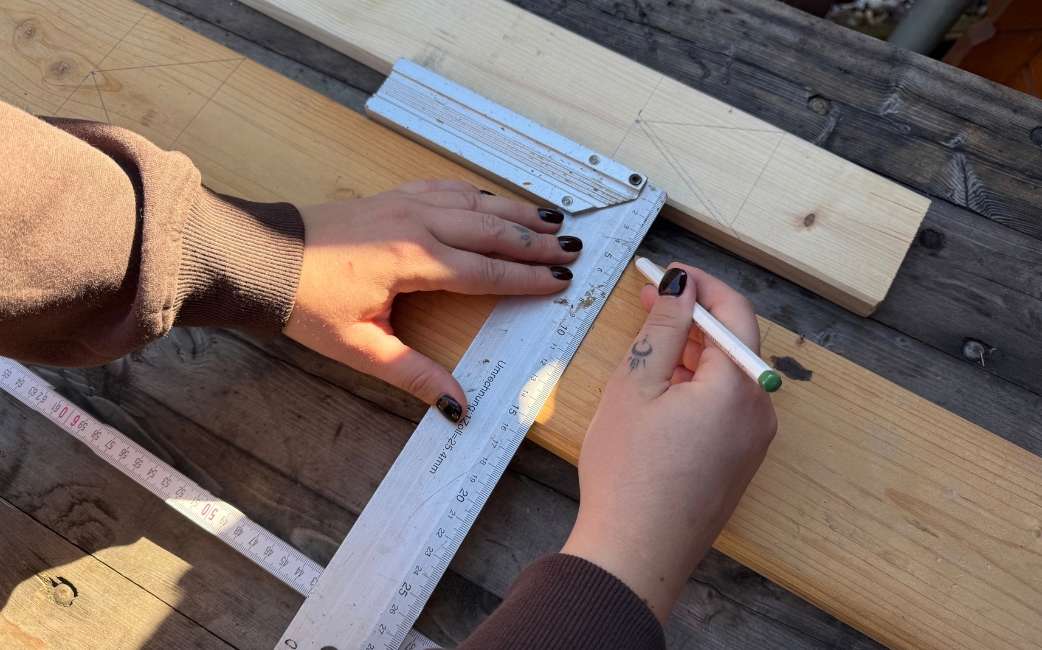
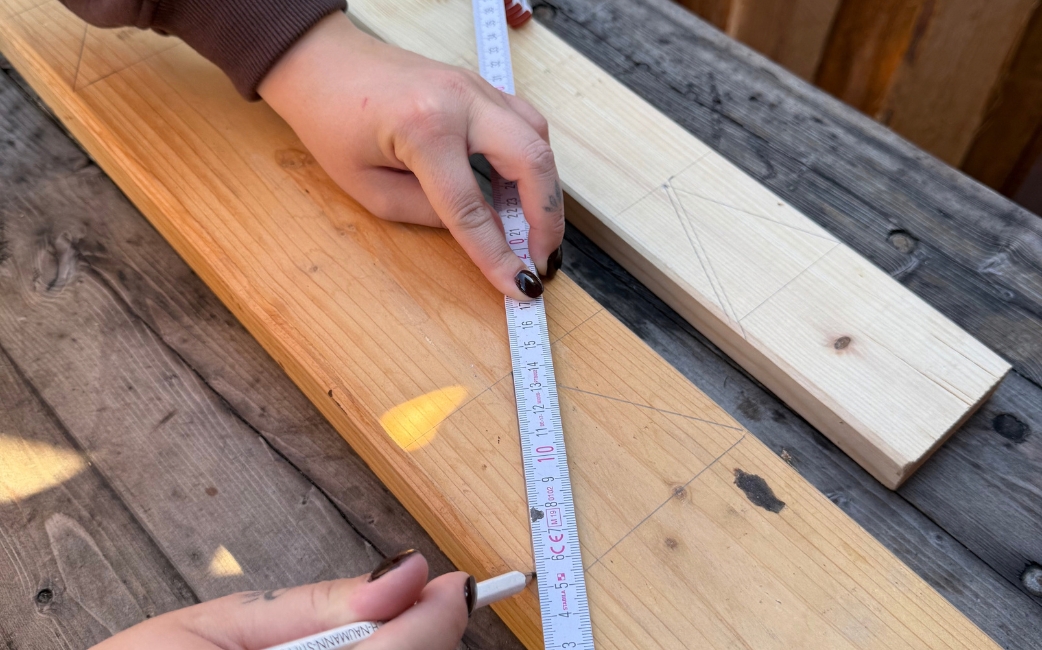
Step 2: Cutting the pieces of wood
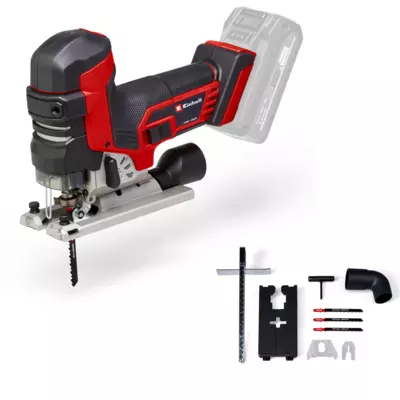
Once the outlines have been marked out, it’s time to start sawing. Use the cordless circular saw for the straight cuts. Next come the trickier bits: the pointed ears are best cut out using the cordless jigsaw. Take particular care to work slowly and neatly on the ears so that the tips don’t tear.
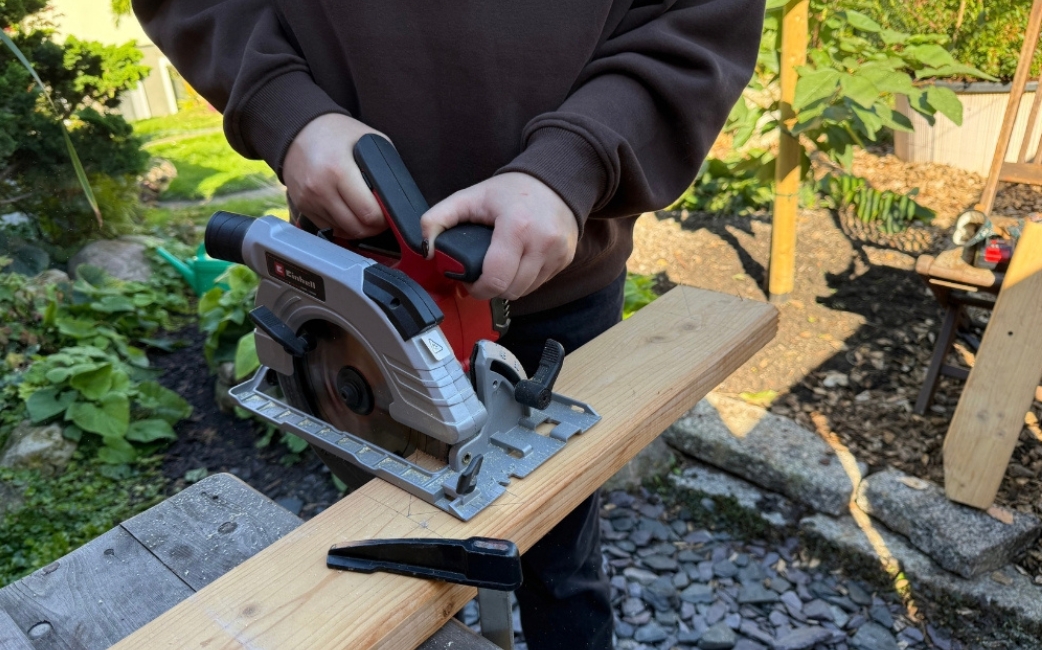
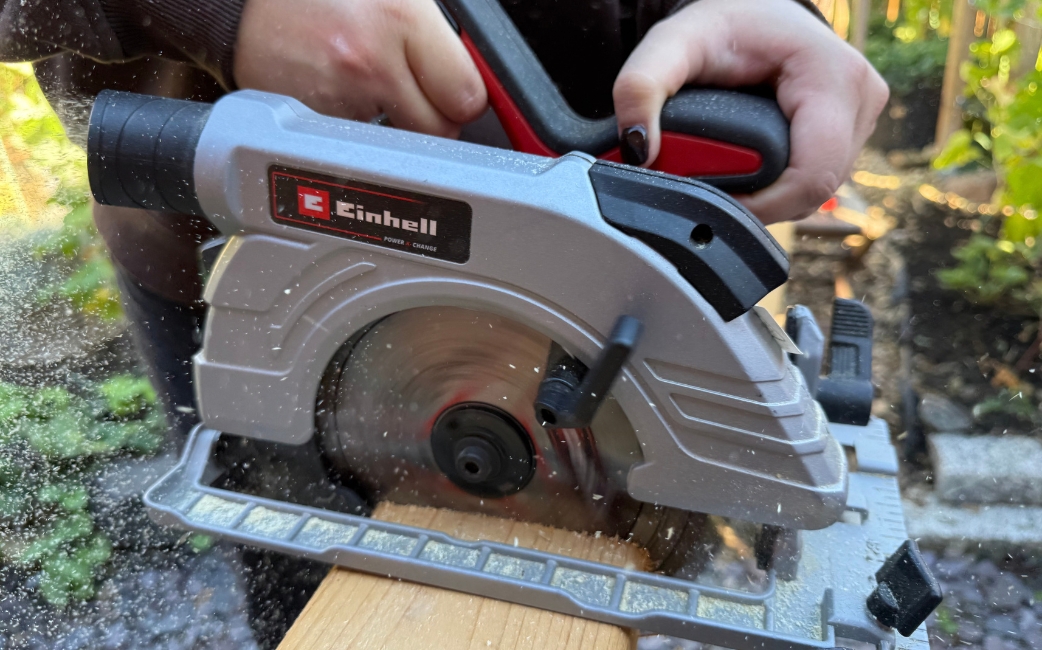
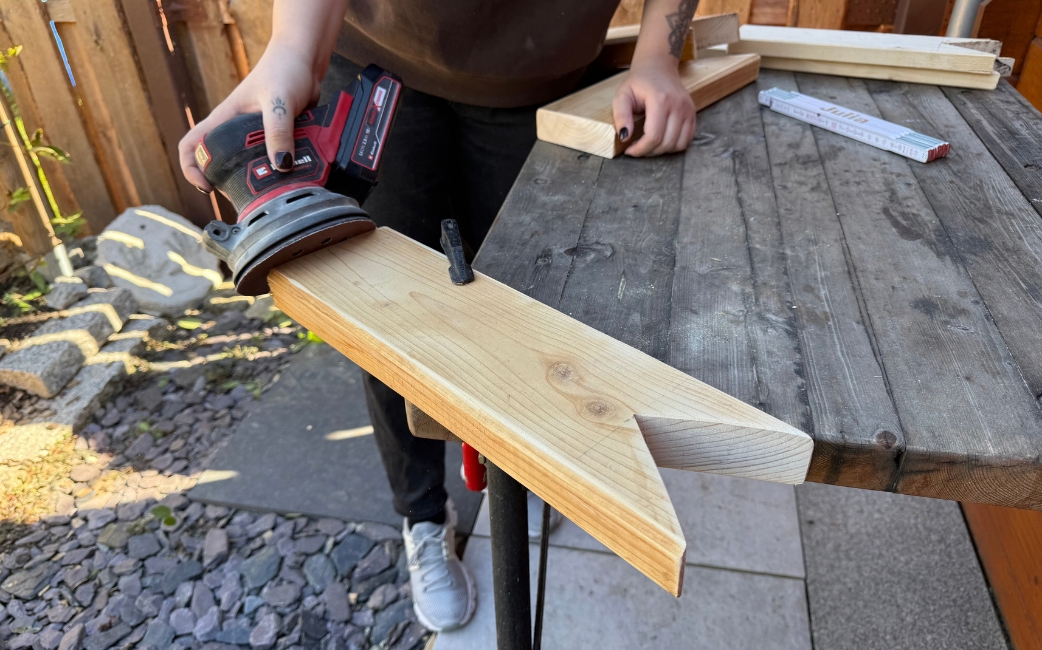
When sawing, always make sure your workpiece is stable. It’s best to clamp the wood securely with screw clamps so that it cannot slip.
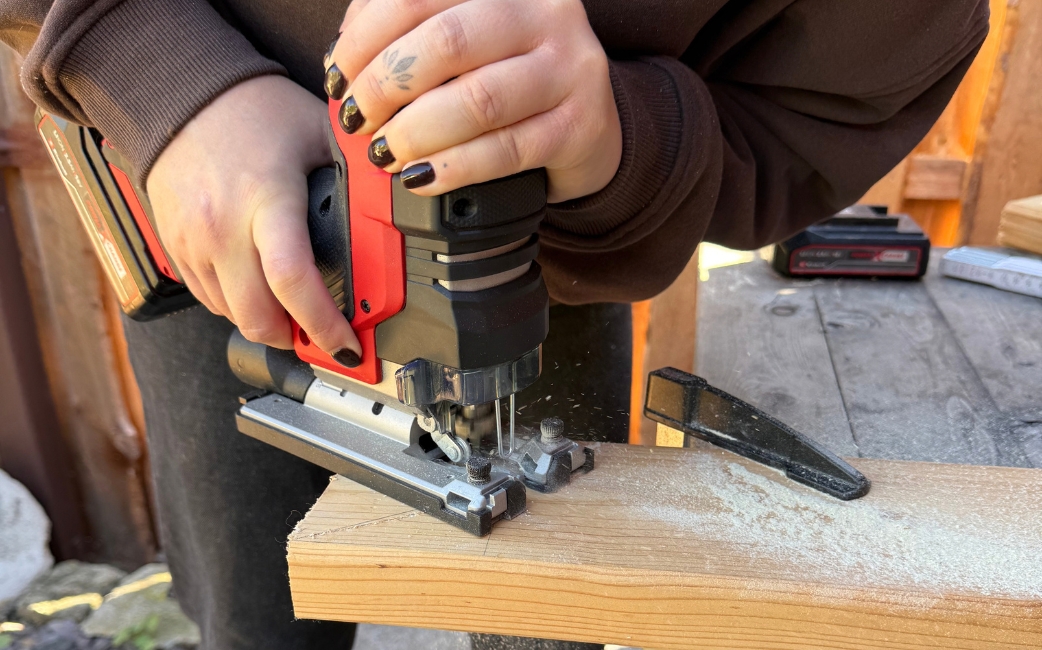
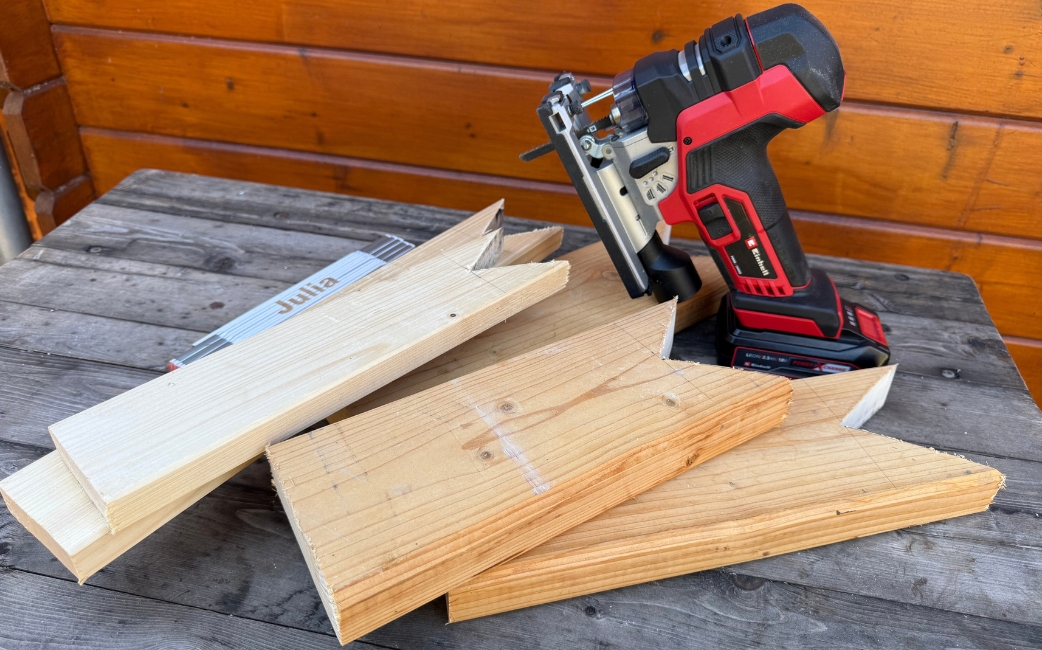
Step 3: Sanding the edges
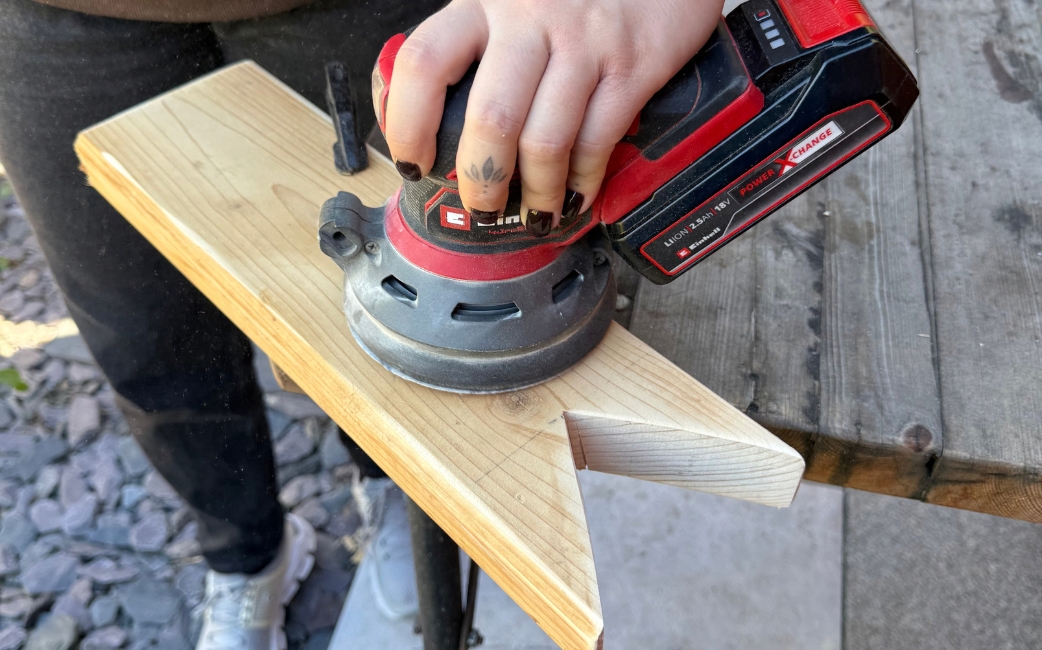
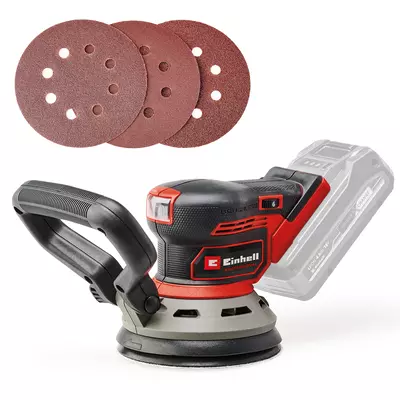
Now give the wooden cats and the base board a quick sand. This removes any uneven wood fibres, making the wood easier to paint afterwards. You don’t need to sand them to a high gloss, as a rustic finish suits the Halloween look particularly well. That’s why I deliberately chose the cordless eccentric sander: it allows you to sand the edges with minimal effort, and thanks to its high sanding power, the wood takes on a slightly uneven texture, giving it a more natural look.
Step 4: Painting the wooden pieces
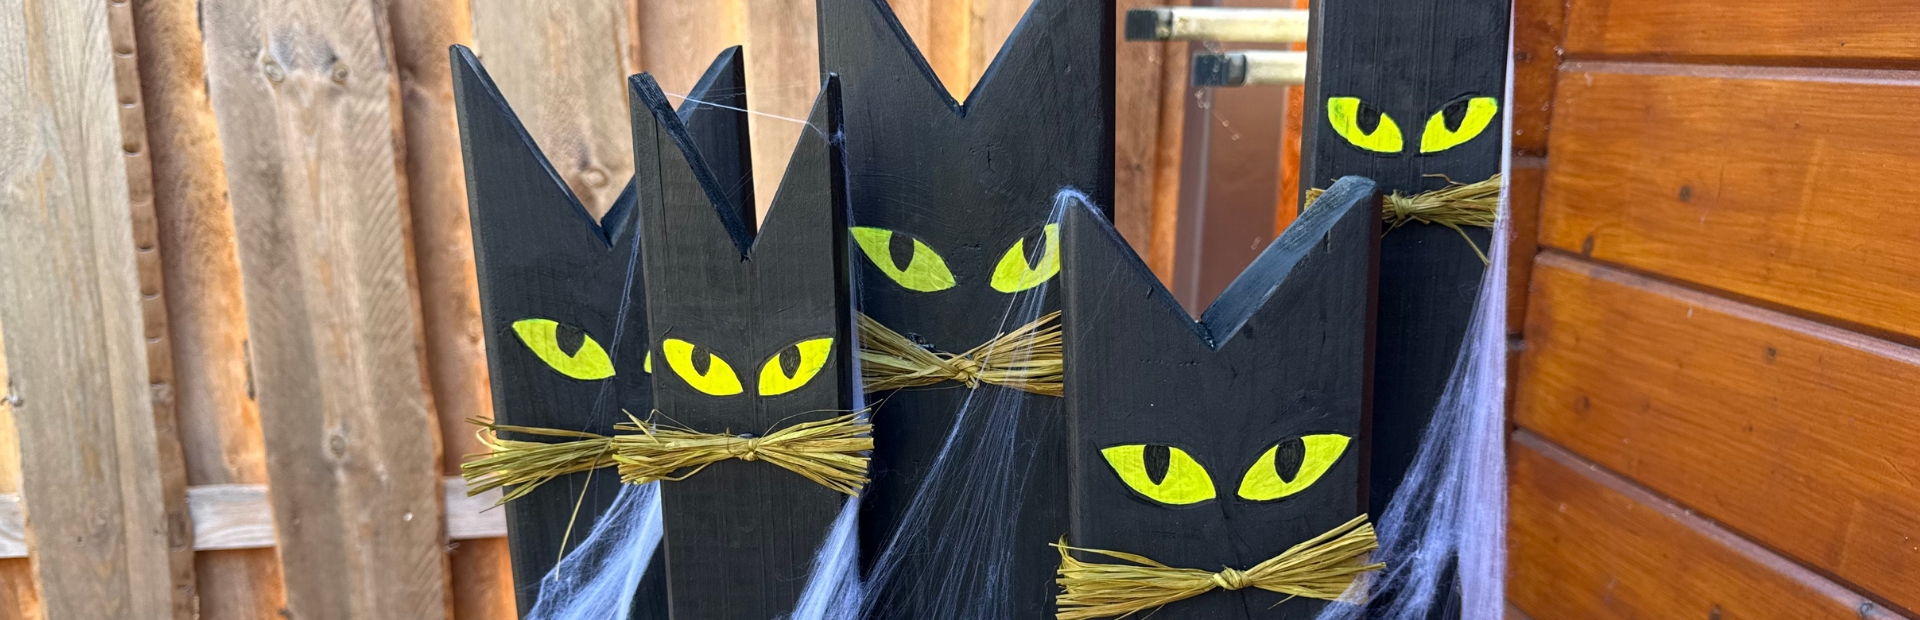
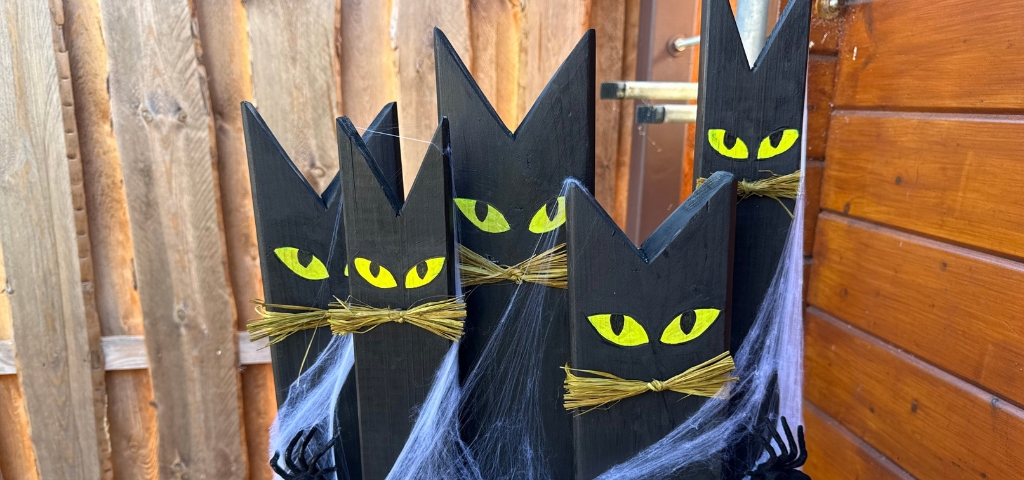
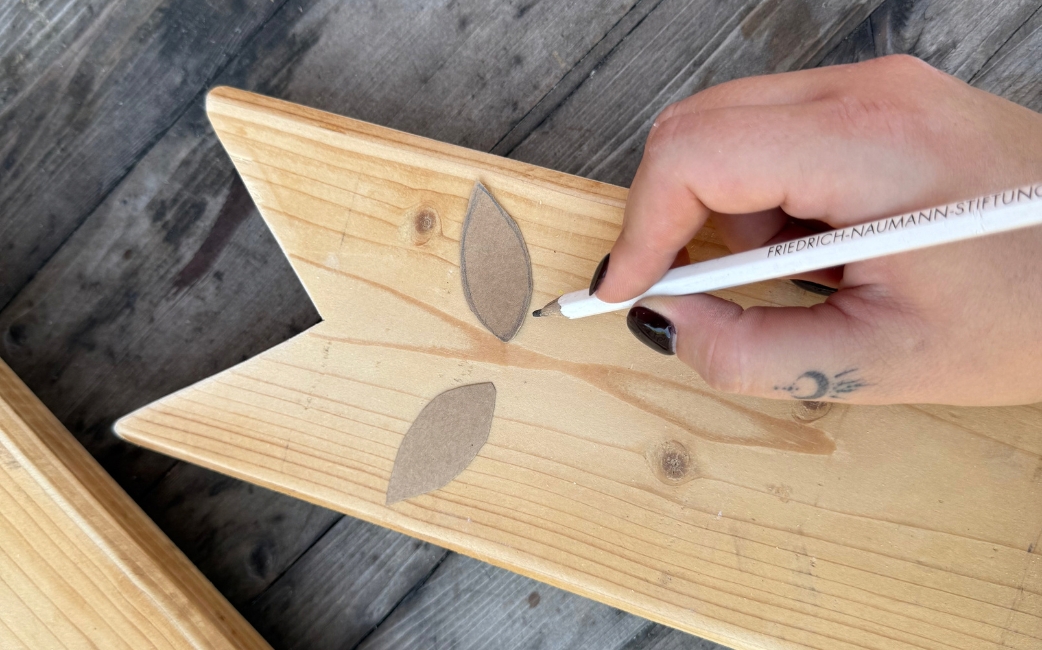
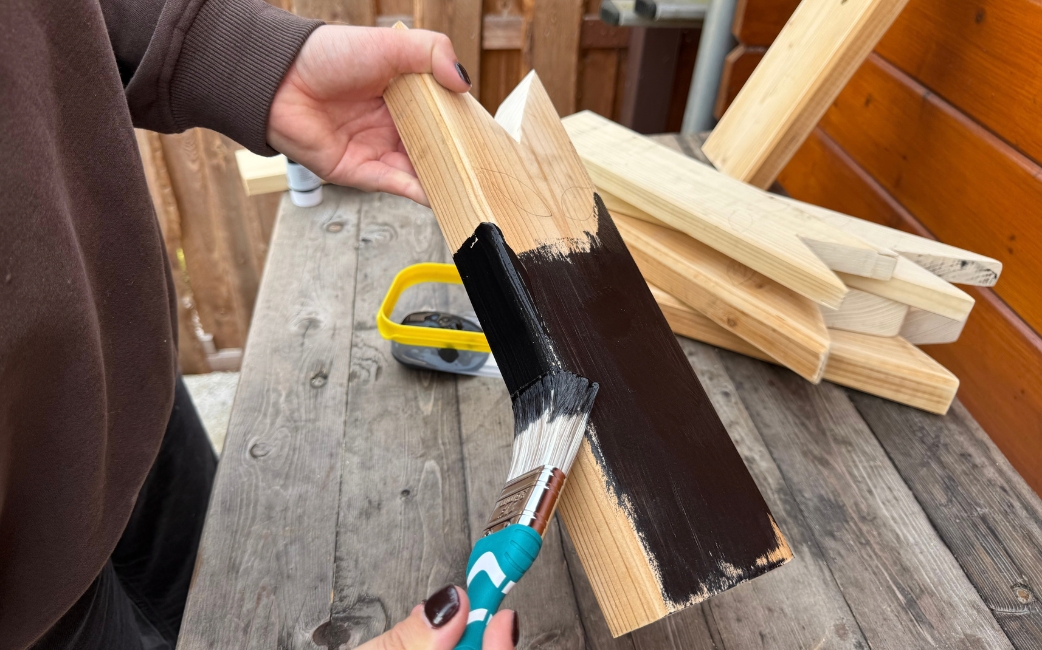
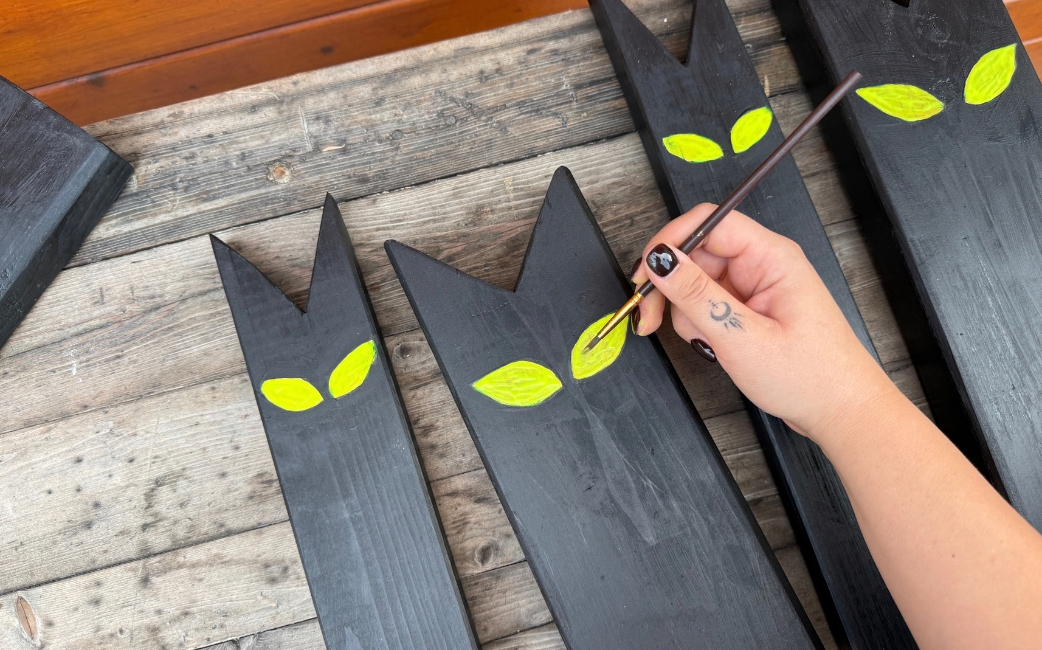
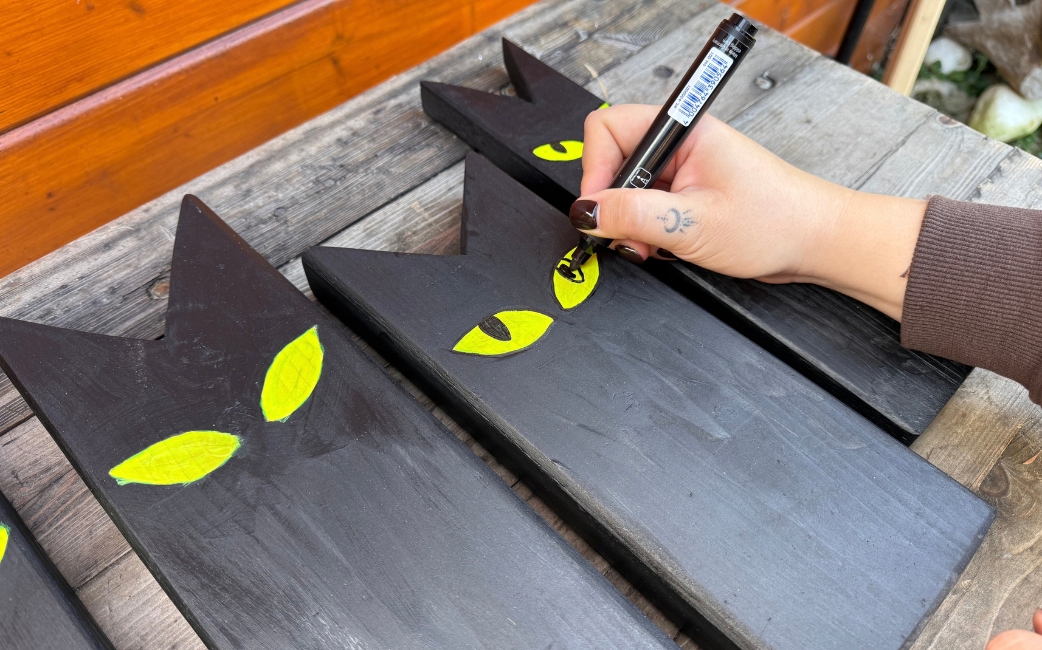
Now it’s time to give the cats their spooky Halloween look. I’ve deliberately chosen black cats with bright yellow eyes. Of course, you can also design your project in any other colours you like. It’s best to apply the paint in two thin coats using a brush. You can then use a permanent marker to trace the eyes precisely and outline them neatly. Once the paint has dried completely, draw on the pointed pupils.
Step 5: Making the whiskers
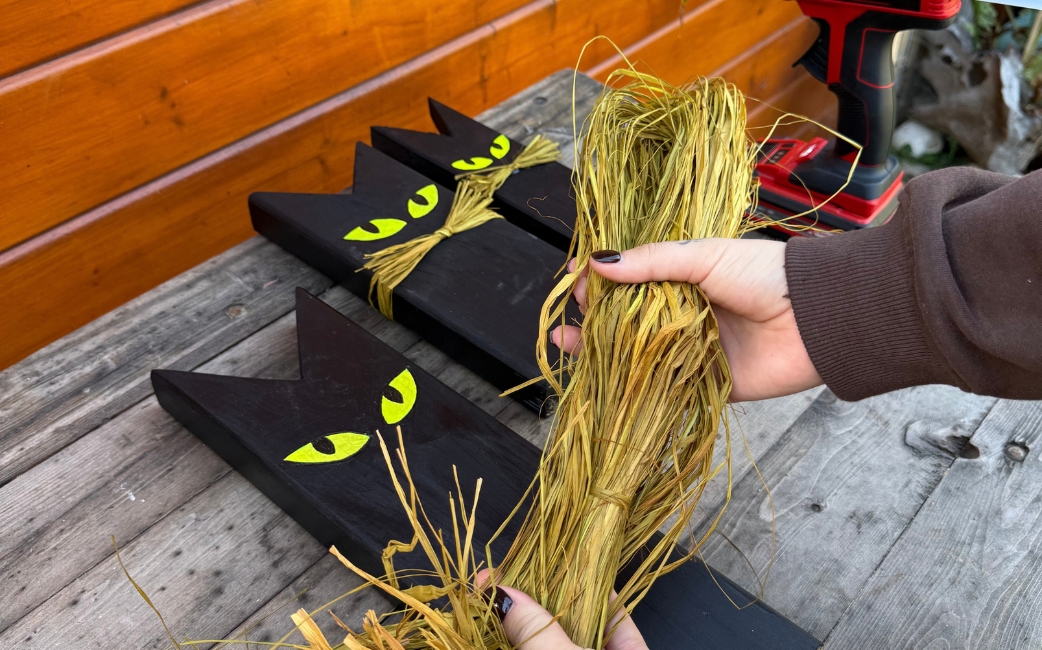
The cat’s whiskers are a special detail. Dry straw, raffia or similar natural fibres are suitable for this. You can attach the whiskers in various ways:
Option 1:
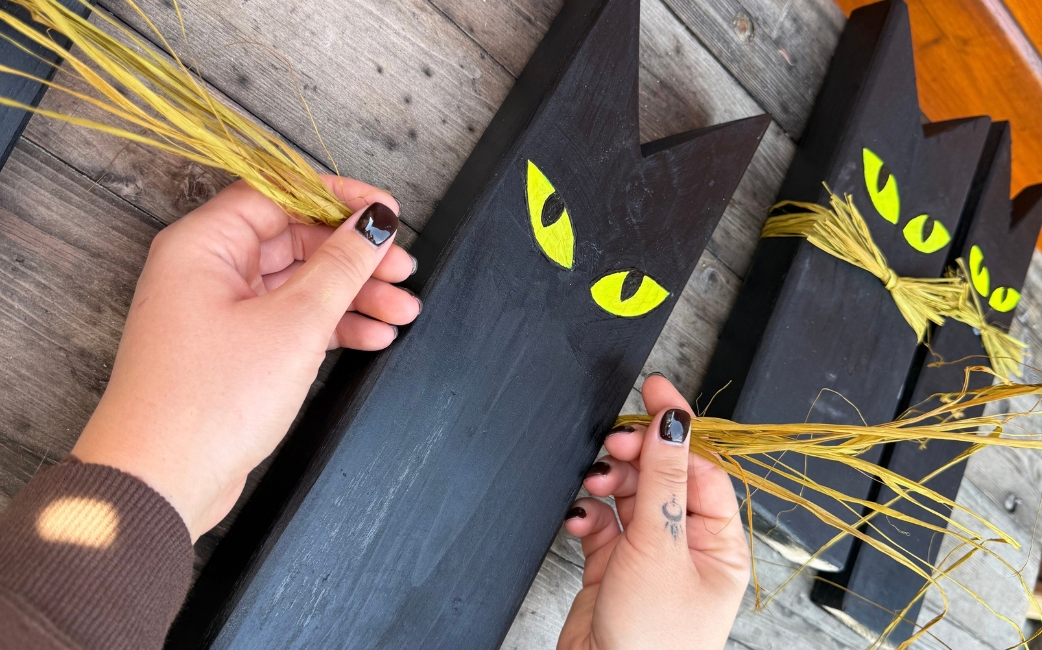
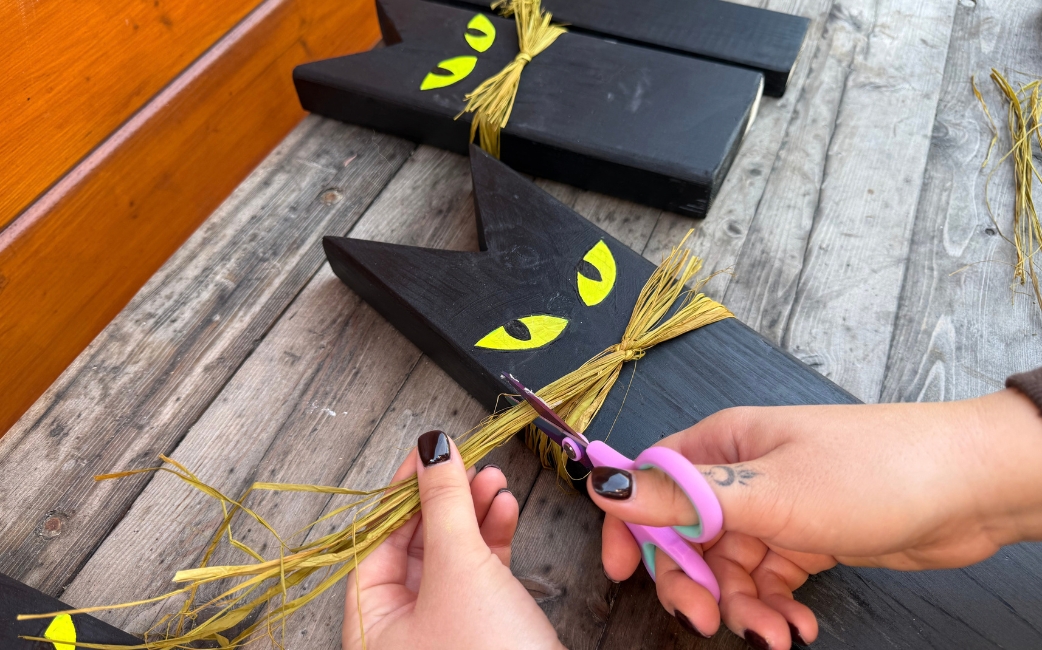
Take a small bundle of natural raffia (approx. 5–6 strands) and wrap it round the cat’s body from below. Then secure it at the front with two knots. You can then trim the whiskers to your liking, either flush with the width of the wood or leaving them protruding – whichever you prefer.
Option 2:
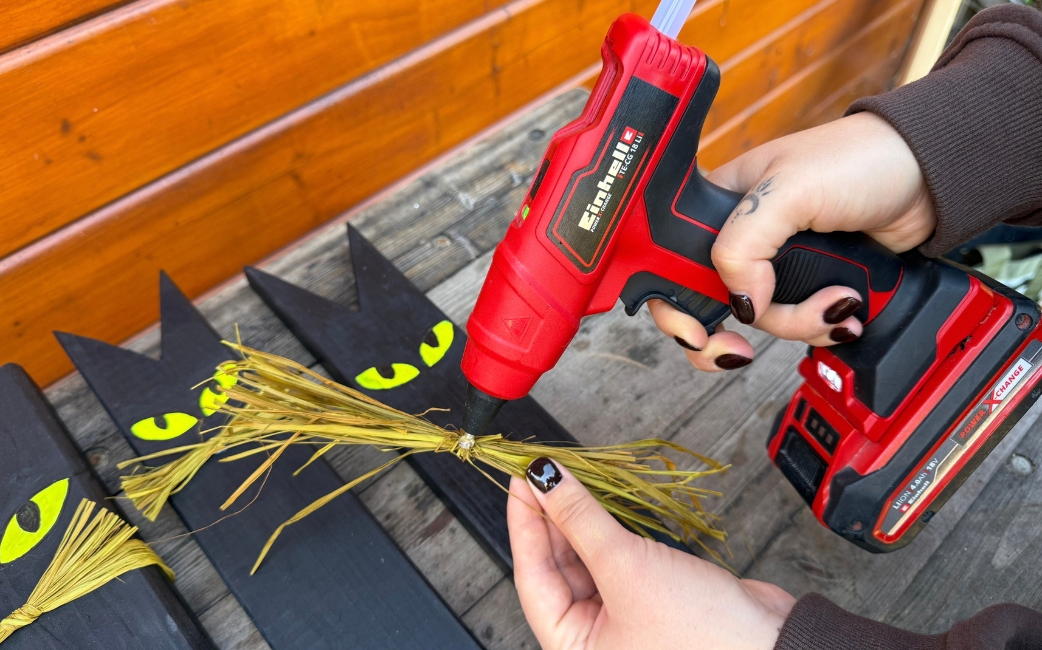
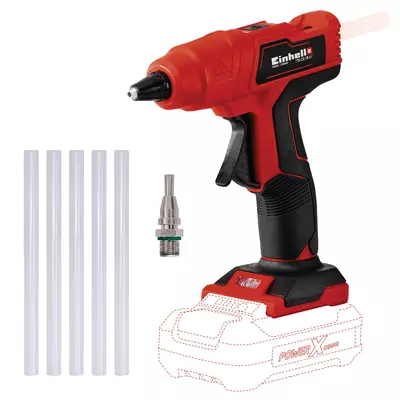
Cut 5–6 strands, each about 15 cm long, into a bundle and tie them once in the middle. Trim the whiskers to the desired length and attach them in the centre using a hot glue gun.
Step 6: Attach the finished cats to the base board
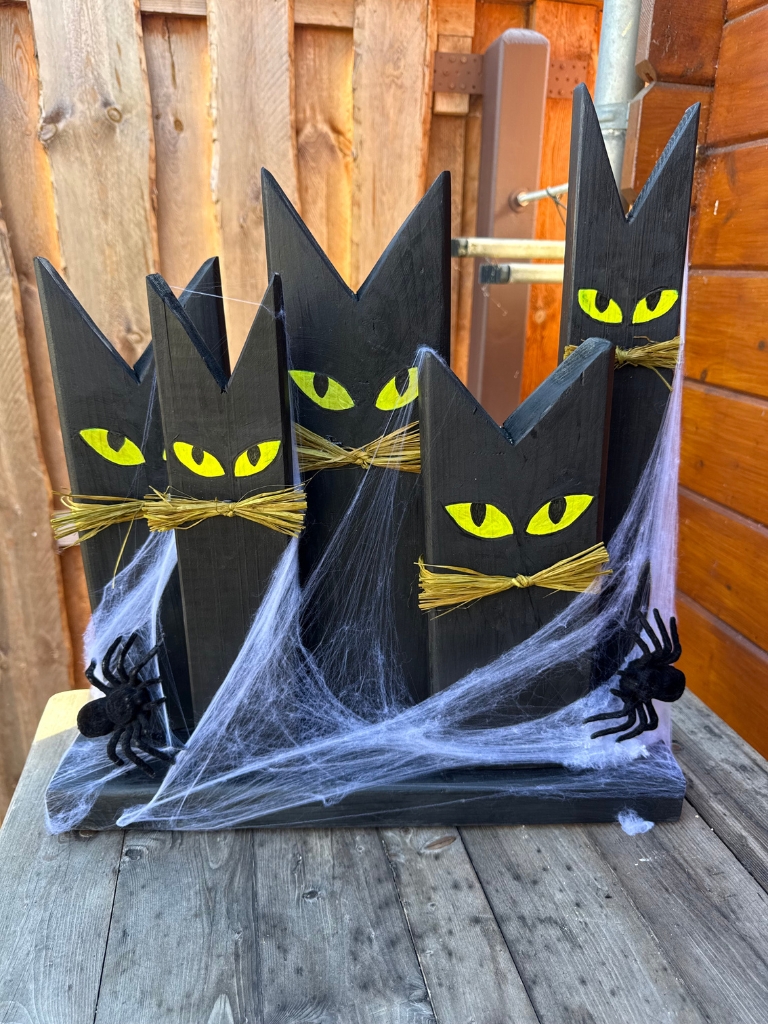
To ensure your cats are stable once they’re in place, use screwing to attach them to a sturdy base board. To do this, start by positioning them on the board. You can be as creative as you like with the arrangement: you can line them up straight and slightly overlapping, or place them at an angle in a slightly random pattern.
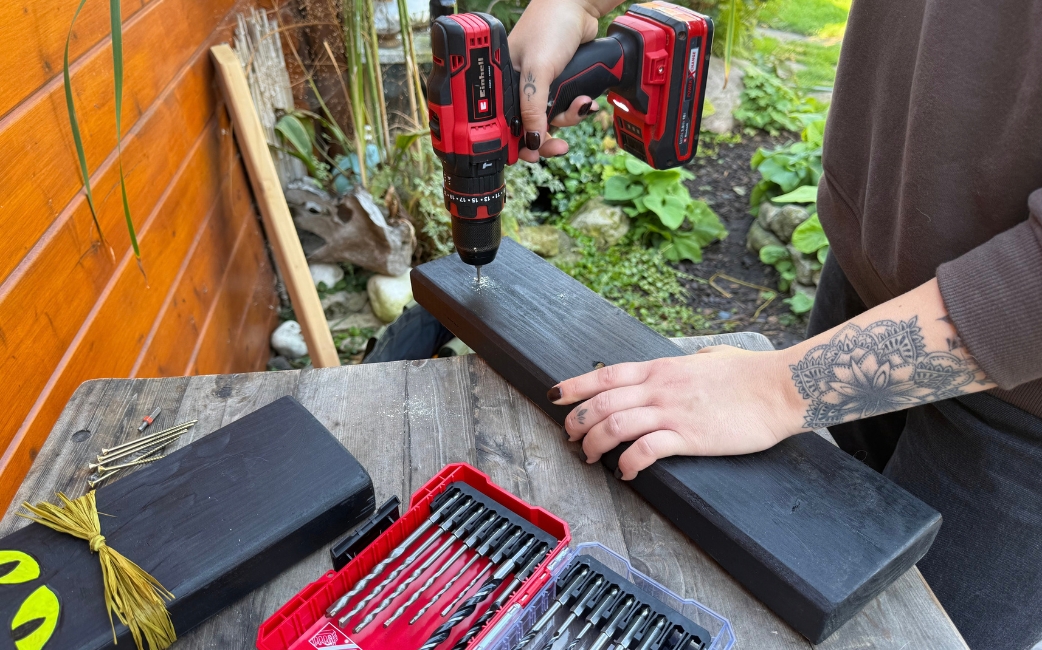
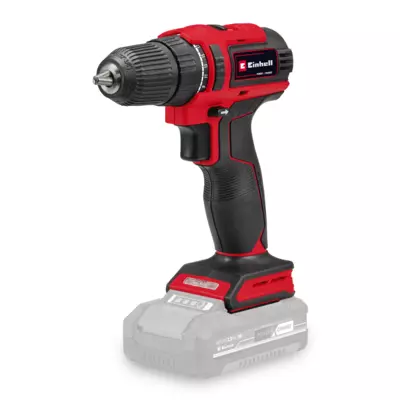
Once you’re happy with the arrangement, mark the fixing points on the board with a suitable pen. Using a thin wood drill bit, perform drilling on the marked points and the cats once. Then perform screwing on the cats using wood screws with a length of approximately 7 cm. This creates a sturdy little group that can be easily set up and put away again later.
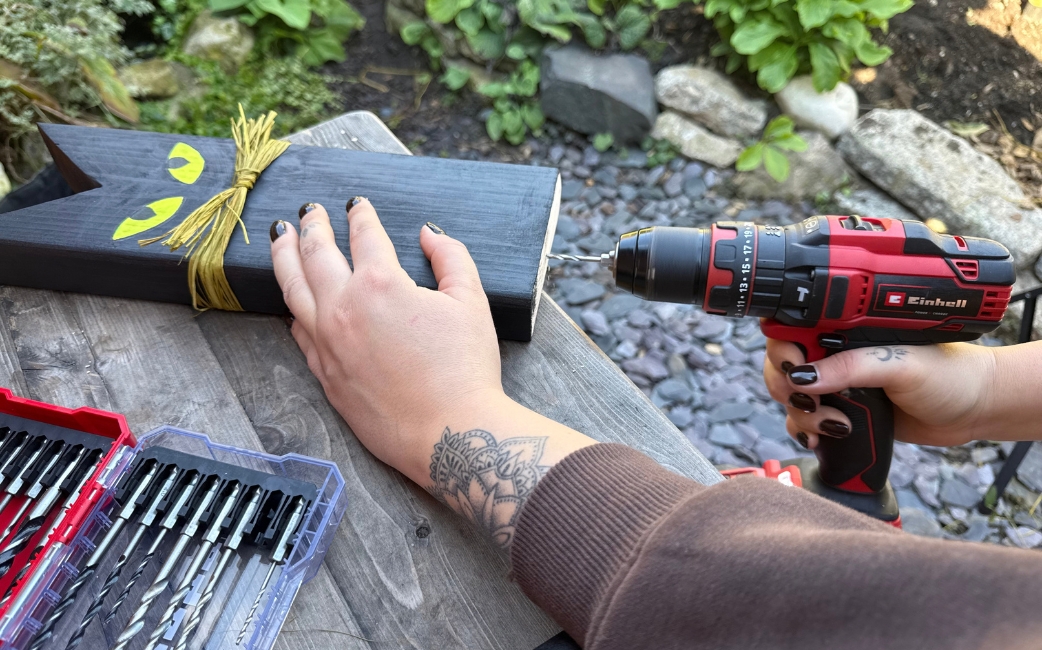
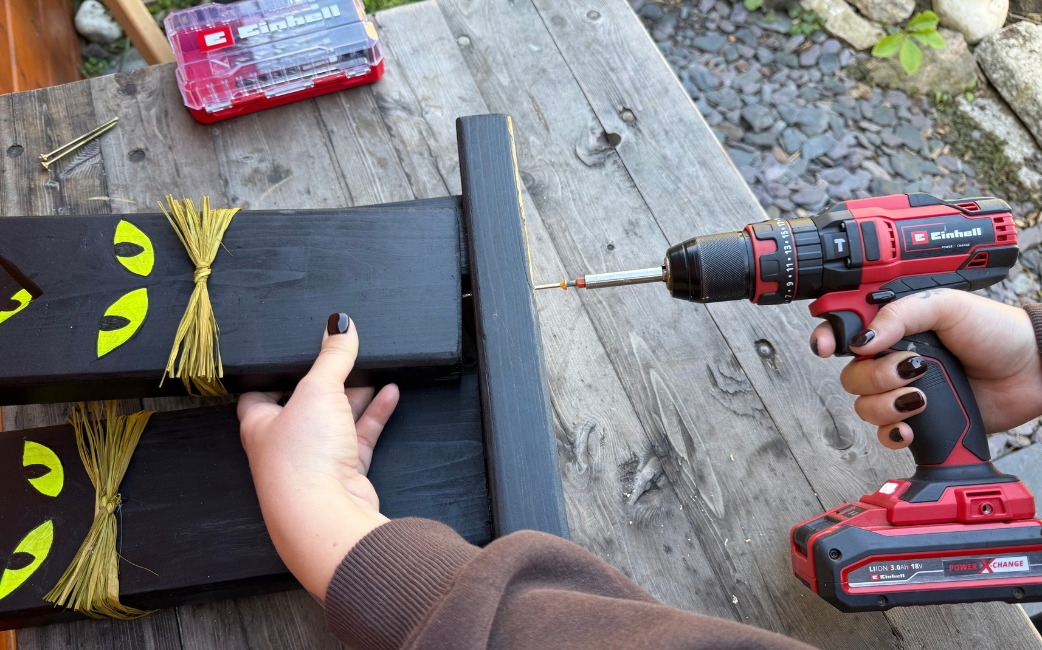
Step 7: Decorate as you like
As always, the final step is the most fun part: decorating. You can drape a white, artificial spider’s web around the black cats and add black spiders or similar decorations. The white web stands out really well against the black and creates a natural yet spooky effect. I’ve kept my gang of cats fairly simple. However, you’re welcome to add to the decoration, for example with small pumpkins, LED lights, gravestones or other spooky motifs.
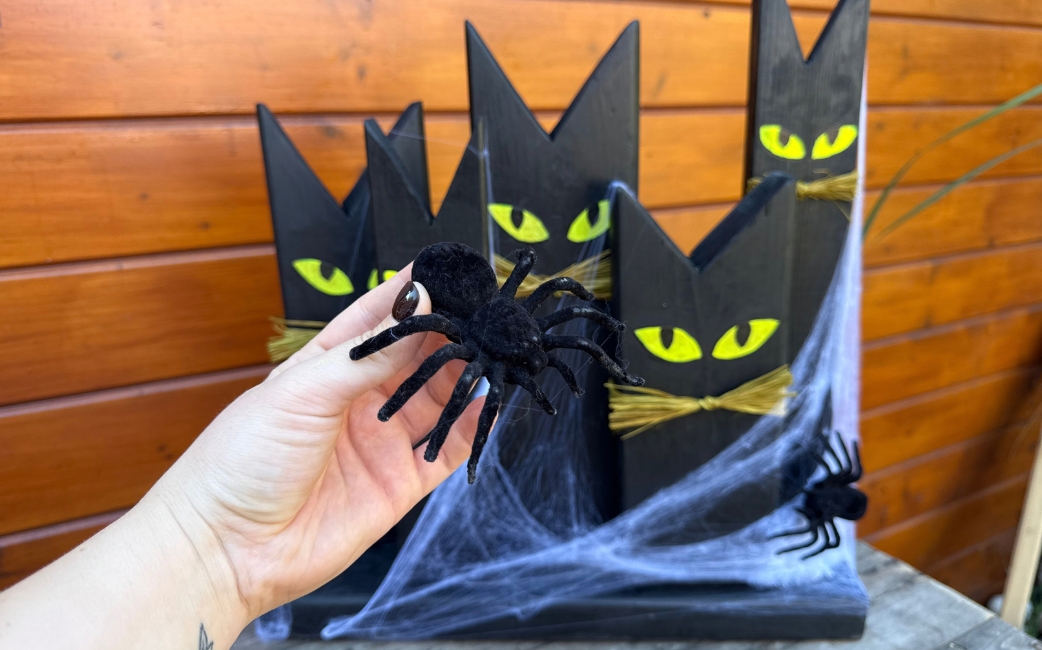
Ready for Halloween with your gang of cats
These black wooden kittens are a brilliant DIY project for anyone who enjoys working with wood and prefers to make their own Halloween decorations. With a bit of craftsmanship, a few simple old wooden boards or planks can be turned into a very special Halloween project. I particularly love the fact that each cat takes on its own character thanks to the handmade details.
You can adapt the project however you like, so every gang of cats will be truly one-of-a-kind.
So: get your saw out, source some wood and let’s get started. Bring on Halloween!
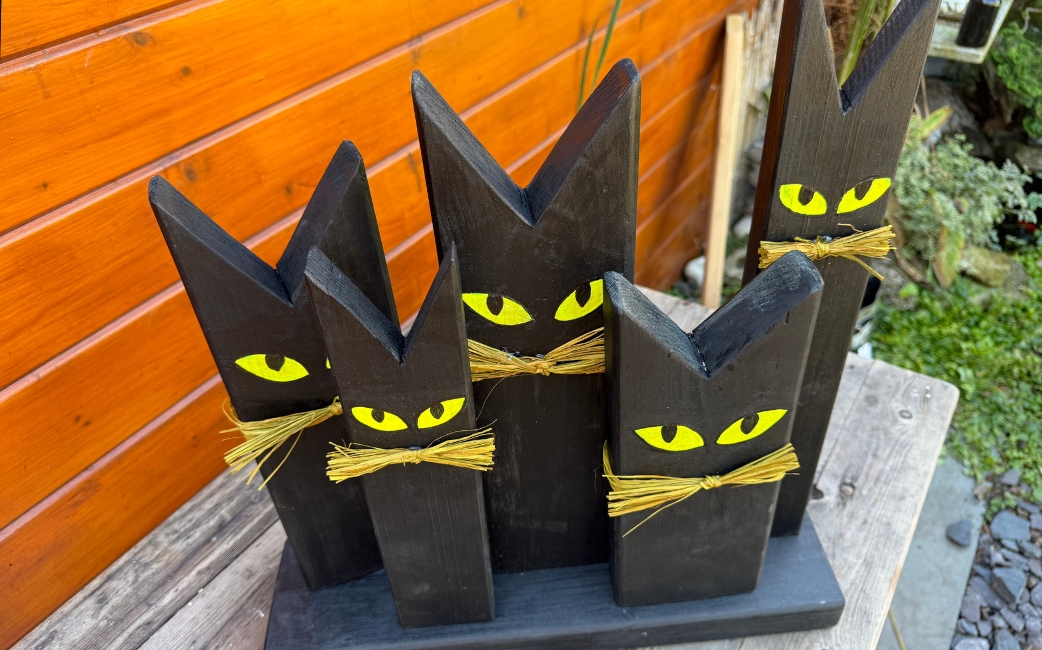
These selfmade wooden kittens are sure to make your home spookily lovely.
Suitable Tools for the Project
Here you'll find Einhell tools and accessories that are perfect for bringing this DIY project to life.


Published on 16.10.2026
A love of decoration meets creativity – Julia from @julias_deko_home delights with heartfelt DIY ideas for the home and garden, inspiring others to get creative themselves. On her channel, she shares inspiring decor ideas and seasonal arrangements that bring warmth and coziness to any home. With a keen eye for detail, she combines modern trends with timeless elegance. The result is a home that not only looks beautiful but also feels truly welcoming.