


In this article you will learn all about:
Tools and materials
Tools
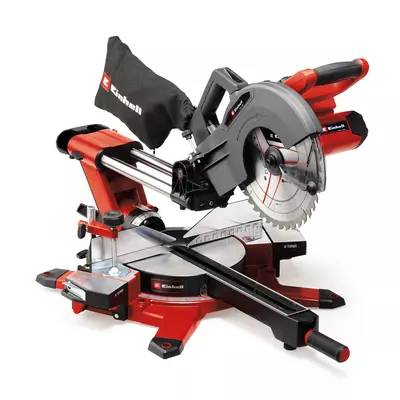
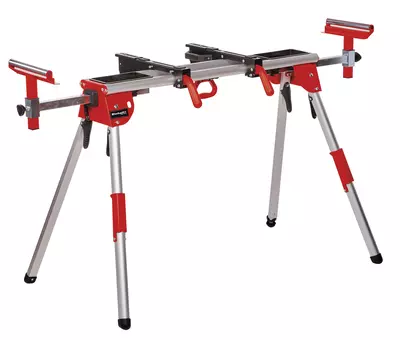
- Cordless Sliding Mitre Saw with Saw Base Frame
- PROFESSIONAL Cordless Impact Drill
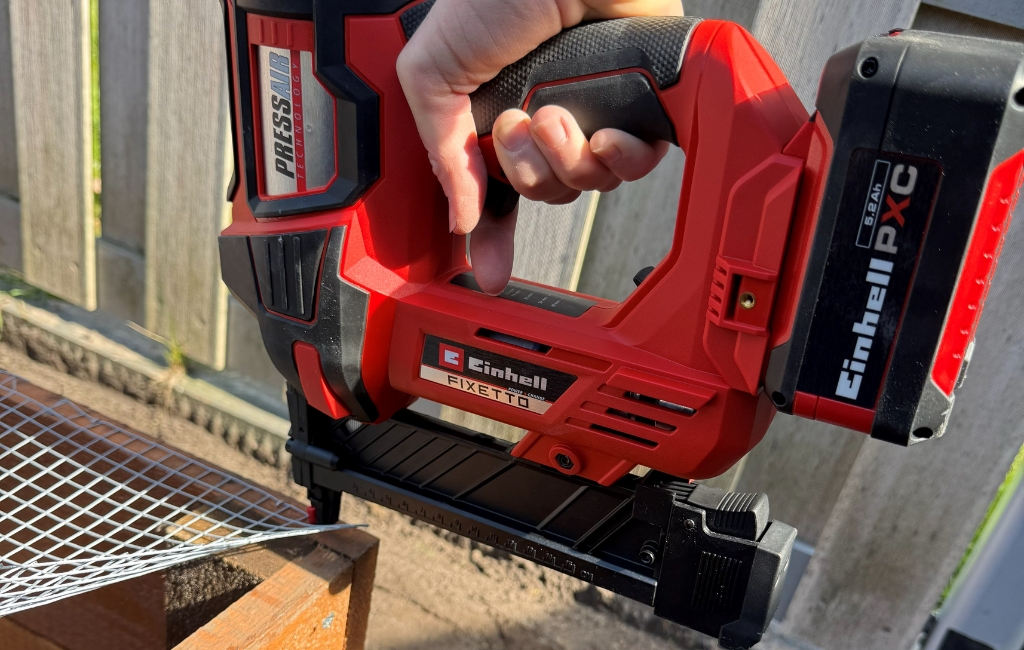
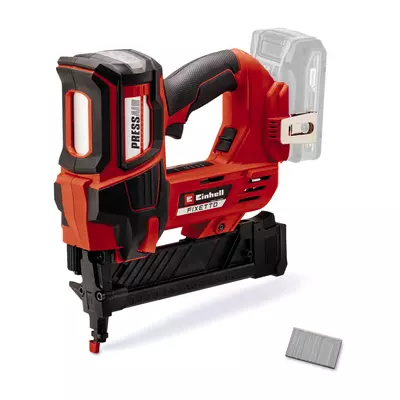
- PROFESSIONAL Cordless Tacker FIXETTO 18/40 S
- Hand stapler
- Side cutters
- Scissors
- Paintbrush
Materials
- 64 countersunk screws
- 8 rough-sawn larch planks (165 × 18 × 2.5 cm)
- 8 rough-sawn larch planks (95 × 18 × 2.5 cm)
- 8 rough-sawn spruce square timbers (4 × 6 × 30 cm)
- Vole netting (100 × 350 cm)
- Plastic sheeting
Instructions for the raised bed
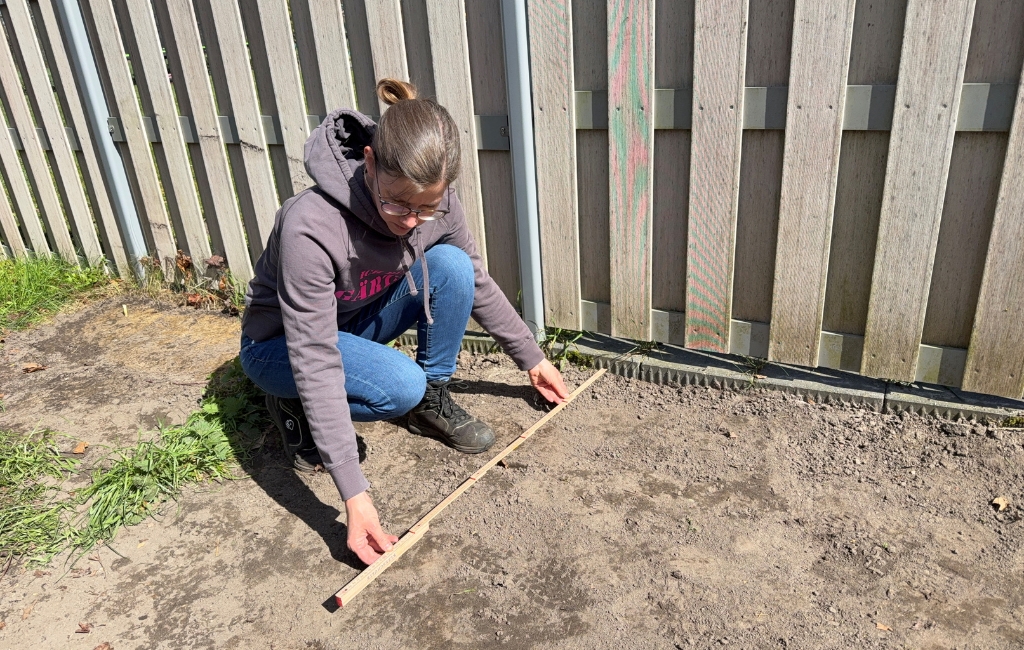
Step 1: Preparations
Before you start, you need to decide on the dimensions of your raised bed. This will naturally depend on the space available, but also on the plants you want to grow in it. If you plan to place several raised beds next to one another, you should allow enough space between them so that you can stand comfortably whilst planting, weeding and, if necessary, harvesting.
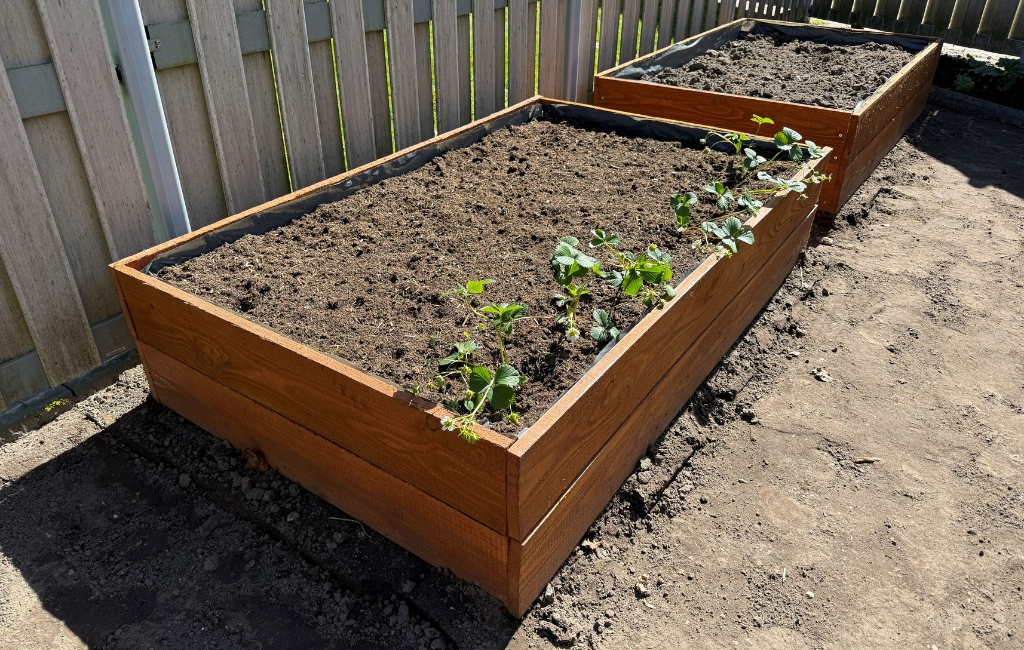
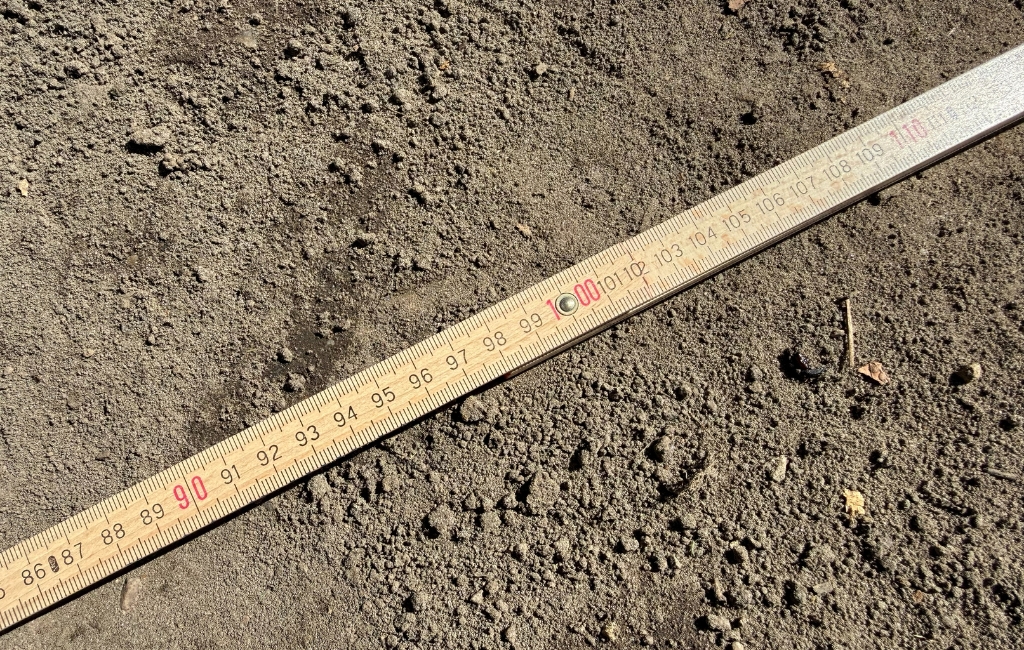
I’ve opted for two raised beds measuring 1.65 × 1.00 m. The beds have a final height of 36 cm (which corresponds to two 18 cm wide larch planks).
Step 2: Choosing materials and cutting to size
You can find compatible wood for building raised beds at timber merchants or DIY stores. Larch is a good choice for raised beds as it is durable and weather-resistant. You can have long planks trimmed into more manageable lengths on site. However, you’ll need to have thought about the dimensions in advance.
For two raised beds measuring 1.65 × 1.00 m, you will need:
- 8 long rough-sawn larch planks (165 × 18 × 2.5 cm)
- 8 short rough-sawn larch planks (95 × 18 × 2.5 cm)
- 8 rough-sawn spruce square timbers (4 × 6 × 30 cm)
Cut the pre-cut planks and square timbers to the desired length using the cordless sliding mitre saw.
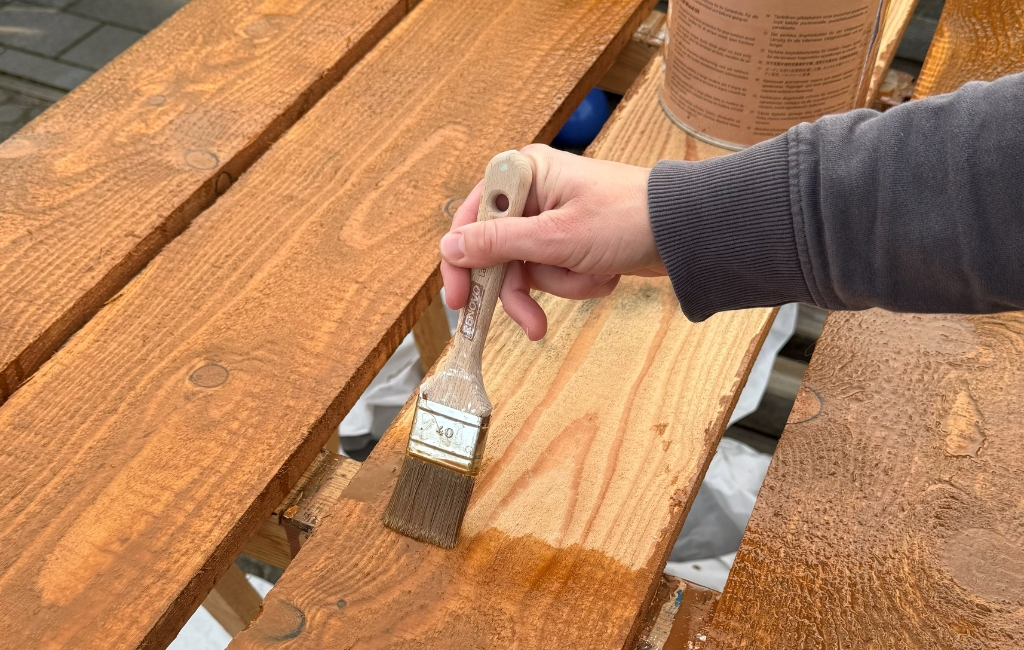
Step 3: Painting the wood
Depending on the type of wood you’ve chosen, it may be a good idea to paint the boards before assembly. The wood stain protects the wood from moisture and UV rays. This makes it more durable and helps it retain its attractive appearance. You don’t necessarily need to paint larch or Douglas fir – the wood is durable even without a coat of paint. However, it will weather over time (only visually; there is no loss of quality). If you wish to apply a wood stain to the bed, you should ensure you use only non-toxic stains, particularly if you are growing vegetables. The wood must be left to dry after painting.
Step 4: Setting up the beds
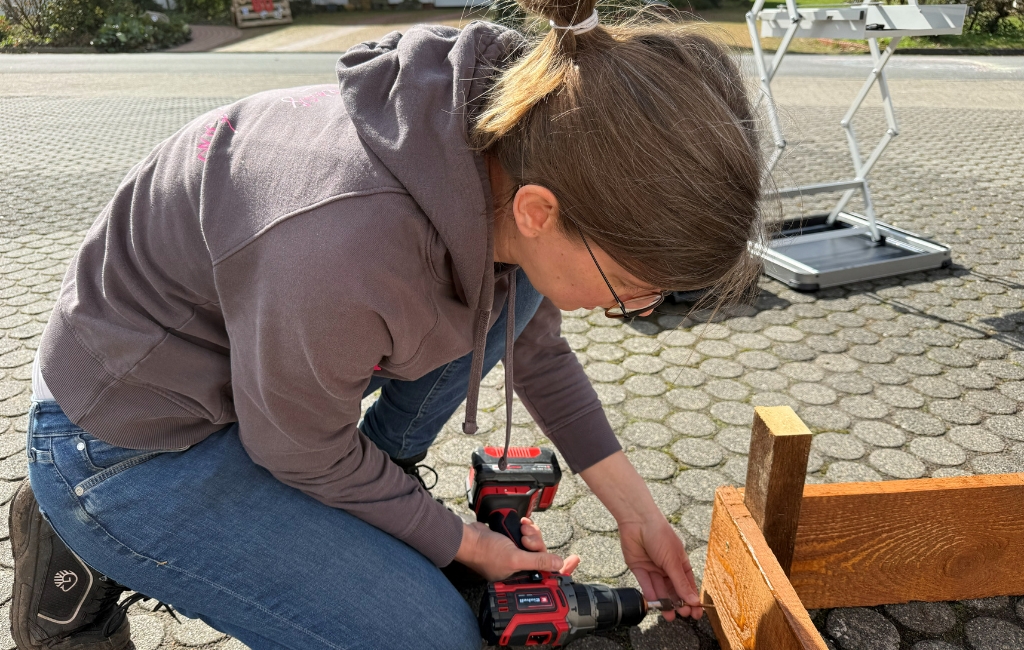
Now you can assemble the raised beds. Make sure you assemble them on a level surface. First, use the cordless screwdriver to screw the bottom frame of the raised bed together. The boards are not screwed directly to each other, but to the square timber. Use four screws per board (two on each side). For greater stability, the square timbers should sit flush with the ground at the bottom. Next, screw the upper larch planks onto the square timber. For aesthetic reasons, we have chosen square timbers that are 30 cm long – slightly shorter than the height of the raised beds – so that they are not visible from above once the raised bed is filled.
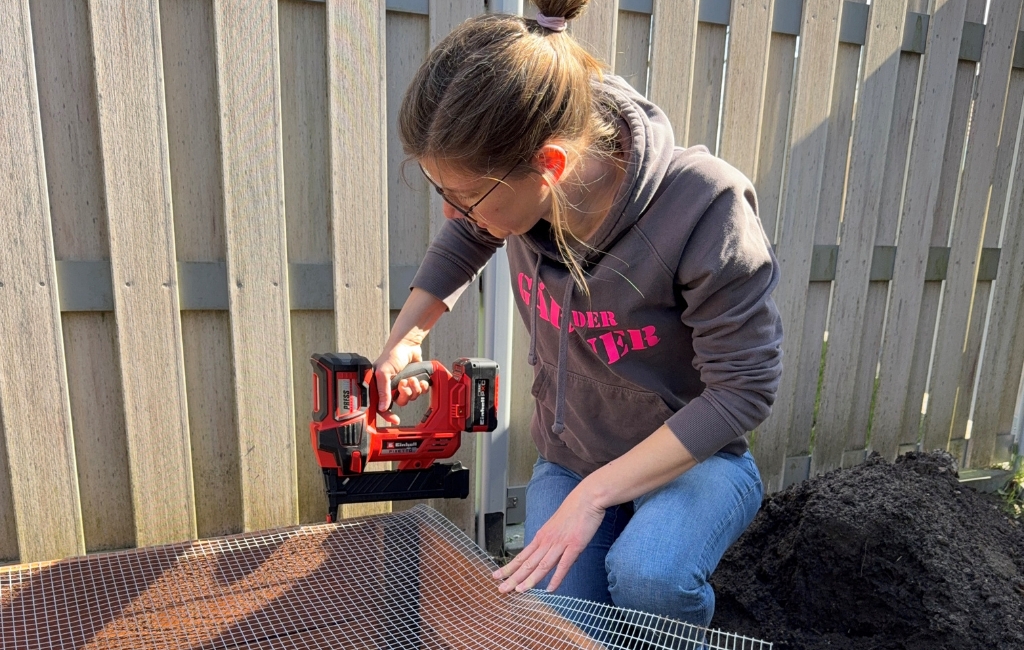
Step 5: Trim the vole mesh to size and secure it
To protect against voles, we recommend securing vole wire to the bottom of the raised bed. Trim this to the desired length using wire cutters. It’s best to use wire that’s already compatible with the raised bed, which you then simply need to trim to the right length. You can attach the wire to the underside of the raised bed using the cordless stapler.
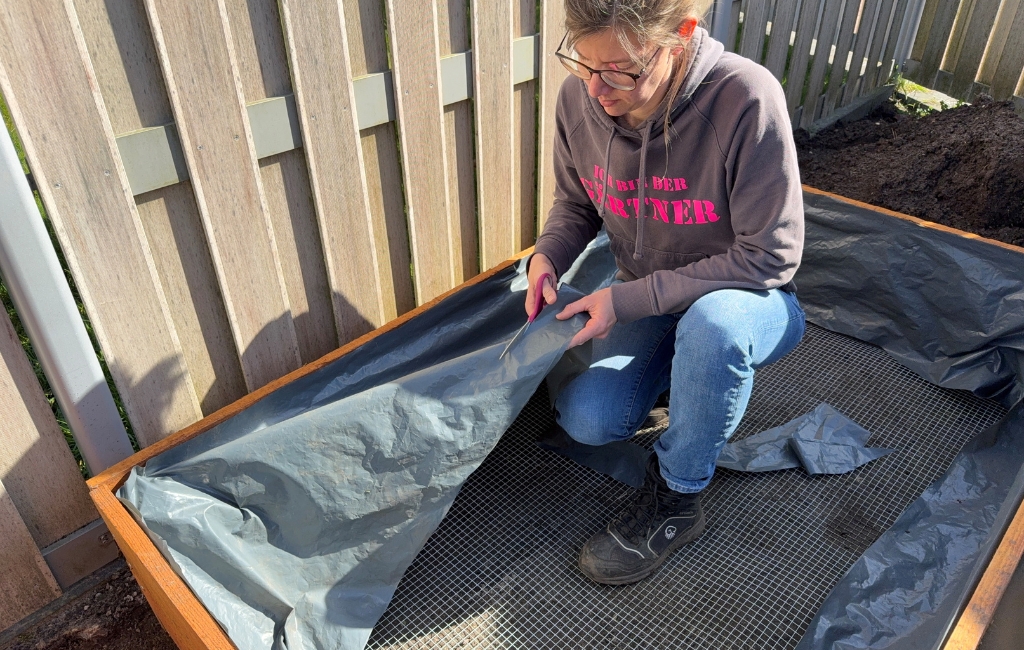
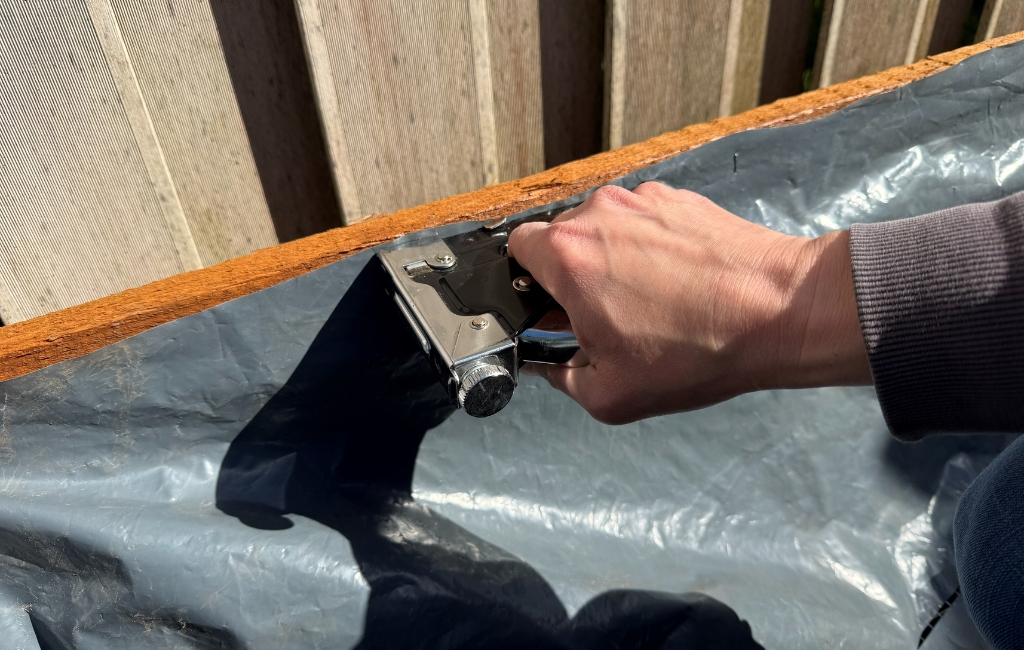
Step 6: Trim the film to size and secure it
To protect the wood, you should line the inside of the beds with plastic sheeting. You could use bubble wrap or pond liner, for example. Trim the sheeting to size with scissors and secure it with a hand stapler.
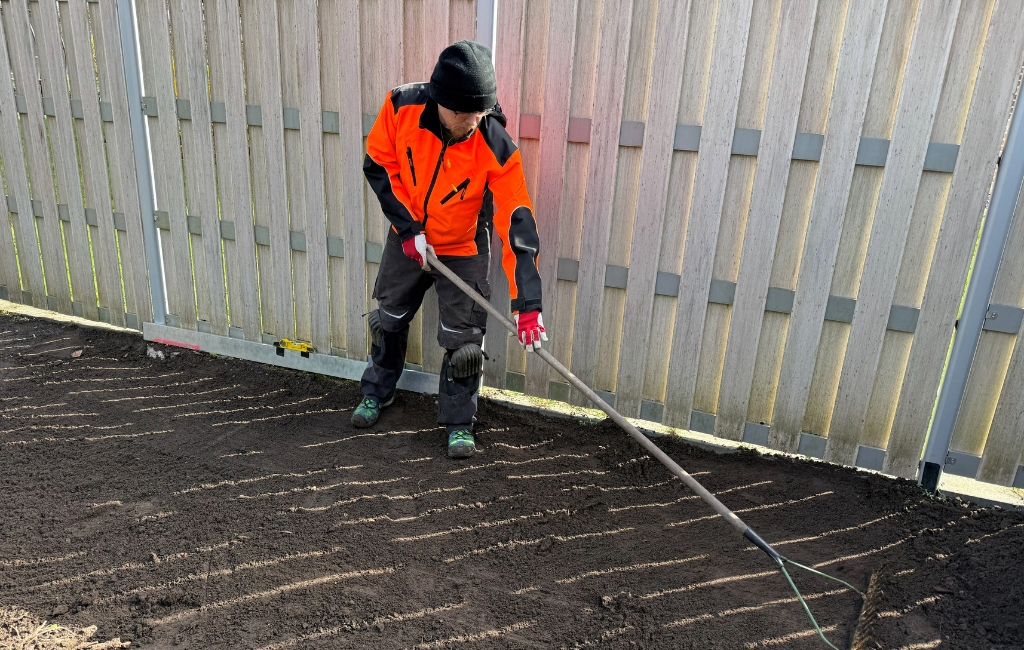
Step 7: Smooth out the soil and set up the beds
The ground on which the raised beds are placed must be level. If you are building them on the ground, you must first smooth it out. The beds can then be set up in their final position.
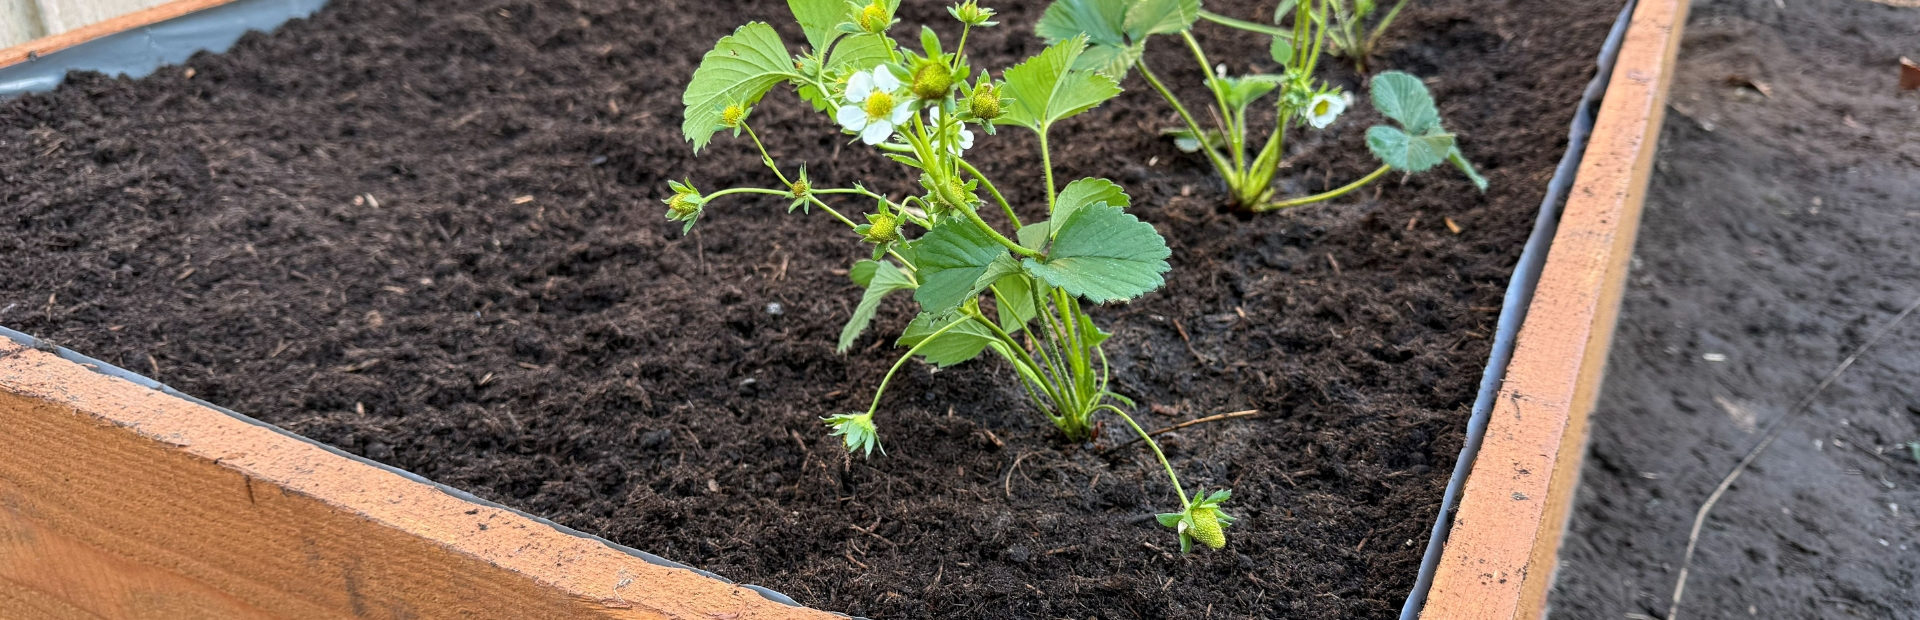
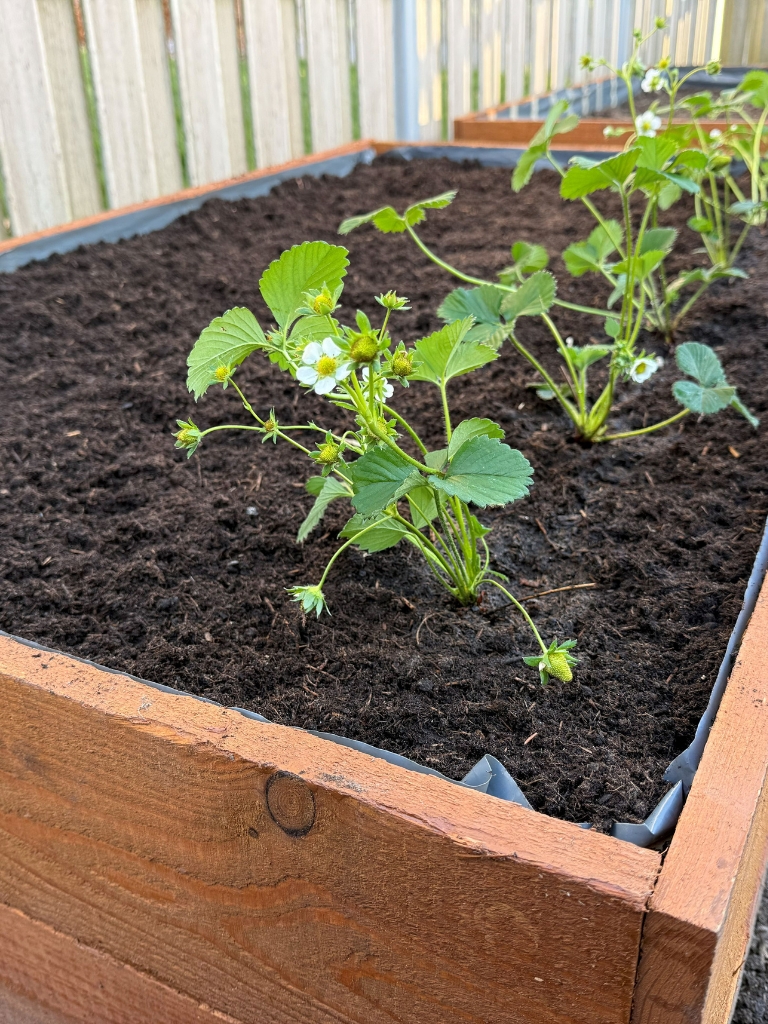
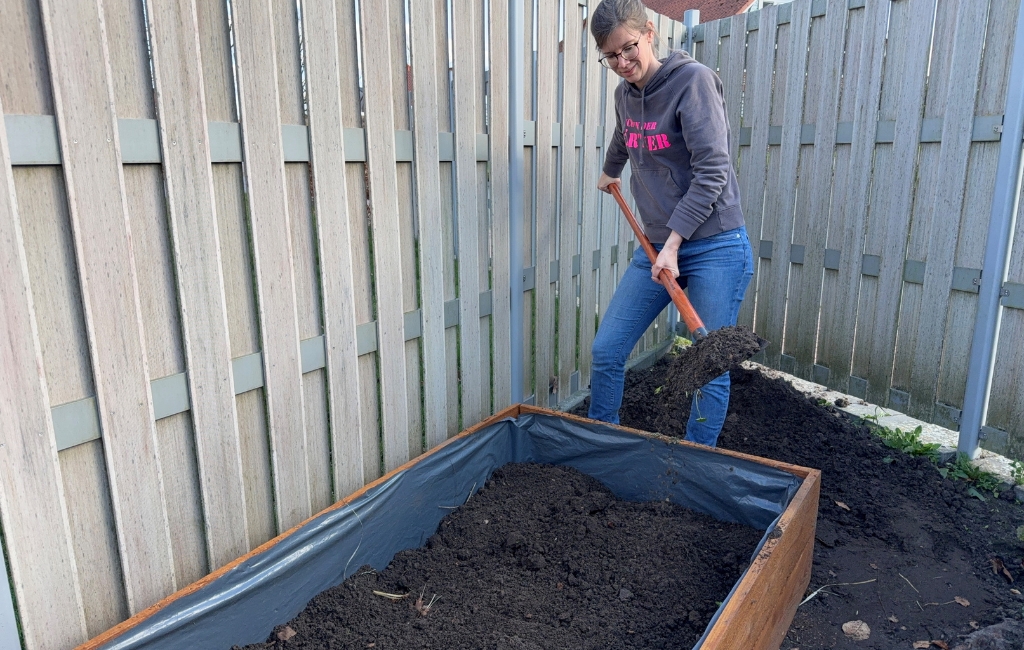
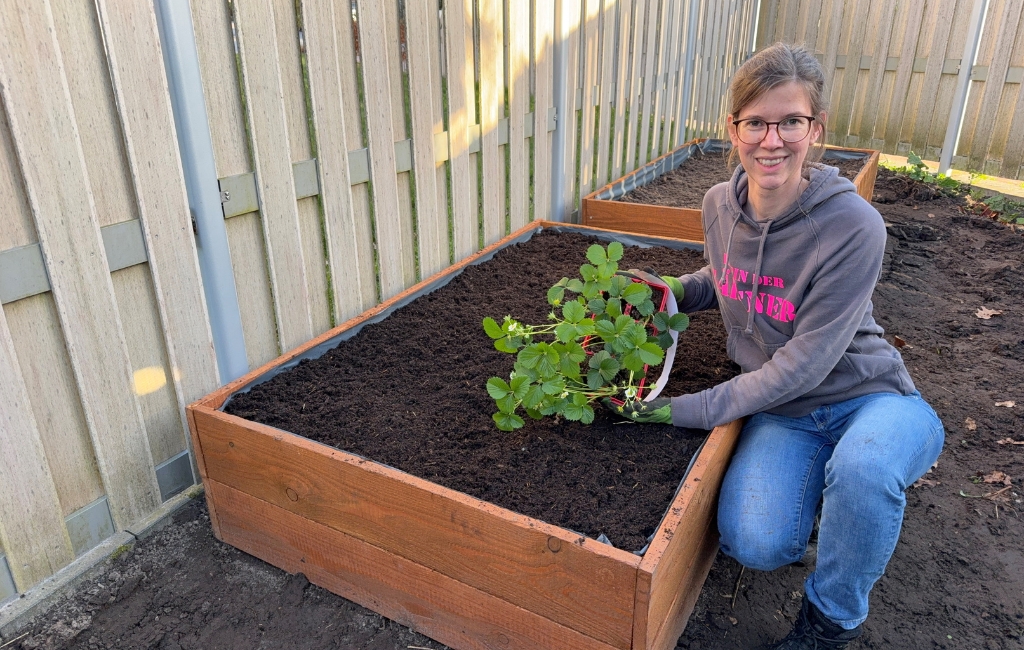
Step 8: Filling and planting raised beds
Once the beds are in their desired position, you can start filling them. Start with coarser material at the bottom, such as branches, twigs or coarse shrub cuttings. This ensures good drainage. Next, add leaves, grass clippings or semi-mature compost. Then add mature compost and, finally, high-quality potting soil. And then you’re ready: the first plants can be moved into your new raised bed.
Final thoughts
And there you have it – your very own raised bed is ready! It’s that quick and easy to create your own garden bed.
🌱 Have fun building, planting and harvesting!
Suitable Tools for the Project
Here you'll find Einhell tools and accessories that are perfect for bringing this DIY project to life.

Published on 26.03.2026
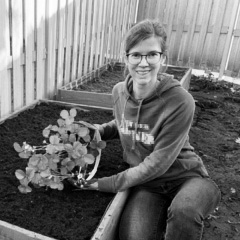
“A garden you can get involved in” – that’s what Lena Hartmann offers, known on Instagram as @lenas_staudengarten. On her channel, she regularly shares exciting DIY woodworking projects alongside tips and tricks for perennial beds that bloom all year round. Lately, this has resulted in a whimsical wooden fence with roofs and windows, a wooden deck with a pond, and wooden cladding for bee stones and other decorative objects. Her hands-on approach is infectious, and she inspires a growing community of gardening enthusiasts on Instagram.