


In this article you will learn all about:
The biscuit joiner: A must-have for all DIY enthusiasts
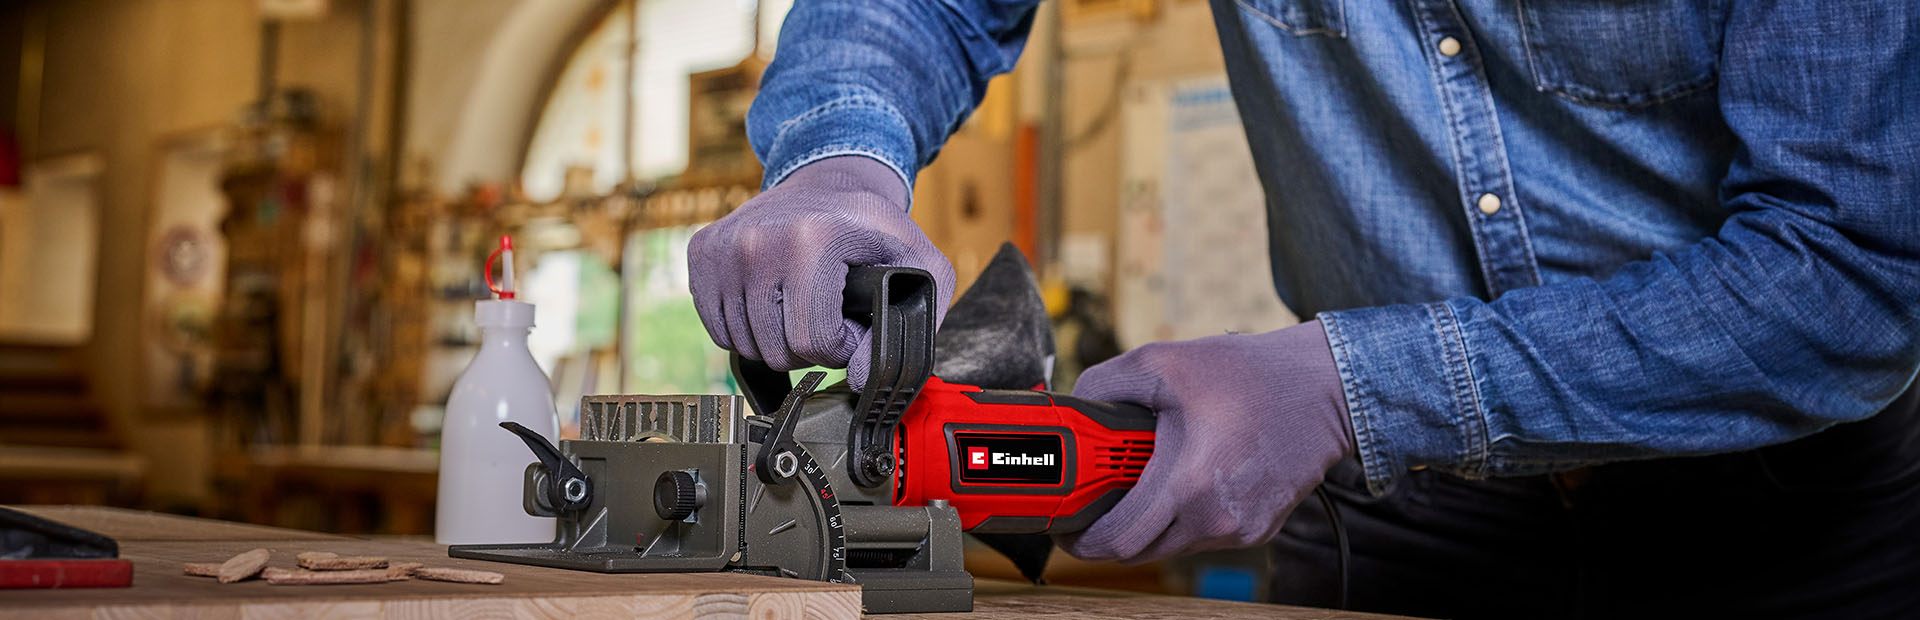
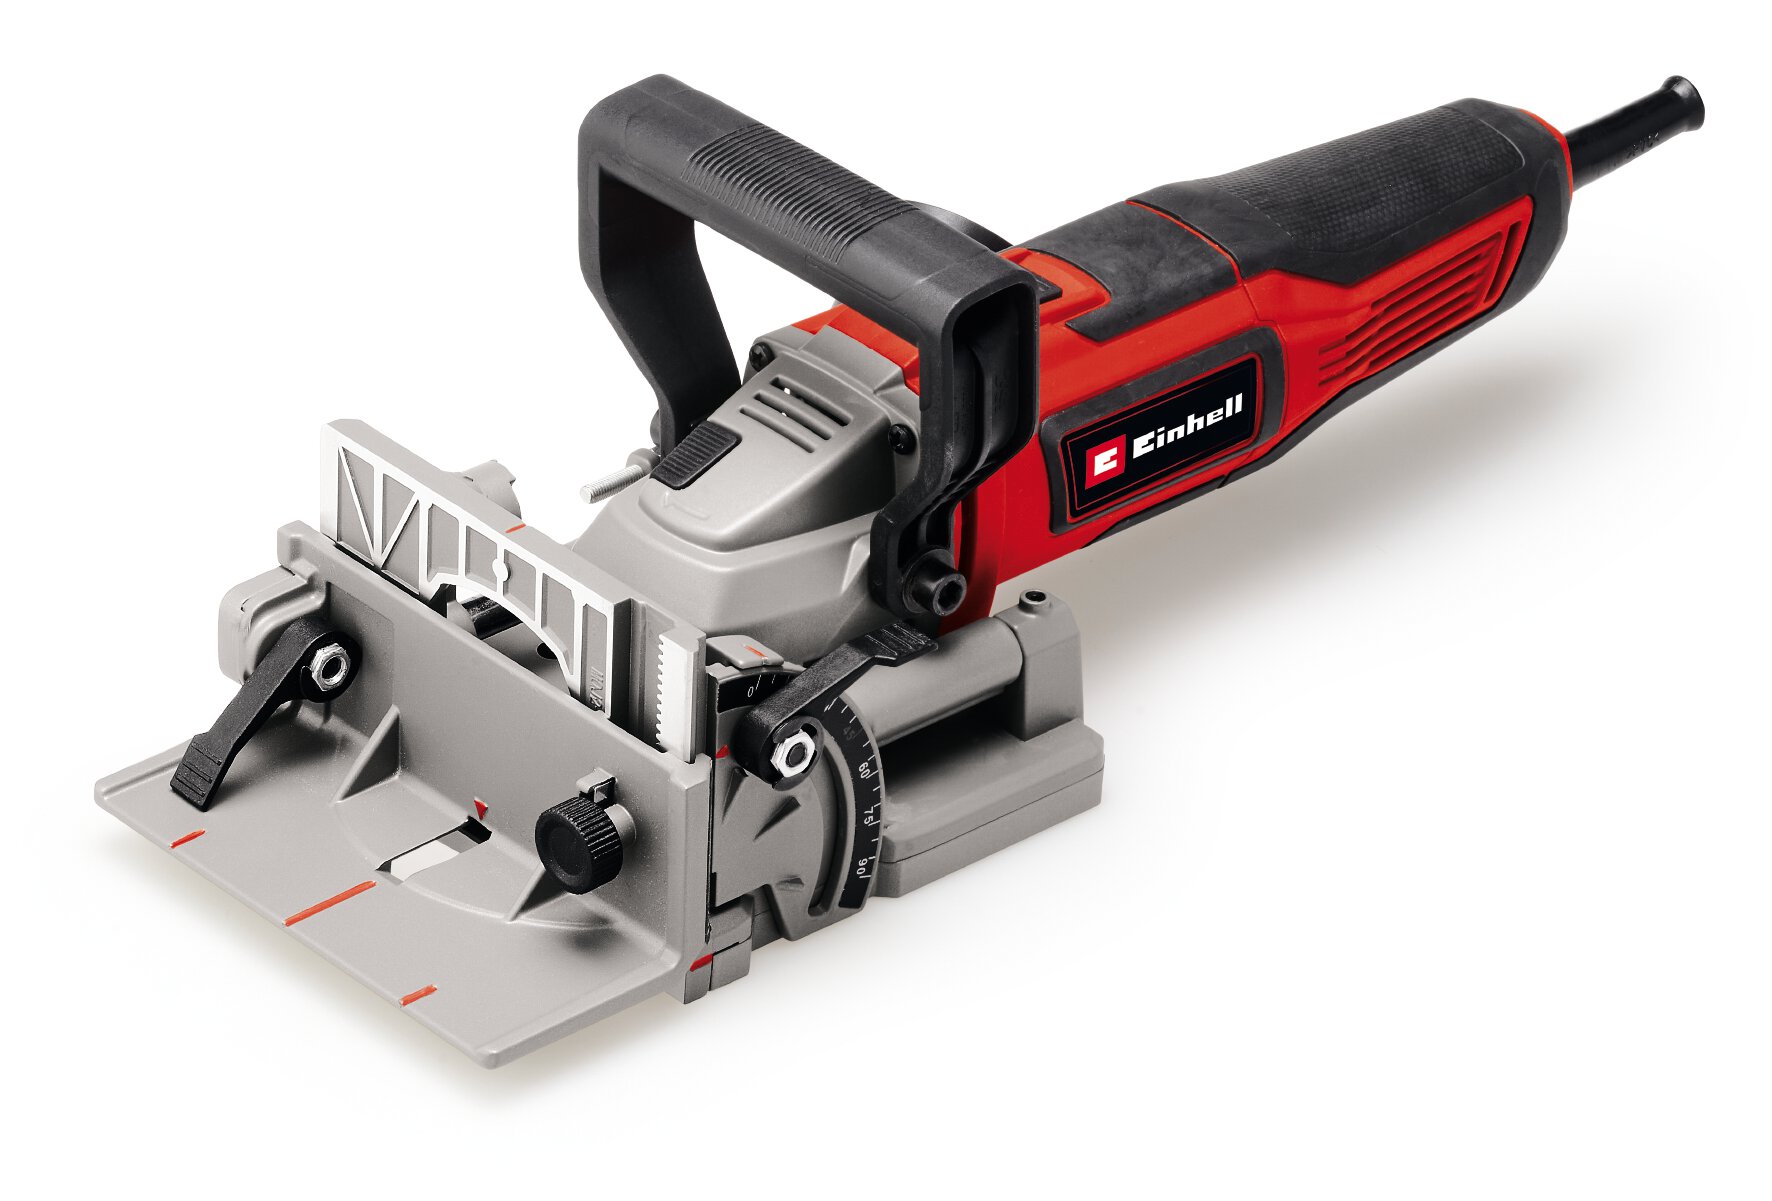
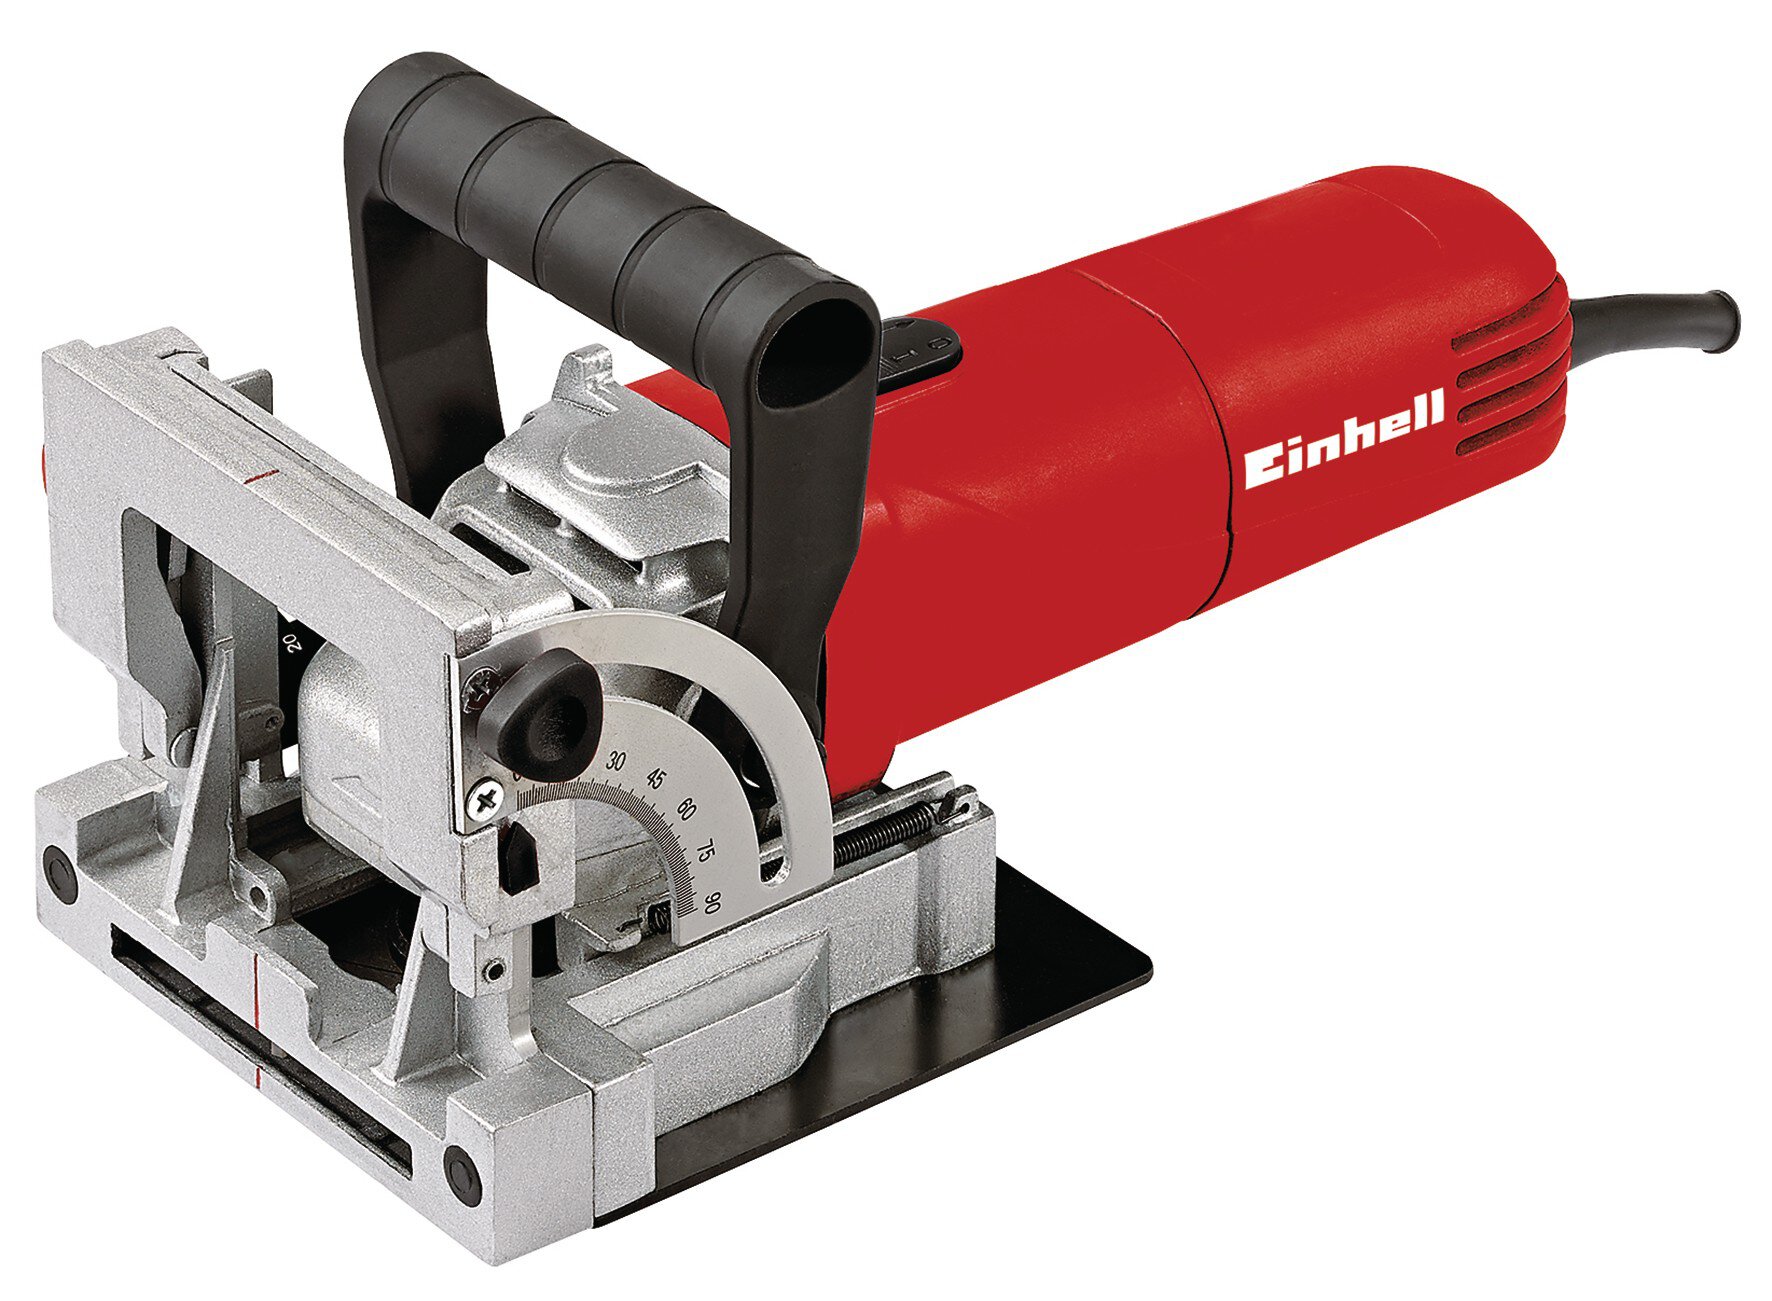
If you want to work with biscuit joints, it is best to use a biscuit jointer. A biscuit jointer actually resembles an angle grinder with an add‐on piece and an extra‐large handle. The speed is also really high at 11,000 rpm and provides a clean milling pattern.
The Einhell cordless biscuit joiner TE-BJ 18 Li provides cordless, accurate support and is suitable for all standard biscuit sizes up to type 20.
The biscuit joints
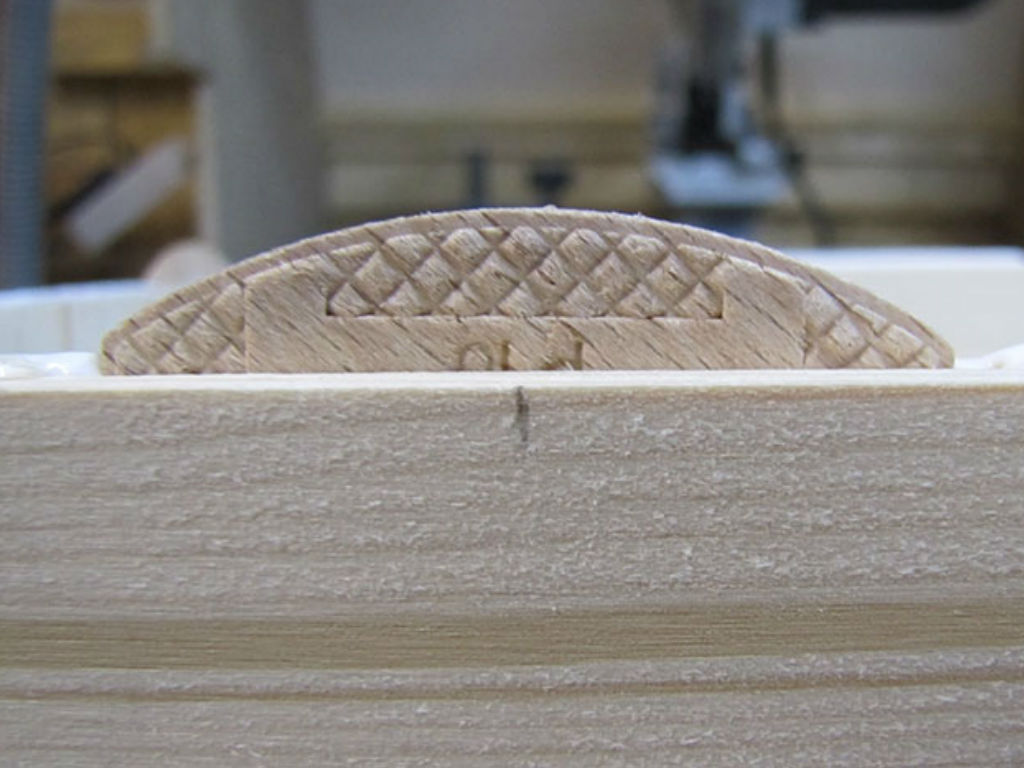
A cutting disc is used to make semi‐circular slots in the workpiece. These slots resemble in shape the biscuit joints that come in different sizes. Commonly sold biscuit joints are around 4 mm thick and in oval shape. Biscuit joints are glued on both sides because of the moisture of the glue the joints swell up and hold the workpieces stably in place.

Biscuit joints swell slightly due to the glue, creating a particularly strong connection between two pieces of wood.
Applications
In general, biscuit jointers are used for butt joints to bind panelled material. For example, the biscuit jointers can be used to make edge‐glued wood panels. But in the DIY world, the biscuit jointer serves as an all‐purpose genius: Be it a trench cut, shadow joint, butt joint, corner joint, T‐joint or mitre joints – anything can be made with this machine.
Advantage of the biscuit joint
The biscuit jointer is set just once at the beginning for height and depth. In general, you can use these settings throughout the project. That speeds up the work. Moreover the height adjustment need not necessarily be precise up to the last millimetre, because the pieces have a slot provided at the same height. The slot can be used to make small corrections in the groove direction. Because the slot is somewhat thicker than the biscuit joint, it is actually possible to make a very small correction across the groove, fix the position using clamps and after the glue is set the joint is stable and fits precisely. In contrast to the otherwise widely used round head dowel, it is not so critical here, to be 100% precise when working. This increases its appeal to DIY‐ers.
We present here a small project to show you how to use the biscuit jointer.
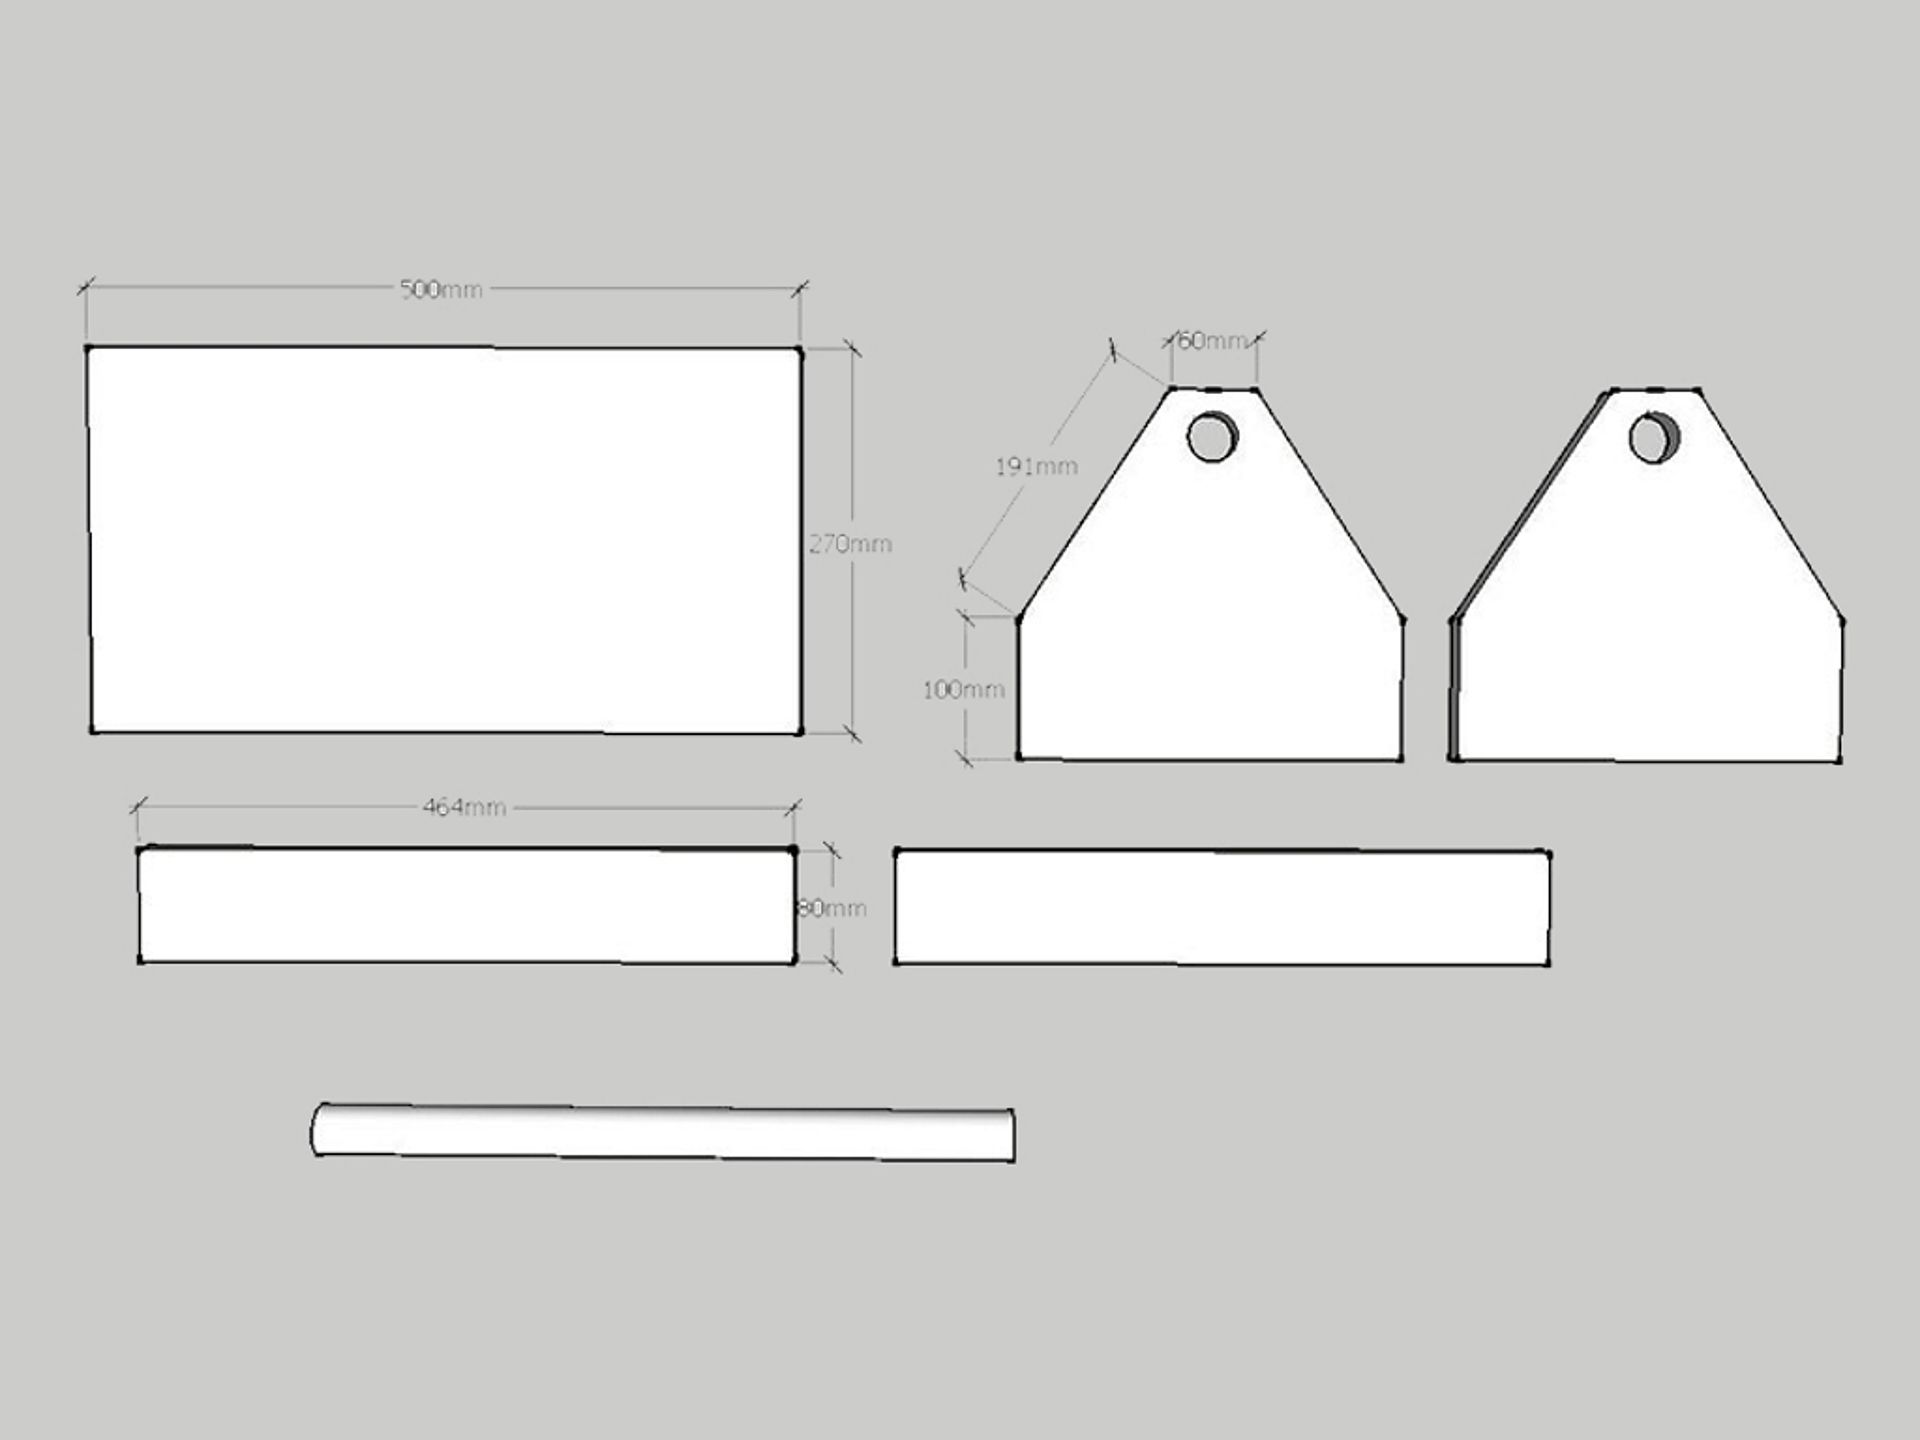
Project: building a tool box
For this project I completely used scrap wood (18mm edge‐glued wood panels, 35 mm round wood). The dimensions of the box were also determined by this You have to make sure, that the grain of the head piece (the one with holes) goes from top to bottom, to get more stability.
Are you ready to tackle your own project with a biscuit joiner? Then we have the perfect guide ready for you.
After you have correctly sawn all the pieces and drilled both the holes (35 mm diameter), leave them to dry. If the pieces are wobbling or continuously toppling over, I would suggest that you clamp them. Once you have it all arranged, take a pencil and mark the points where biscuit joints must be cut. Make sure that the markings are not too close to the edges. Keep a margin of at least 40 mm from the edge.
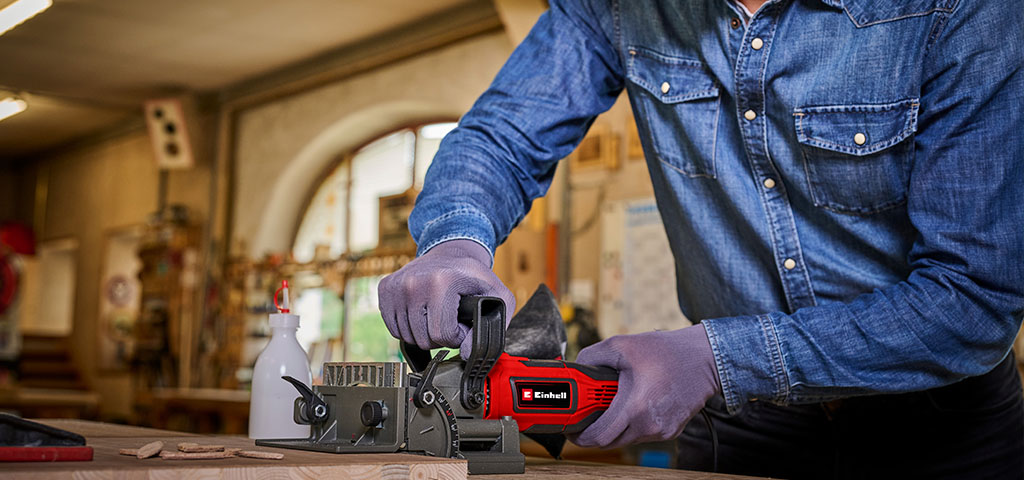
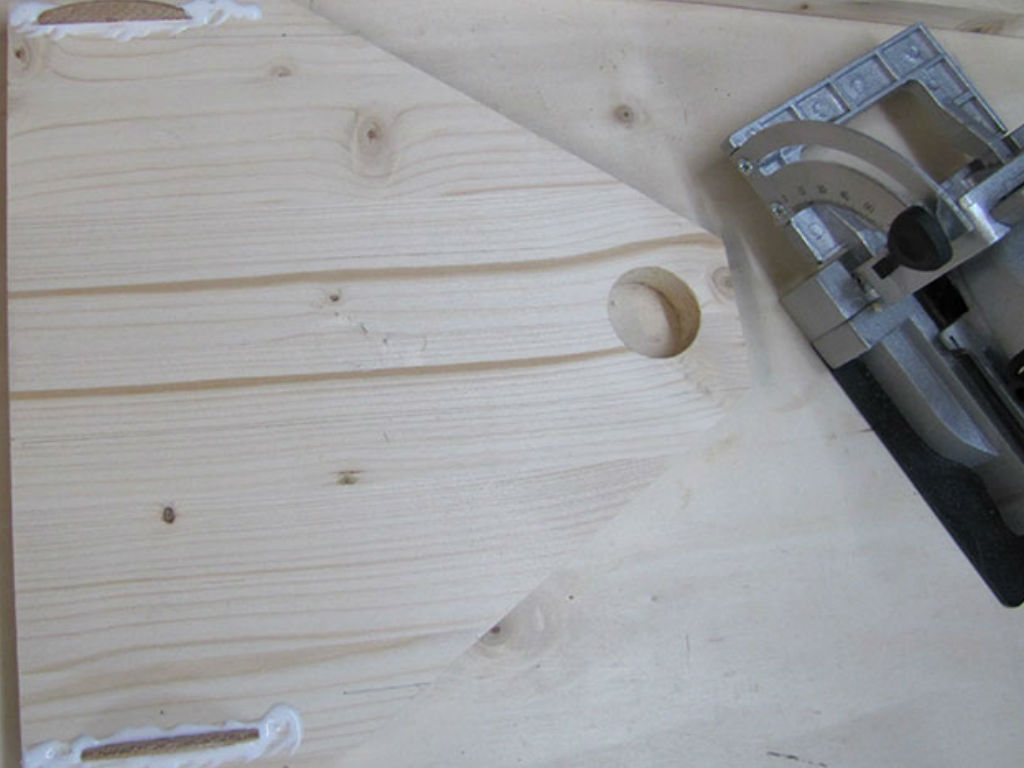
The biscuit jointer is now aligned. Open out the mitre fence at 90 degrees.
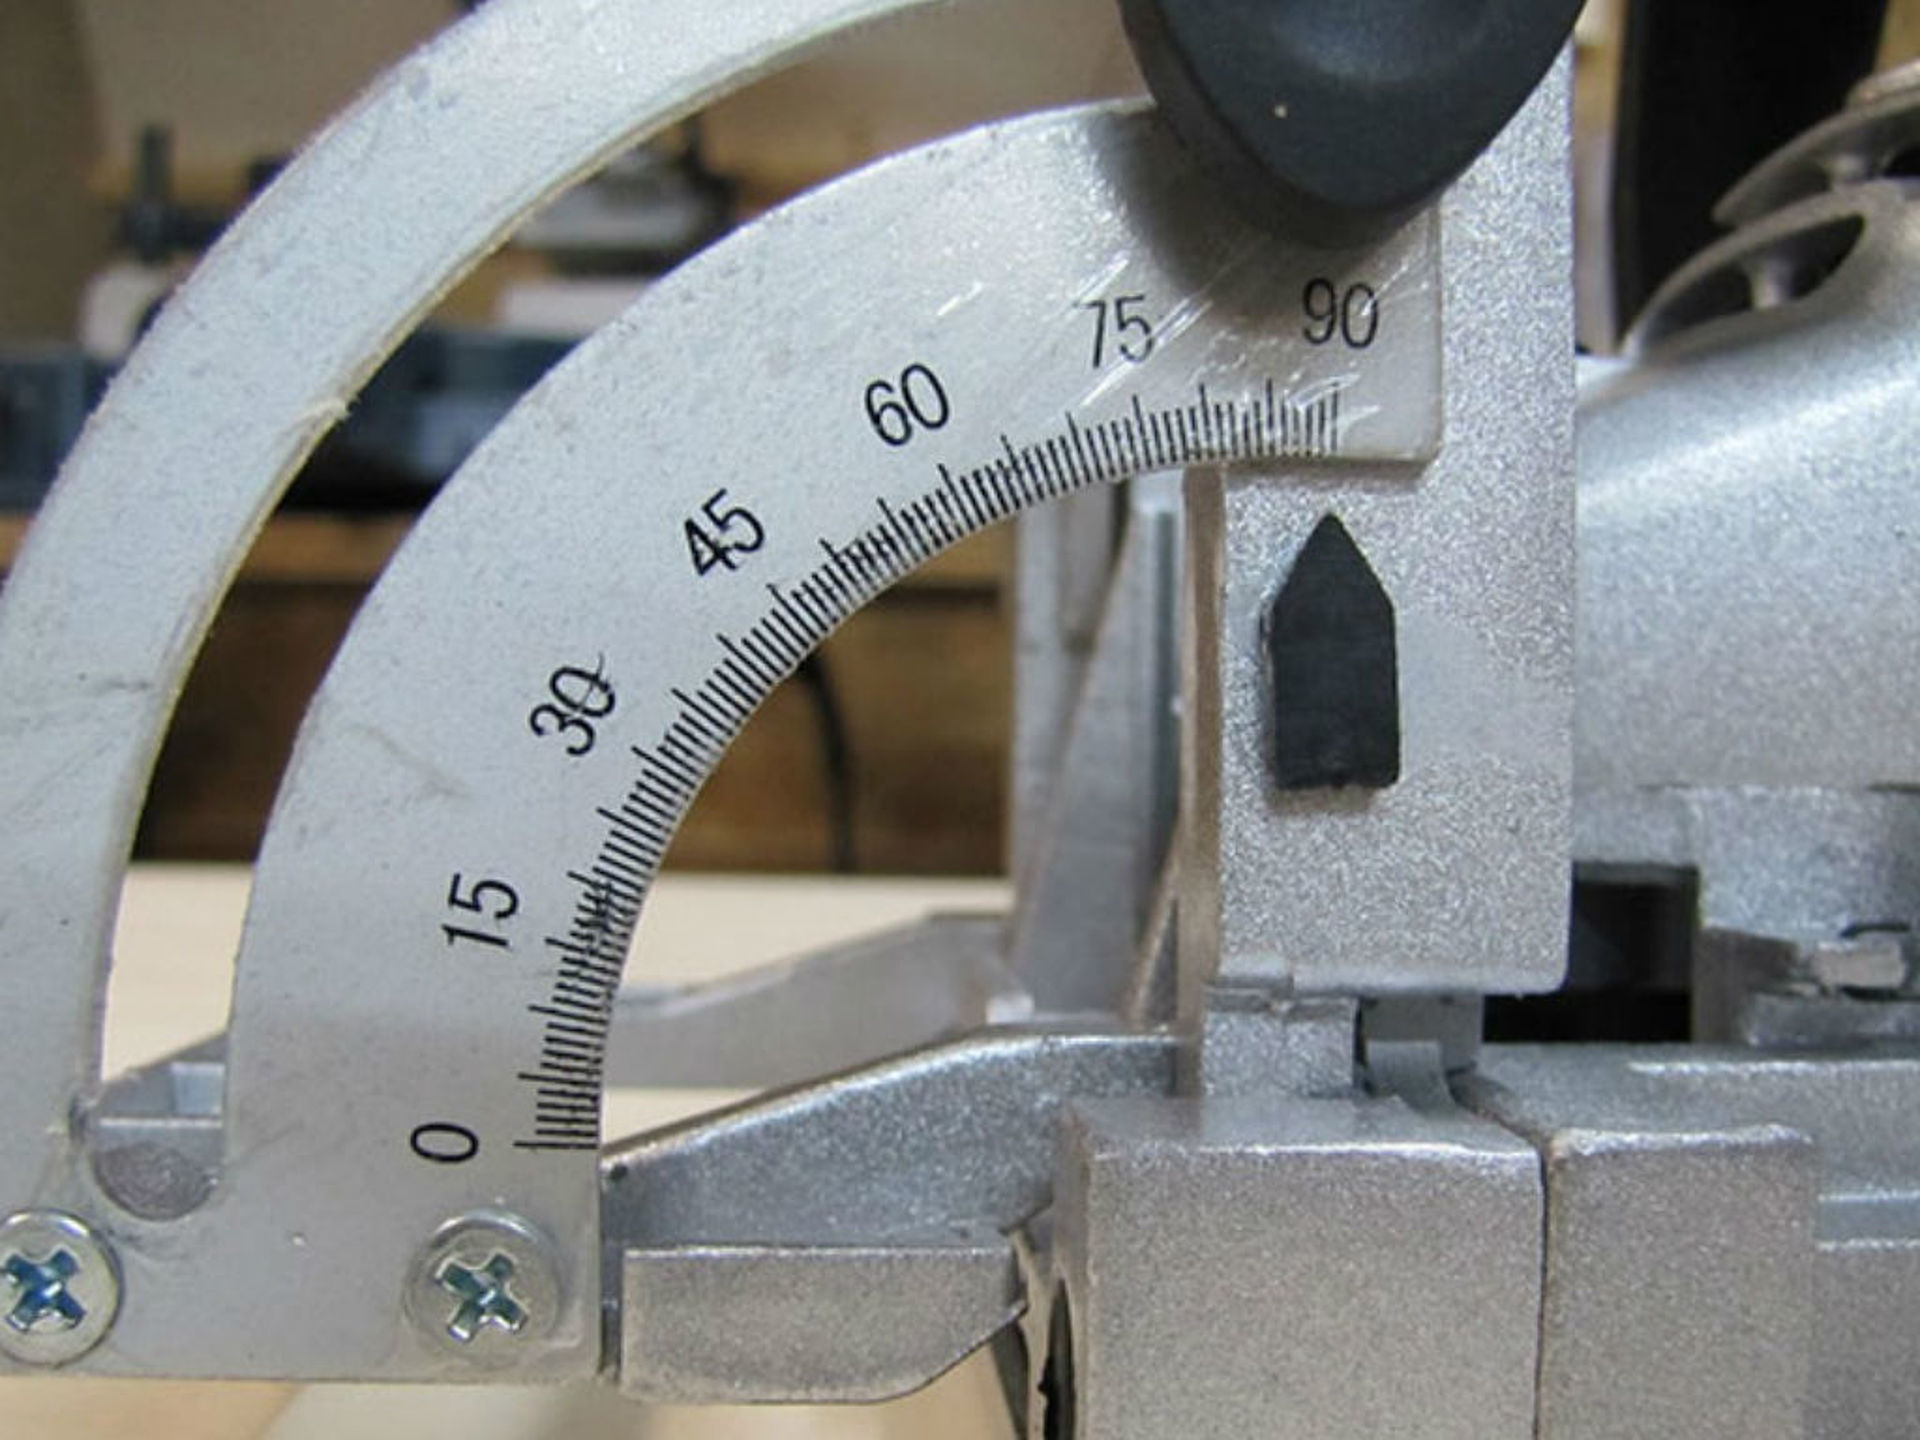
Adjustment of the biscuit jointer and milling cutter
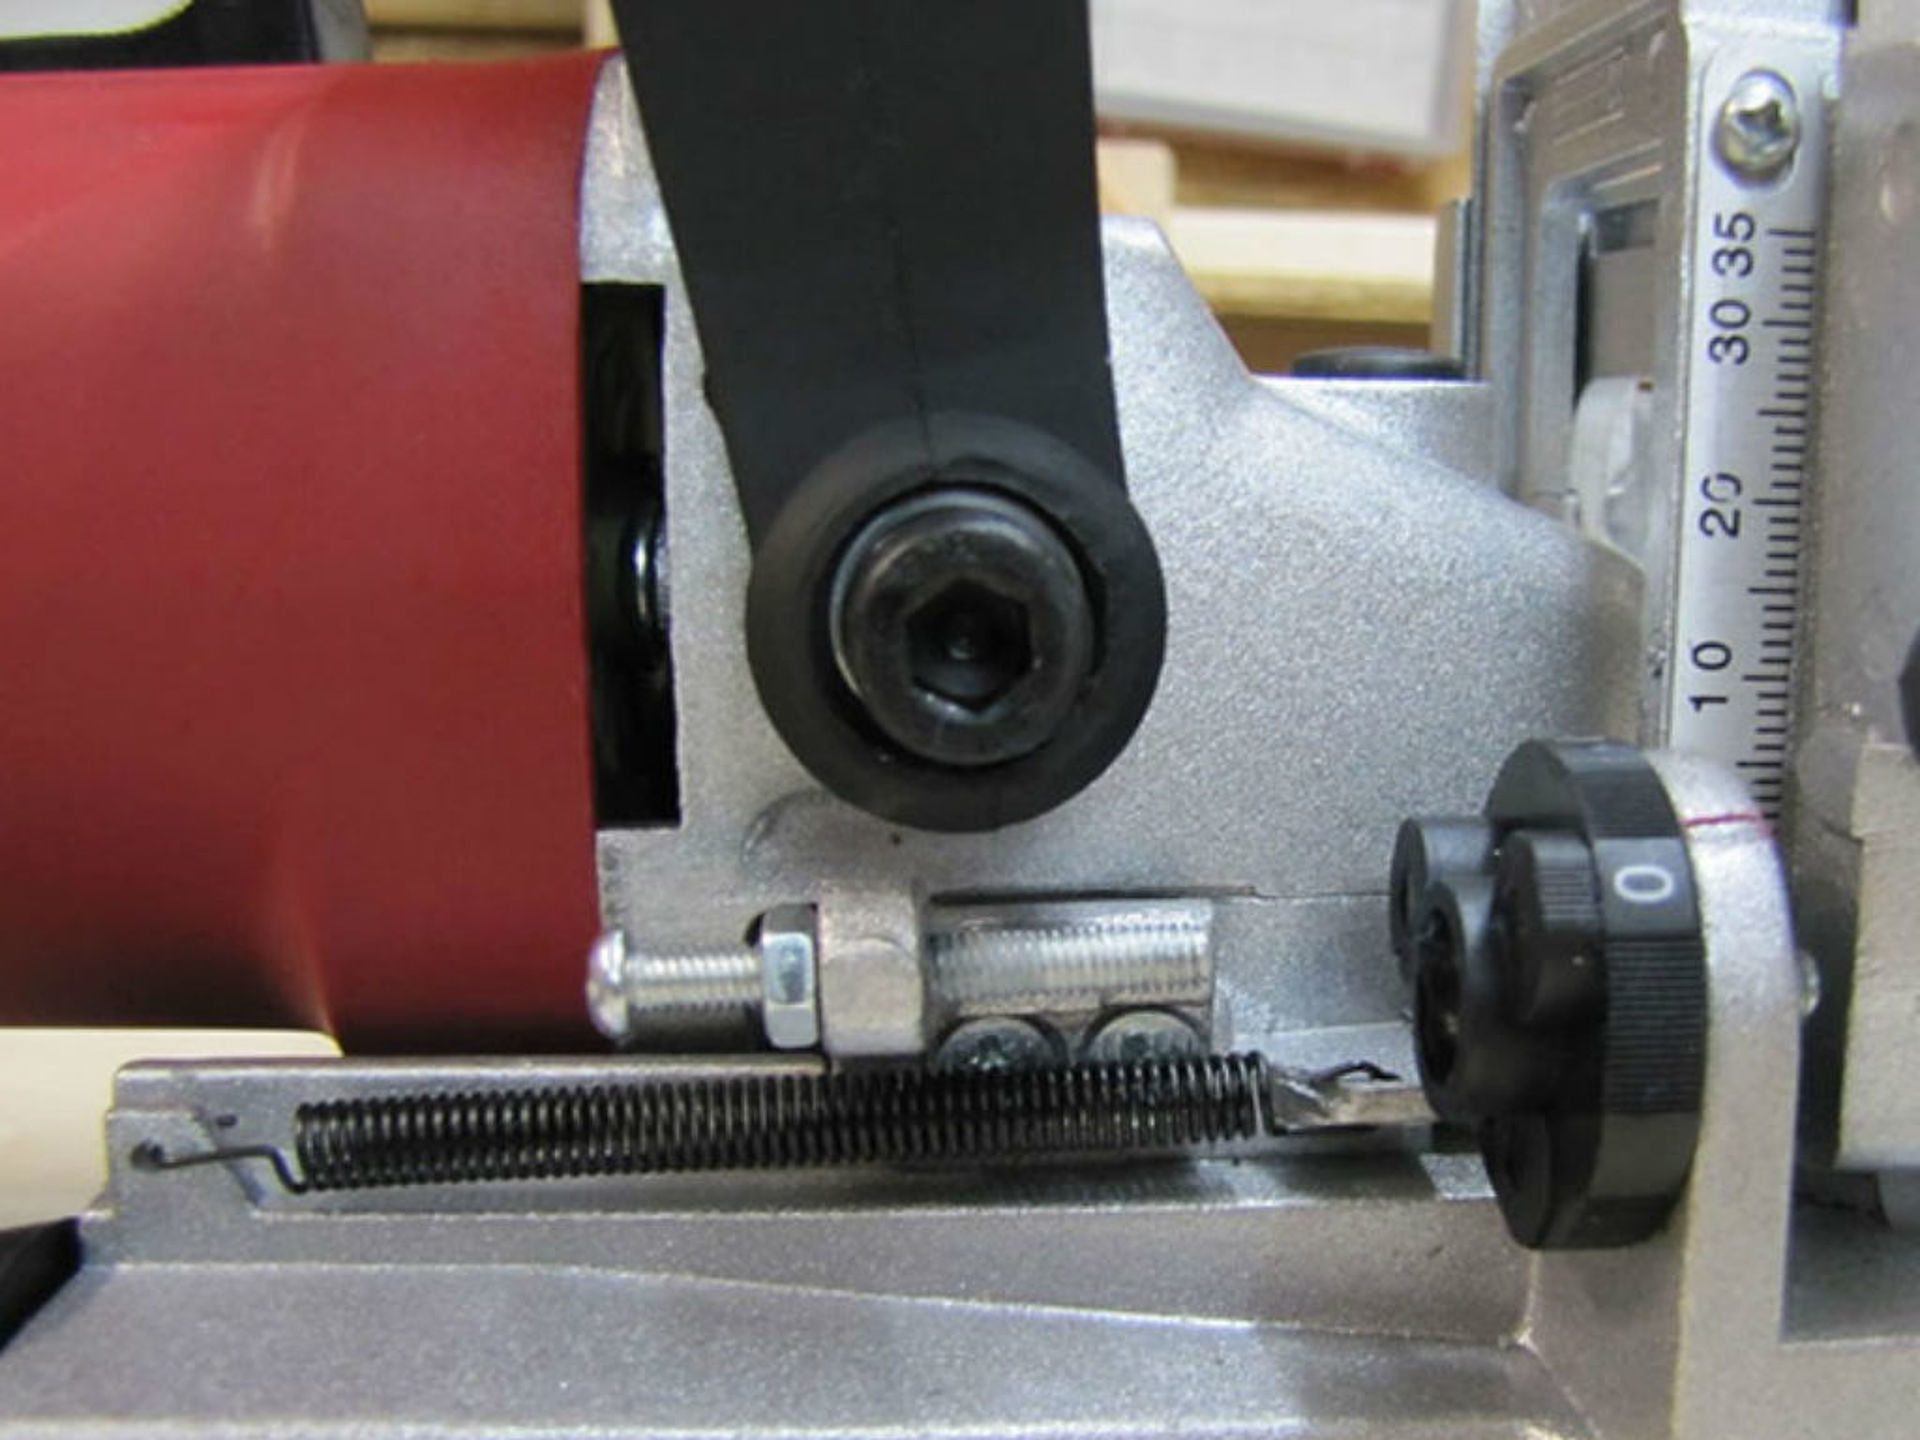
The small black wheel is for adjusting the depth In this case, I am using size 10 biscuits. Set the wheel such that the red line is at 10.
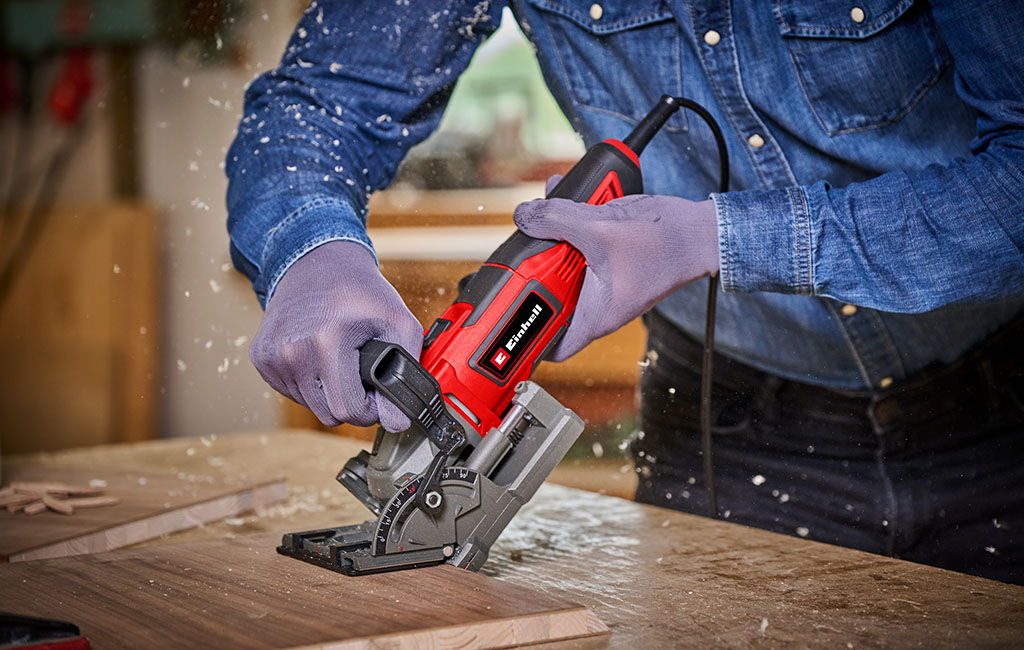
Arrange all the parts so that you can first make the grooves, during which time the work piece is laid out flat. Now set the biscuit jointer, such that the middle marking (red line) is aligned to your pencil marking.
To ensure that it does not slip out of place; keep your thumb on the mitre fence and push down the work piece at the same time. Now switch the tool on and gently press the machine till the fence is against the work piece. Done! You will carry on the same way for the other markings.
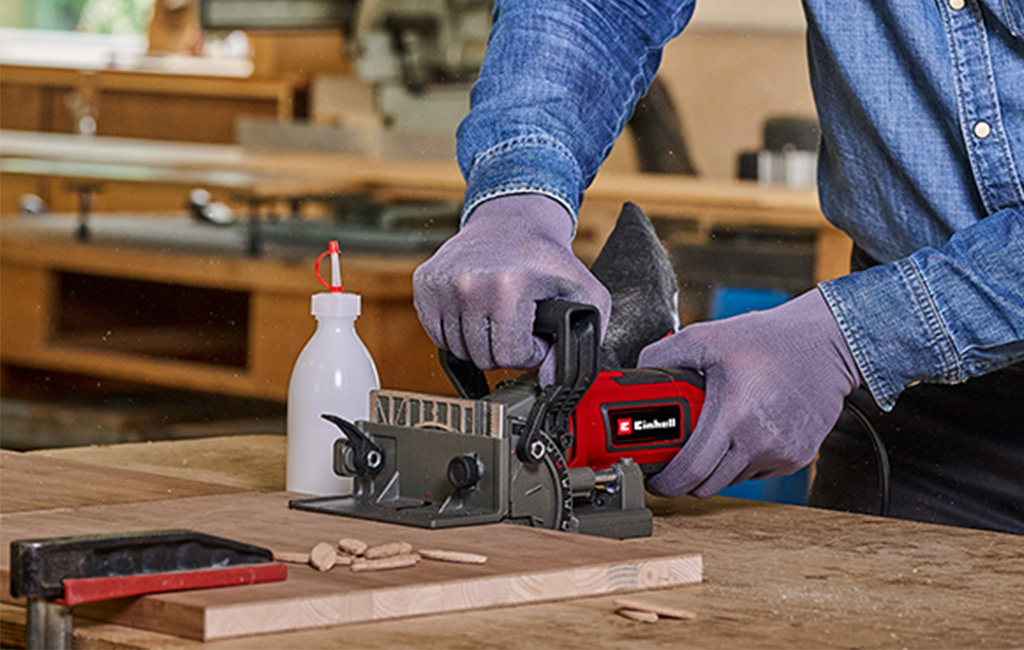
For the base and head pieces the slots must be made across the work piece. For this, the components must be clamped on a work bench or a vice. The procedure is the same, like in other milling.
Gluing of the workpieces and finishing
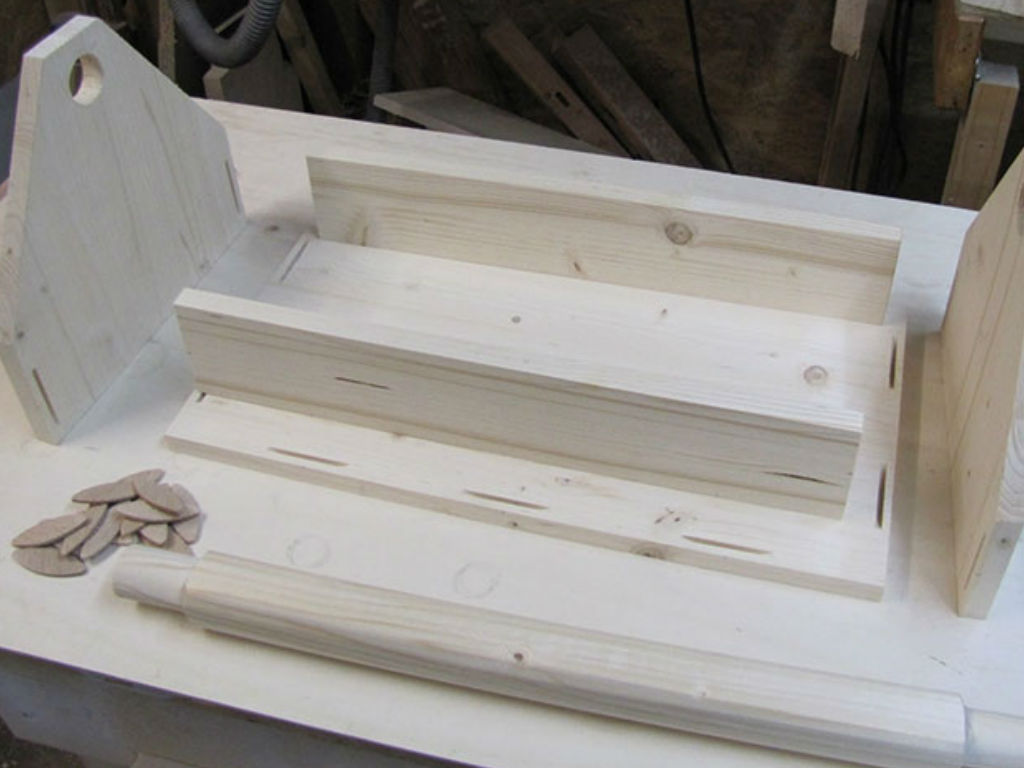
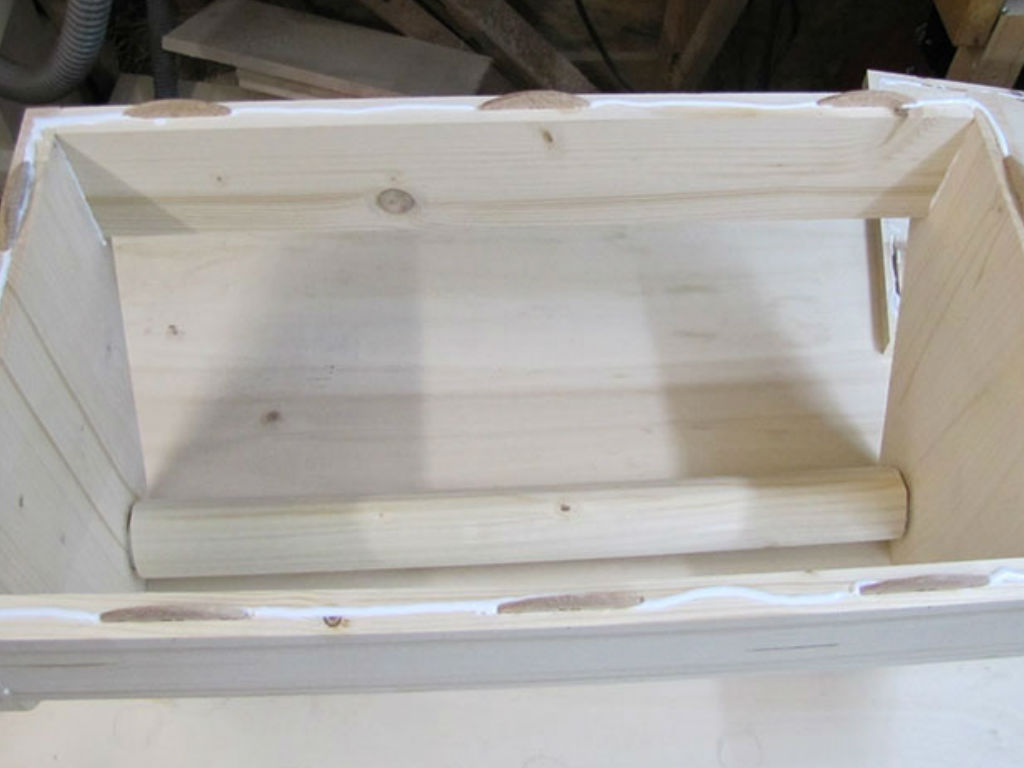
- For gluing the tool box, start with the top and side pieces.
- Now set the biscuit joint on one side. Make sure that the biscuit joint is placed in the middle of the slots. You can use your markings to guide you.
- Assemble the top and side pieces along with the handle and turn the whole thing upside down. Next apply glue to the underside of the edges, as well as the bottom panel and insert the biscuits.
- Now fix the sides to the bottom panel and clamp everything.
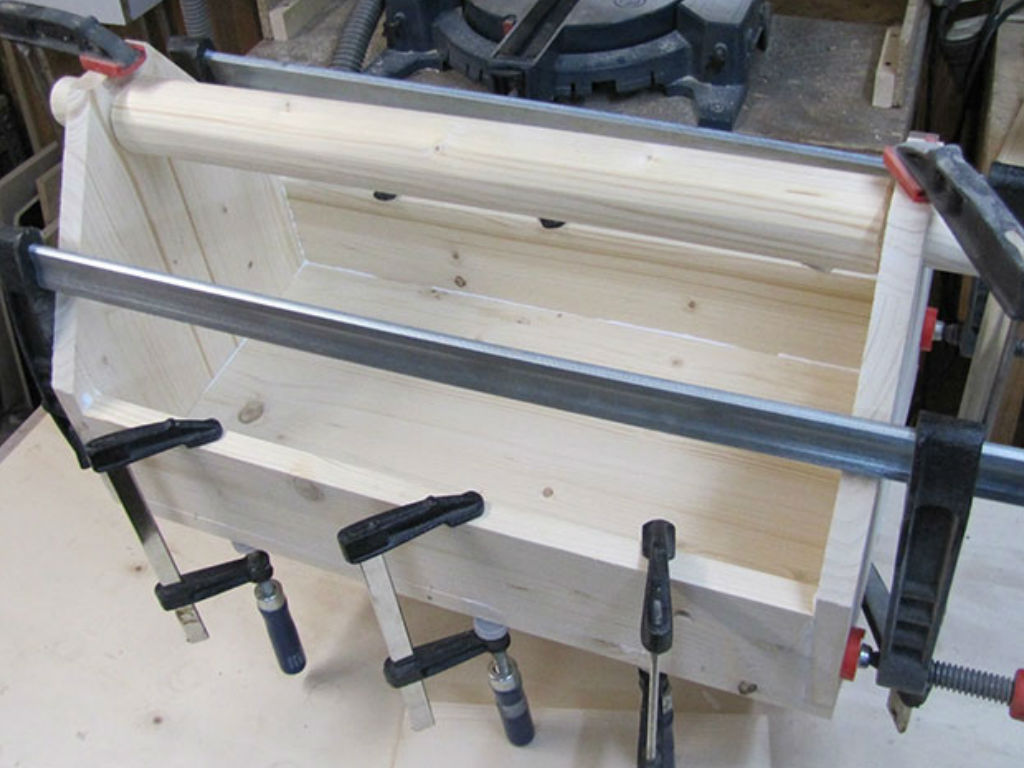
- Let the glue set in for around six hours and then release the clamps. You can do the sanding and finishing now and after that your toolbox is ready.
You will see for yourself that the biscuit jointer is a very useful tool and also very easy to use. Ideal prerequisites for the ambitious DIY‐er!
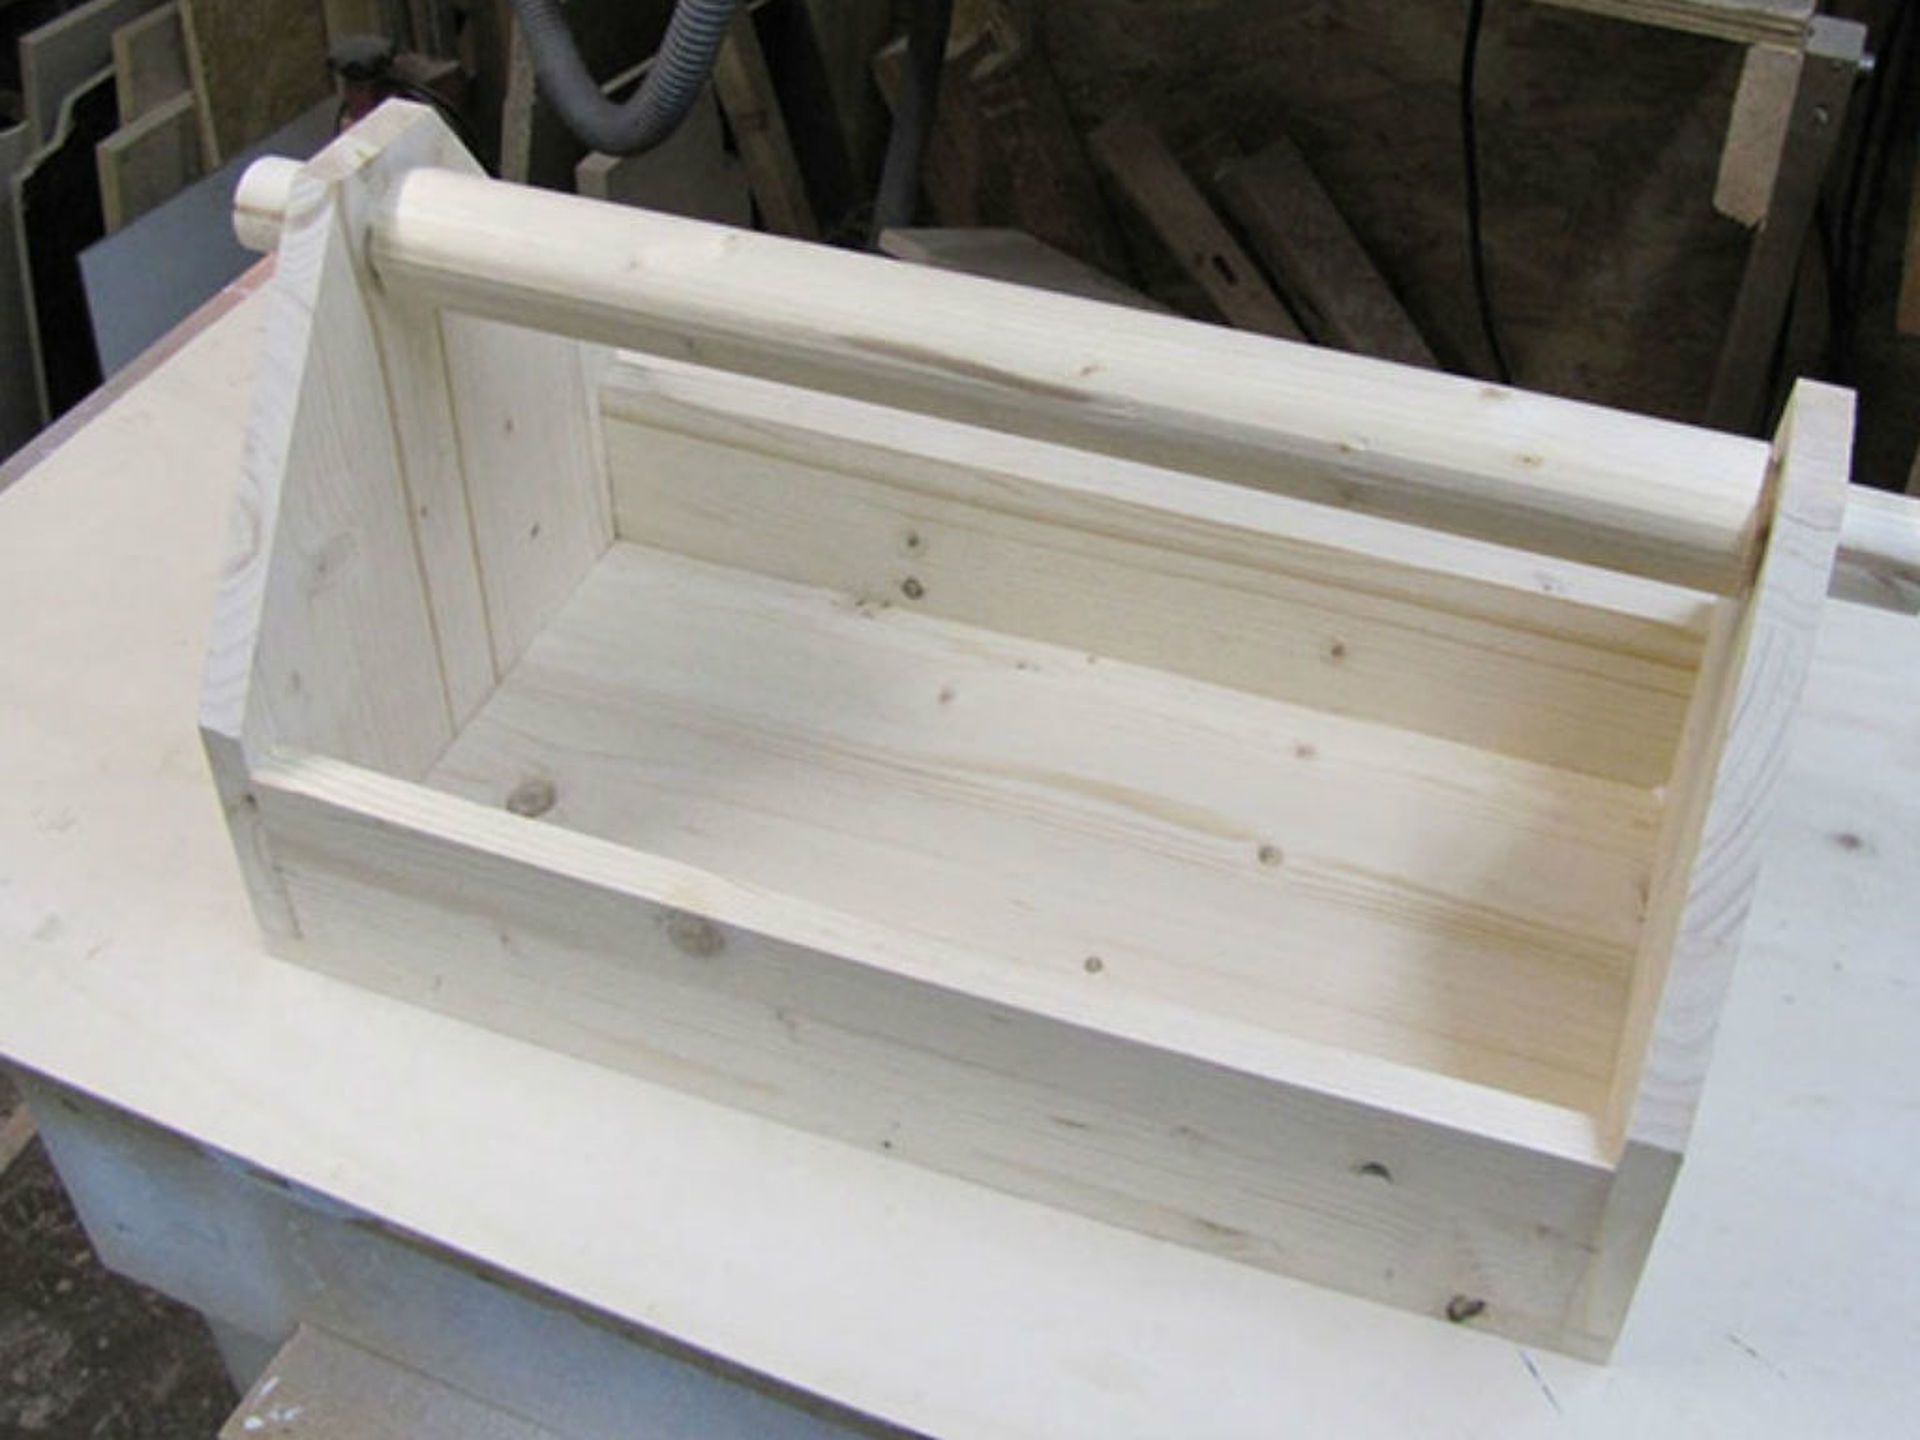
And there you have it: your self-built toolbox, sturdier than ever thanks to biscuit joints!
Conclusion
Including our tool recommendations for your project
With a biscuit joiner, you can create strong, precisely fitting wood joints even without professional experience. Whether butt joints, corner joints or mitres, biscuit joints offer you an easy, fast and reliable way to join wooden workpieces neatly. One particularly practical advantage is that small adjustments are still possible during gluing, while the joint becomes especially strong once the glue has set. Our toolbox project shows just how versatile and straightforward working with a biscuit joiner can be — ideal for gaining your first experience and completing a useful DIY project right away.

Published on 21.02.2018
Whether it's drilling, hammering, or sanding, our professionals in the workshop and DIY field will show you how it's done. Frank Rath is a freelance blogger and a passionate craftsman. With his tips and tricks about Einhell tools, you will not only become an absolute DIY expert but also learn how to safely use each device.