

In this article you will learn all about:
Tools and Materials
Materials
- Old pieces of wood or slats
- Remnants of posts for the legs
- Screws
- White paint
- Paintbrush
- Sandpaper
Instructions: Wooden Halloween Ghosts
Step 1: Sketch the ghost shape
First, think about what you want your Halloween ghosts to look like. A group of figures of different sizes looks especially nice. For this project, the ghosts are about 30 to 60 cm tall.
Draw the desired shape on paper or directly onto the scrap wood with a pencil. You can customize the shapes however you like: a rounded head, a curved body, or a slightly asymmetrical bottom edge will make each ghost unique.
If you have smaller pieces of scrap wood, you can also assemble the required surface from several individual pieces.
Step 2: Prepare the scrap wood and assemble it
Sort through your scrap wood and think about which pieces fit together best. The boards don’t have to be perfectly uniform—after all, you want to preserve the rustic character of the reclaimed wood.
For one of the ghosts, several pieces of wood were combined. To ensure the individual elements are securely fastened together, you can place another piece of wood on the back and secure it with a cordless drill and matching screws.
This creates a sturdy surface from several individual scraps, from which you can then saw out the ghost shape.
Step 3: Cut out the ghost shape
Now it’s time to use the cordless jigsaw.
Carefully cut out the ghost shape you marked earlier, working as smoothly and evenly as possible to ensure the curves and rounded edges turn out clean.
With this Halloween decoration in particular, you don’t need to be precise down to the millimeter. Small irregularities fit perfectly with the natural, handmade look of the figures.
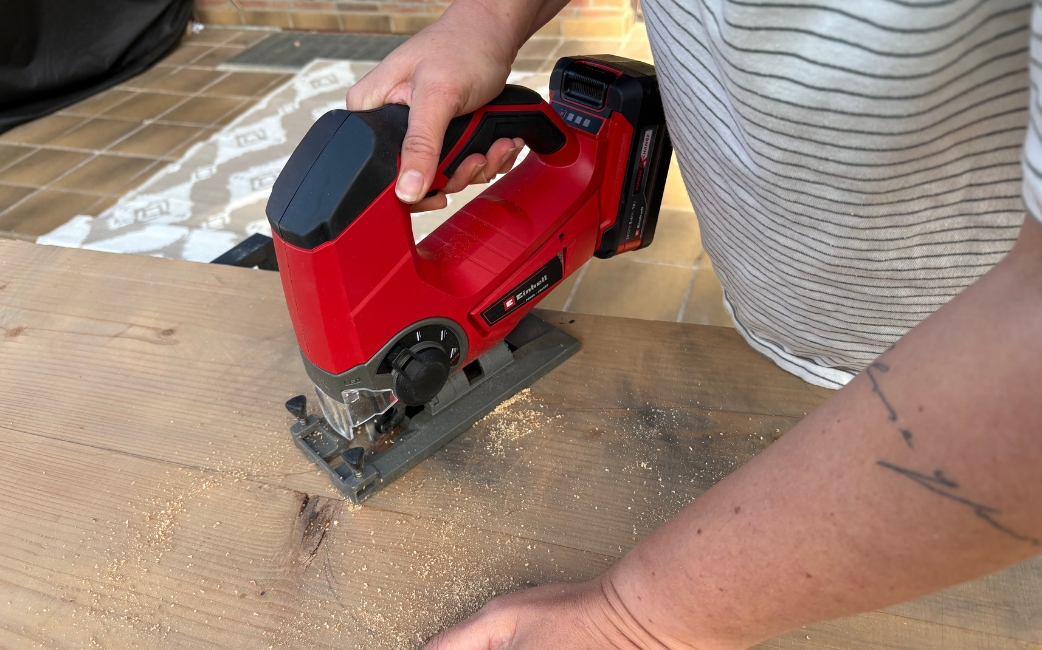
Tip: If you're making several ghosts, feel free to vary their shapes a little. This will make the finished group look especially lively.
Step 4: Sand the edges
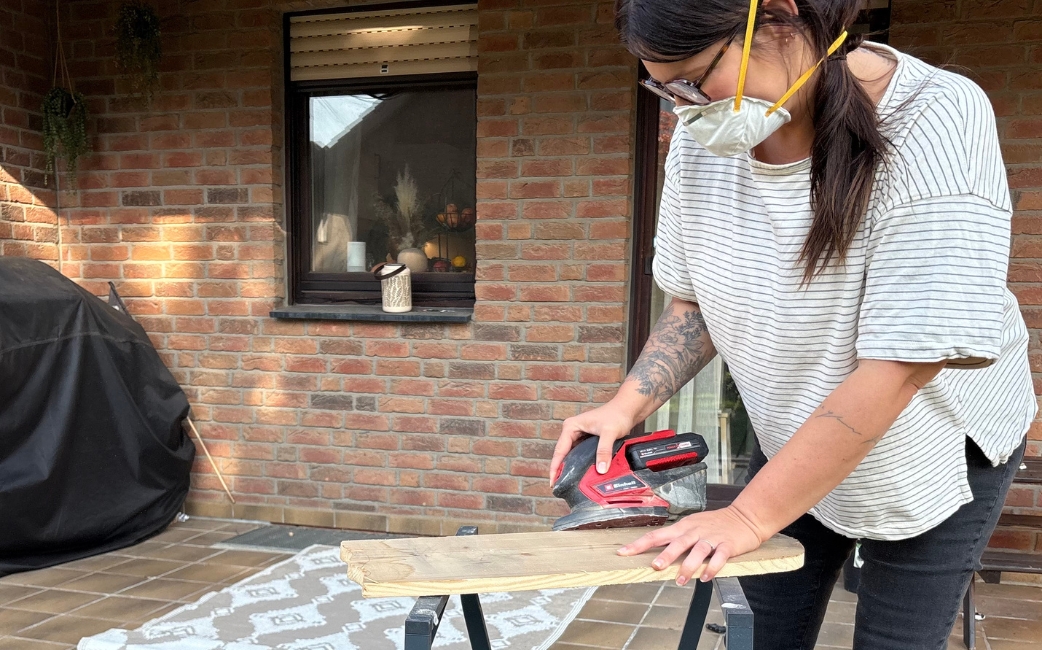
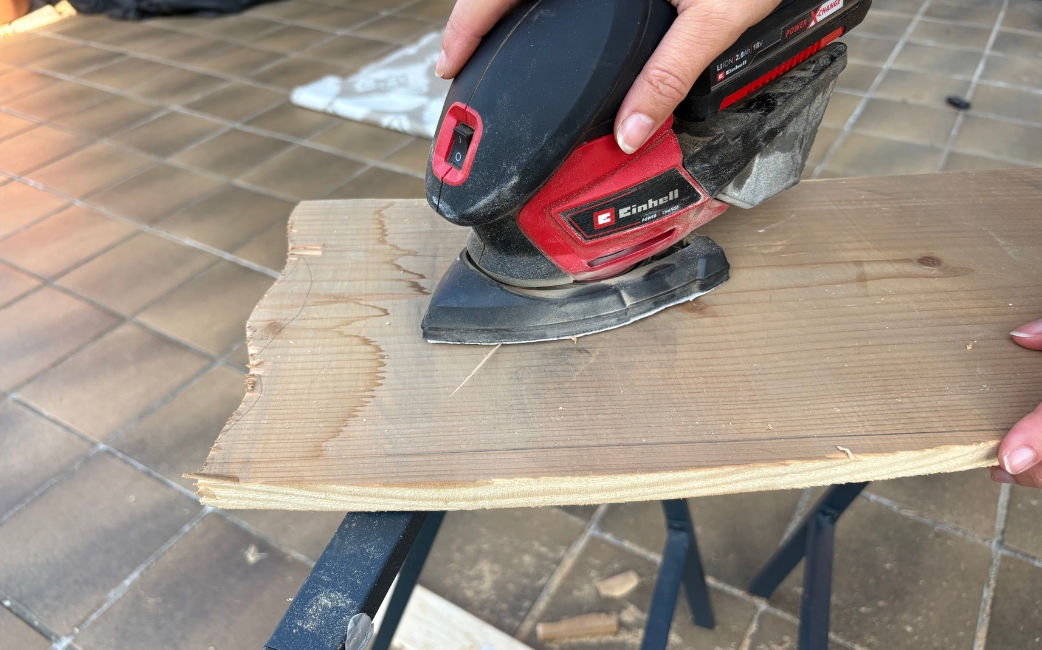
After sawing, sand the edges thoroughly. A cordless multi-sander works especially well for this.
Carefully sand all cut edges, removing splinters and rough spots. This will give you a pleasantly smooth surface while preserving the characteristic texture of the old wood.
You can also lightly sand the front if needed. You don’t have to make the surface completely smooth, because it’s precisely the visible signs of wear and unevenness that give the Halloween ghosts their special charm.
Step 5: Attach the legs
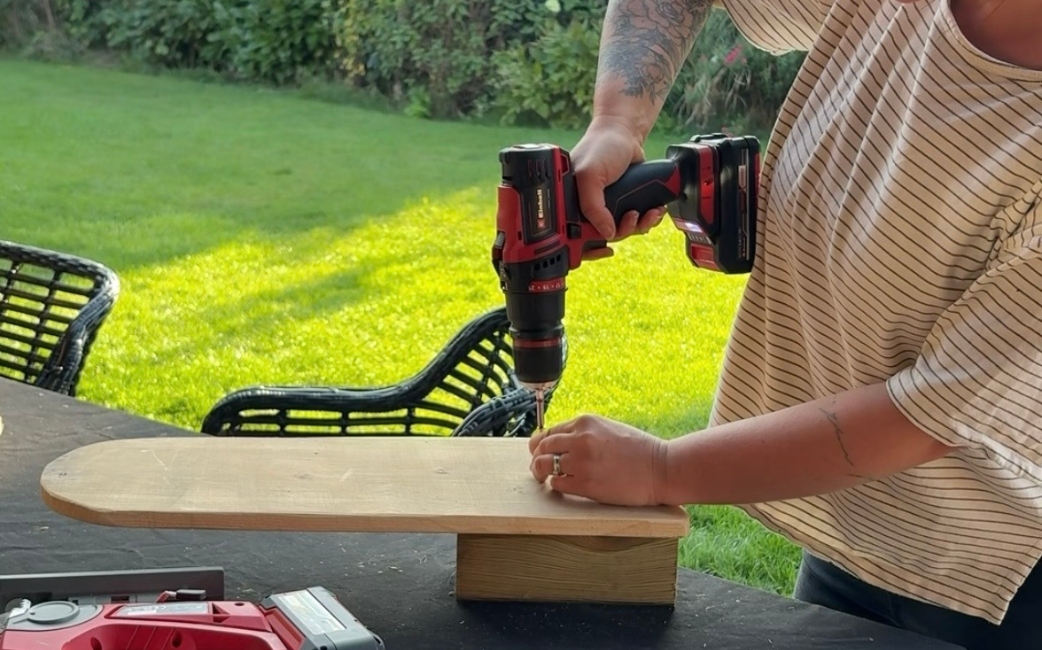
To ensure the wooden ghosts stand securely later on, they’ll each get their own base.
Scraps of posts or other wood scraps work well for this—simply attach them to the back of the ghosts. Position the base so that the figure can be set up securely and as straight as possible later on.
Then screw the base in place using a cordless drill and matching screws.
This way, you can place the spirits wherever you like—in front of the front door, on the patio, or in the garden.
Step 6: Paint the wooden ghosts white
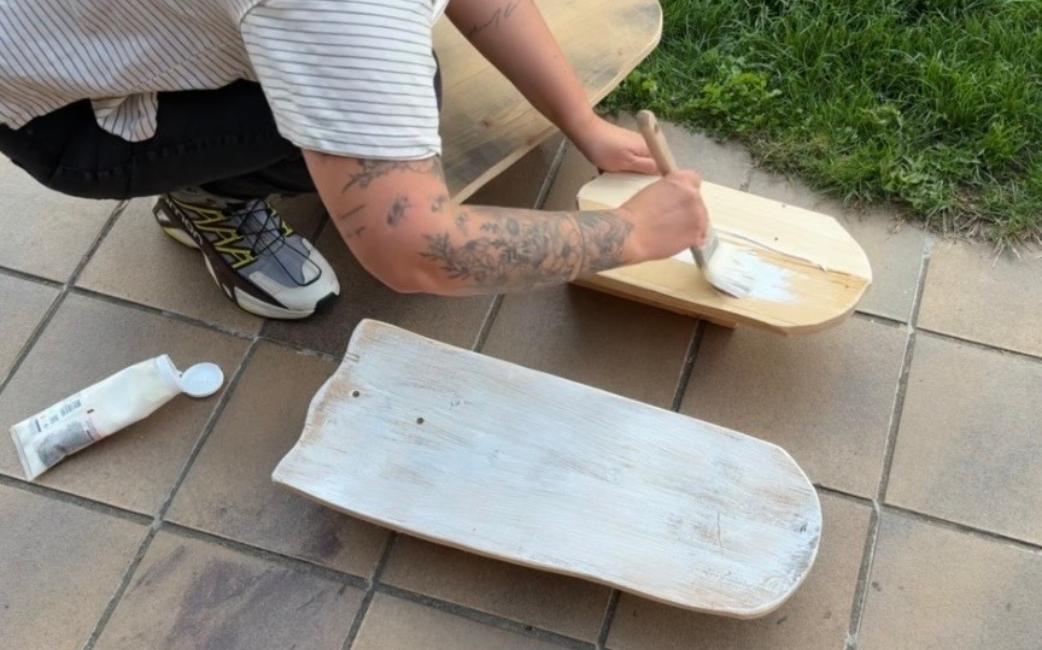
For a particularly beautiful, natural effect, apply the white paint very thinly rather than in a full, opaque coat. This allows the original wood grain to remain visible, giving the figures a slightly weathered and mysterious look.
To achieve this, use a brush to apply just a thin layer of white paint over the surface. Depending on how visible you want the wood grain to remain, you can apply the paint a bit more heavily in some areas and very sparingly in others.
Then let the paint dry completely.
Step 7: Design the face
Finally, give your ghosts some faces.
Use black paint to draw two eyes and a mouth on each one. Each ghost can have a different face—ranging from friendly and cute to a little spooky.
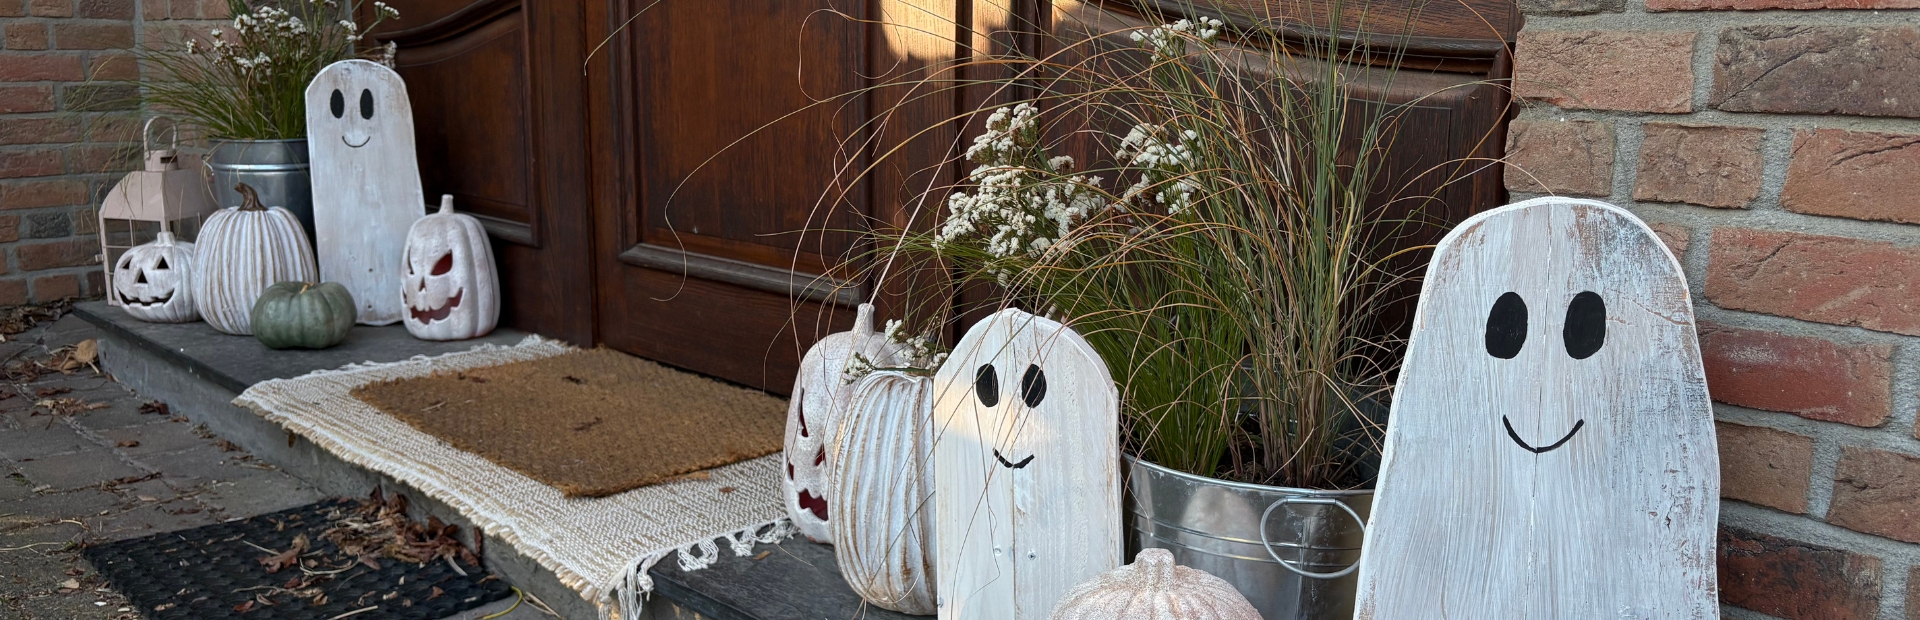
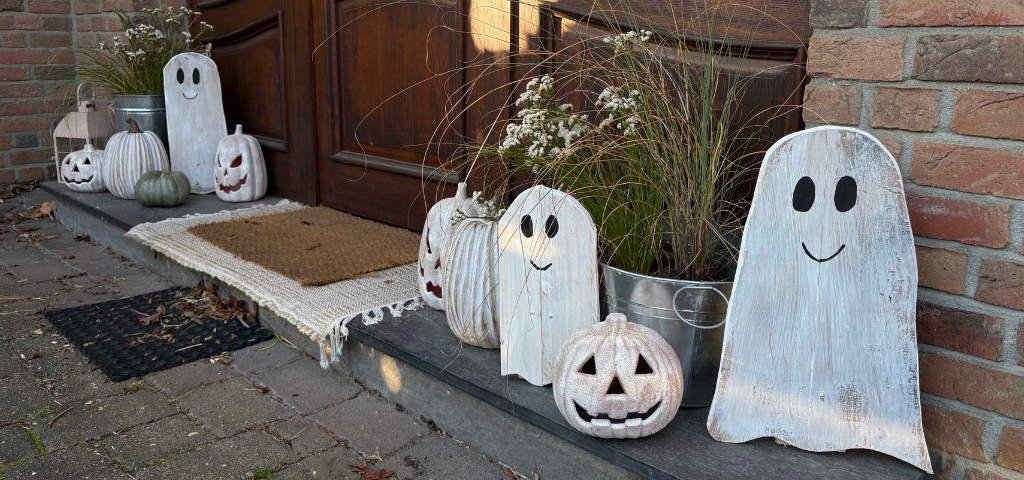
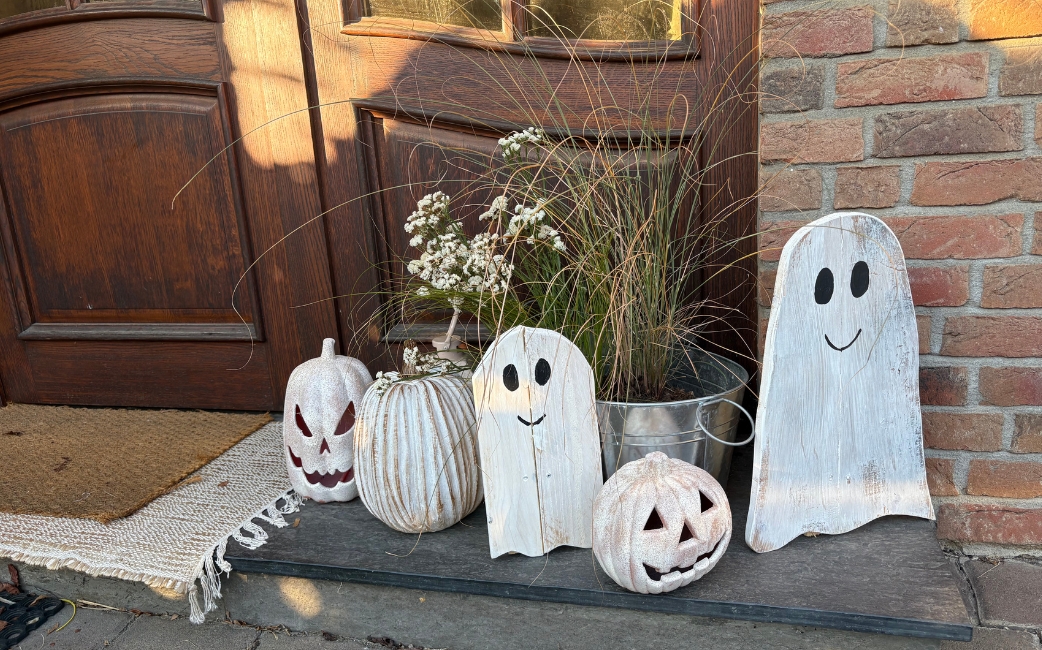
It’s the combination of figures of different sizes, the visible wood grain, and the simple black faces that gives this Halloween decoration its unique look.
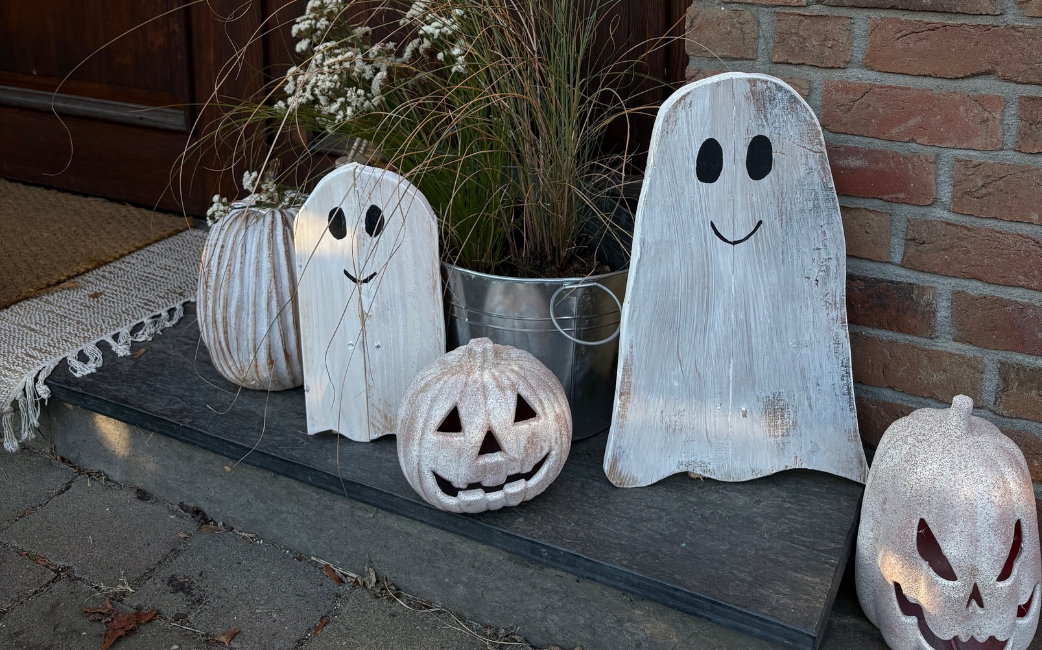
The Halloween decorations are ready!
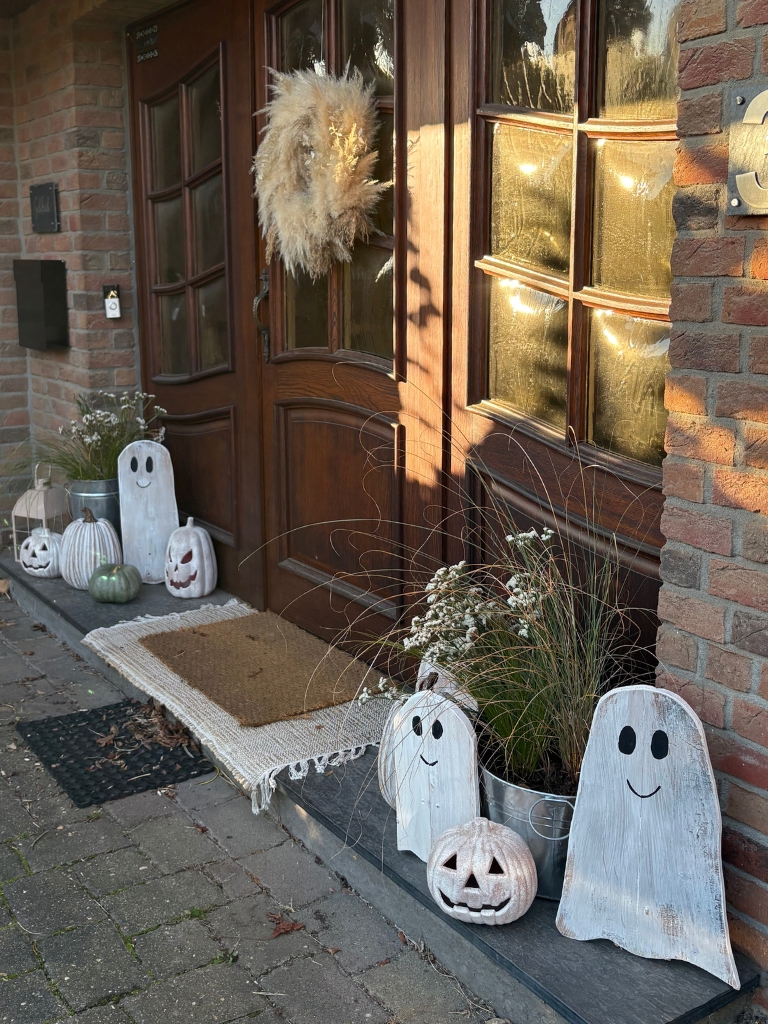
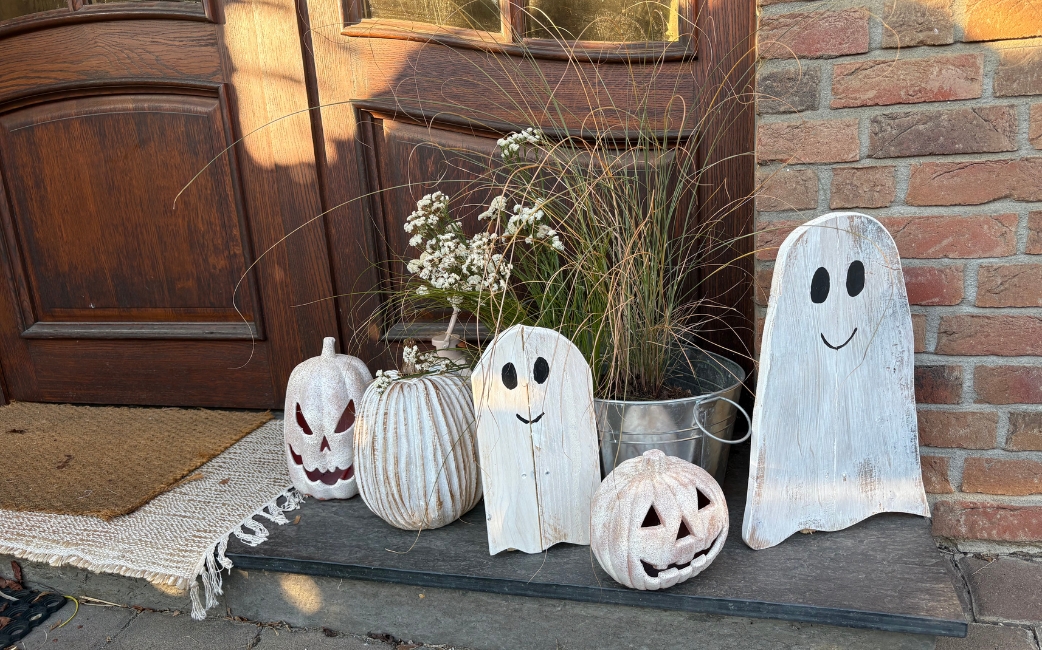
Using old scrap wood, we created a unique Halloween decoration in just a few simple steps. The different sizes and shapes make these little wooden ghosts a real eye-catcher at the front door.
And the best part: Because we used scrap wood, each ghost is truly one-of-a-kind. The thin layer of white paint allows the wood’s natural grain to remain visible and gives the figures a beautiful, slightly weathered look.
Whether arranged in a small group at the front door, among pumpkins and fall plants, or individually on the patio, these homemade wooden ghosts are sure to bring a touch of spooky atmosphere to your outdoor space.
Have fun making this, and Happy Halloween!

Published on 26.10.2026
Whether lifestyle content or DIY ideas, Jennifer from @jestil.de has been sharing her passion for her home, as well as for interior design, styling and craftsmanship, for many years. The 33-year-old entrepreneur works as a journalist, author and creative director. Alongside personal stories and inspiration, her community can follow her journey towards owning her own home, including the refurbishments and renovations, on a daily basis. Her posts combine everyday practicality with a distinct sense of aesthetics.