


In this article you will learn all about:
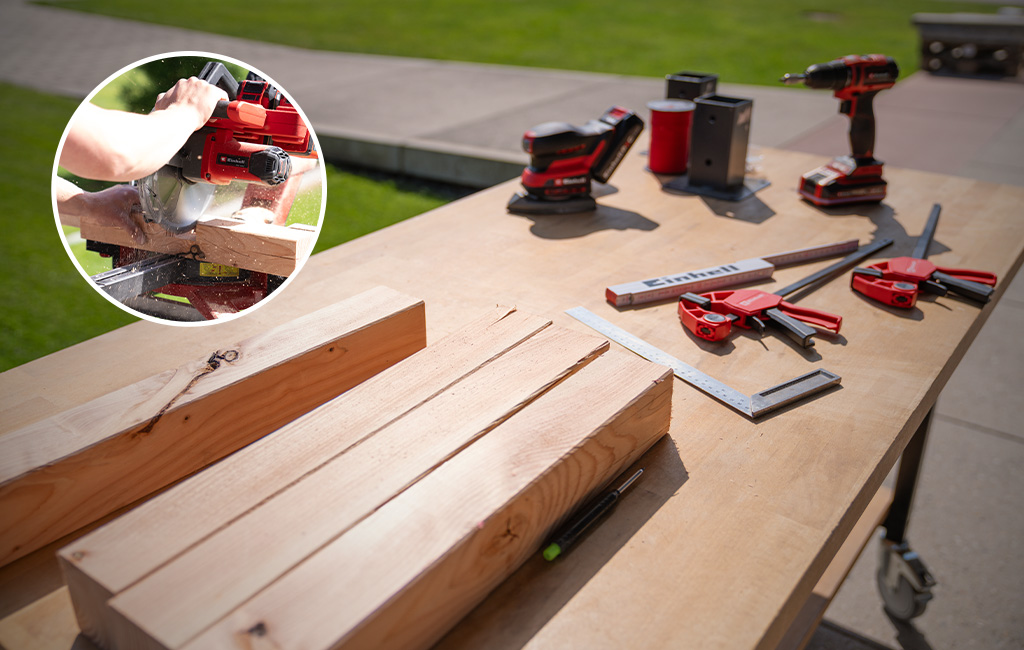
Tools and materials
Material
- 5 spruce square timbers: 2 m x 7 cm x 7 cm
- 2 screw-in sleeves
- 2 corner connectors
- Ground pegs
- Sturdy cord for tensioning
- Hooks
- 4 x 40 chipboard screws
Instructions for the screen
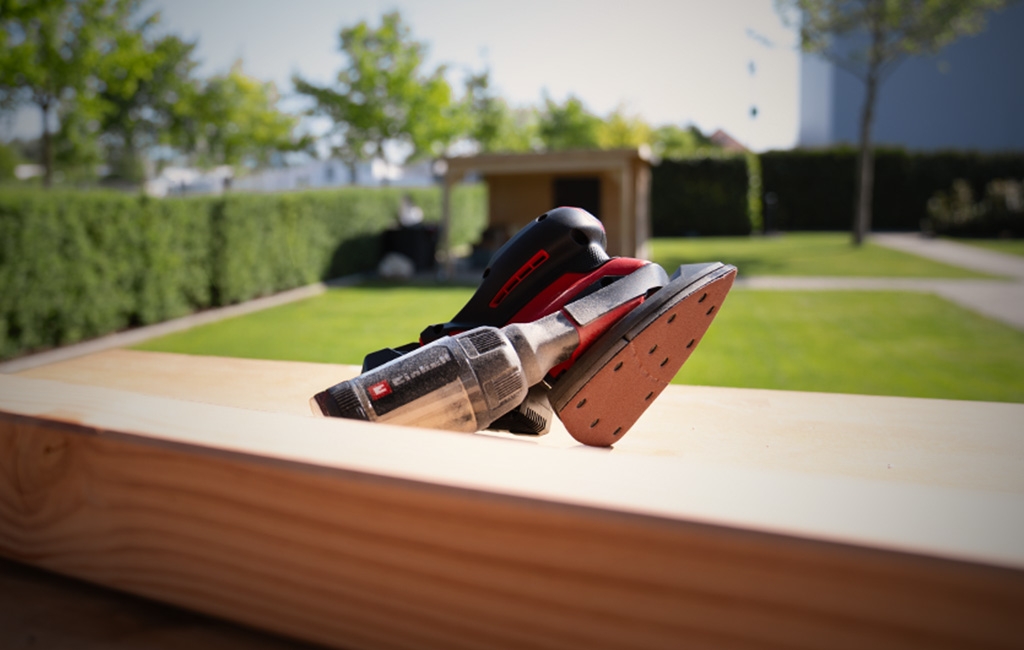
Step 1: Sanding the timber
Before you get started, you should thoroughly sand down all the timber lengths. This removes any rough patches and ensures the surface is clean and smooth to work with.
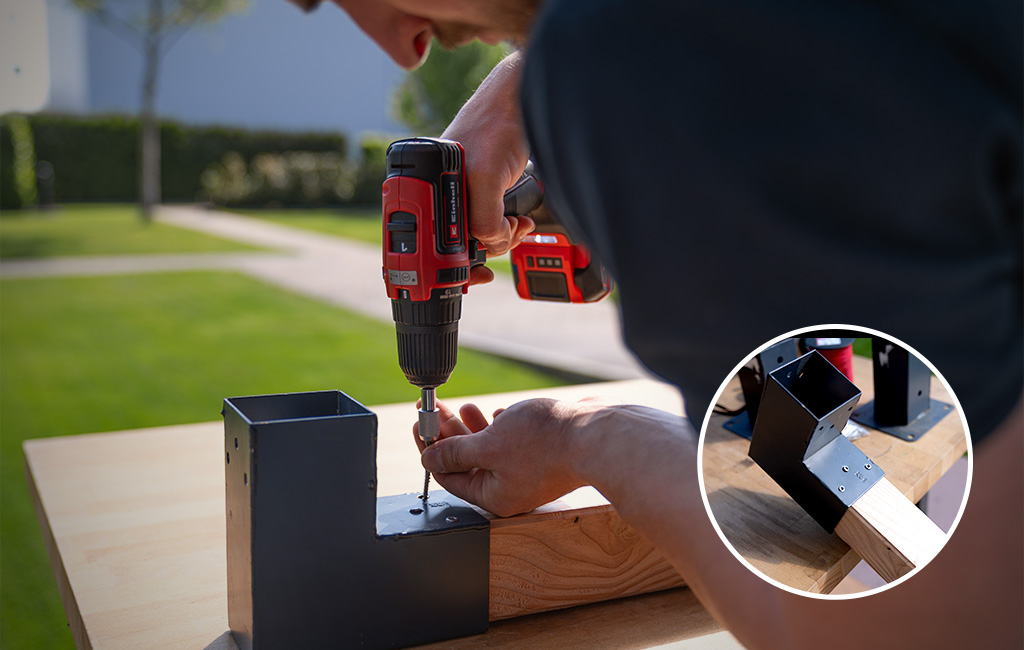
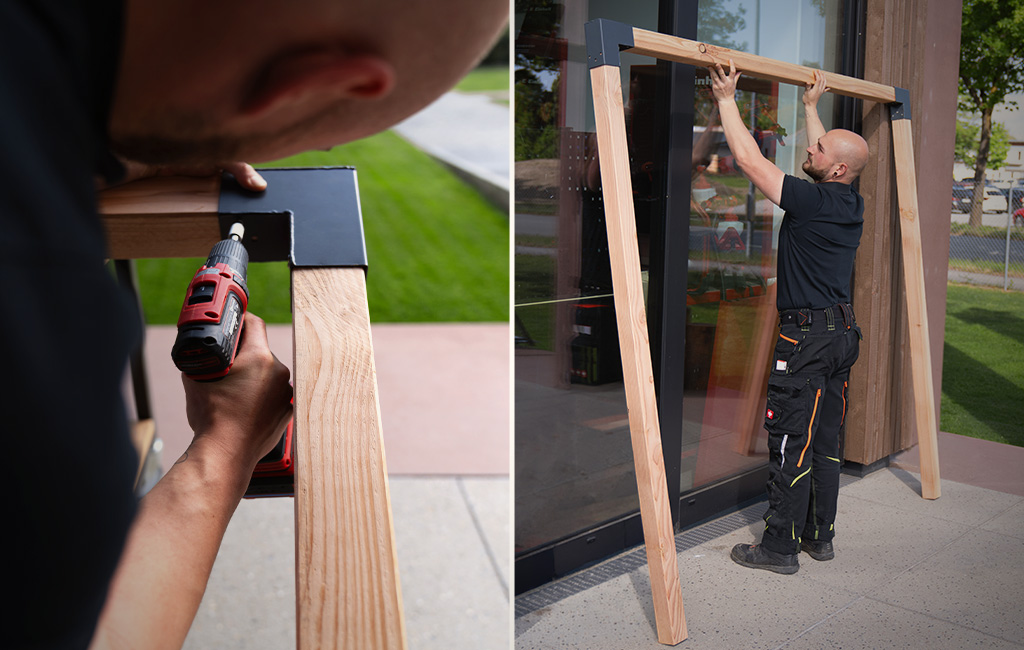
Step 2: Connecting the timber with corner brackets to form the frame
Once all the timber is prepared, you can assemble the frame for the screen. To do this, connect the individual lengths of timber using corner brackets. The brackets ensure the structure remains sturdy while allowing it to be easily disassembled later.
To ensure everything holds securely, slot the timber into the corner brackets first, then fix them in place with screws. You can use a cordless screwdriver to drive the screws neatly and firmly into the wood. Step by step, this will create a stable, rectangular frame to support the screen fabric.
It is important to make sure all connections are tight and that the frame is assembled as straight as possible. This ensures the screen hangs evenly later on, providing a uniform projected image.
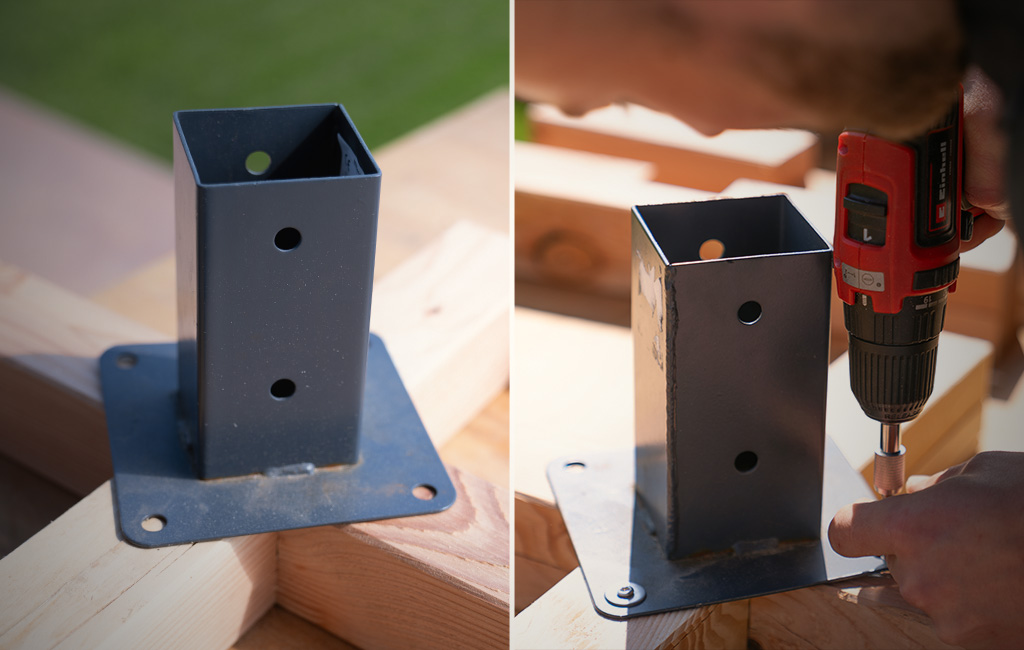
Step 3: Building the feet
To ensure your screen stands securely later on, you will need two feet. For this, use one of the five 2-metre timber lengths.
First, cut the timber into four equal pieces. This will give you four lengths of 50 cm each. Two of these pieces are required for each foot.
Next, saw a small notch or recess into the middle of each piece of timber. This allows two lengths to slot perfectly into one another, creating a stable X-shape for each foot to give the screen a secure base.
To safely attach the frame to the feet later, mount some post bases. You can easily screw these onto the feet. The frame or screen structure can then simply be slotted into these bases. This keeps the screen stable while remaining flexible and quick to set up and take down.
Step 4: Cutting the screen fabric to size
Before you can attach the screen fabric to the frame, you first need to cut it to the correct size. Roll out the fabric and adapt it to the dimensions of the wooden frame. You can then use an angle grinder with a suitable cutting disc to cut the screen straight. Make sure to work as neatly as possible so that the edges look tidy and the screen can be tensioned evenly later on.
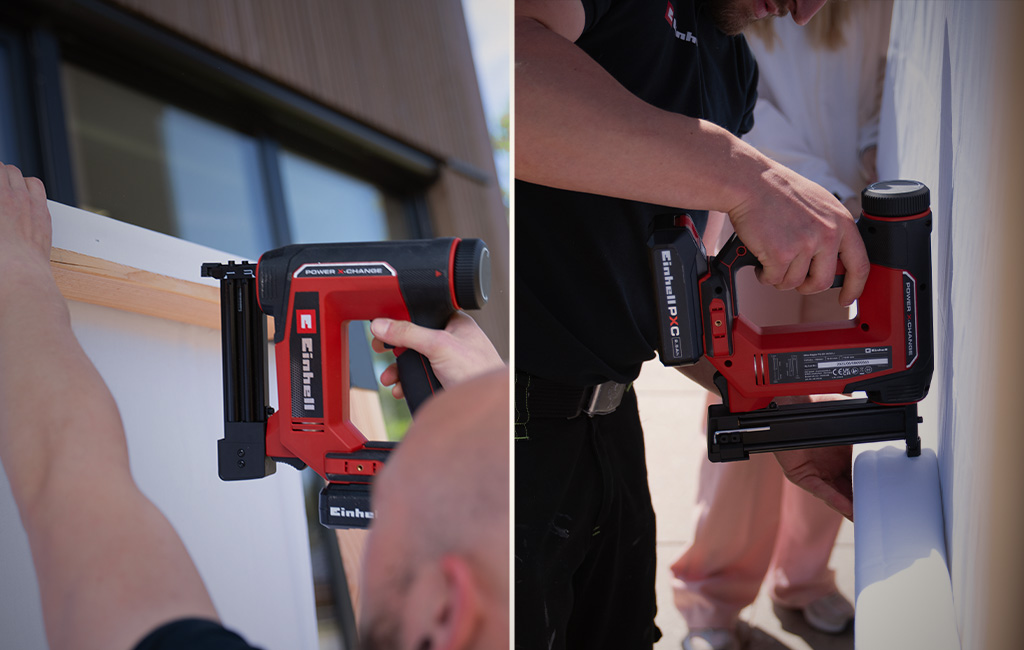
Step 5: Stapling the screen fabric
Once the frame is ready, you can attach the screen fabric. First, align the fabric neatly along the top crossbeam, then fix it in place step by step using a staple gun. Make sure to pull the screen as straight as possible to ensure a clean projected image later on. At the bottom end, you should also attach the screen fabric to a weighted beam.
This beam ensures that the screen is tensioned downwards and hangs more steadily due to the extra weight. This is particularly practical for outdoor big screen viewings, as it stops the screen from shifting or moving around in a light breeze.
The combination of the top fastening and the bottom weighted beam creates a stable and even projection surface.
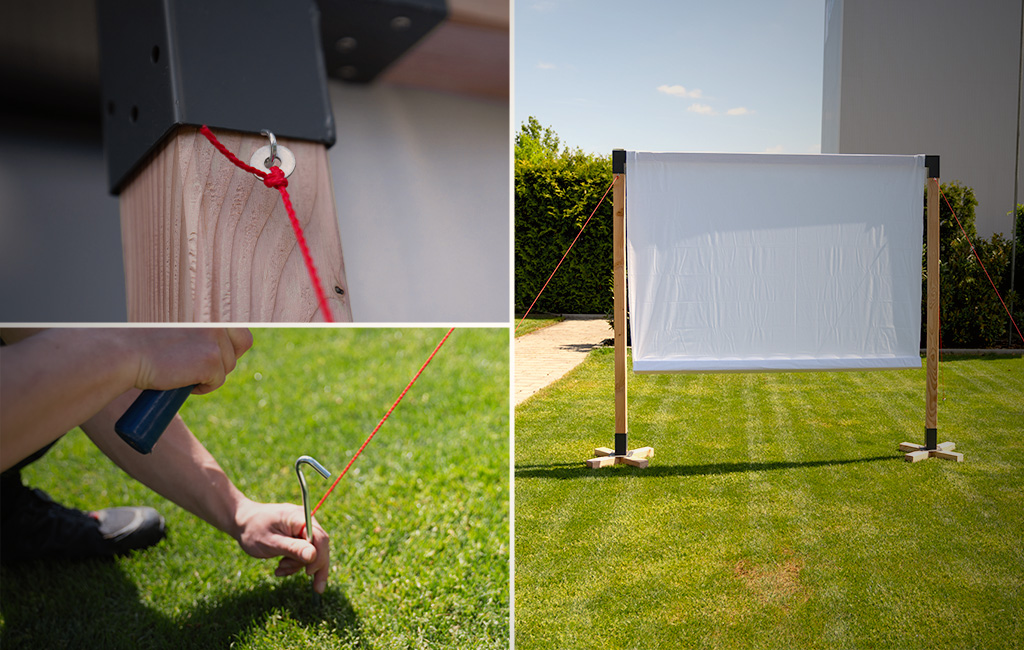
Step 6: Tensioning the screen
To ensure the finished screen remains stable during use, you should tension it with extra support. Secure a robust cord to the top two corners of the frame using hooks. Pull the cords diagonally outwards and anchor them into the ground. Ground pegs are ideal for this; you can drive them firmly into the grass using a hammer. This ensures the entire structure stays safely in place.
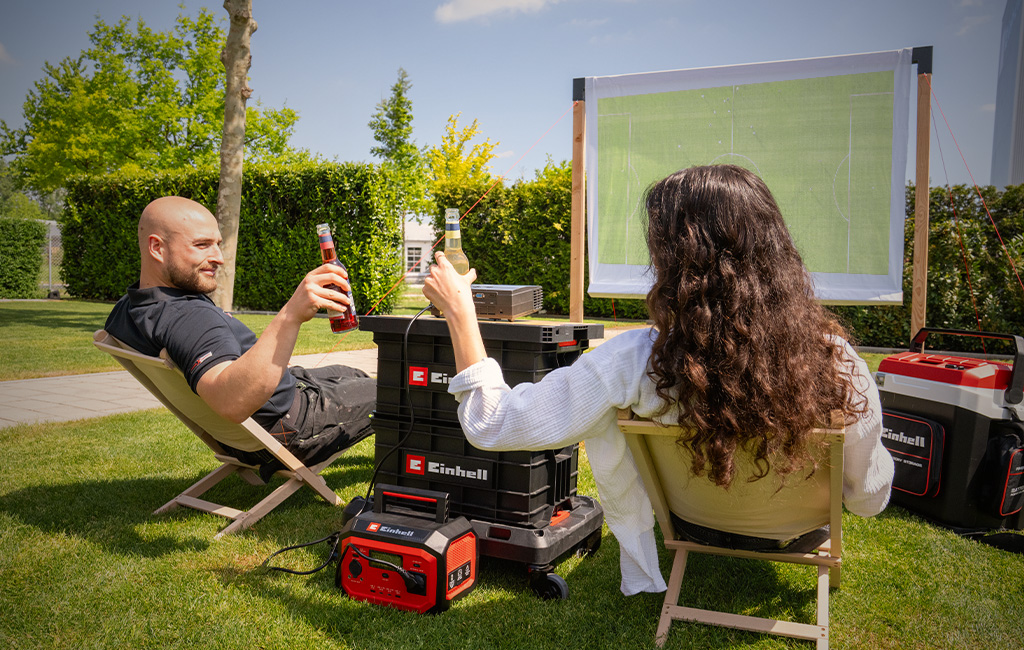
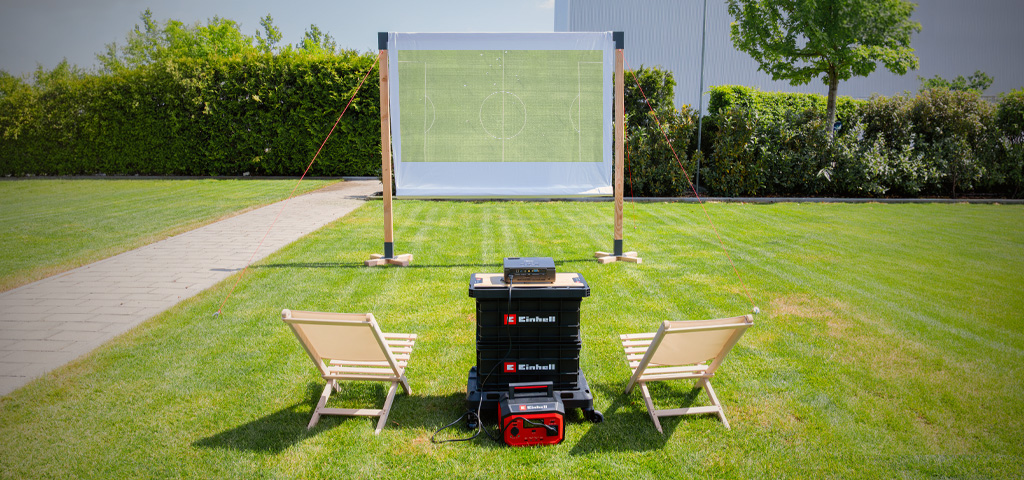
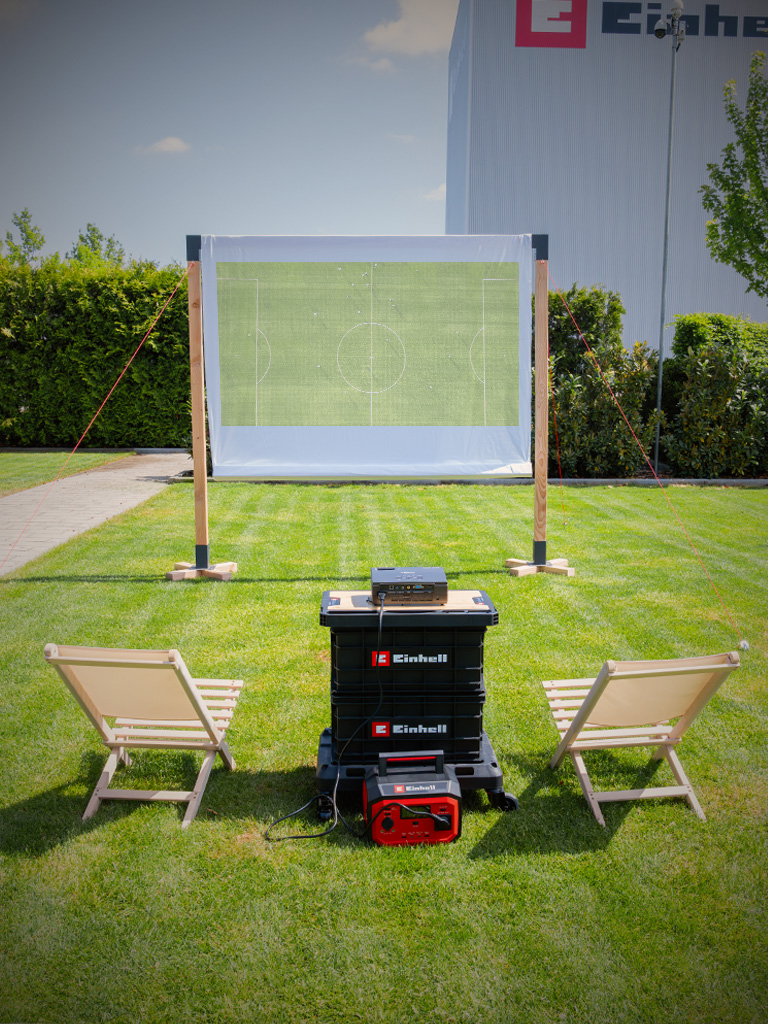
Step 7: Enjoying the big screen experience
Once the screen is fully set up and tensioned, all that's left is the right tech for the perfect football night. You can simply plug the projector into a portable power station, giving you flexible access to power outdoors in the garden or on the patio – without having to run long cables through the house.
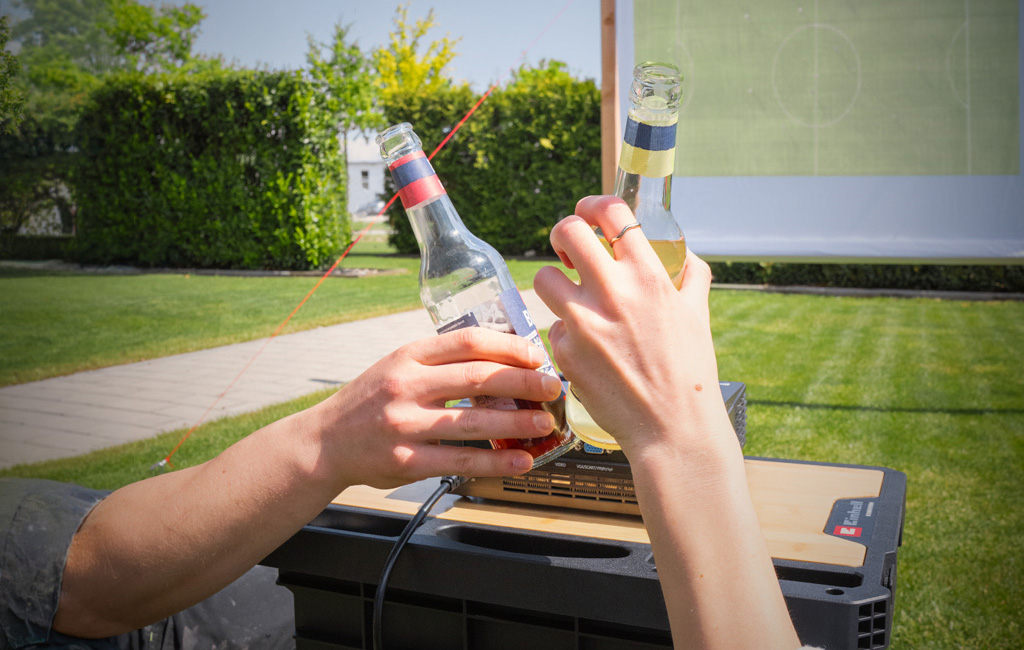
Now all you need to do is align the projector, adjust the image to fit the screen, and your big screen experience is ready to start. With a large screen, snacks, and chilled drinks from the cool box, you’ll quickly create that genuine stadium feel right at home.
Step 8: Space-saving storage
After the match, the entire structure can be taken down quickly. Thanks to the corner brackets, you can easily separate the individual lengths of timber without the need for complex tools. The cords, hooks, and ground pegs can also be removed easily and packed away for next time. You can then roll or fold up the screen fabric, while the individual timber lengths can be stored away compactly.
This ensures your DIY outdoor screen is always ready for the next football match.
Off to the big screen!
⚽🏃🏼♂️ And there you have it – your very own outdoor screen is finished!
With just a few materials and a little bit of DIY effort, you've built a sturdy, mobile outdoor screen that is quick to set up and take down. You are now perfectly prepared, and nothing stands in the way of a fantastic World Cup night with friends and a great atmosphere!
Suitable Tools for the Project
Here you'll find Einhell tools and accessories that are perfect for bringing this DIY project to life.


Published on 19.05.2026
Laura Wallner works in online marketing at Einhell and deals with creative content on a daily basis. She loves doing crafts – from upcycling projects up to seasonal decorations. Her motto is: learning by doing. That’s why she likes to allow for a bit of leeway when working with materials like Wood. Her essential Einhell tool is the USB cordless battery adapter for charging her mobile phone – so she never runs out of battery whilst crafting, whether she’s using it for online instructions or music.