


Christmas Tree Made from Wooden Slices
DO IT YOURSELF
Say goodbye to tacky plastic decorations – and hello to elegant natural décor! This year, give the festive season a refined and tasteful touch by decorating your home with this stylishly illuminated Christmas tree made from wooden slices.
You can easily recreate this homemade Christmas tree yourself! We will show you how it works, what you need to consider, and which tools you may require.
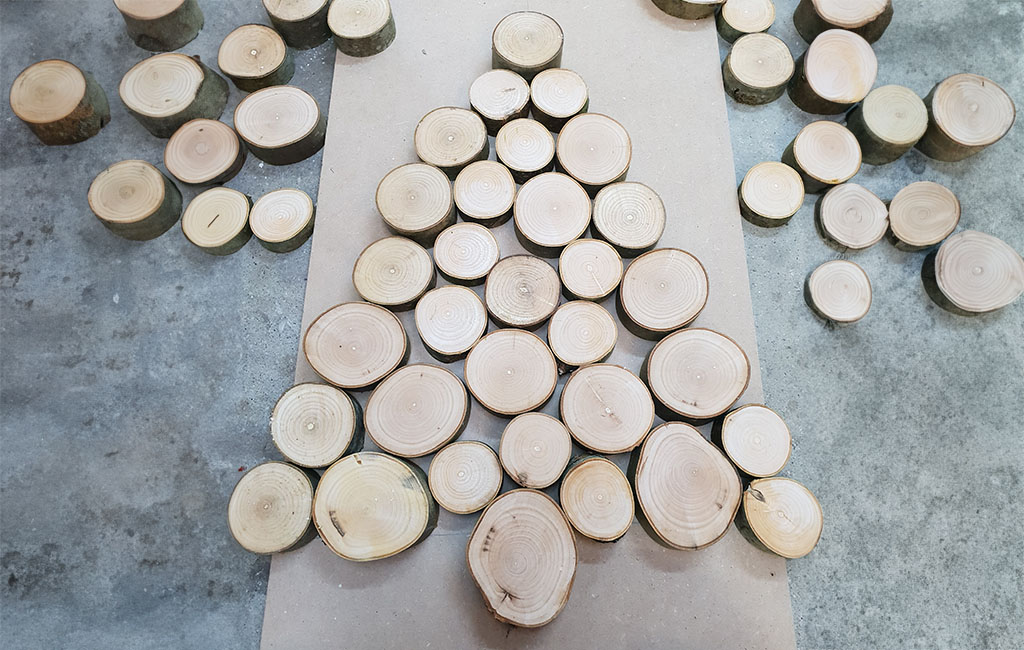
When arranging the wooden slices, it already becomes clear what the tree will look like in the end.
Tools and Materials
Tools
- Cordless Jigsaw
- Cordless Drill
- Cordless Hot Glue Gun
- Cordless Multitool
- Drill and deburrer
- Dowel inserter and dowels
- Measuring equipment (folding rule or similar)
Material
- Birch tree trunks or branches
- Backing board, for example MDF
- Battery-operated fairy lights with 80 LEDs
- Decorations of your choice
- Square timber
- Multiplex board
- Piano hinge
- Glue
Instructions: Building the Christmas Tree
Step 1: Planning
First, you should obtain birch logs with varying diameters. In our case, the logs had diameters ranging from 60 mm to 100 mm. The material for the backing board does not matter. We chose an MDF board measuring 600 × 520 × 15 mm. Next, think about how you want your tree to look. Take the backing board and mark a horizontal centre line. Then draw a triangle onto it so you can visualize how the tree will look later. For the base support, use a squared timber beam (40 × 40 × 550 mm) and a multiplex board (200 × 550 × 15 mm).
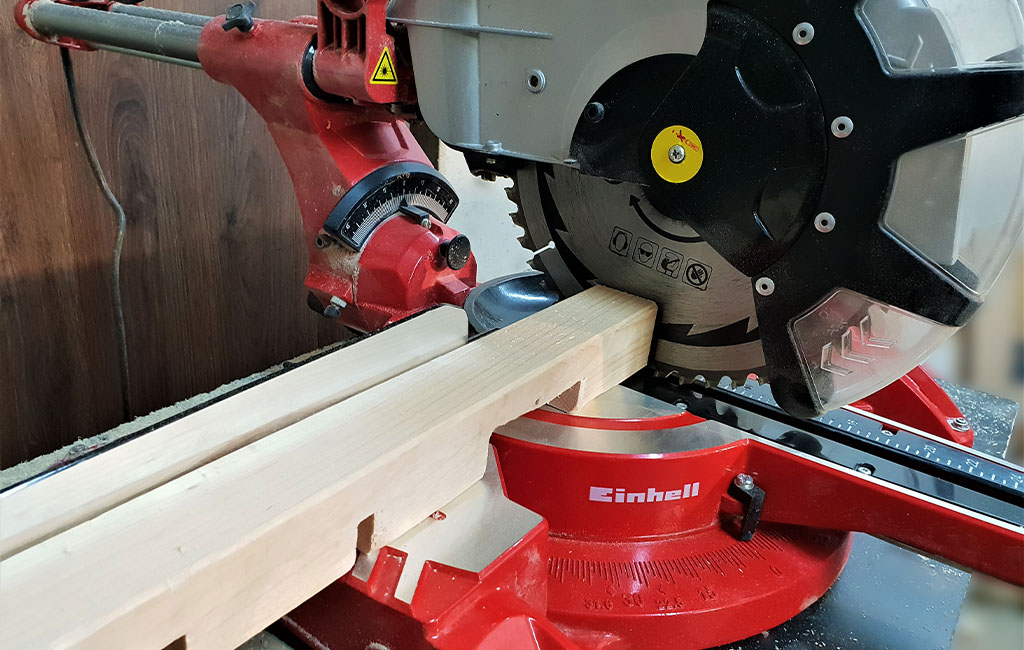
Step 2: Cutting the Wooden Slices and the Base Surface
Cut the tree trunks into slices that are 30 mm to 40 mm thick. For the trunk of the Christmas tree, one of the wooden slices should be cut flat on one side.

Next, cut the multiplex board for the later base support. The slanted surface (shown in the bottom right of the graphic) forms the standing surface of the support. By adjusting this angle, you determine the inclination at which the Christmas tree will stand. You can customise this angle entirely according to your preference.
Step 3: Preparing the Wooden Slices
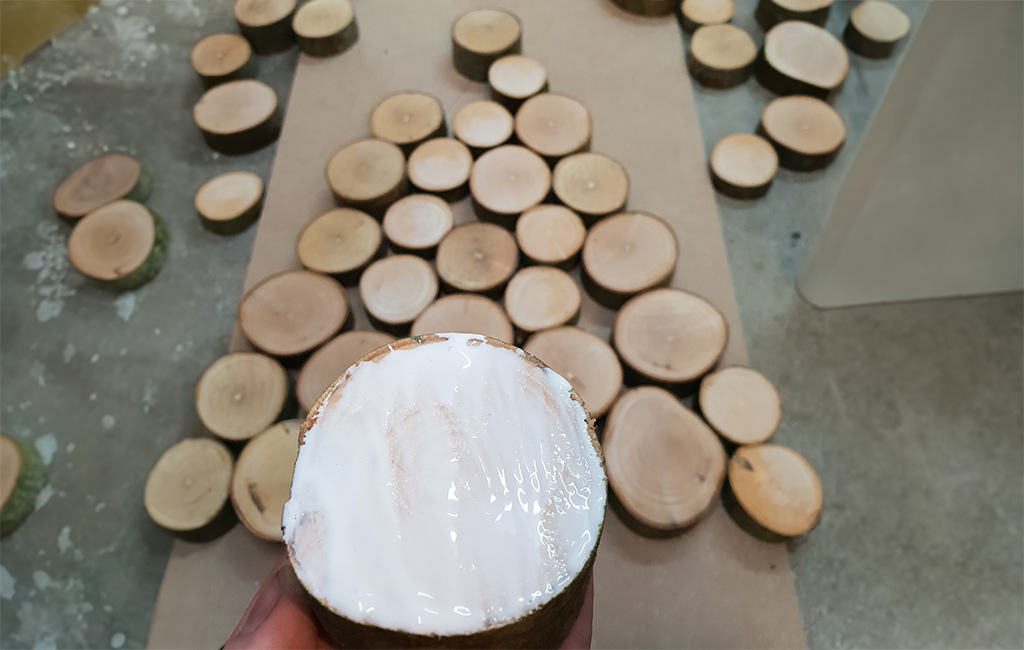
Next, apply a layer of adhesive to the cut wooden slices and leave them to dry overnight. This helps to prevent or reduce the cracking of the wood.
Now place the backing board in front of you and arrange the wooden slices according to the triangle. Start with the outer edges of the triangle. Once these are in place, fill in the centre. You can arrange the wooden slices freely. As soon as you are happy with the arrangement, you can begin gluing them in place.
Step 4: Preparing the Backing Board
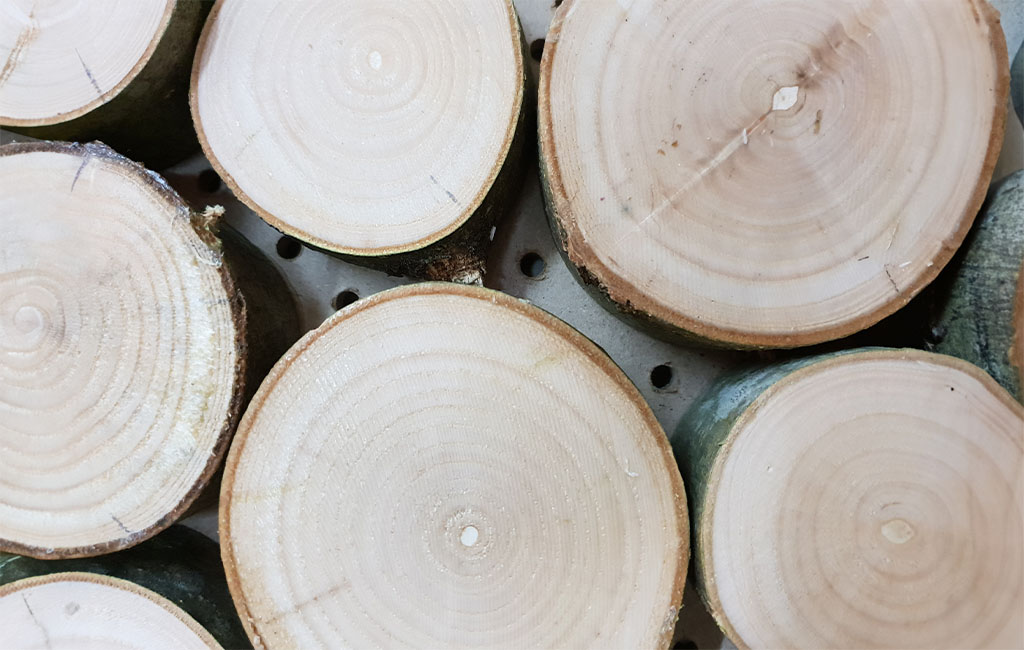
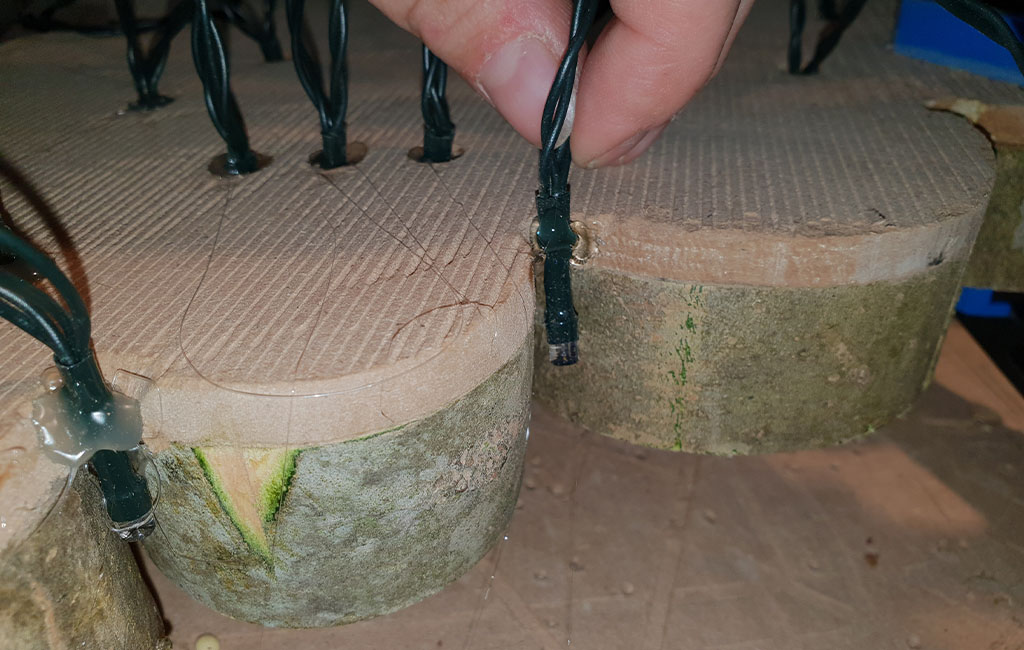
After the adhesive has fully cured, drill holes in the gaps between the individual wooden slices. Adjust the diameter of the holes to match the diameter of the individual LEDs on the string lights.
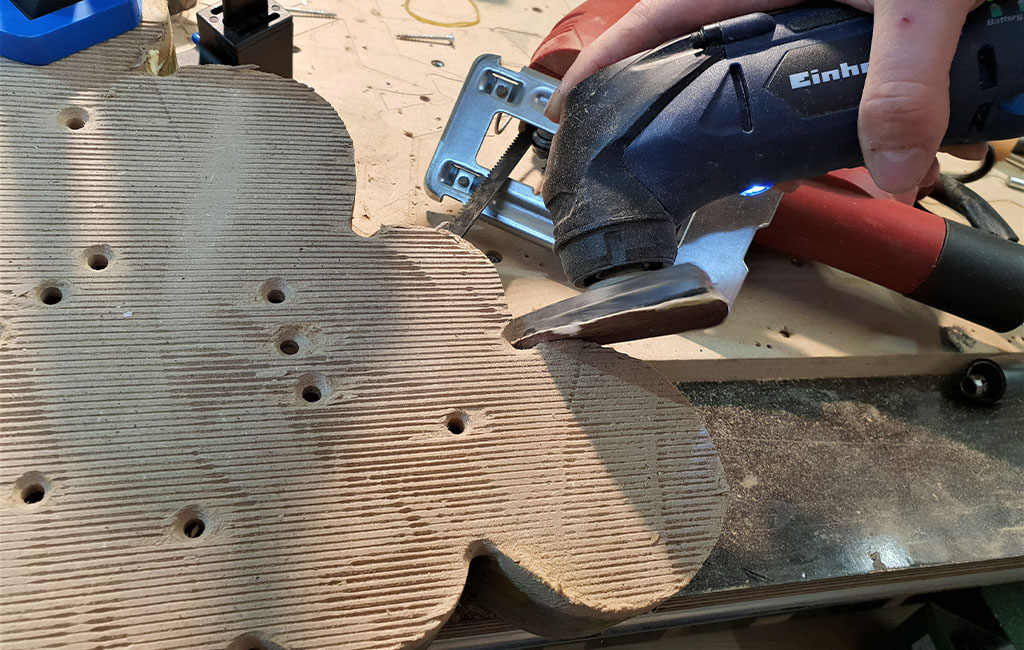
Once all holes are drilled, take a jigsaw and cut away the excess material of the backing board along the outer edges. When this is done, use a multi-tool or a multi-sander to go over the edges and smooth them down.
Step 5: Attaching the String Lights
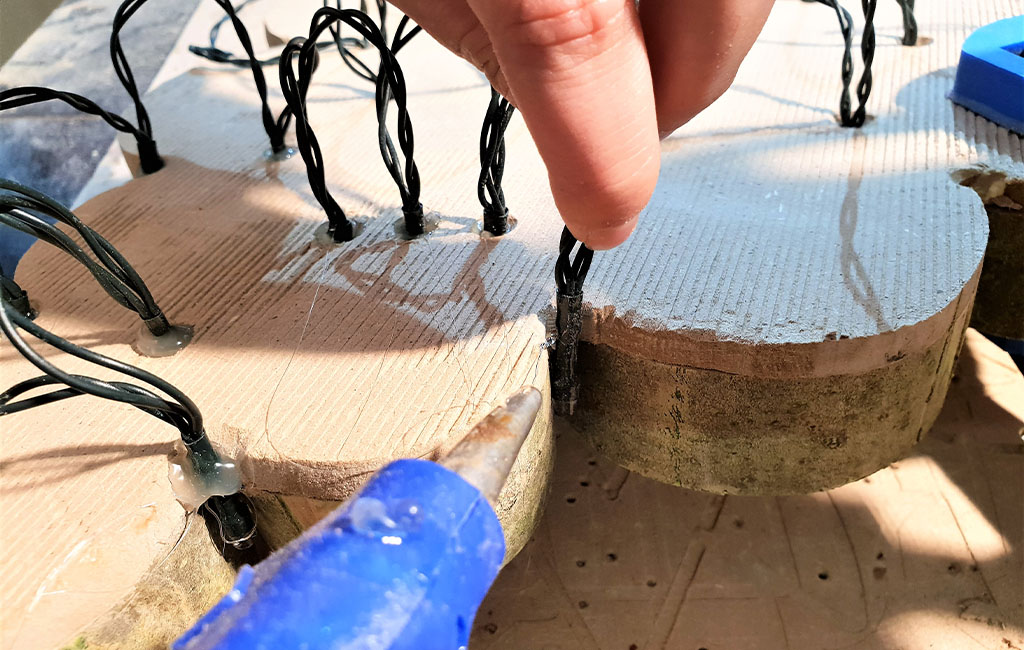
Once you have sanded the edges, turn the tree over so that the back is facing you. Now take the LED string lights. Lay them out in such a way that you can fill both the gaps along the sides and each drilled hole with one LED. Once this is done, you can glue the LEDs in place one by one using a hot glue gun.
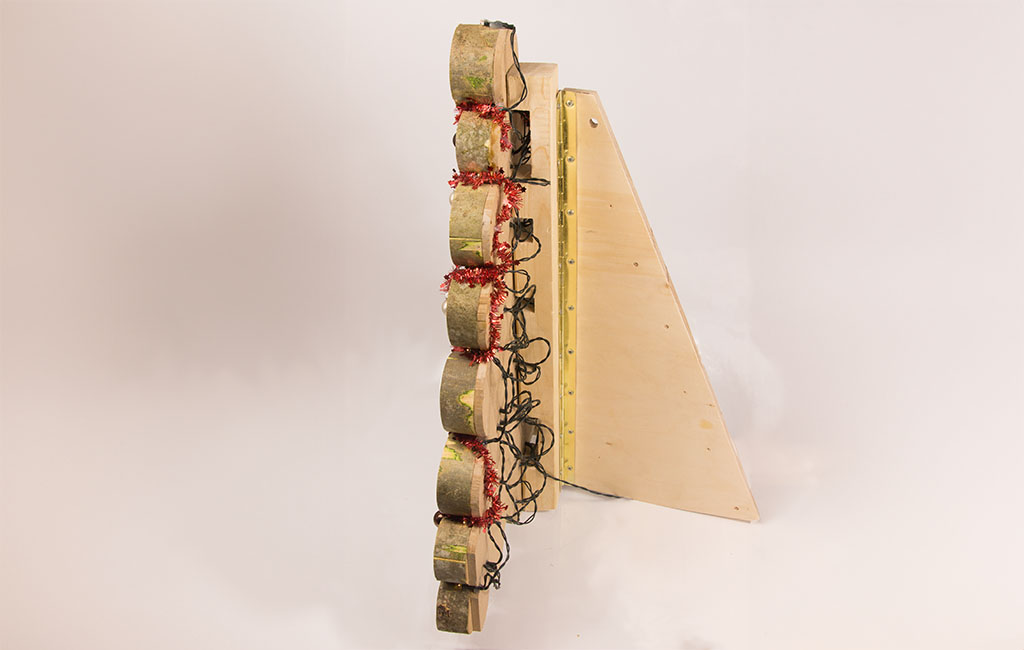
Step 6: Building the Base Support
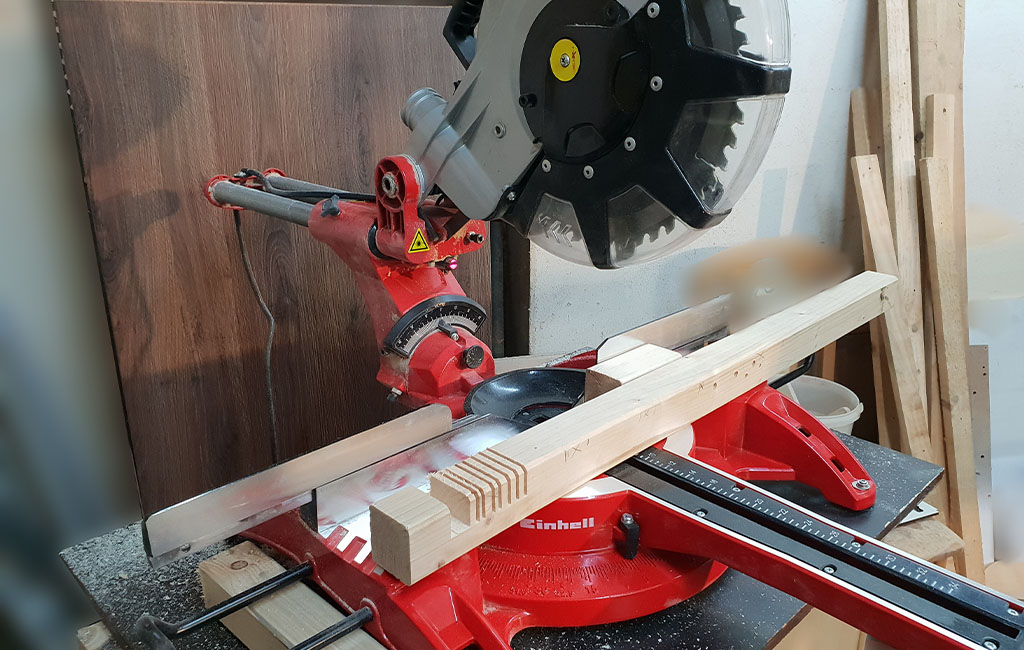
Once you have completed all previous steps, it is time to build the base support for the tree. This consists of a squared timber beam (40 × 40 × 550 mm) and a multiplex board (200 × 550 × 15 mm). The timber beam is cut in such a way that it contains hollow sections in the centre to accommodate the cables of the string lights.
Next, attach the timber beam centrally to the backing board using dowels. Then, using a piano hinge, fix the multiplex board – which has been cut according to the sketch – to the timber beam.
Conclusion: A Homemade Christmas Tree for Your Home!
To finish off, you can decorate the tree however you like – and your homemade Christmas tree is complete!
Have fun recreating it, and Merry Christmas!
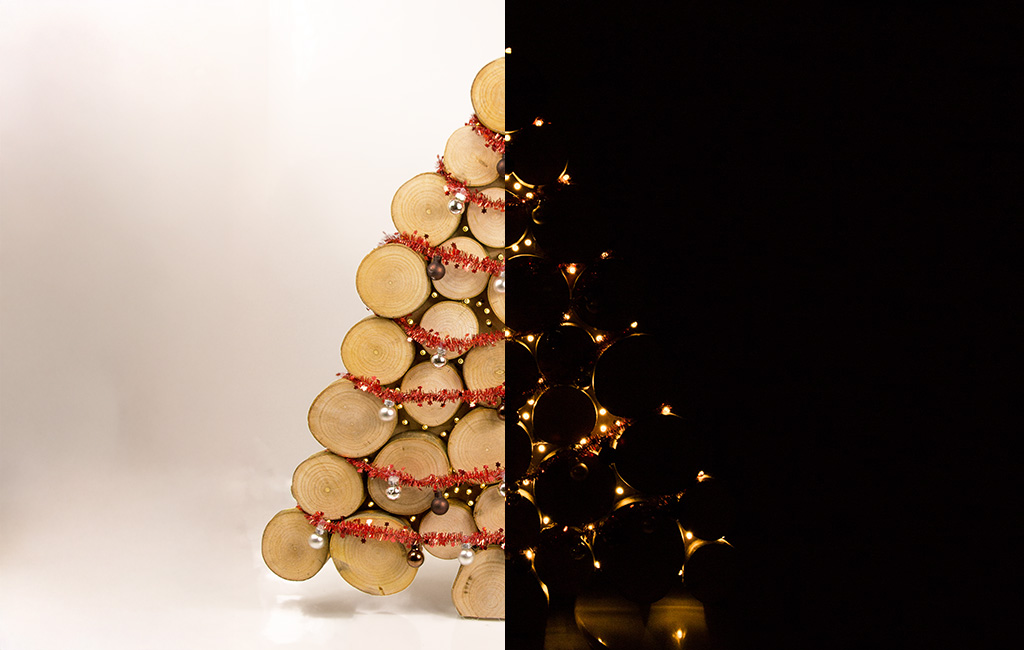
Whether in daylight or illuminated in the dark, this DIY tree is a real eye-catcher!
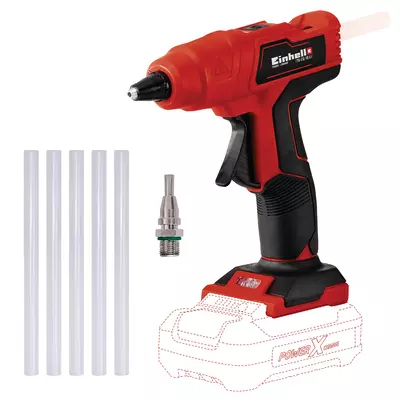
Suitable Tools for the Project
Here you'll find Einhell tools and accessories that are perfect for bringing this DIY project to life.


In this article you will learn all about:

Published on 11.12.2019
Homemade instead of shop-bought!Frank Halbe and Janine Seibold are freelance bloggers and enthusiastic DIY experts. Their blog posts show you how you can use various Einhell tools to carry out practical DIY projects in your own home. With their easy-to-follow step-by-step instructions, you'll be a professional DIYer in no time!