


04.06.2025
Collect Rainwater & Use It for Watering Your Garden
Save drinking water, use rainwater: We give tips on garden watering and more

Do you want to benefit from all
Einhell advantages?
Save drinking water, use rainwater: We give tips on garden watering and more

Cracked tiles or damaged grout? We’ll show you how to remove and replace tiles with ease.
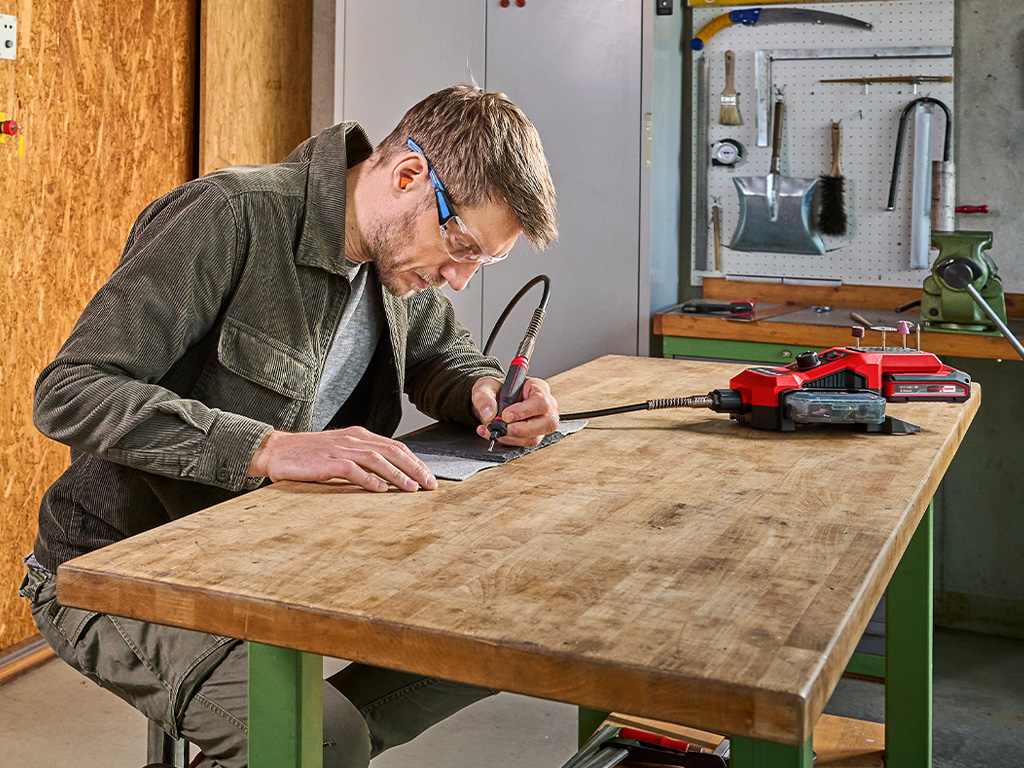
We’ll show you step by step how to start your first engraving project.

From toolboxes to multitools – discover which tools are essential for every DIY enthusiast!

Simply throwing it out of the window? Absolutely not! We’ll show you the best ways to dispose of…

Stay safe and visible this winter with the right lighting.

Learn how to keep your wood-burning stove clean and efficient with the right tools.
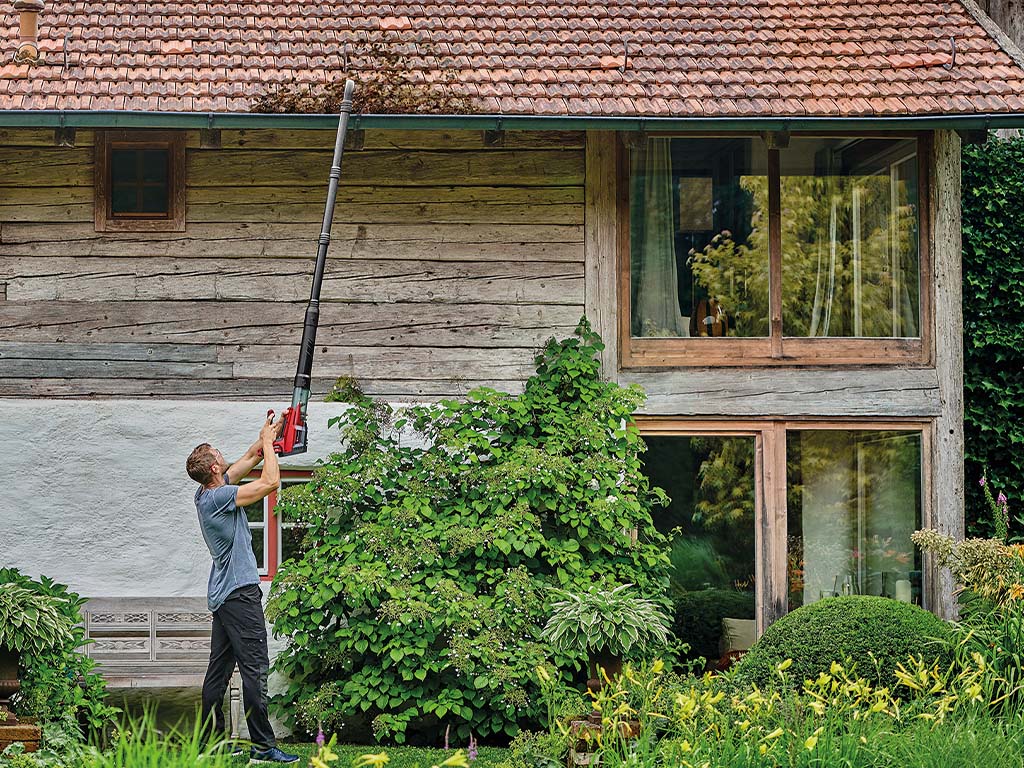
With our tips and the right tools, cleaning your gutters and downspouts is quick and easy.

Discover how you can put the multitool to use in your home in our blog post.

From tools to step-by-step instructions: In this post, you'll learn how to install floors.
With these tips, your garden will definitely get through the cold season!
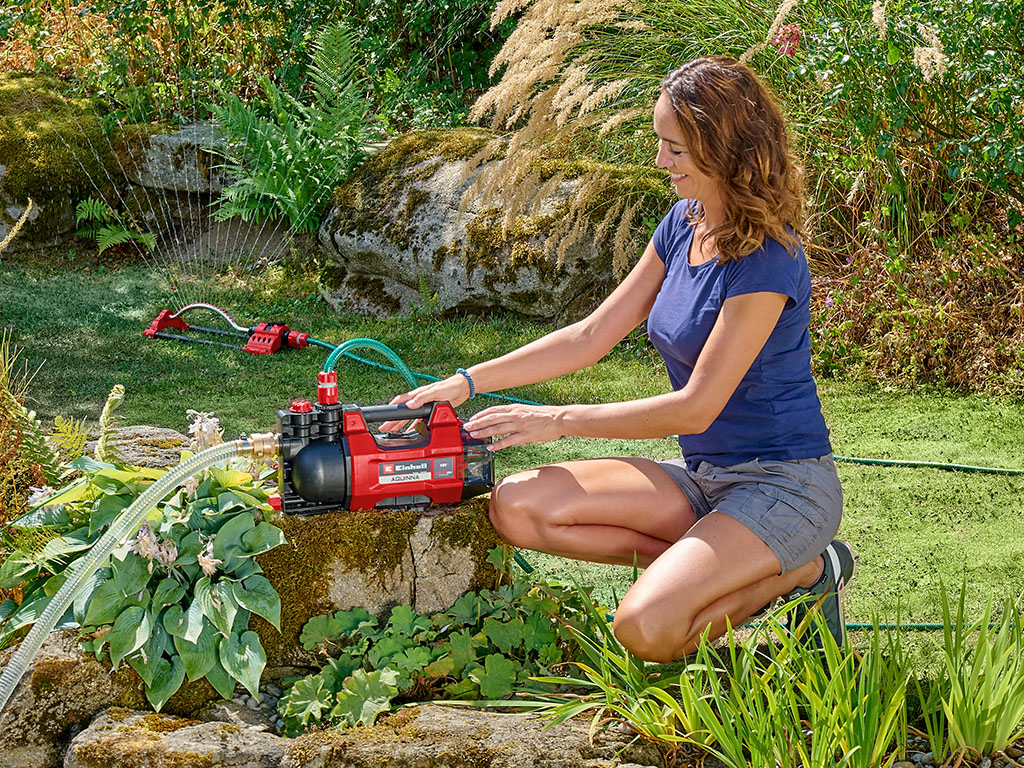
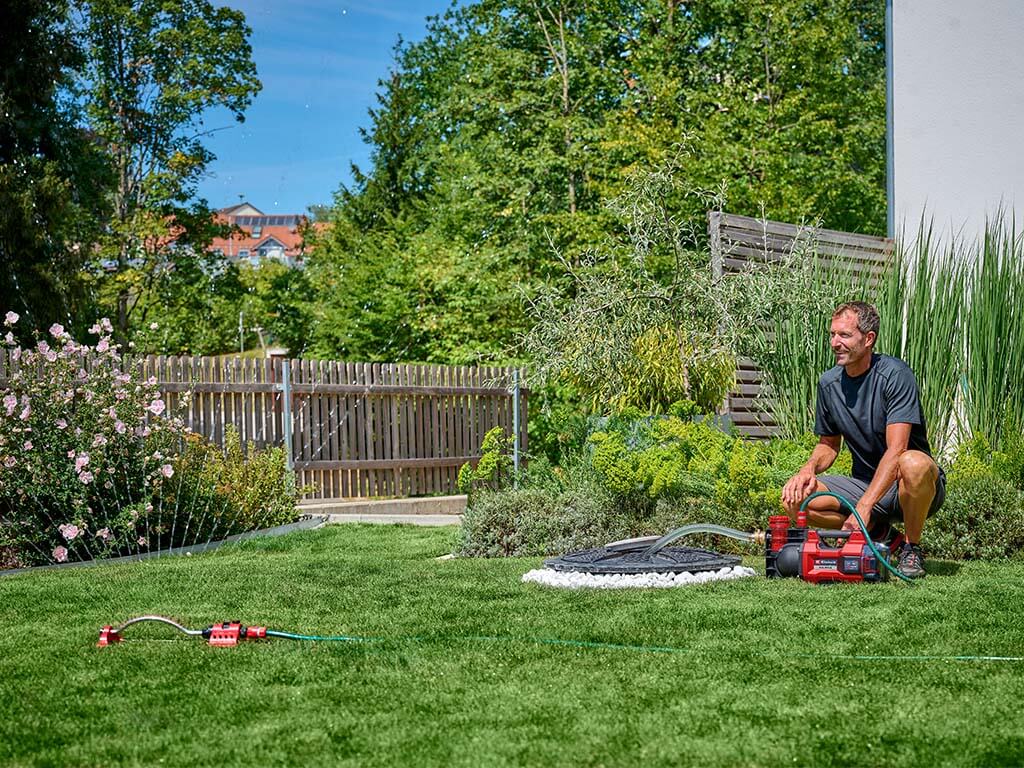
In this article, we explain how to properly maintain, clean and connect your pump.
Welcome to the Einhell blog. Here we present exciting new products, informative reports and unique projects from the worlds of trade and DIY - from the world of Einhell. Whether for the house, the garden, or just the joy of handicraft itself; with Einhell's innovative products you have the perfect tool by your side for your dream projects.