


Painting walls made easy: How to bring colour into your home
You come home after a long day, enter your hallway, and immediately feel comfortable. The colours in the room are inviting and warm, creating a relaxing atmosphere. That's the feeling you want to enjoy in your own space. In addition to suitable furniture and thoughtful room arrangement, wall colours also have a significant impact on the look of a room. Furthermore, wall colours are relatively easy to change because with a bit of practice, you can learn to paint yourself!
In this post, we'll explain what matters in painting, how to prepare properly, what equipment you need, and which techniques you should apply. With our guide, even beginners can achieve perfect results!
Brushes, paint roller, adhesive tape, paint: find out what you need to paint and how to do it here.
Painting Walls: Inventory Check
You have filled and smoothed the drywall in your new build and now want to paint it? Then you should proceed differently than you would, for example, in an old building with wallpapered walls. The specific preparatory work depends ultimately on the surface you want to paint. With our tips, you will learn how to inspect your walls and prepare them for the new paint job.
The following work may be required in advance:
- Removal of mould
- Drying of damp walls
- Sanding off old paint
- Removal of wallpaper
- Priming the wall
- Filling cracks and holes
- Cleaning the wall
Drywall must be levelled and sanded before painting.
Check the surface: Moisture, mould, old paint
To achieve clean results when painting a wall, the surface must be firm, clean, and dry. If you find mould or moisture stains on the wall to be painted, you must treat them beforehand. Remove the mould with specific products, and a damp wall must be completely dried before painting, using methods such as dehumidifiers or a building dryer. Before painting the wall, you should also investigate the cause of the moisture and eliminate it. Cracked and leaky walls, poorly sealed showers, pipe damage, thermal bridges, or leaking roofs are often the culprits. Only by addressing the underlying problem can your wall remain dry in the long run.
Do you want to give an already painted wall a new coat? Then try the following first: Scratch the wall with your finger or stick a strip of masking tape on the paint and peel it off. If paint or plaster flakes off the wall or sticks to the tape, you should not simply repaint the surface with a new layer of paint. Instead, you would need to sand the old paint - and, depending on the situation, the plaster - before applying a new coat. By the way, wallpaper is often easier to remove if you soak it with lukewarm water in a first step. You can use tools like a paint spray system or a cordless pressure sprayer for this.
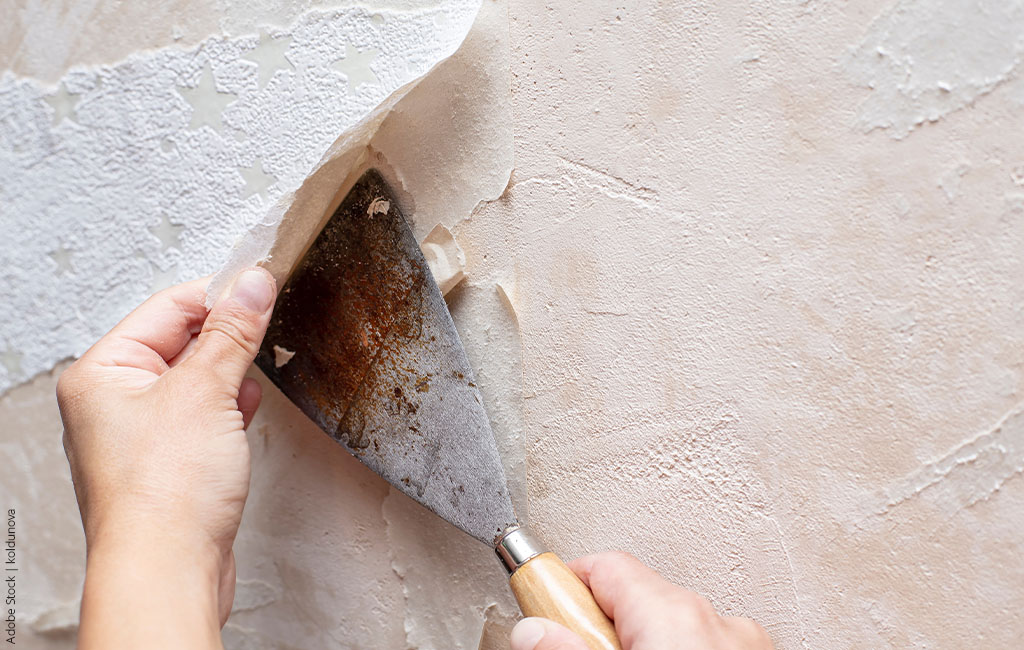
Old wallpaper is easier to remove if it has been soaked beforehand.
Priming walls
Not every wall requires priming, but it can be beneficial in certain cases. If a wall is very absorbent, it may collect the moisture from the paint, and to achieve an even result, you would need to use a lot more paint. Is priming necessary? You can test whether your wall absorbs moisture by dampening a spot on the wall, for example, using a sponge. If the water is quickly absorbed into the wall, priming may be advisable. Highly absorbent materials include plaster, gypsum, or soft fiberboard. Priming with a deep primer is not difficult; a flat brush is often sufficient for application. Of course, you can also evenly and quickly spray the primer using a paint spraying system.
Create a level, clean surface
In the final step of the preparation, before you embark on the painting process, the goal is to establish smooth surfaces. This means you should fill and sand any cracks or old drill holes and remove nails, screws, etc. beforehand. Also, ensure that your ceilings and walls, especially in corners and along edges, are clean. You can easily remove cobwebs and dust with a vacuum cleaner or a handheld broom.
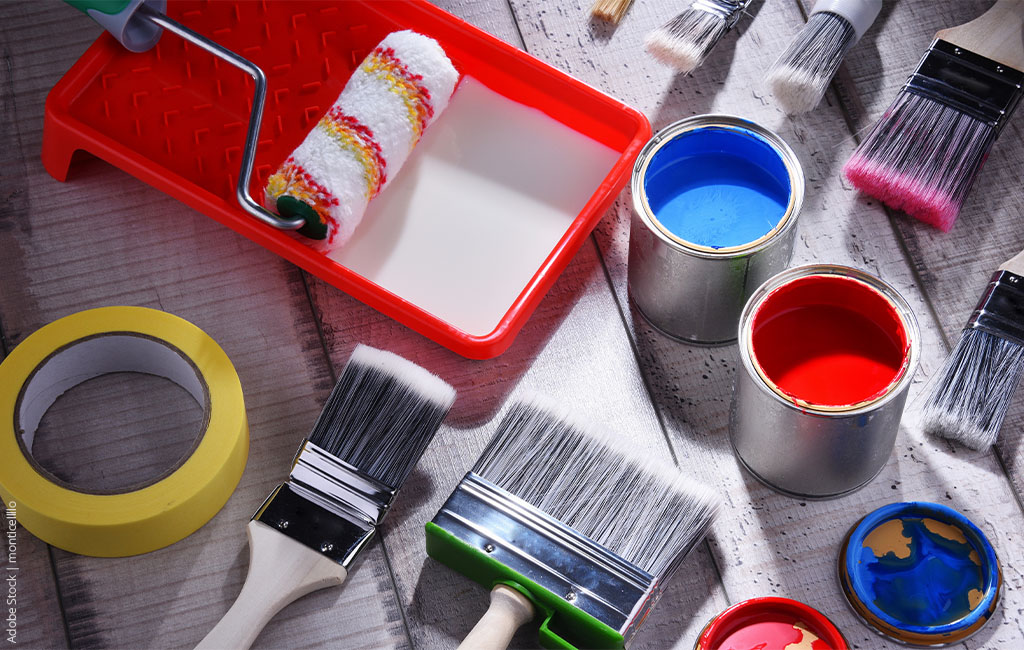
Get to work with the right equipment
Once you have checked your wall and ensured that it is suitable for a new coat of paint, you are almost ready to get started. However, you will need the right tools and proper preparation to begin painting. Depending on whether you are working with a traditional paint roller and brush or if you plan to spray the paint with a paint sprayer, you'll need various items as equipment:
- Paint in sufficient quantity
- Tools such as a paint mixer for blending the paint
- Various brushes, paint rollers, and paint trays
- Alternatively: Paint spraying system
- Covering materials: painter's fleece, protective film, masking tape
- Ladder for painting ceilings and high walls
- For design elements: Laser device or tape measure and pencil
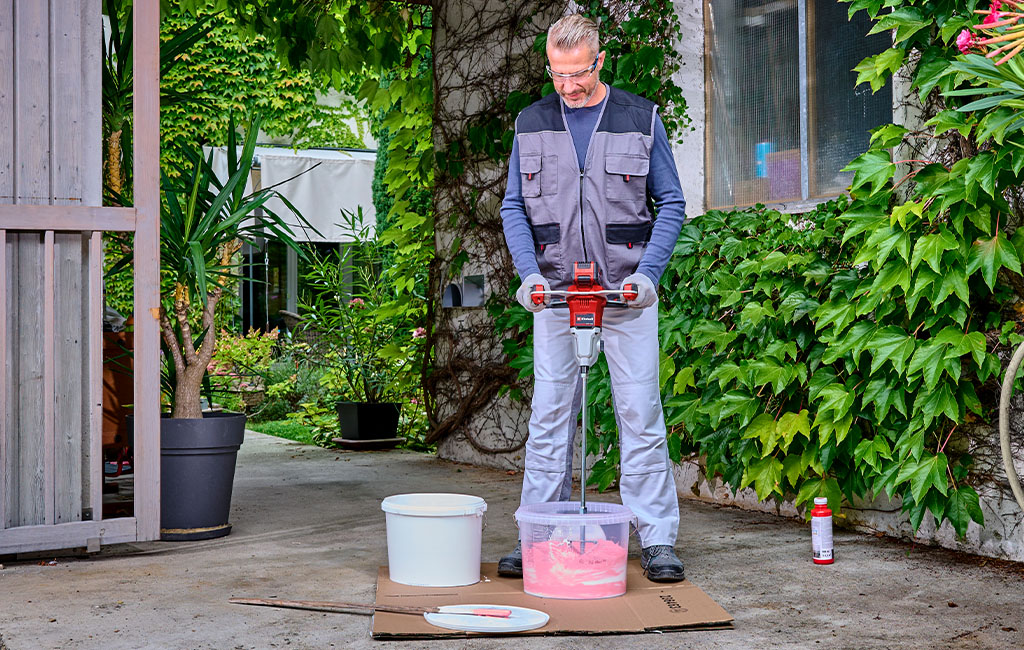
Paint can be mixed using a paint mixer.
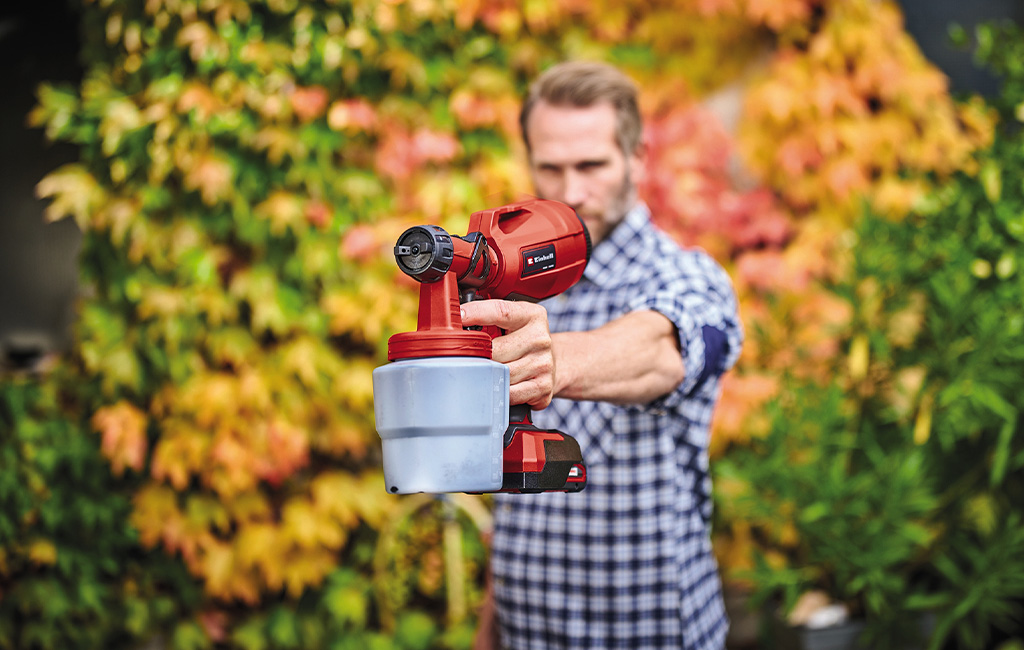
Wall paint can be applied to a limited extent using a paint spray system.
Step-by-Step Guide: Painting Walls
Painting correctly is a skill that needs to be learned. For those who prefer to undertake these tasks themselves instead of hiring a professional, it is essential to familiarize yourself with the proper process. Our tips are here to assist you with that.
Prepare the Room
Before you start painting your apartment, it's important to prepare each room thoroughly. Specifically, this means clearing furniture or, if necessary, pushing it to the center of the room and covering it carefully. Ceilings and walls should be cleaned and free of decorations, nails, screws, or similar items. If you want to continue using a drilled hole even after painting, you can mark it with a toothpick, for example. To work undisturbed and accurately, you can also remove lamps and light switches. However, be sure to turn off the power before doing so! To have enough light for painting even without a ceiling light, you can use our cordless lamps, for example. Depending on the model, you can even place them on a tripod to illuminate the room optimally.
For clean results and to avoid a major cleanup afterward, it's essential to thoroughly cover and mask everything in advance. You can cover the floor with painter's fleece or protective film, and protect windows with masking film. Use masking tape to cover baseboards, window frames, and any electrical outlets or light switches that haven't been removed. You can also use masking tape to cover the edges between a colored and white wall or the junction between the wall and ceiling in advance.
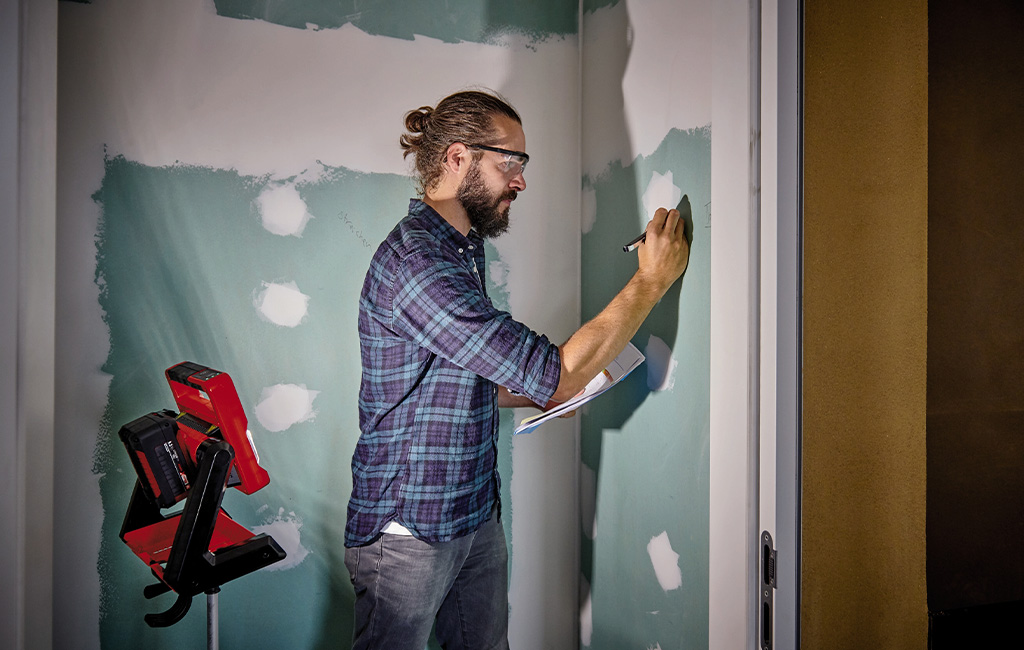
The cordless lamp ensures good visibility when painting.

The surface should be masked and covered before painting.
Technique: How to paint correctly
In general, when painting, it's important to follow the right sequence. Typically, you would start at the ceiling so that any potential paint splatters on the walls can be easily covered later. Whether on the ceiling or the wall, always begin by painting the edges, corners, edges, and narrow areas first. This includes the borders of windows, electrical outlets, and similar details. Then, you can "fill in" the larger areas with wall paint. By the way, it's often recommended to start on the side of the room with natural light, i.e., the window side, and follow the direction of the light.
The following points should be noted when painting:
- Avoid breaks: Always paint a wall in one go without interruption. You can take breaks between individual walls.
- Ensure a thin paint application: Do not linger too long in one place with the paint sprayer. When working with the paint roller, make sure you roll it along the squeegee until no more paint drips.
- Work "Wet on Wet": Always start your paint roller in the already painted, still wet area to avoid streaks.
- Work in sections: Take on approximately 1 square metre sections one at a time. Apply the wall paint in an 'M' or 'W' motion and then perform the final stroke from top to bottom.
- Multiple layers of paint: For dark red, intense blue, or anthracite colours, you may need multiple coats. In some cases, an initial coat with white paint can help the new colour cover better.
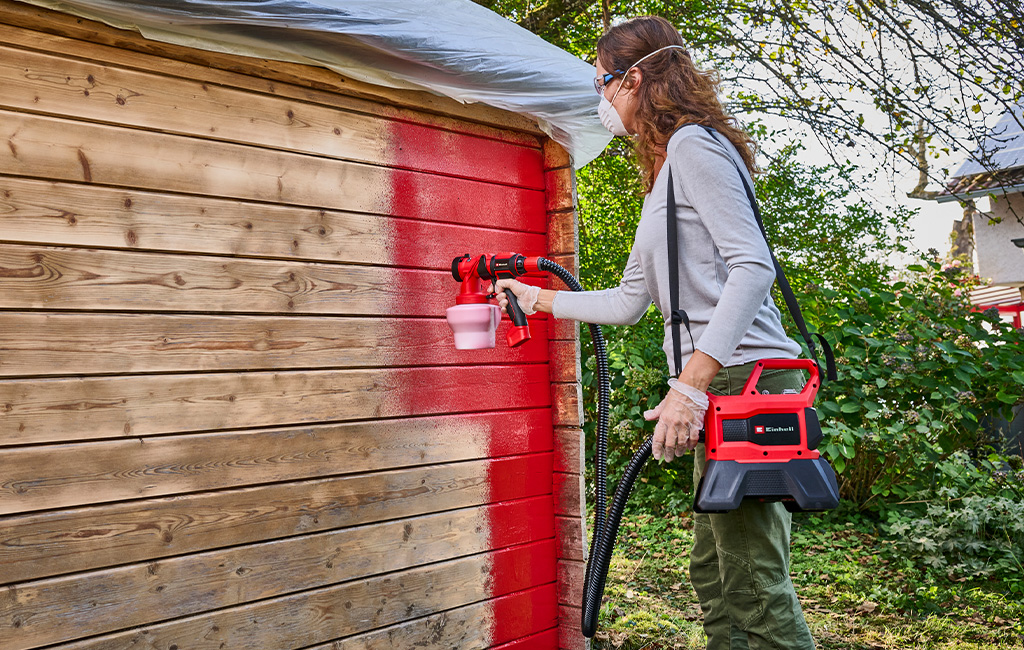
With the right technique, the wall paint can also be applied thinly and evenly using a paint sprayer.
Extra tip
Bringing design to the wall
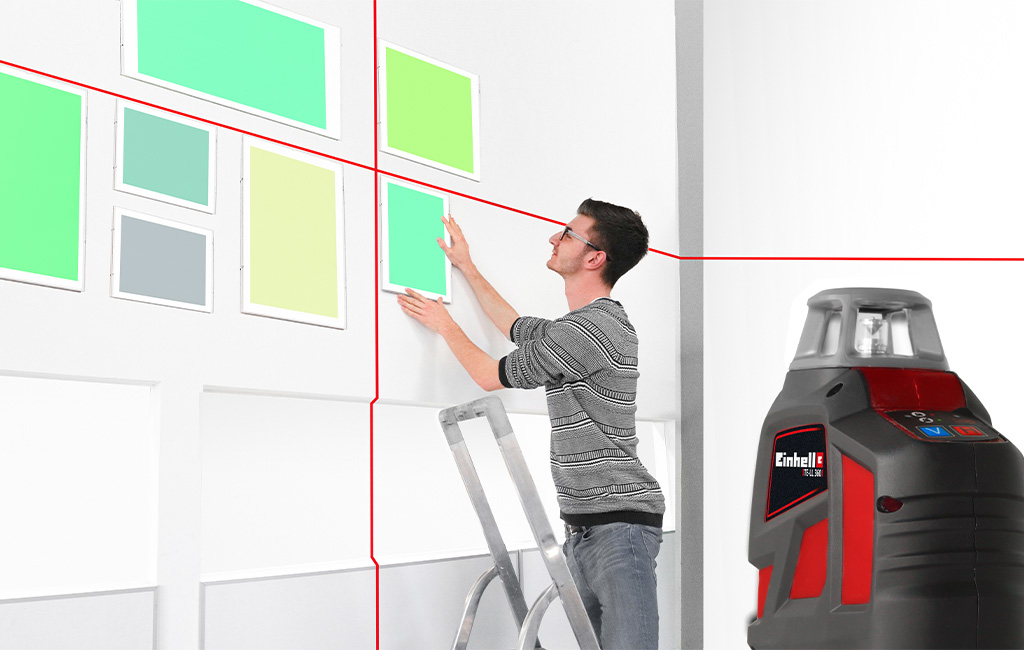
A decorative, coloured stripe on the wall? To apply these and other geometric patterns precisely to the wall, you can get help in the form of a laser device. A cross line laser, for example, can project two exactly straight lines in a 360° radius onto the wall to help you position the adhesive tape. If you have a steady hand, you can also draw directly along the line with a brush.
Good things take time: Observe the drying time
To achieve clean edges, you should peel off the masking tape when the paint is slightly dried but not completely dry. If the paint is already fully dry, you might peel it off along with the tape. If it's too wet, it might seep under the tape.
To ensure the wall paint dries evenly, maintain a consistent room temperature. Ideally, keep radiators turned off so that the wall next to the heater doesn't dry faster than the rest of the room. Ventilate the room well and avoid staying in it longer than necessary. Conventional dispersion paint usually takes about 12 hours to dry. However, the duration varies depending on the temperature and may extend, for example, in cold or humid conditions. Only when the first coat is completely dry should you decide whether a second coat is necessary.
Helpful equipment for painting projects
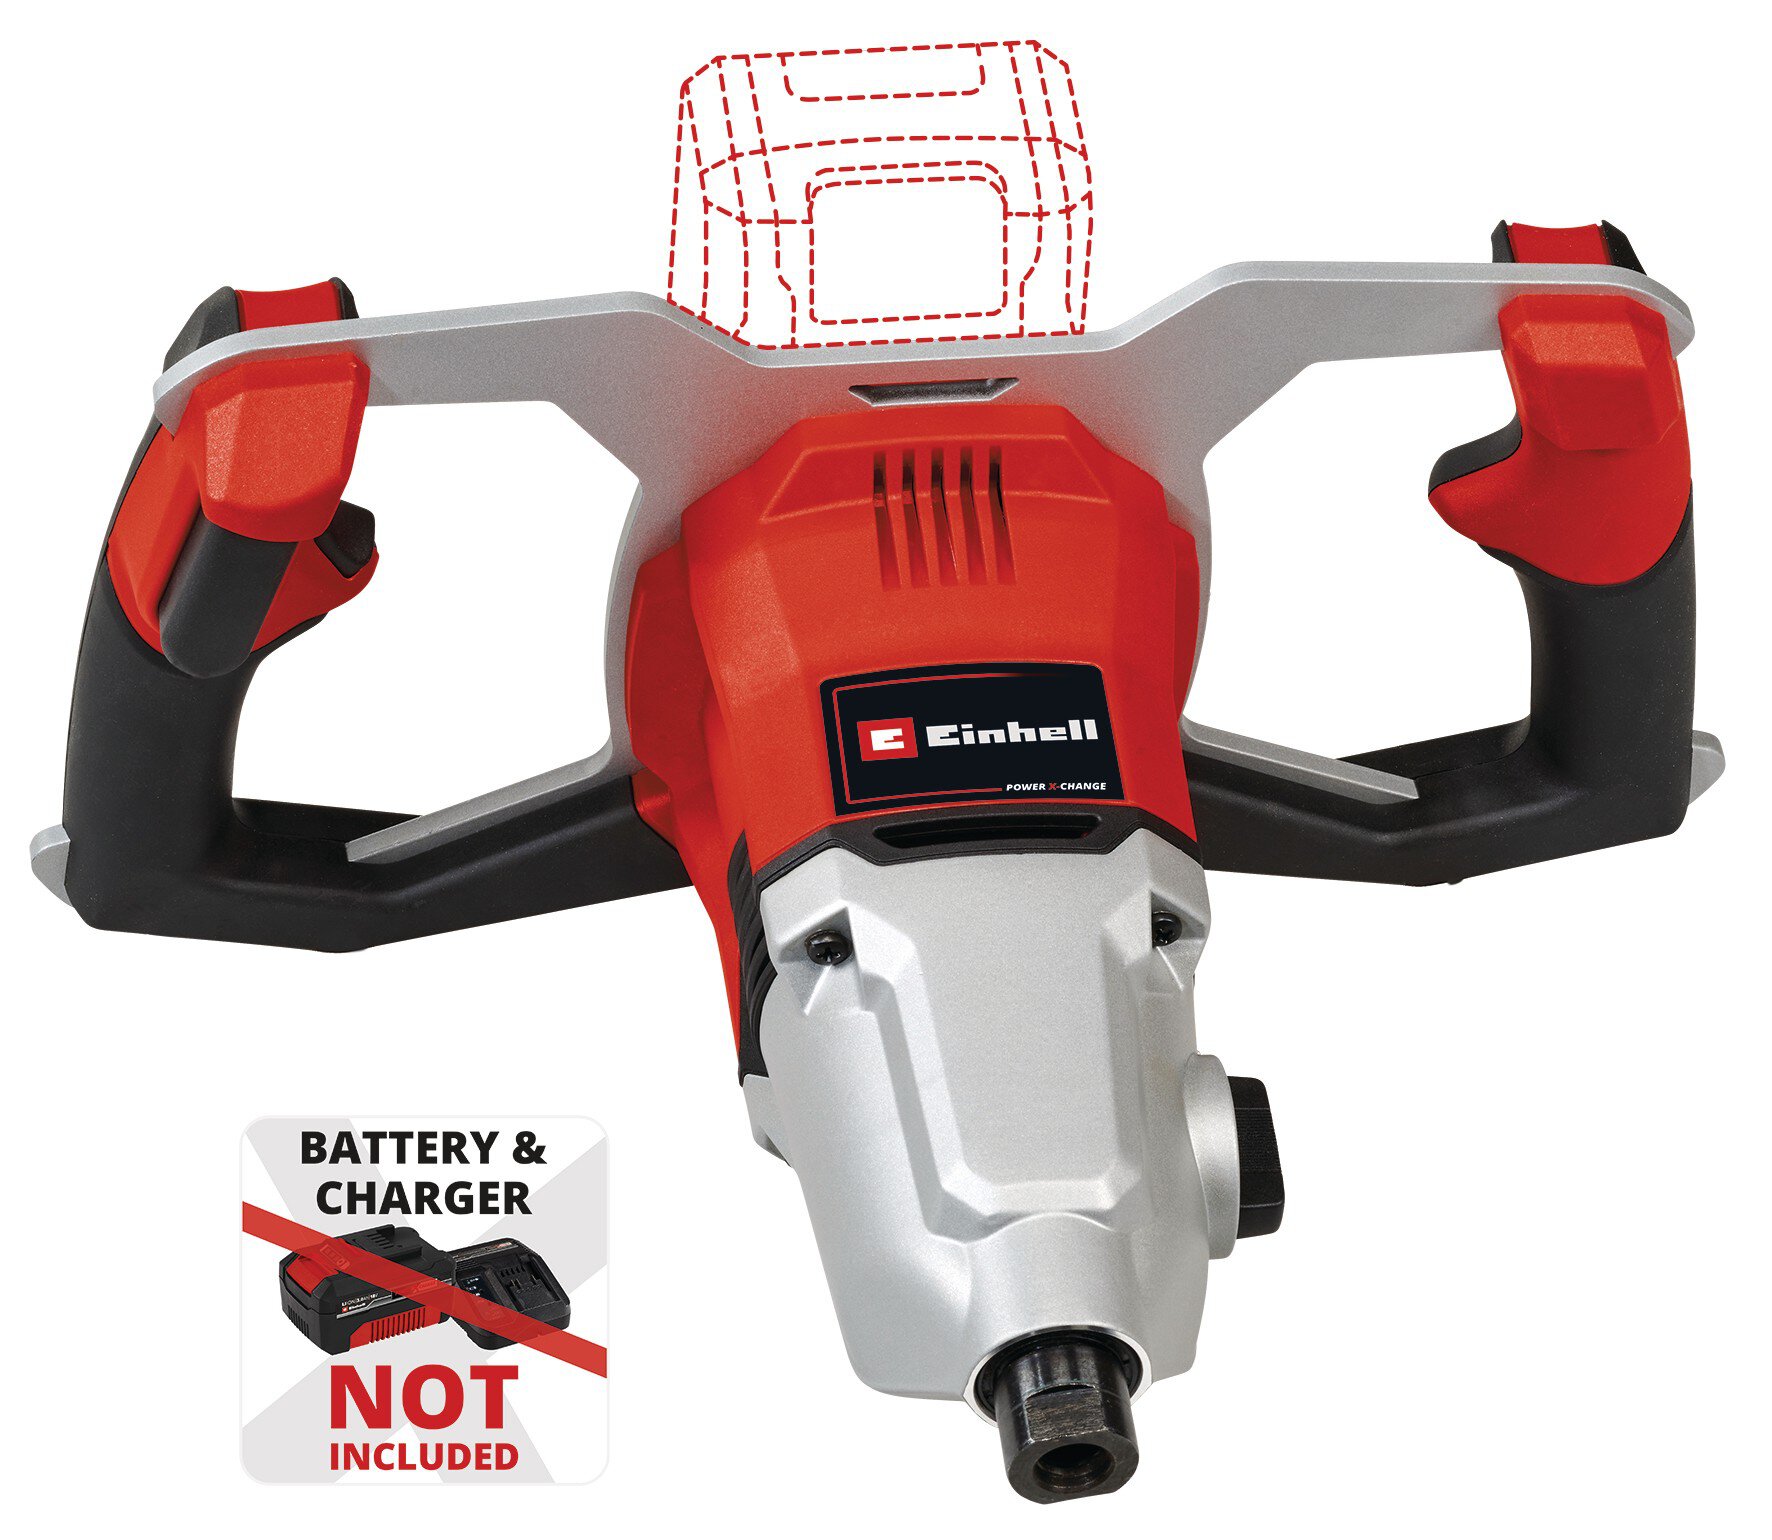
Cordless Paint/Mortar Mixer
TP-MX 18-2 Li BL - Solo
Go to article
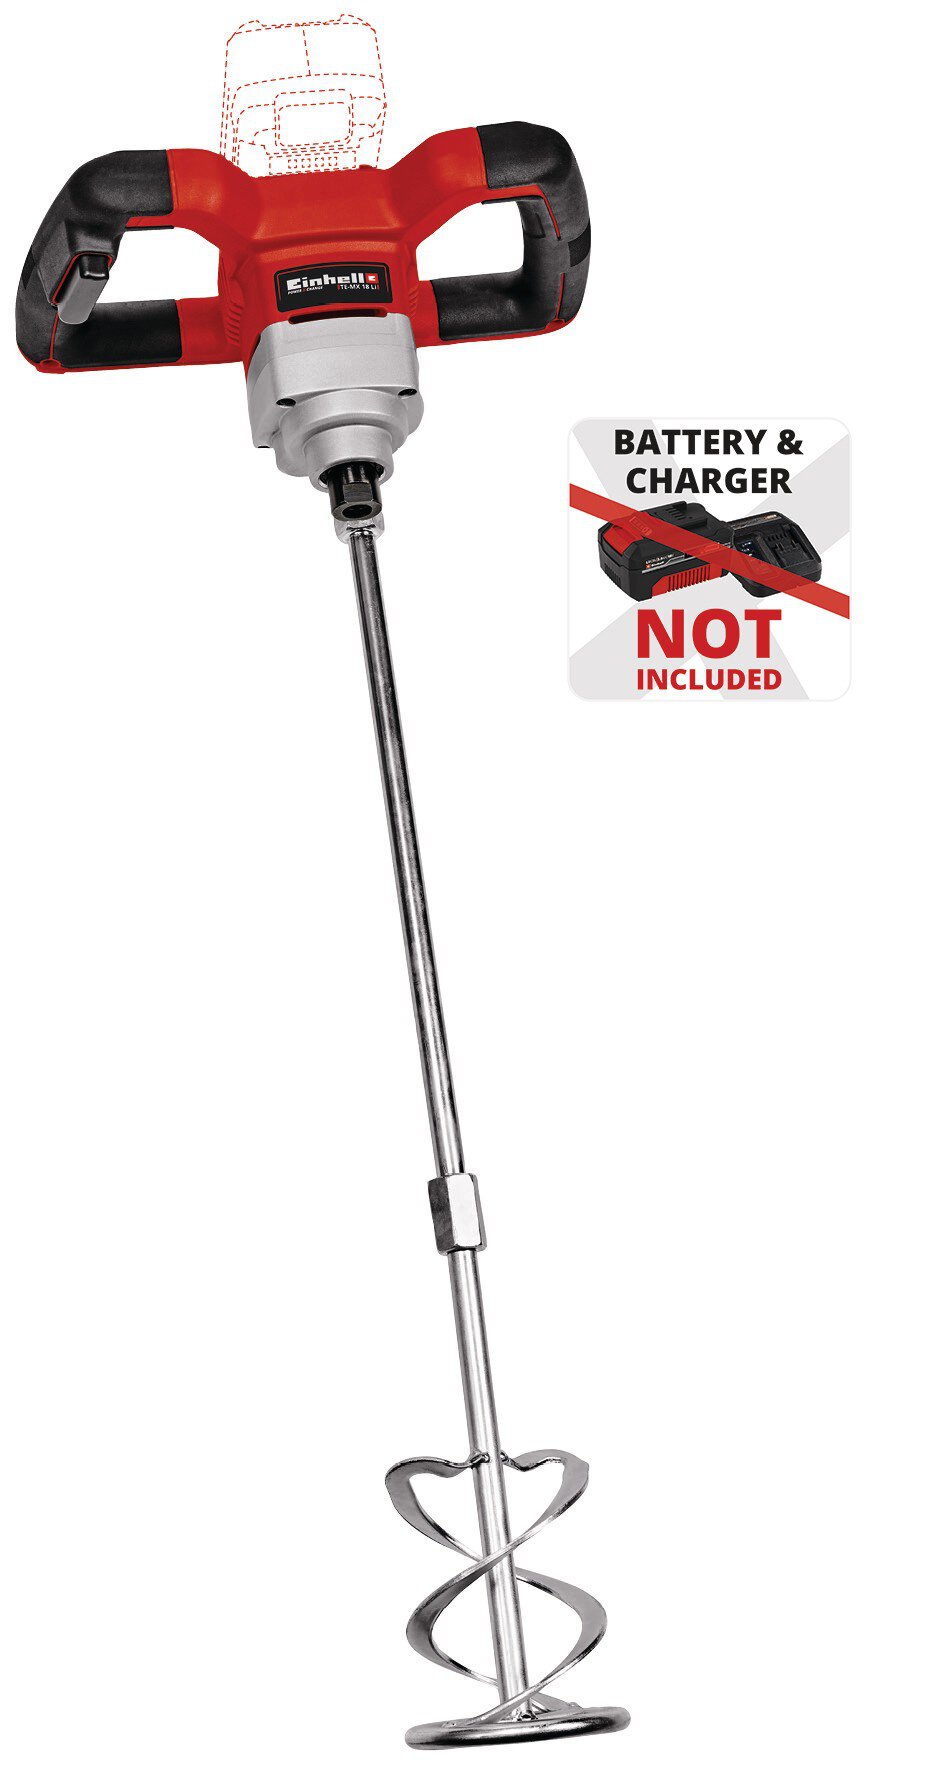
Cordless Paint/Mortar Mixer
TE-MX 18 Li - Solo
Go to article
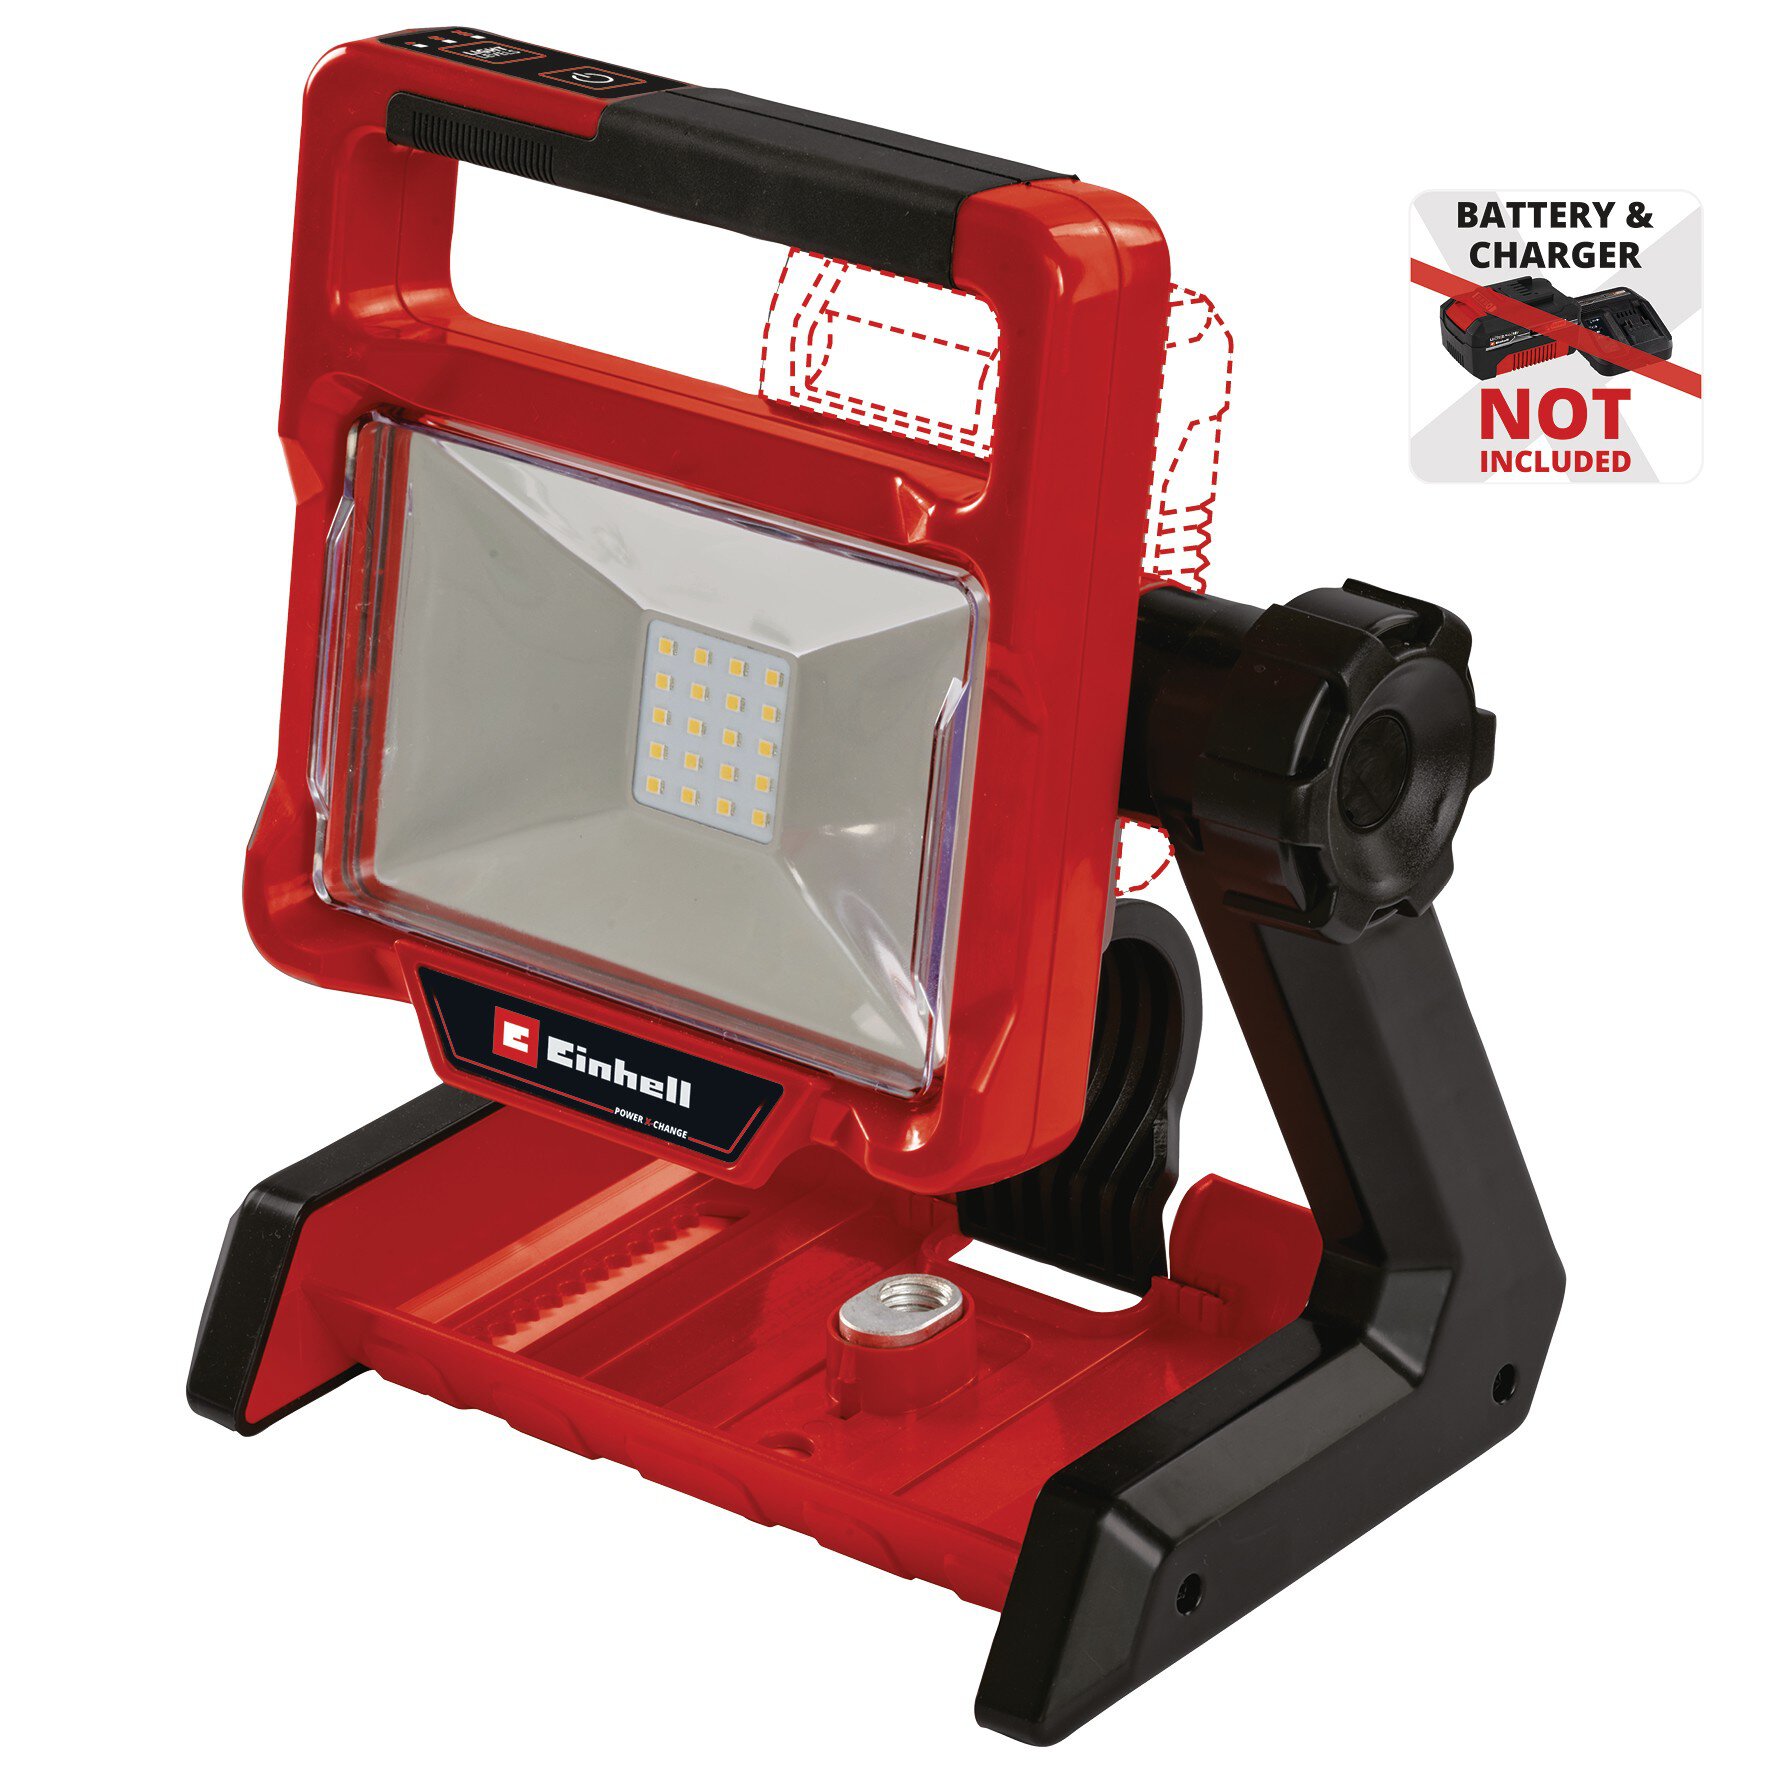
Cordless Light
TE-CL 18/2000 LiAC - Solo
Go to article
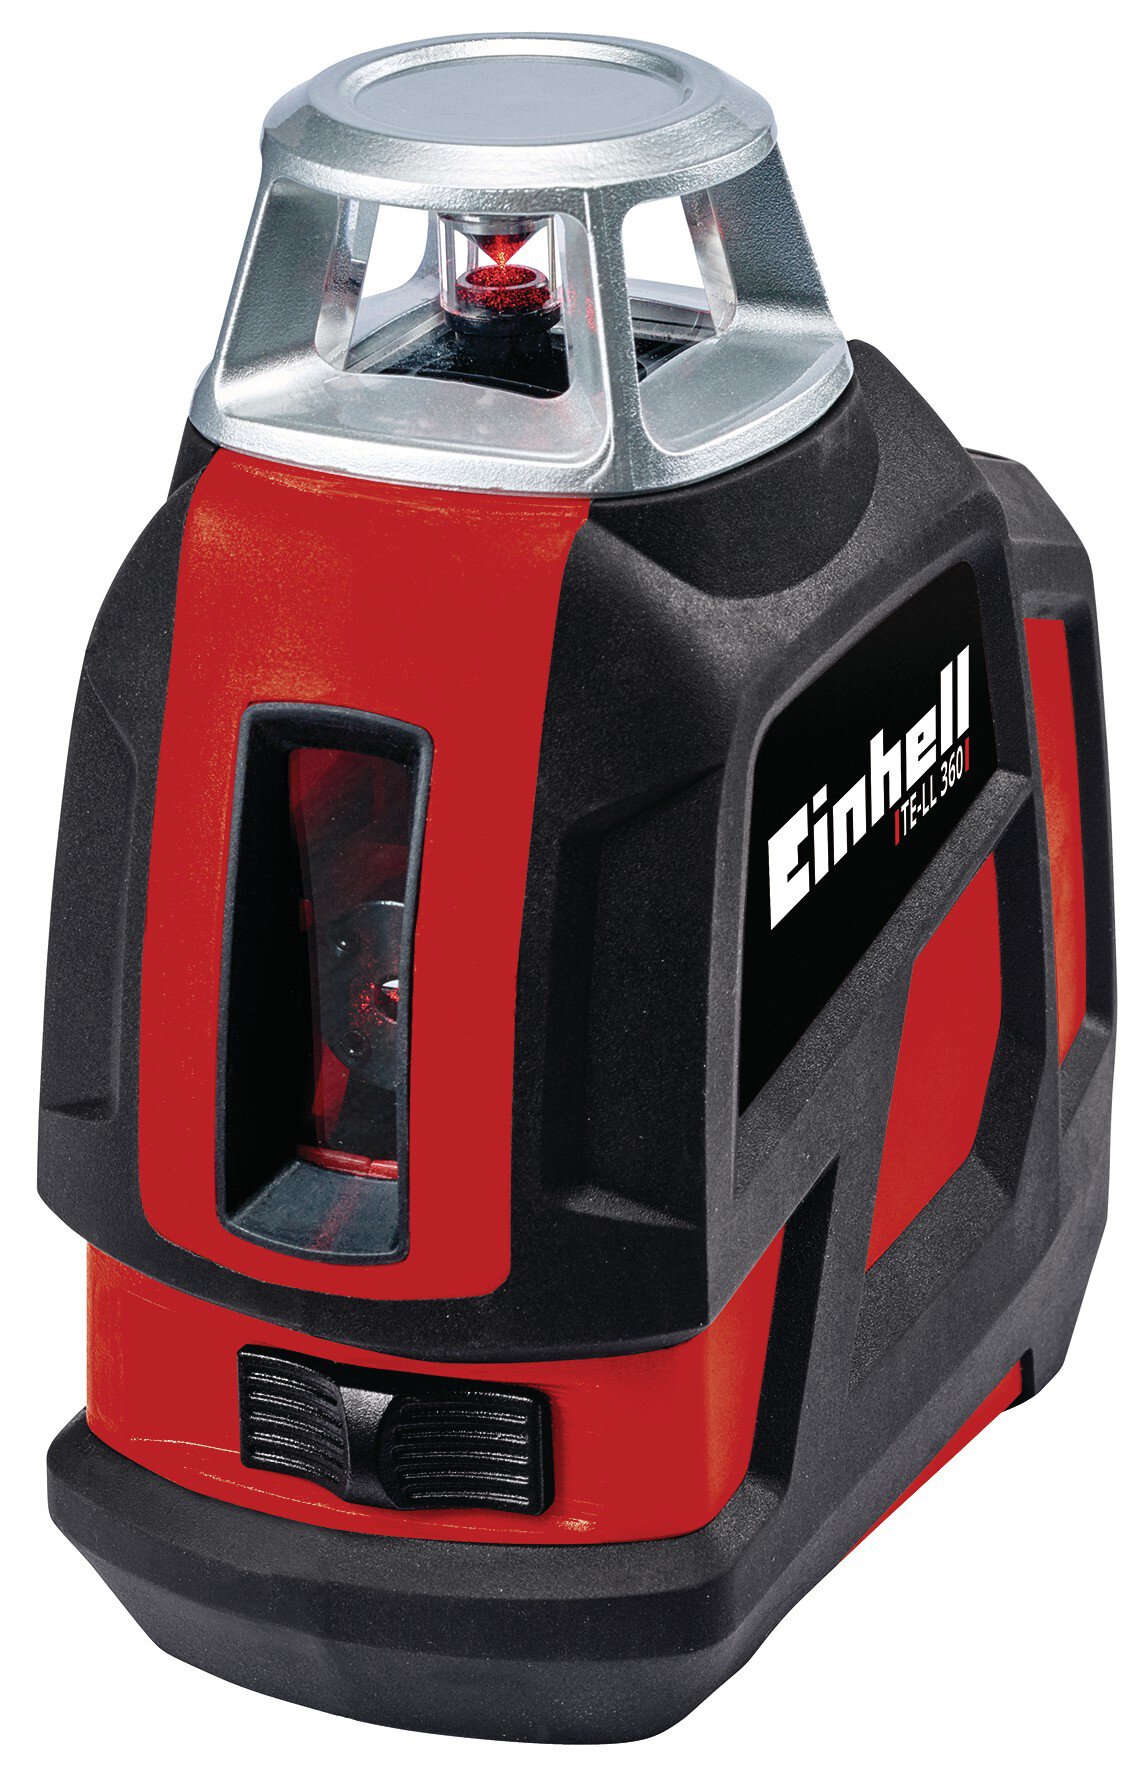
Cross Laser Level
TE-LL 360
Go to article
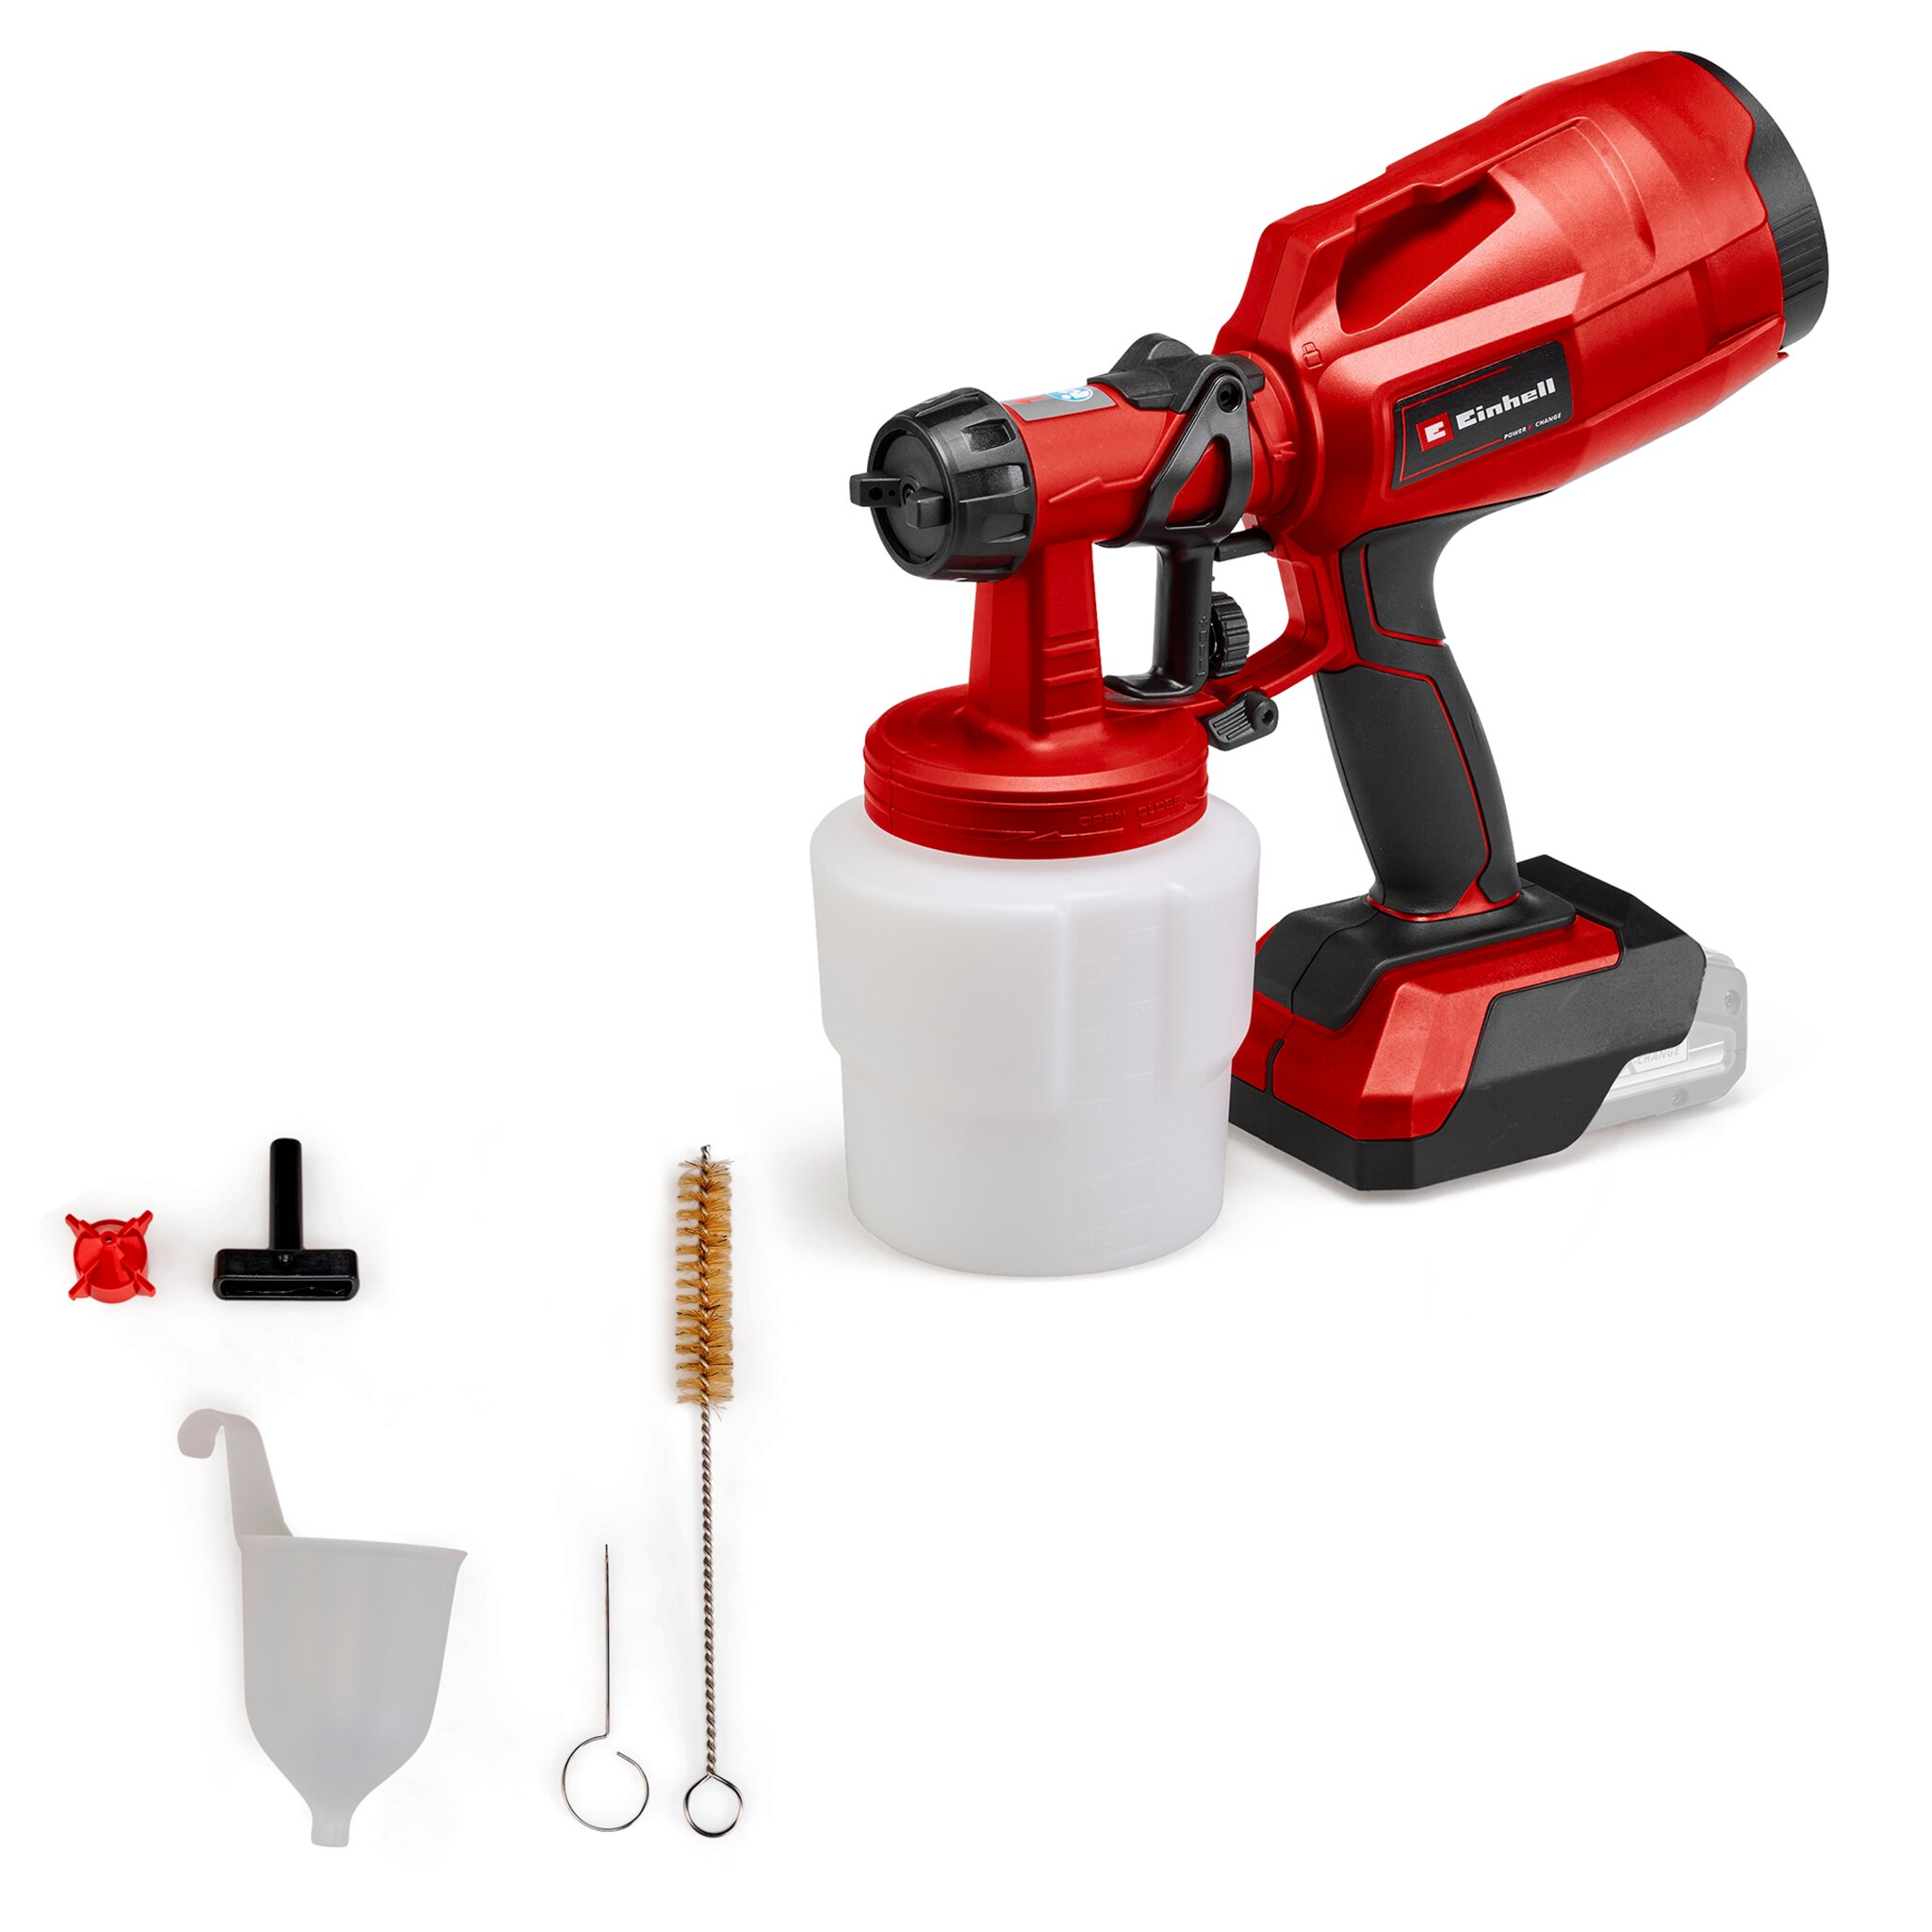
Cl.Paint Spray Sys (Spray Gun)
TC-SY 18/60 Li-Solo
Go to article
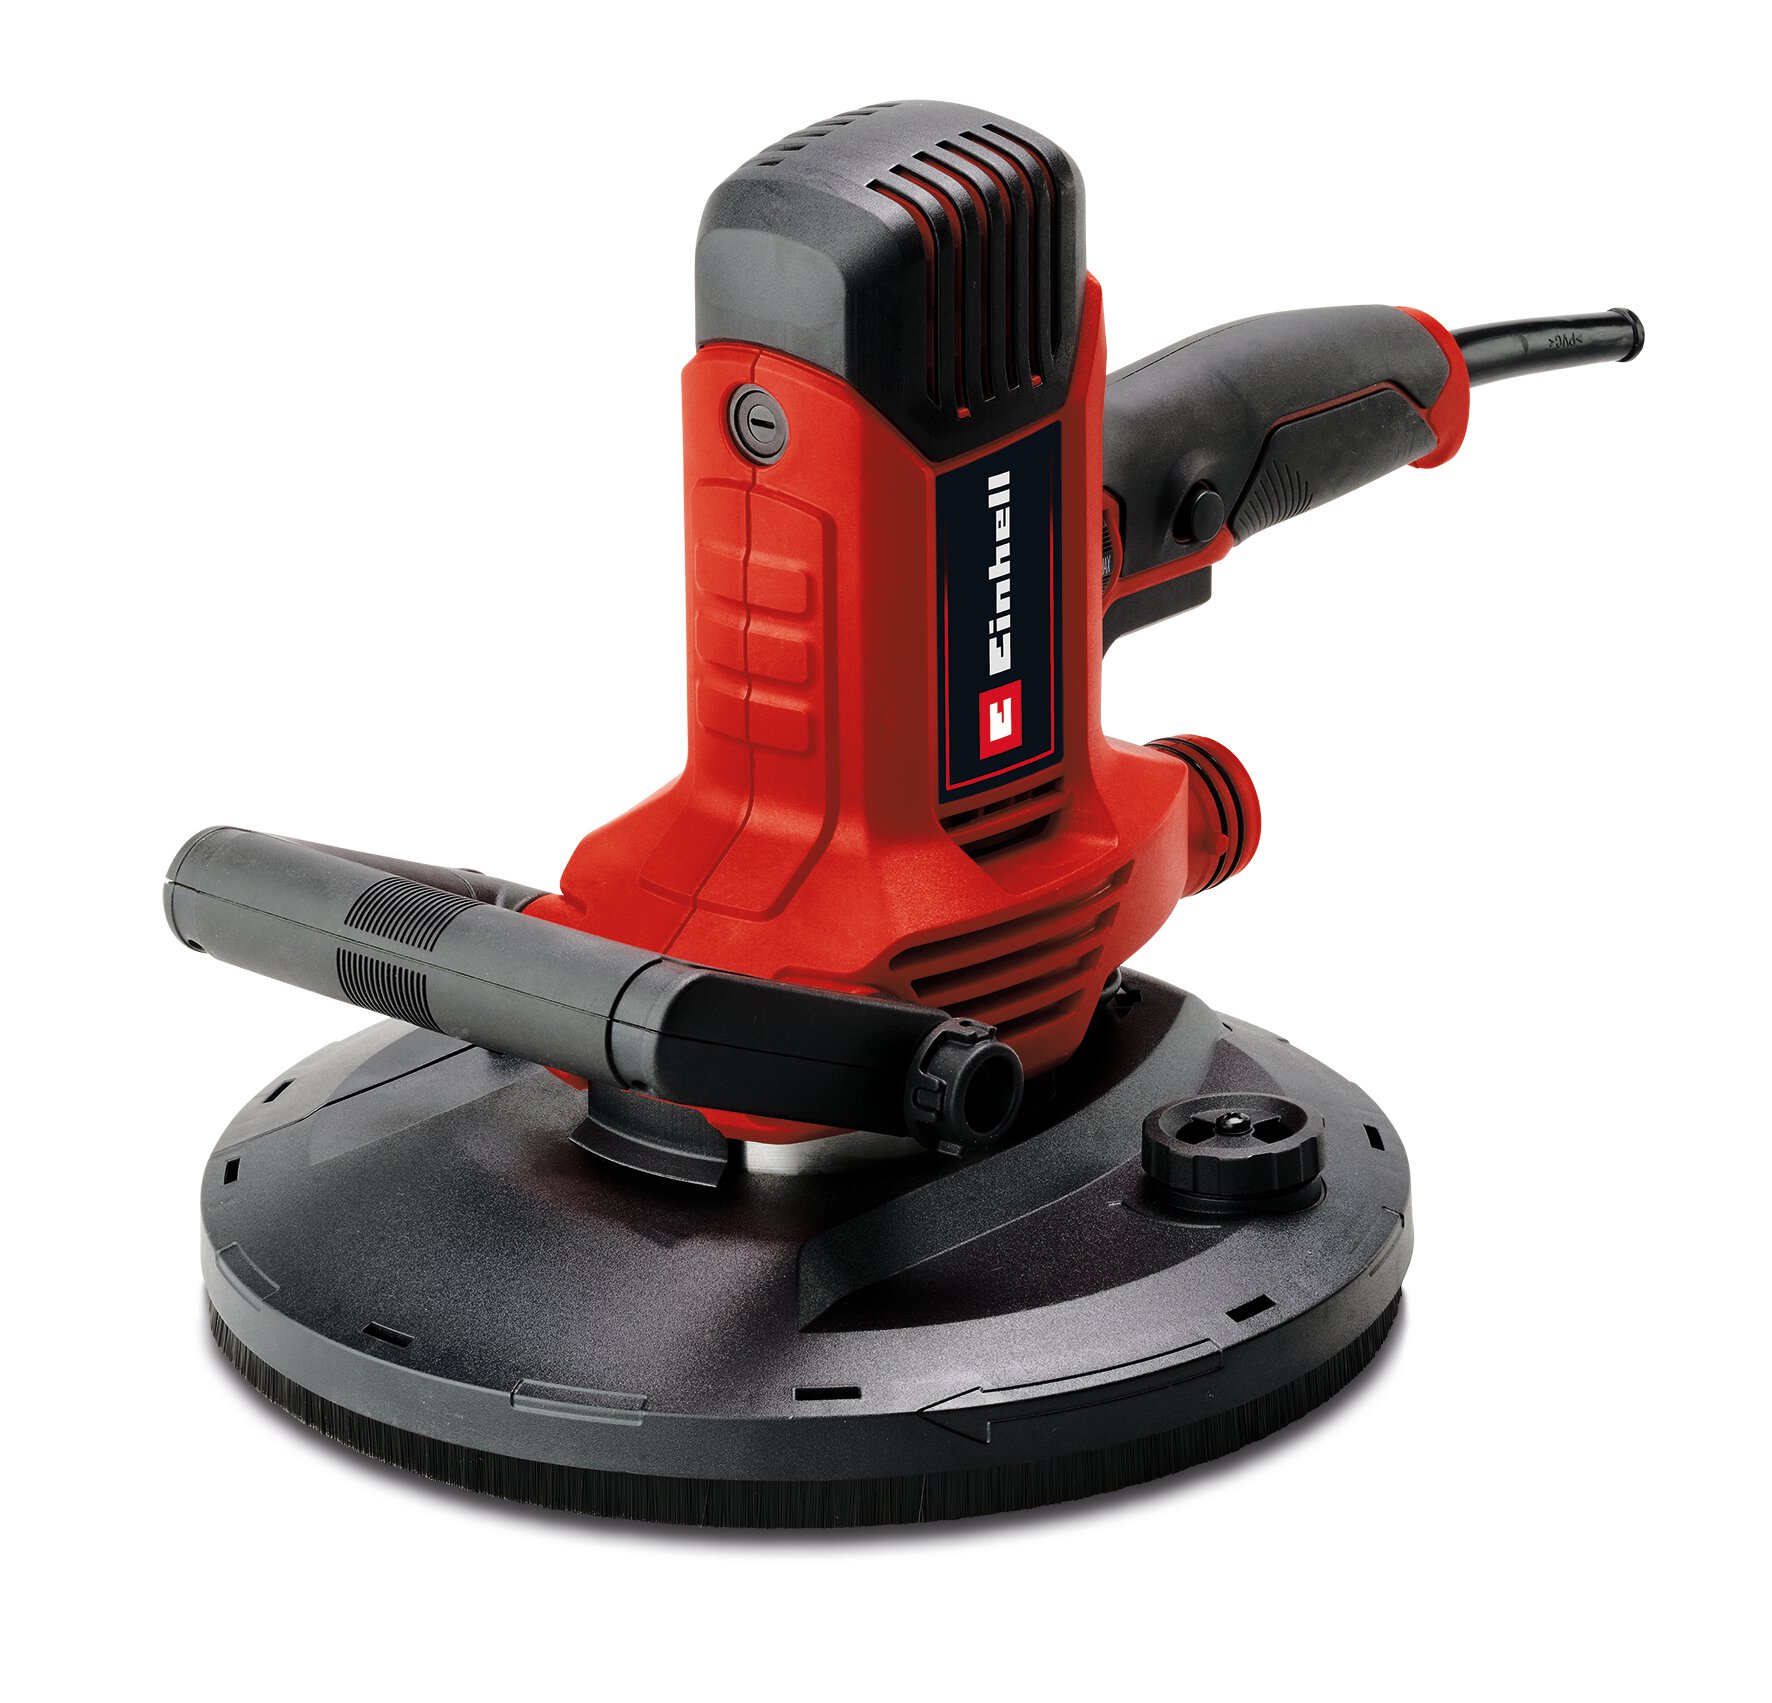
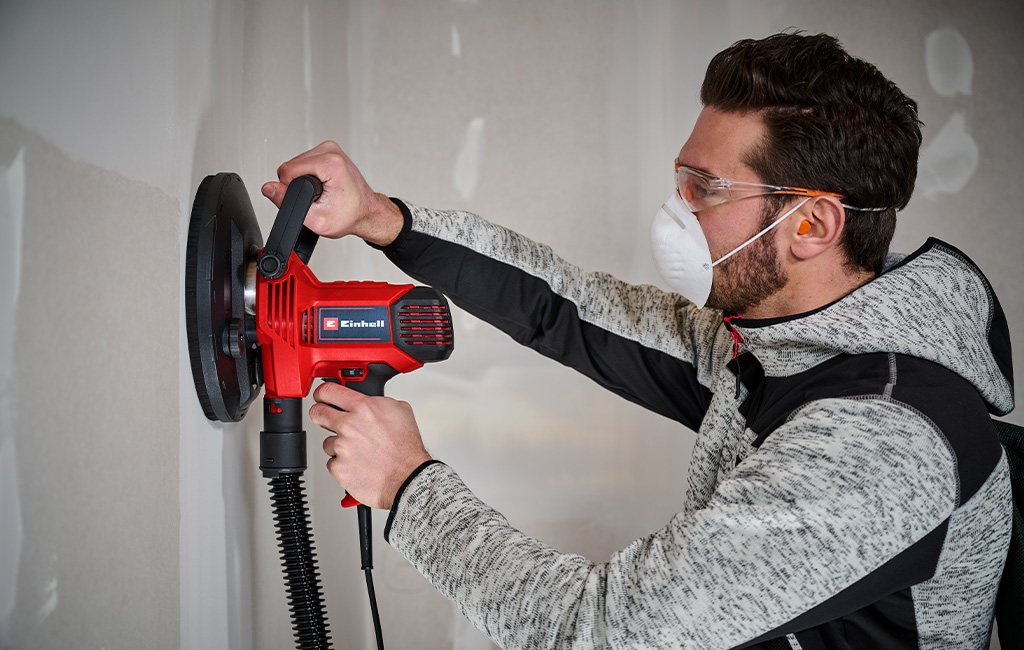
Drywall Polisher
TC-DWS 225
Go to article
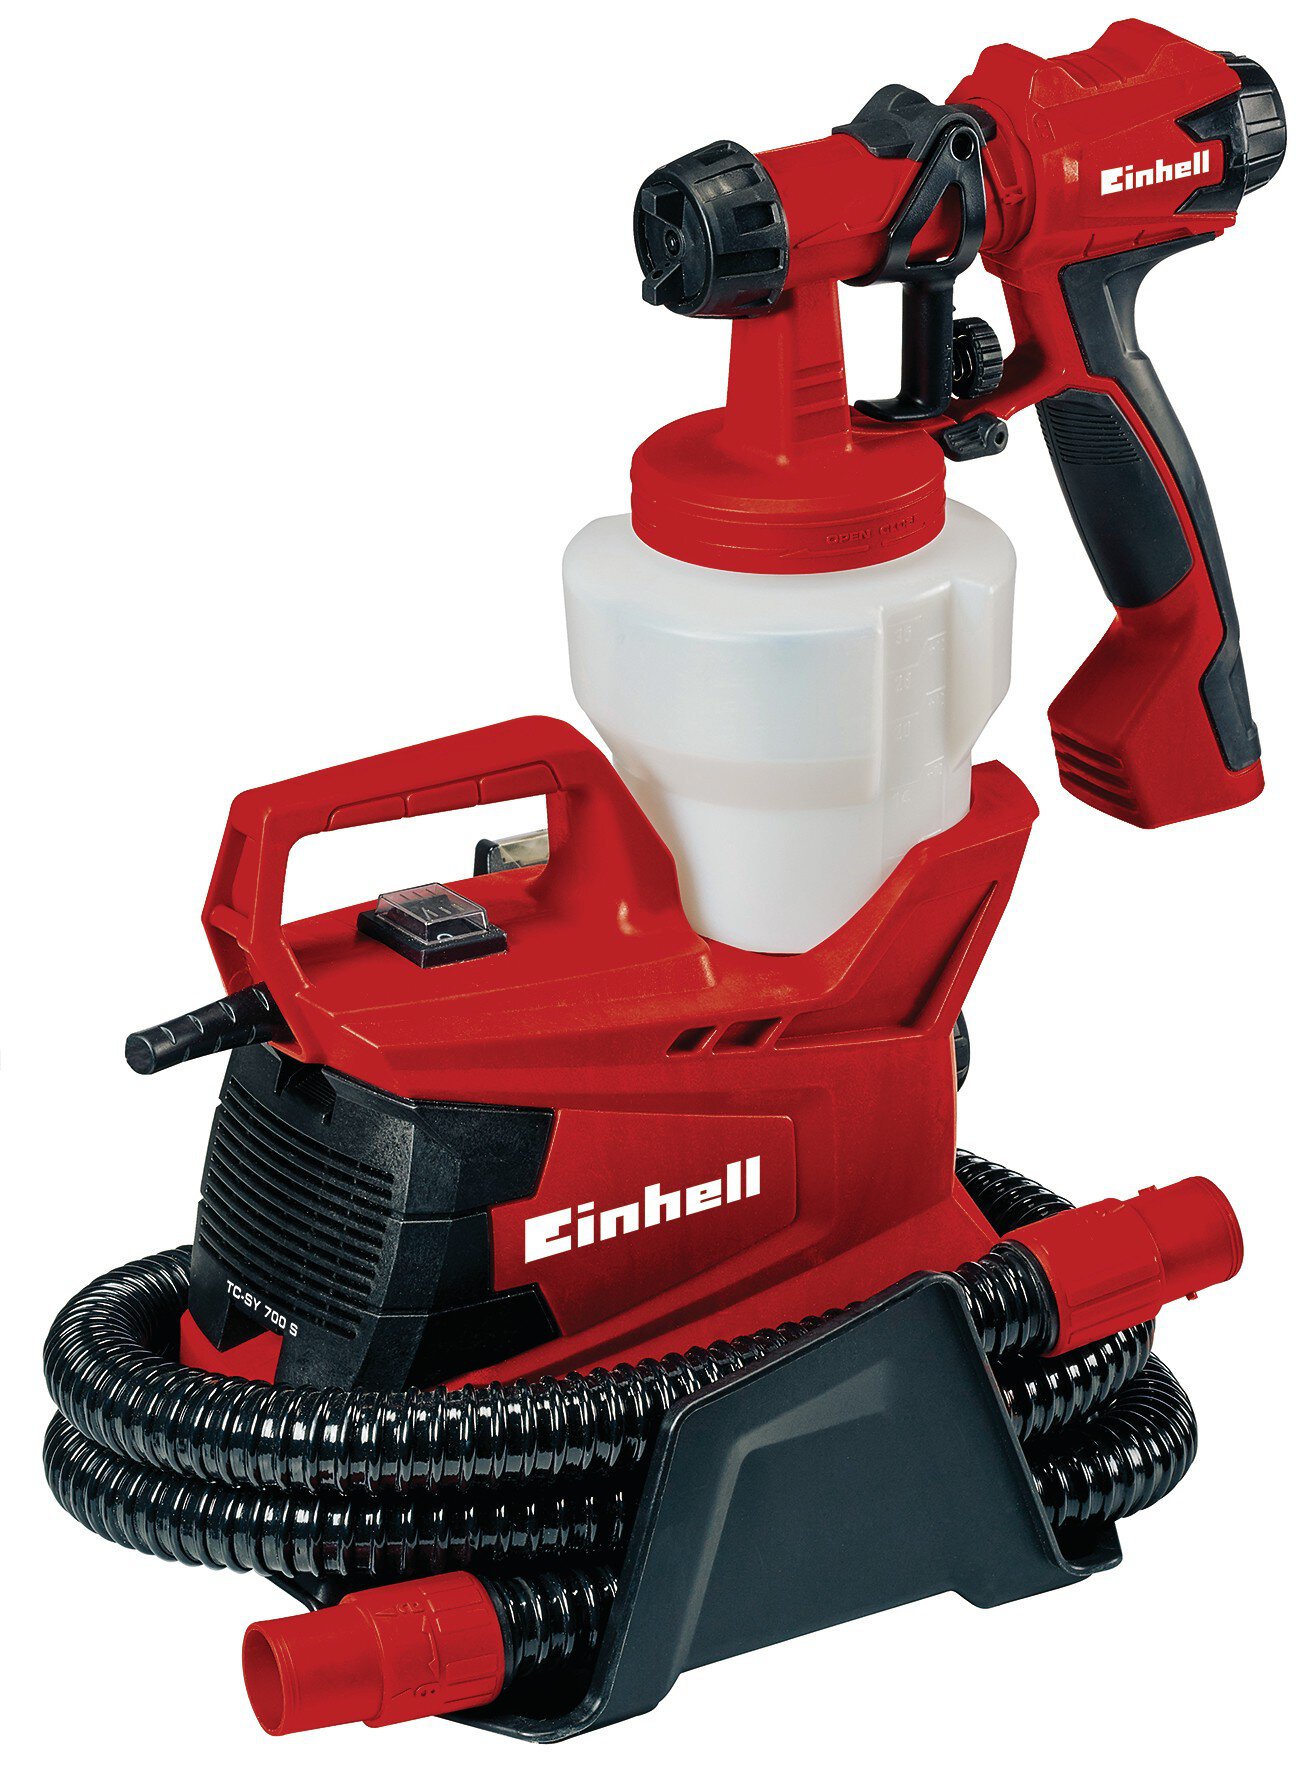
Paint Spray System
TC-SY 700 S
Go to article
In this article you will learn all about:

Published on 24.01.2024
Marina Liefke is an Online Editor at Einhell, where she deals with virtually all texts related to tools, garden equipment, and accessories. She acquires the necessary know-how through practical product training and close collaboration with the Einhell product managers. Her favorite tool is the PRESSITO cordless compressor because when the air is running out, it pumps it right back in.