Making a 90 degree device
As a DIYer, it can sometimes be difficult to make everything completely straight. As I want to make a set of shelves for my next project, I decided to make this device, which will make it possible for me to make everything straight. Future work pieces can be clamped between this „wedges“ and therefore made straight.
Step 1
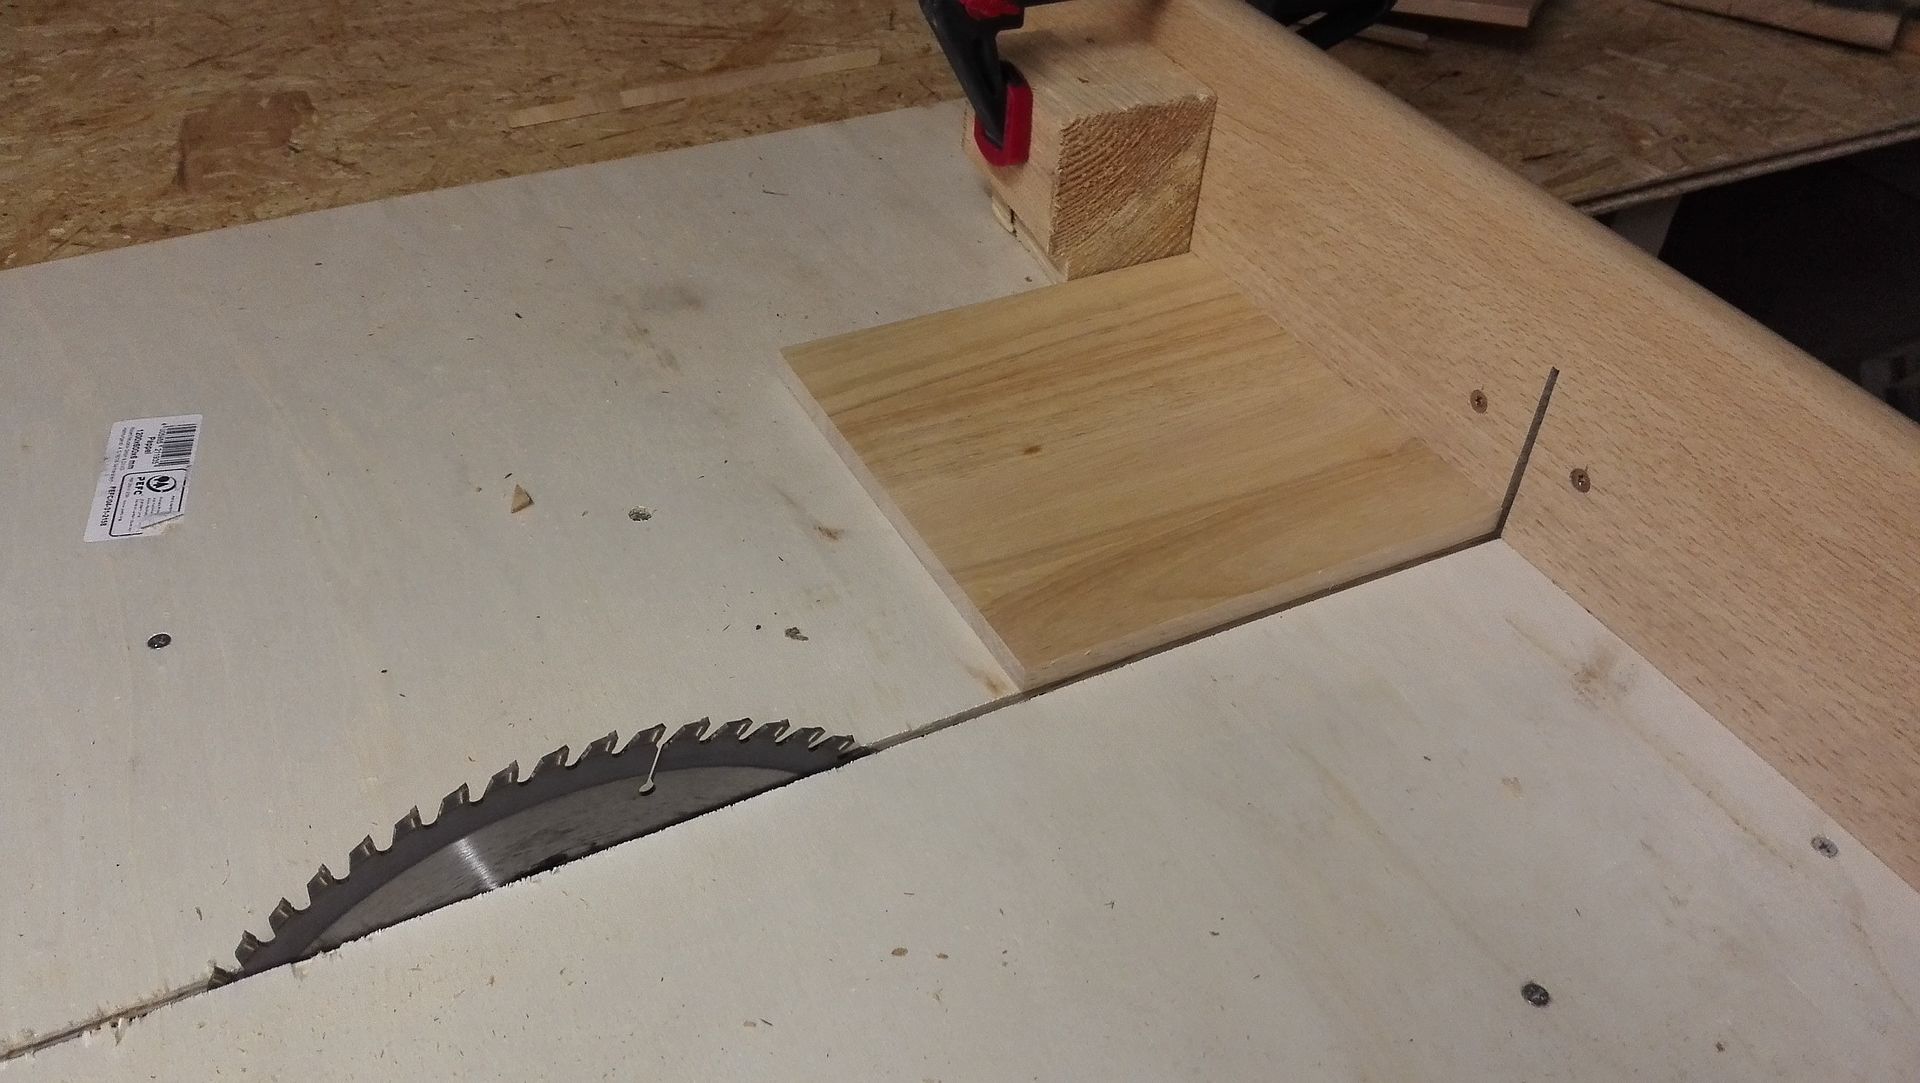
First we take a piece of hardwood and saw it into a square on the circular table saw measuring 20 x 20 cm.
I built a sliding carriage for this, where you can saw a workpiece at 90 degrees. I have attached a stop to this sliding carriage at 20 cm along, in order to obtain a square with sides that are really identical in length.
Step 2
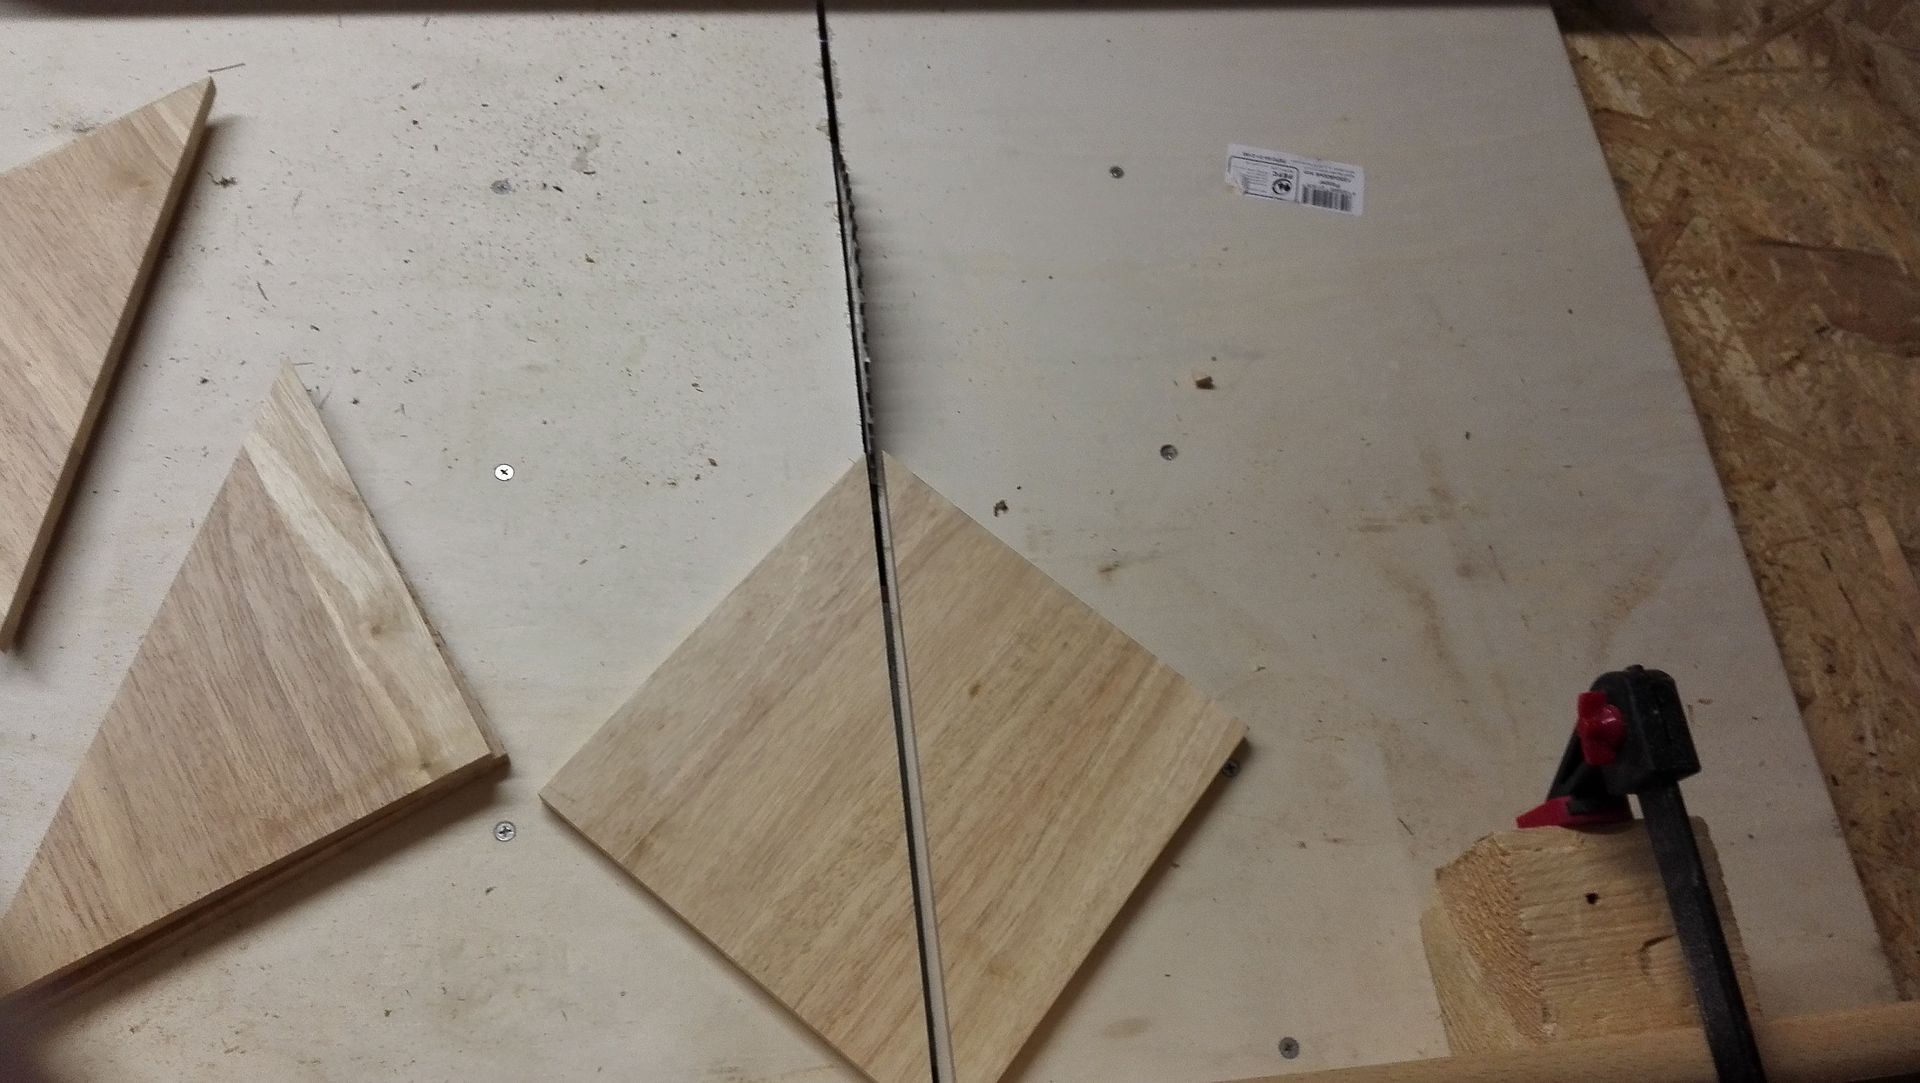
Then we cut the square in half diagonally so that we’re left with two identical triangles.
Step 3
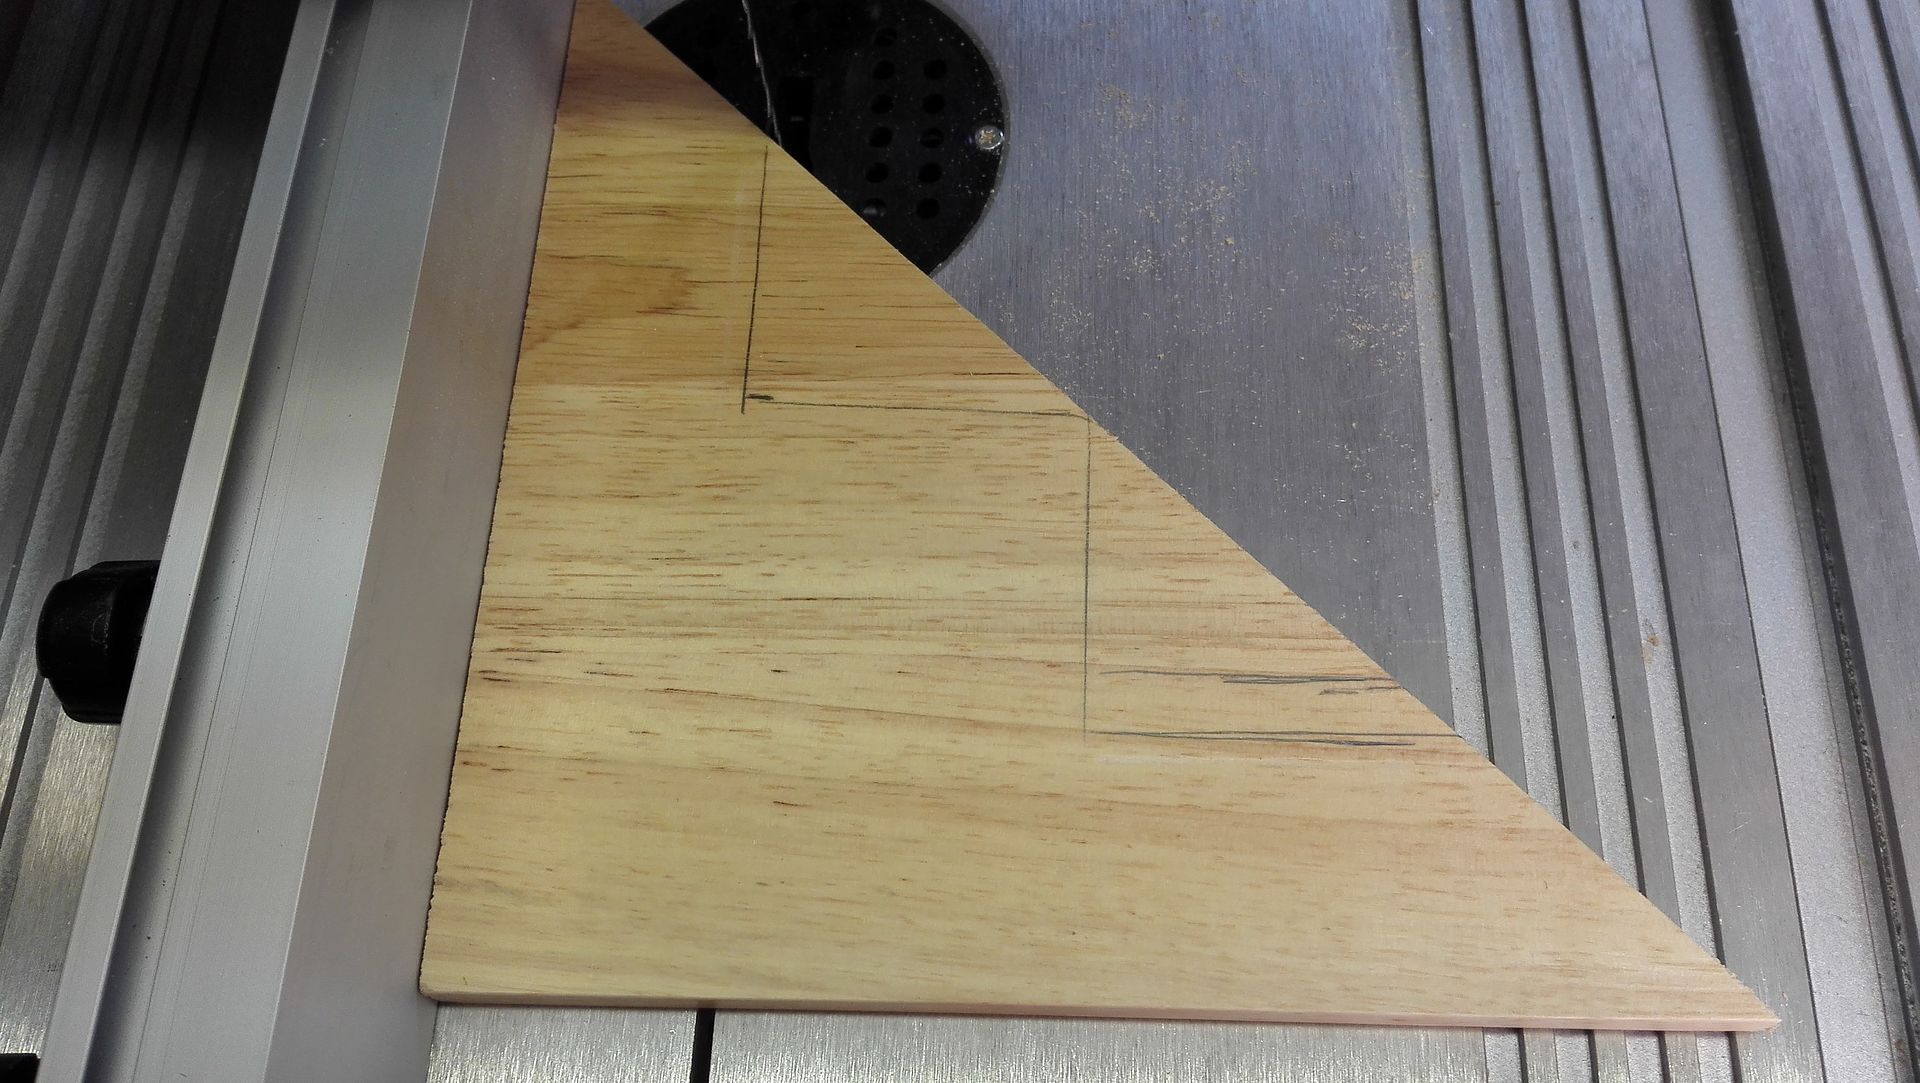
Then at 4 cm along we draw a cut at the 90 degree branches 5.5 cm deep and this is cut at the 45 degree branch, so that here we get notches where you fasten the clamps.
Step 4
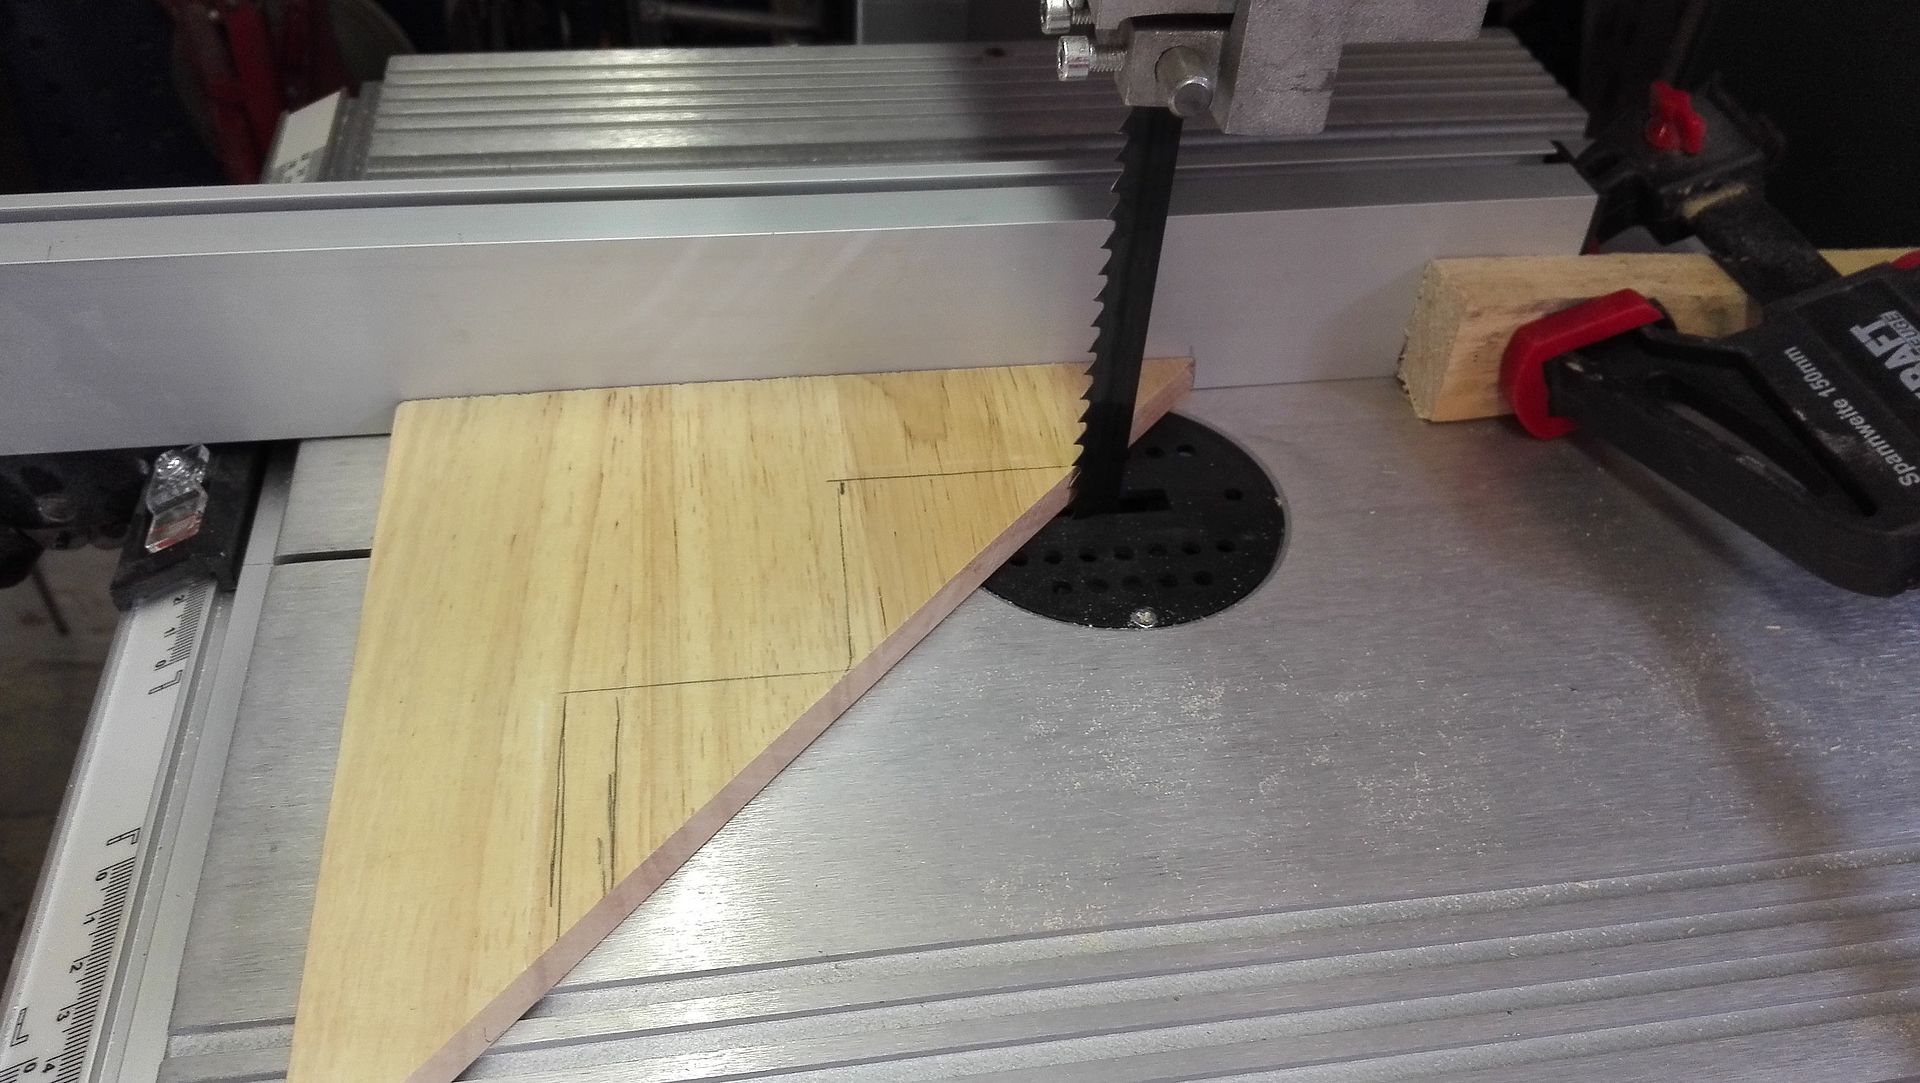
To cut, we again attach a stop on the longitudinal stop of the band saw, so as to get uniform cuts.
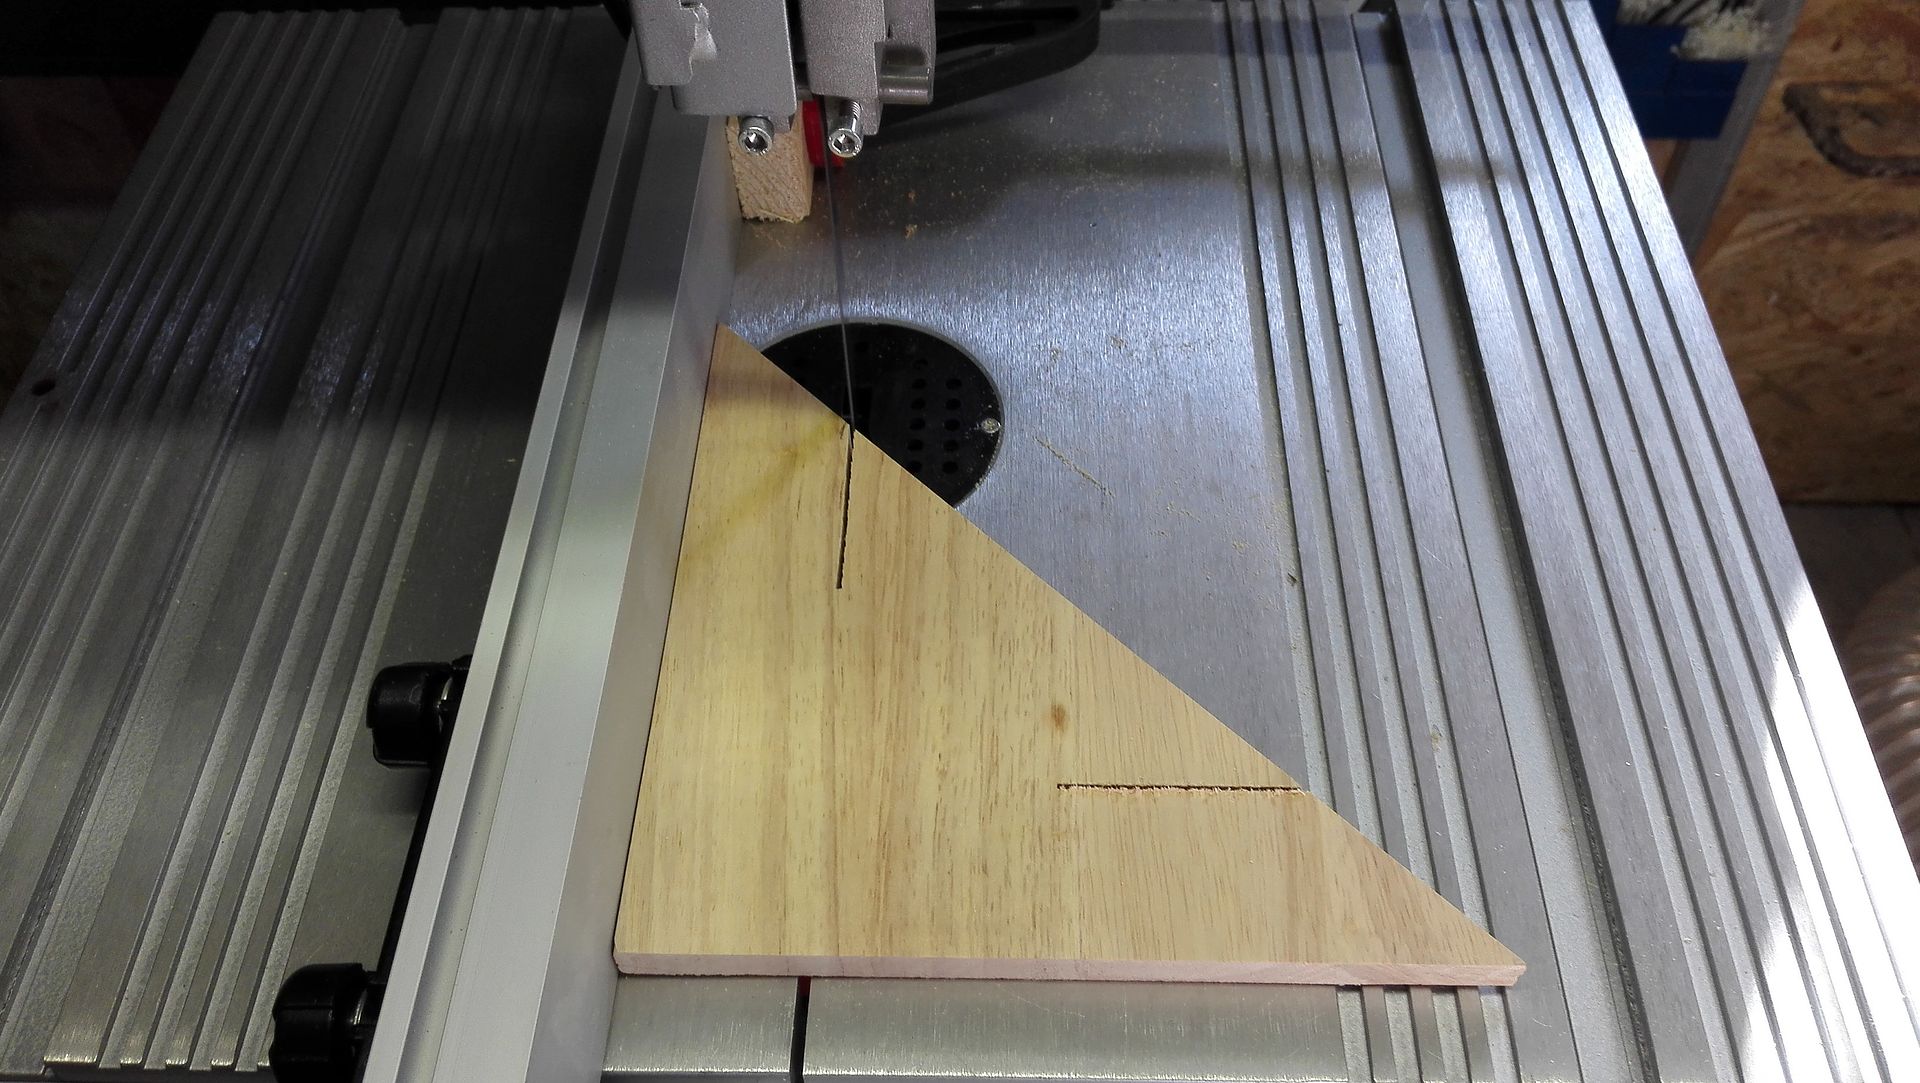
Step 5
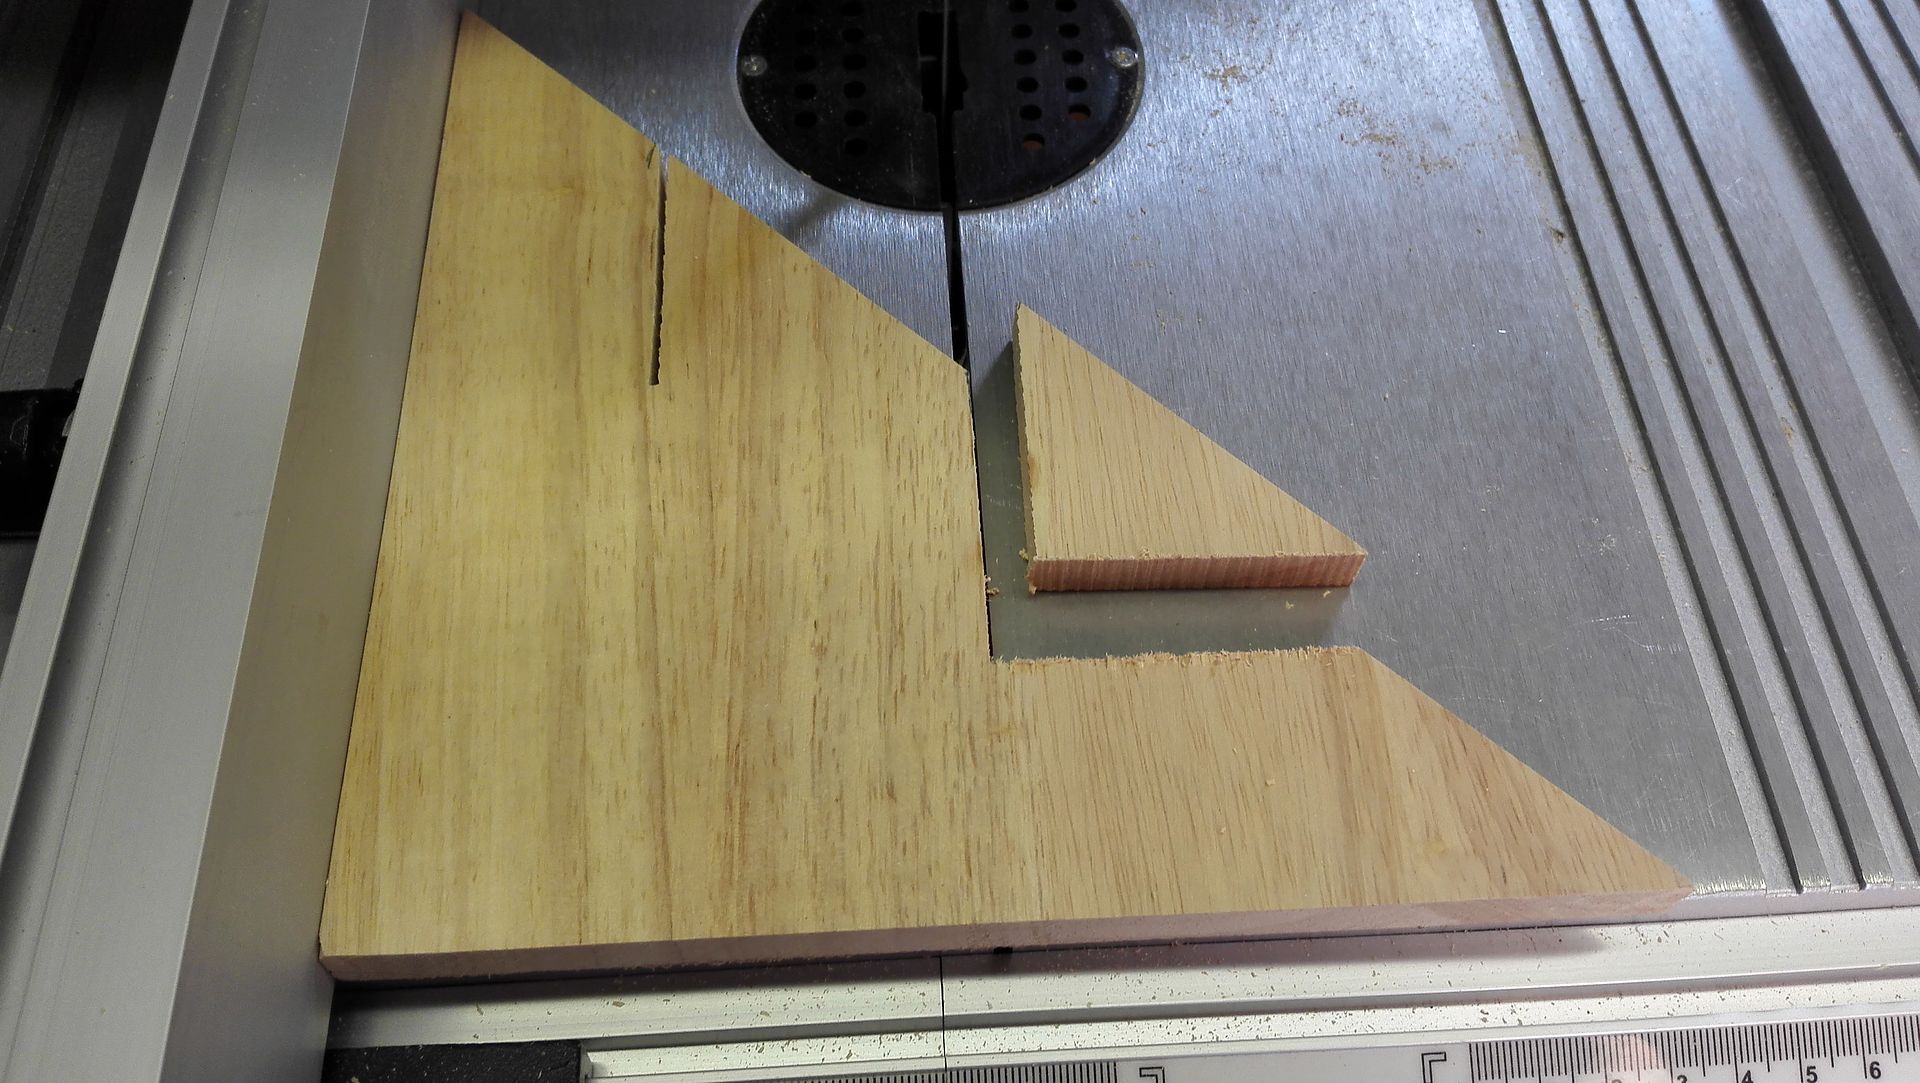
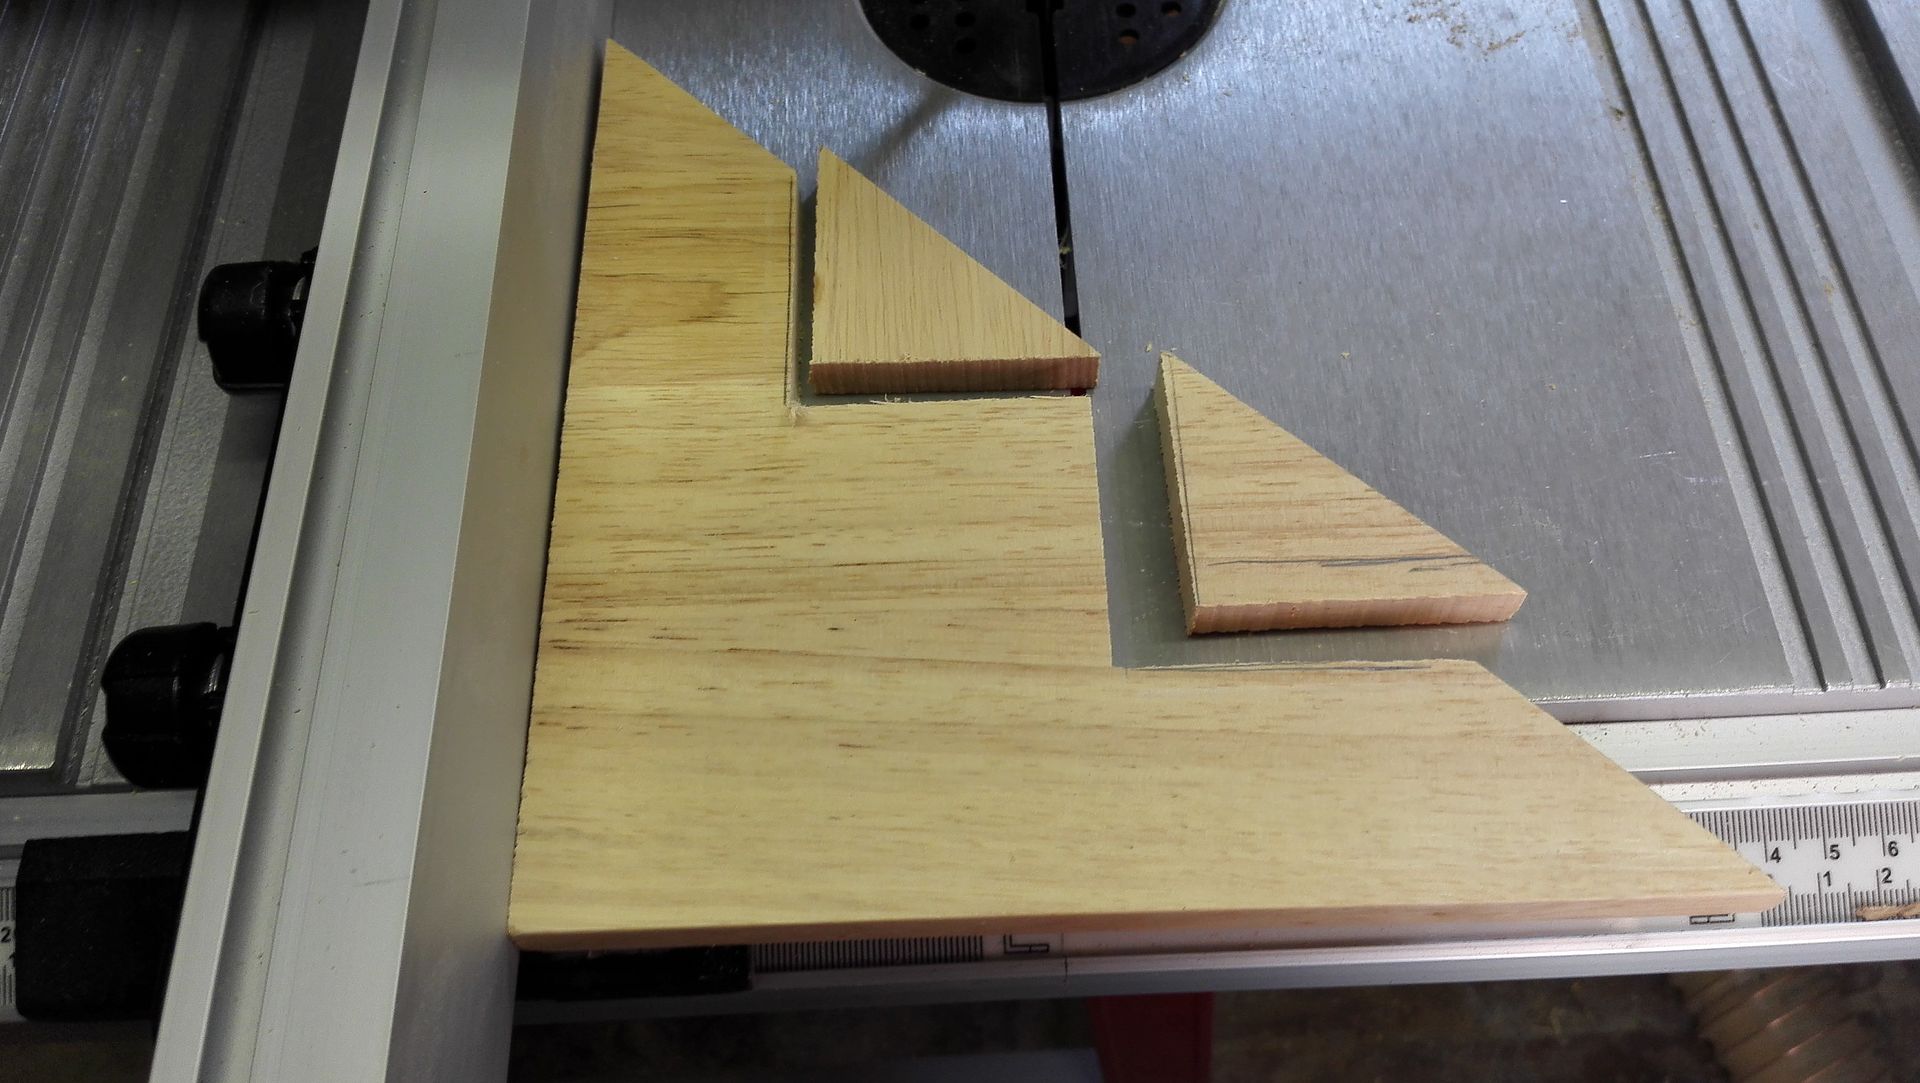
Now we set the longitudinal stop so that we can make the other two cuts cleanly. To do so, we cut the wood so far that we come exactly to the previous cuts. If you have opted for bare wood, you can sand the whole thing now and our tool is finished.
Usage
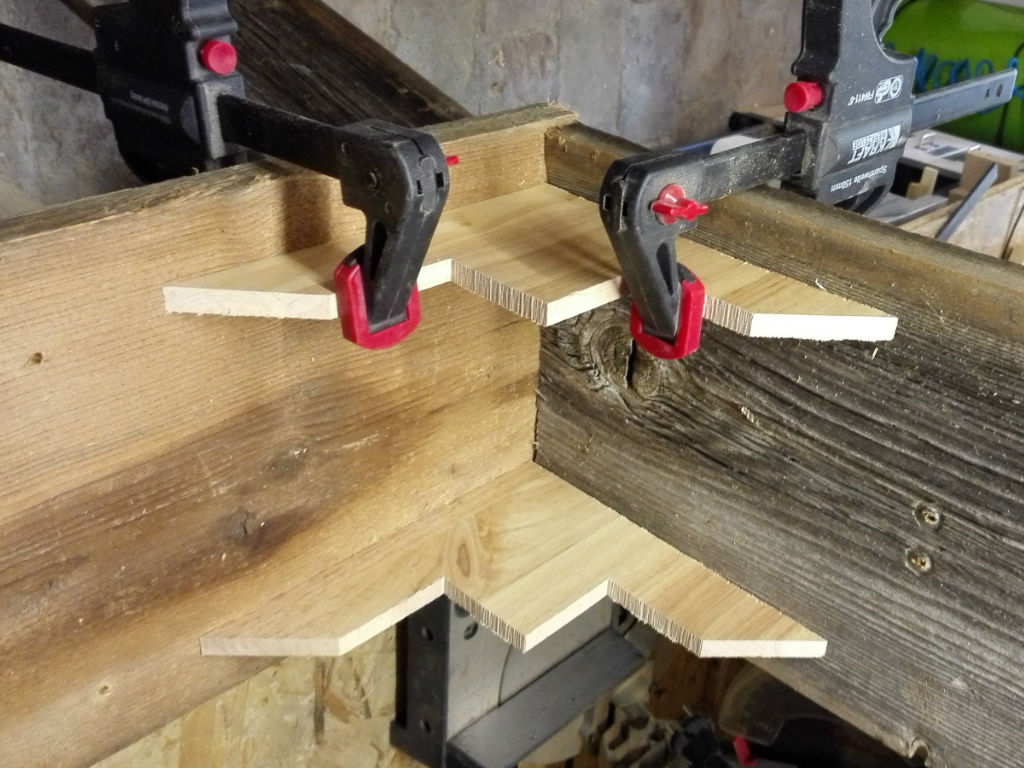
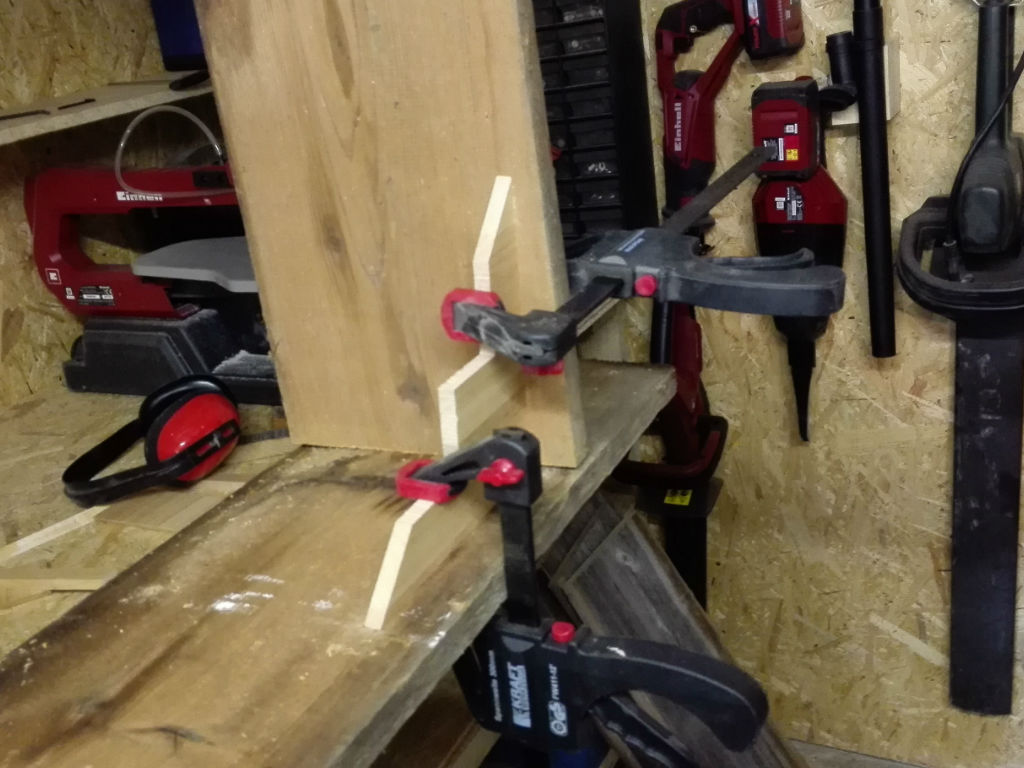
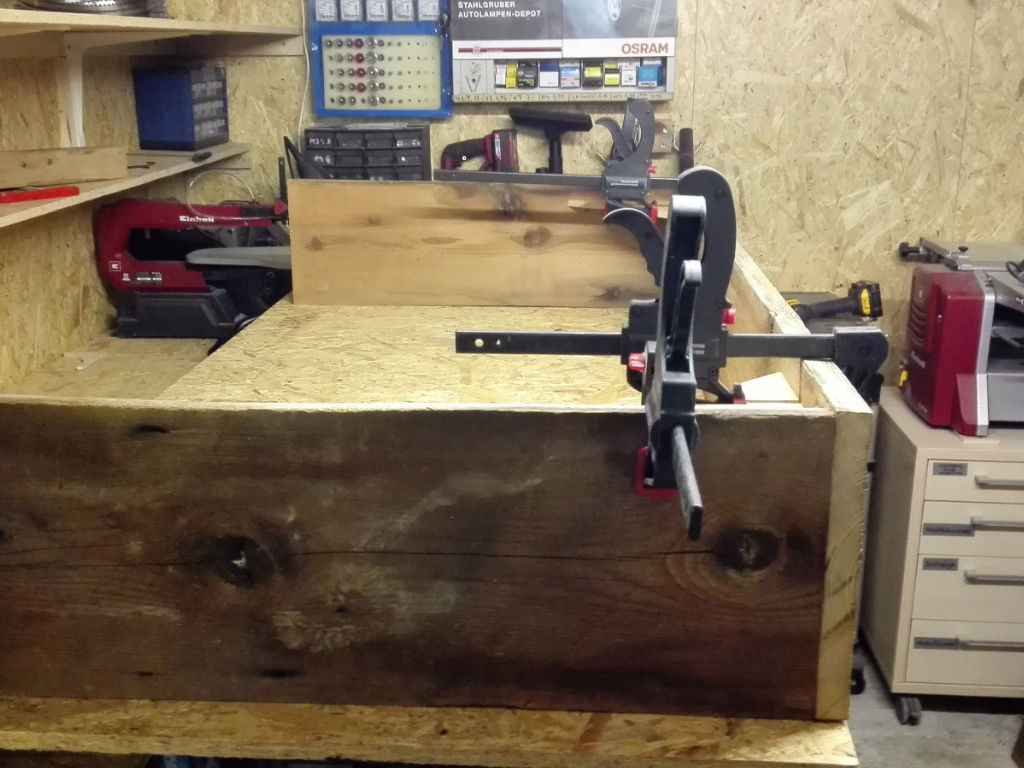
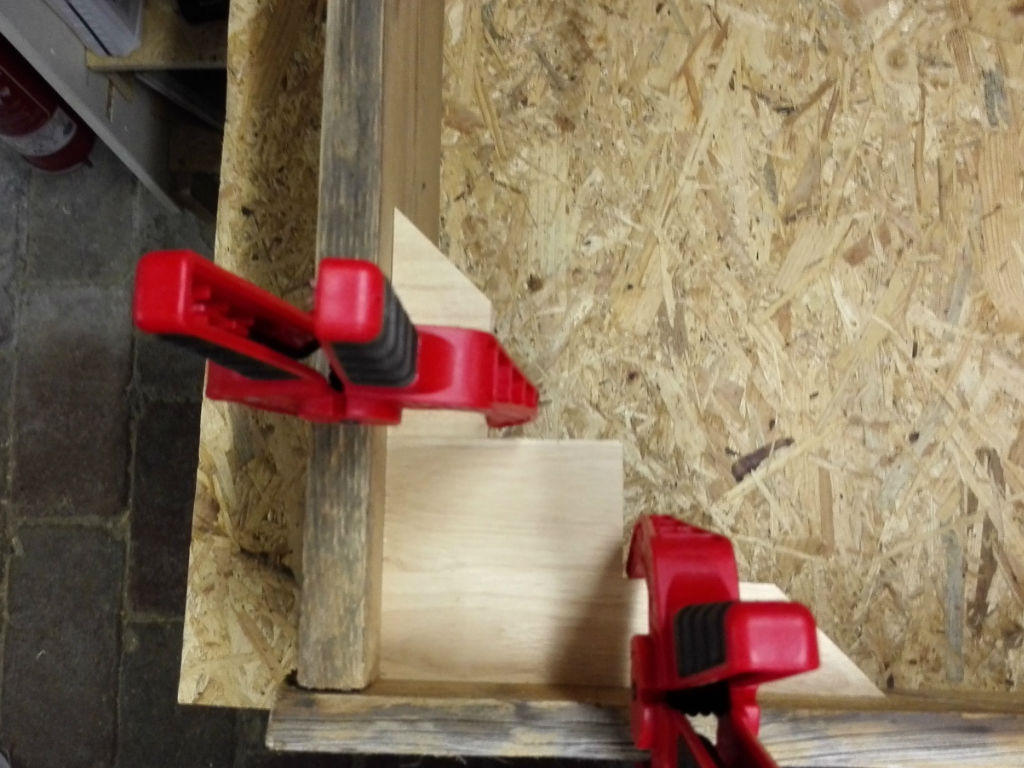
And so we use the whole thing: I’ve made myself six of these devices to be able to nicely fix the set of shelves that I’m building.
And this is how you can make yourself a completely straight set of shelves/cabinet, etc.
I hope I have been able to inspire you a little!


