


Properly sharpening your chainsaw
So that your chainsaw always works at full power and provides a perfect cutting result every time, it must be sharpened regularly. A blunt or unevenly worn chain needs more force, works inaccurately and can also become a safety risk. Properly sharpening the chain requires some practice, but can be learned quickly with the right tools, even for those without technical experience. In this blog post, we provide you with the instructions to do this in simple steps.
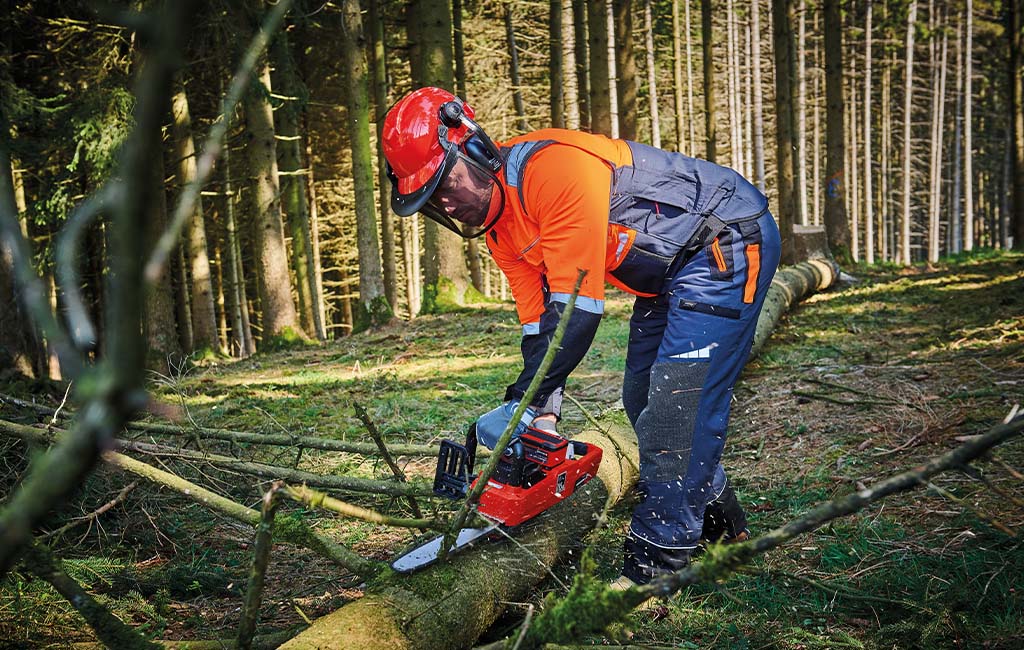
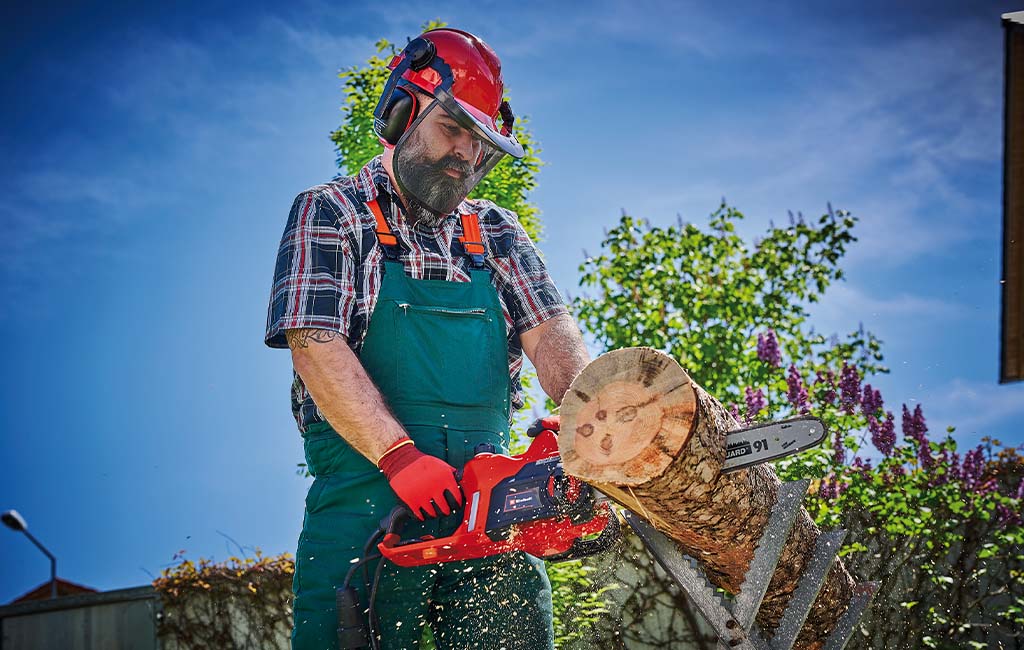
After sharpening the saw chain, cutting with a cordless chainsaw is much easier.
When does the chain needs to be sharpened?
When or how often you need to sharpen the chain of your chainsaw depends on your working method, the wood to be sawn, the saw and the chain itself, so it’s impossible to give an one‐size‐fits‐all answer to this. However, if the following signs appear, it’s time to sharpen the chain of your chainsaw:
- The chain no longer self-feeds into the wood: If you have to exert pressure on the chainsaw for it to bite into the wood while cutting, the saw chain is no longer sharp enough.
- Chainsaw jumping: If the chainsaw can no longer properly engage with the wood and jumps during cutting, this also indicates a lack of sharpness.
- Sawdust instead of wood chips: If fine sawdust is produced during vertical cuts, such as cross-cutting, or during plunge cuts instead of coarse wood chips, you need to sharpen the chain promptly.
- Only cutting in one direction: If the cut noticeably runs in only one direction, the teeth on one side are too blunt.
- Smoke emissions: If smoke is produced when sawing despite functioning chain lubrication, correct chain tension and a correctly adjusted carburettor, the saw chain is not sharp enough.
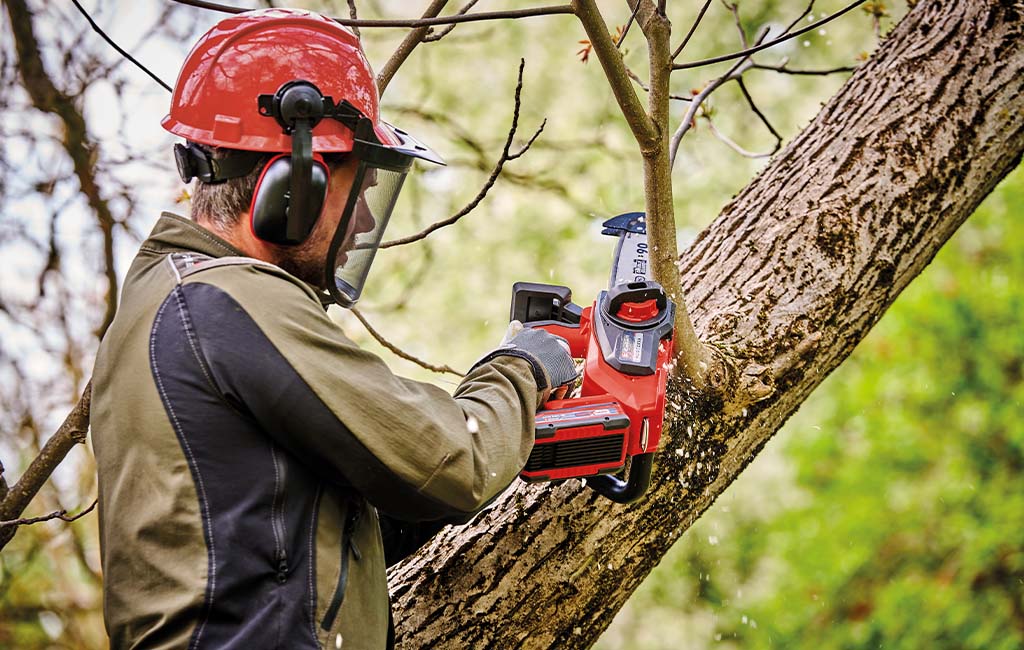
Cordless chainsaws also need a sharp chain to deliver perfect results.
The right tools for sharpening your chainsaw
The easiest way to sharpen a chainsaw is to use a specialized saw chain sharpener. If you want to sharpen the saw chain by hand, you'll need a few specific tools and the right filing technique. We'll explain both options in more detail.
Using a chain sharpener
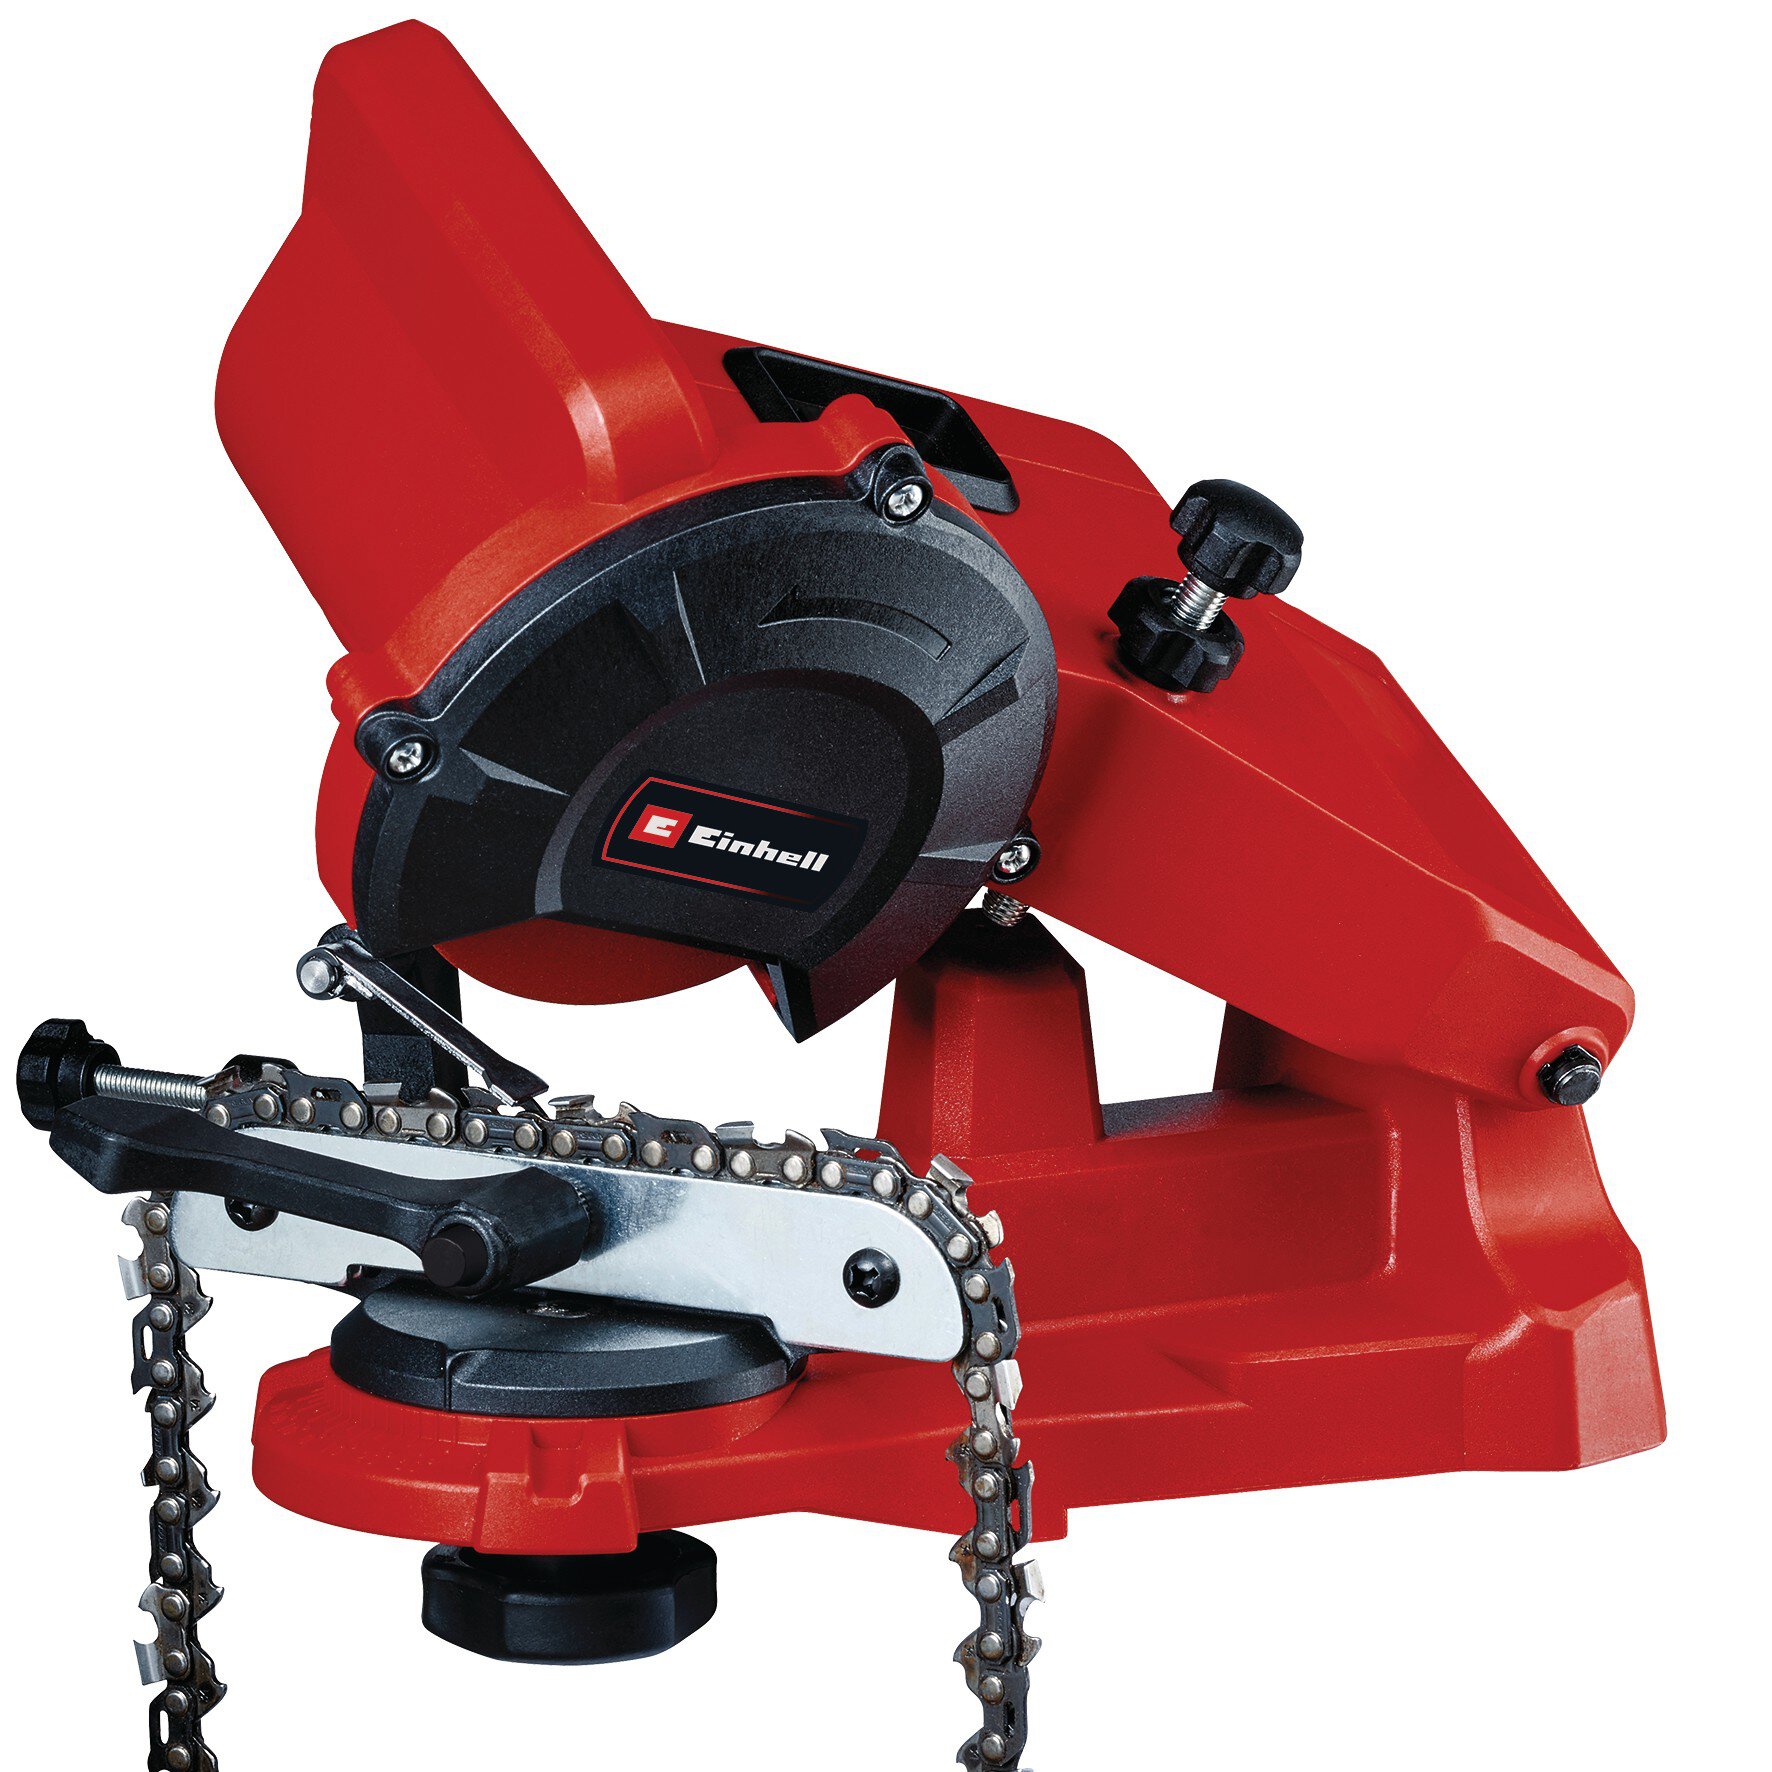
The easiest way to sharpen a chainsaw is by using a specialized chainsaw sharpening tool. The chain sharpener is equipped with a guide rail in which the saw chain is clamped securely. Using a grinding wheel and the correct angle setting, you can then sharpen the chain links of each side optimally one after the other. Just make sure to adjust the angle setting before sharpening the saw teeth in the opposite direction.

For easy sharpening of saw chains, there are special chain sharpeners.
Sharpening the chain with a file
If you don't have a chain sharpener at home or prefer to sharpen the chain manually, you'll need the following tools to easily, quickly, and correctly sharpen your saw chain:
- a round file for the saw teeth
- a flat file for the depth limiter
- a filing gauge
- a file holder (optional)
- a sharpening grid (optional)
When choosing a round file, it’s important to pick the right diameter. You can find out which diameter is the right one for your saw chain from the manufacturer’s specifications. When it comes to the flat file, you should make sure that it has the right (compact) dimensions and the fine cut you need for this work. You can find both these files in well‐stocked specialist retailers. For beginners in particular, a file holder is a very useful accessory. You will often be able to get this in a set with your round file. The holder is mounted on the handle and helps you to maintain the correct grinding height. A filing gauge will help you with several different tasks: You can use it to hit the right angle when sharpening, to adjust the depth limiter distance and to clean the groove and oil inlet hole of the guide rail. A sharpening grid is also a useful tool when it comes to hitting the right angle. You can easily attach it to the chain guide with the built‐in magnet.
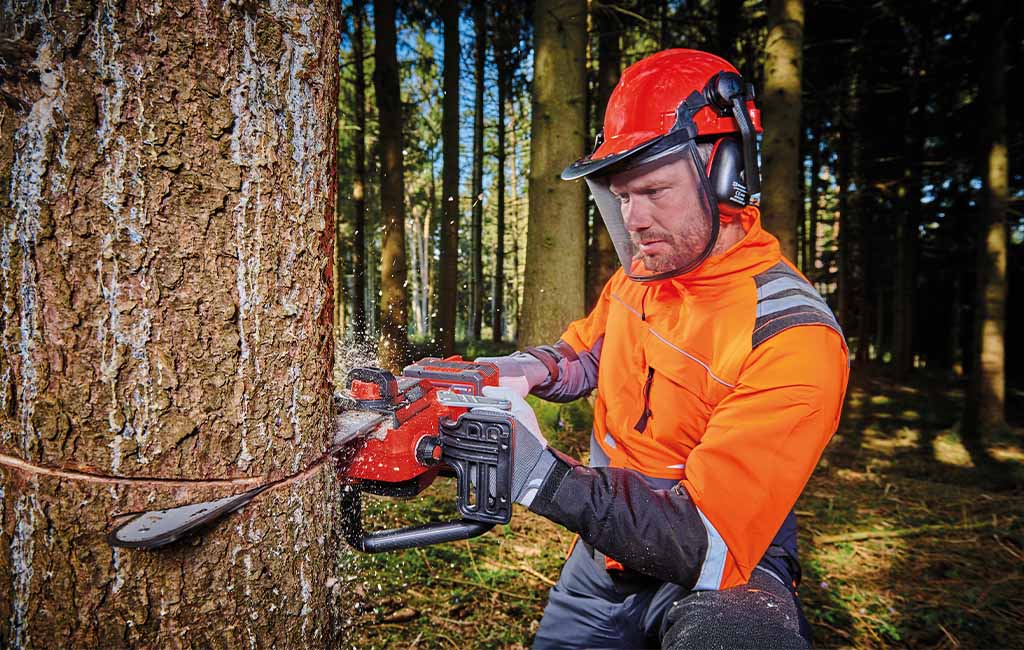
With a sharp chain, the chainsaw works its way through the wood with ease.
Sharpening the Chainsaw: Step-by-Step Guide
Step 1: Prepare the chainsaw and the chain
To start, you should clean the chain thoroughly – it is best to use a resin solvent or a special chainsaw cleaner. Important: Adhesive oil and tree resin must be removed completely.
Next, check whether the wear mark on the depth limiter or plate edge has been reached. In this case, it makes more sense to buy a new saw chain than to sharpen the existing one again. If there is still enough material left to sharpen, you need to prepare the chainsaw chain properly. If you plan to sharpen it manually, you can leave the chain on the saw. To do this, you should tension the chain, activate the chain brake, and secure the bar in a vise. If you are using a chainsaw chain sharpening tool, you'll need to remove the chain and clamp it into the guide rail.
At this point (if not before) you should also put on gloves to avoid injuries from the teeth of the saw chain.
Tip: Mark the shortest cutting tooth with a pencil as a guide tooth and start sharpening here. This way you will know exactly when you have worked all the teeth in each direction.
Step 2: Sharpen both sides of the chain one after the other
- Guide the file by holding the handle with one hand and moving the file in a forwards motion past the cutting tooth with the other hand. Start with the guide tooth and set it. File into the cutting tooth in such a way that the file can be guided along it using pressure from the inside to the outside.
Always file at right angles to the guide rail. The right sharpening angle depends on the saw chain and the wood that you want to cut. The sharpening angle will generally be between 25° and 35° – the harder the wood, the greater the angle. Always follow the manufacturer's recommendations. To maintain the correct angle, we recommend that you use a sharpening grid or a filing gauge as an aid.
When filing, make sure that the file only grips in the forwards stroke and that you lift it slightly when pulling it back again. Turn the file at regular intervals so that it does not become worn on one side. - If you are using a chainsaw sharpening tool, the process is quite similar. Once the chain is secured in the guide rail, adjust the grinding angle using the scale. Then, fold down the chain stop and pull the chain back far enough for the stopper to be against a cutting link. This allows you to sharpen the tooth without the chain slipping. Lower the grinding head until the grinding wheel touches the chain link and set the depth gauge. Now, you can begin the sharpening process.
- The perfect filing result and therefore the perfect sharpness is achieved when you see a continuous burr on the cutting edge that does not reflect light. Repeat the grinding or filing process for each tooth until you reach the guide tooth again. Make sure that you file all teeth to the same length. Then turn the saw by 180° or adjust the angle setting of the chain sharpening tool to match the same degree as the other side of the scale and work on the other side of the saw chain.
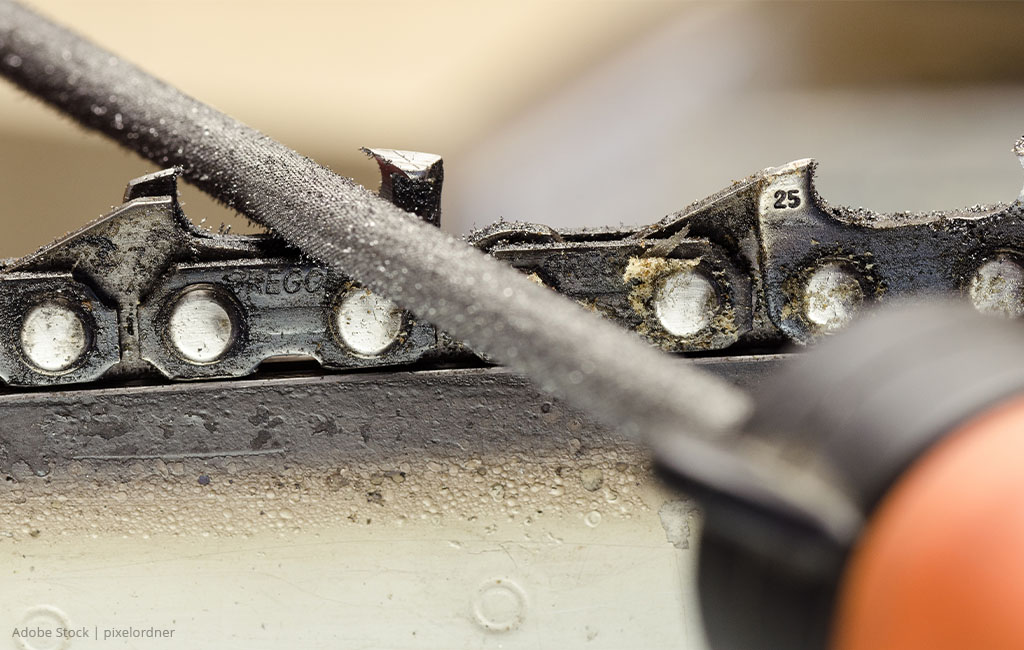
A saw chain has to be sharpened tooth by tooth on both sides.
Step 3: Check and adjust the depth limiter
After you have sharpened all the cutting teeth, the corresponding depth limiters must be adjusted. As its name suggests, the depth limiter limits how deep the tooth plate penetrates into the wood. As the tooth plate continuously falls backwards and becomes shorter and shorter as it is sharpened, the distance between the upper edge of the plate and the upper edge of the limiter also changes. However, this so‐called depth limiter distance must be the same for all cutting elements and must be the right size.
If the distance is too high, the chain will not run smoothly and will vibrate a lot. The risk of recoil also increases as the chainsaw’s durability decreases. The saw chain is also stretched more in this state, which can cause it to break suddenly. If the distance is too small, the cutting performance will decrease.
You can check the distance using a file gauge. Simply place it on the saw chain so that it rests on the plates of the adjacent cutting teeth. If the depth limiter protrudes beyond the gauge, it must be ground off using the flat file until the file rests on the gauge. You can then set the gauge aside and round off the depth limiter a little bit to bring it back to its original shape. This way you avoid unnecessary vibrations when sawing later.
Step 4: Getting the chainsaw ready for work again
Once all the cutting teeth are the same length again and the sharpening angles and depth limiter distances on both sides are correct and equal, you can get the chainsaw ready for work again. If you had previously removed your chain, you can take it out of the guide rail of your chainsaw chain sharpening tool and remount it onto the bar. Use a brush or compressed air to remove metal chips from the entire chain and cutting gear. Then lubricate the saw chain. Finally, adjust the chain tension according to the manufacturer’s specifications.
Petrol, electric or cordless chainsaw: regular sharpening of the chain is a must for every saw.
Summary: Sharp chains make for enjoyable work
Sharpening the saw chain is certainly not the nicest job in the workshop, but it ensures that you can work safely, effortlessly and accurately with your chainsaw. If you follow the steps in these instructions, nothing will stand in the way of your next chainsaw project.
Our recommendation: The best chainsaws and sharpening tools
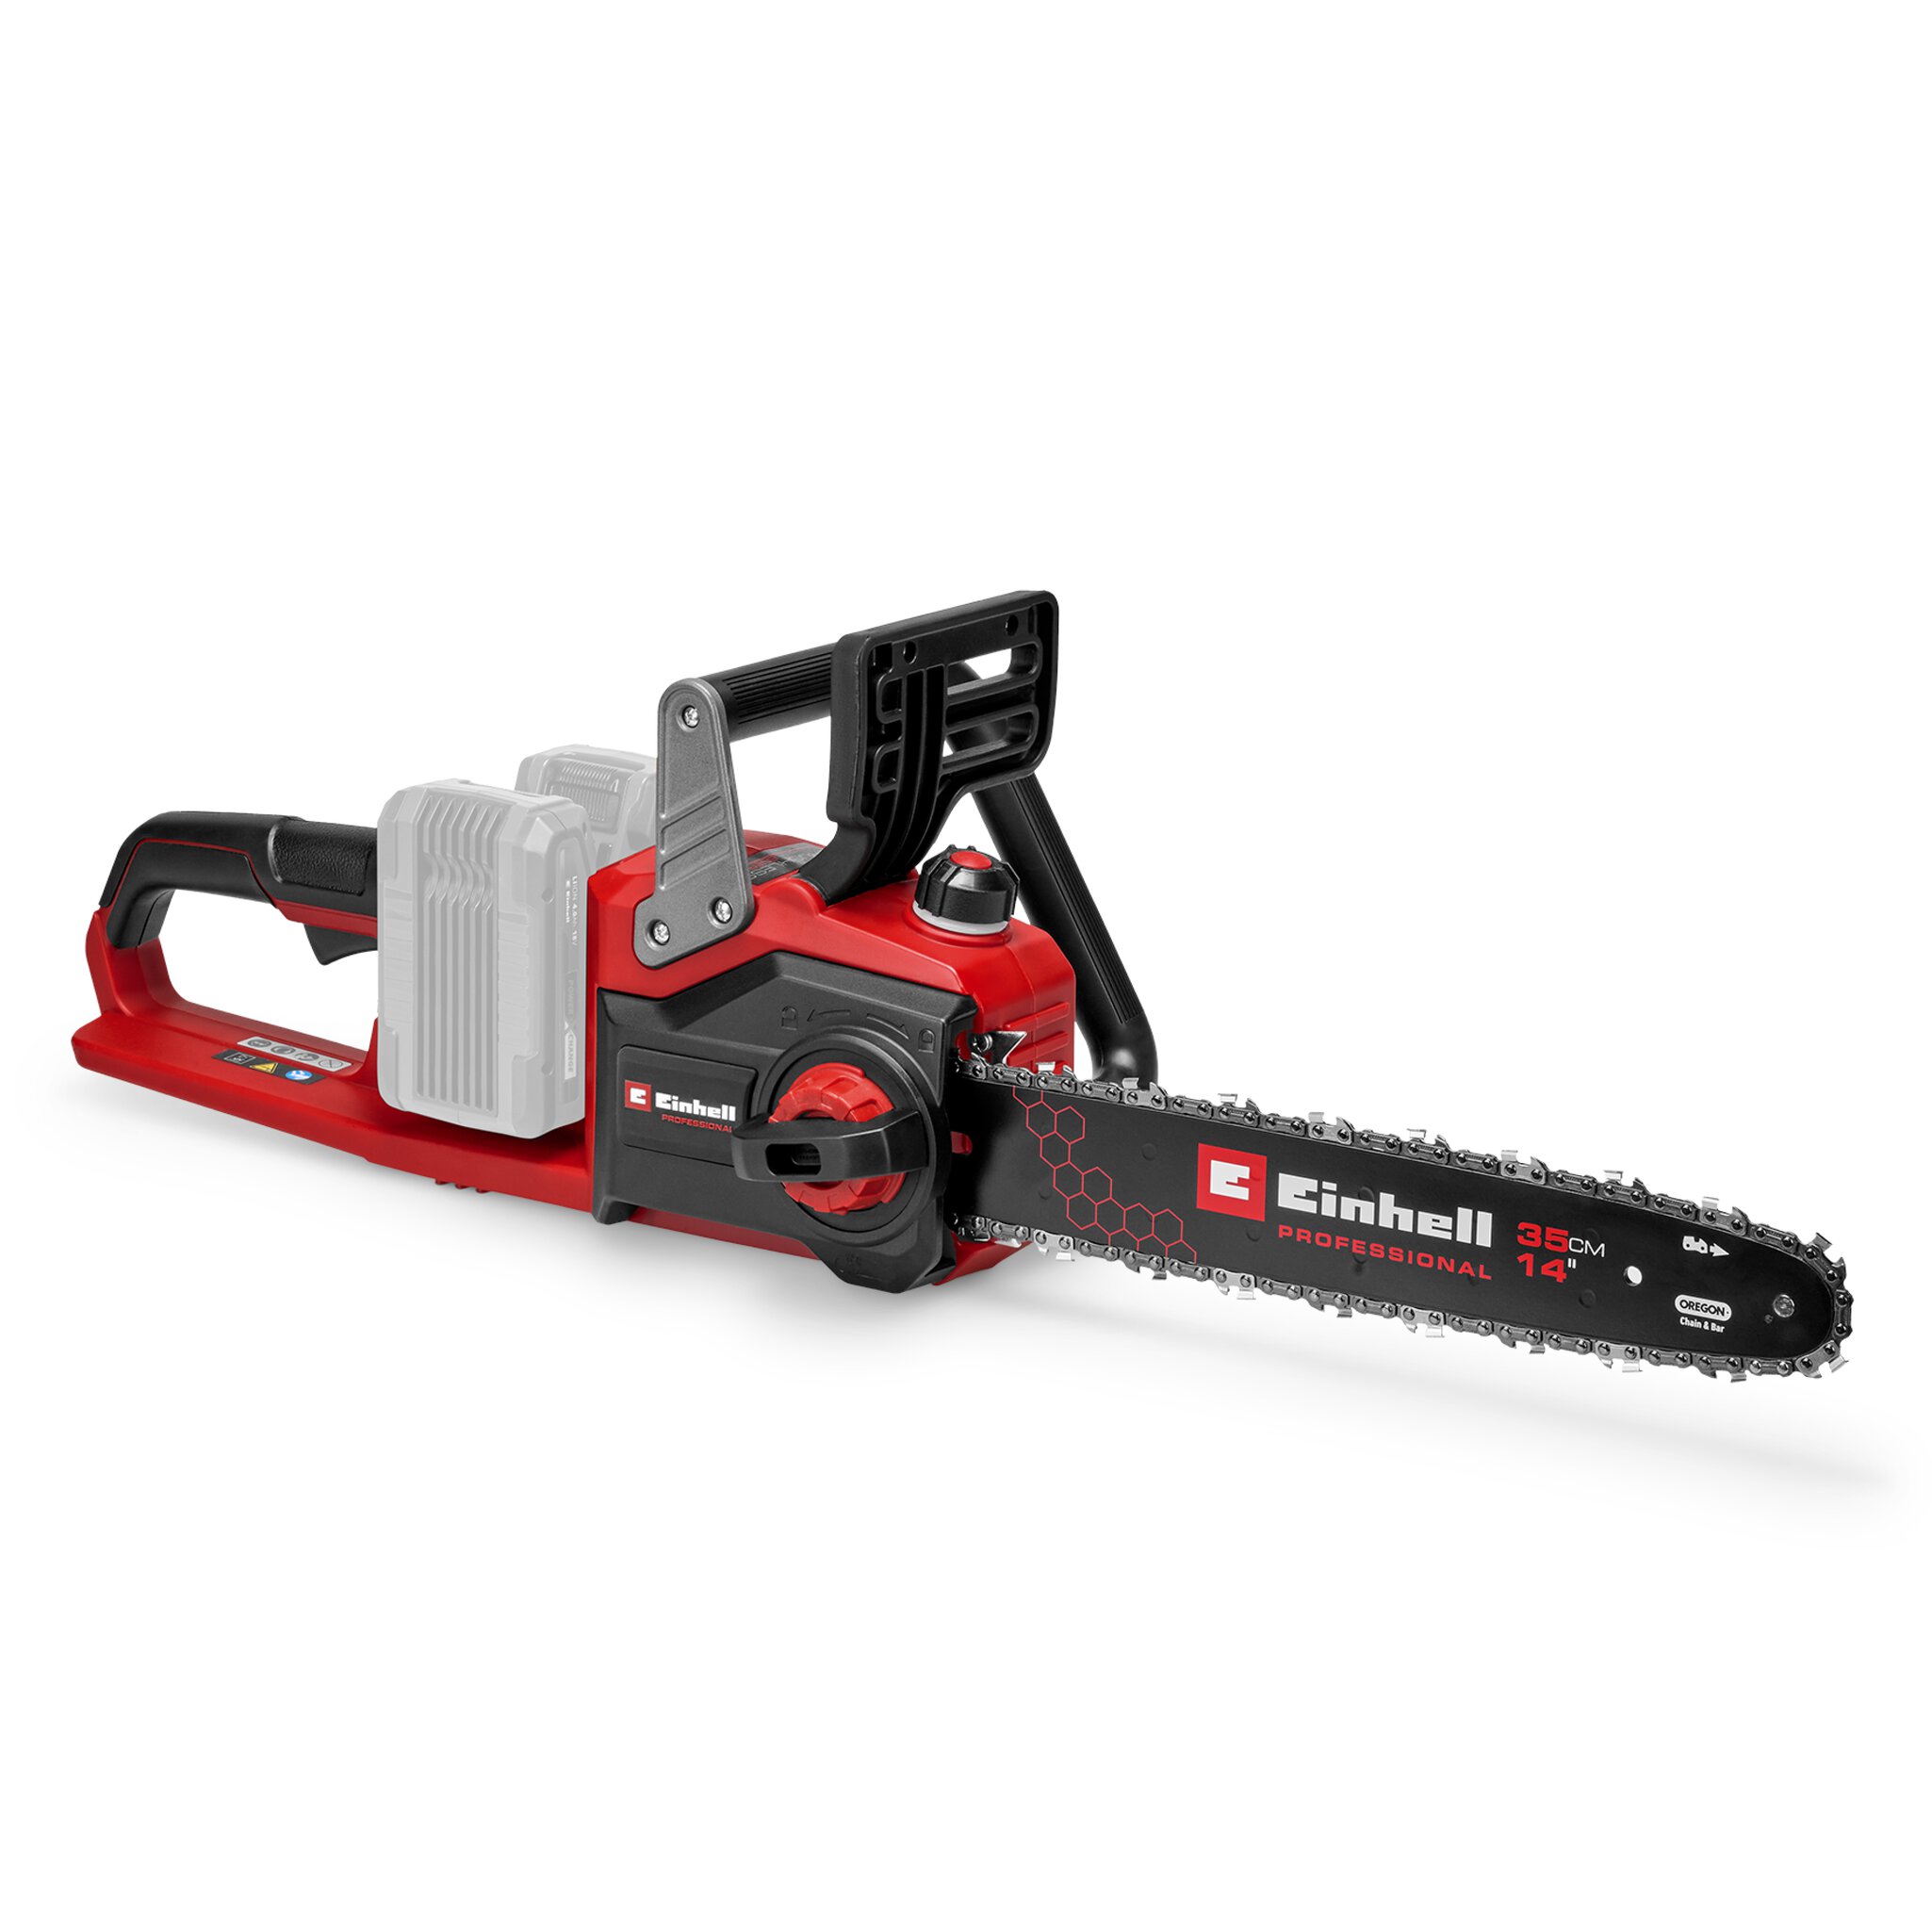
Cordless Chain Saw
GP-LC 36/35 Li-Solo
Go to article
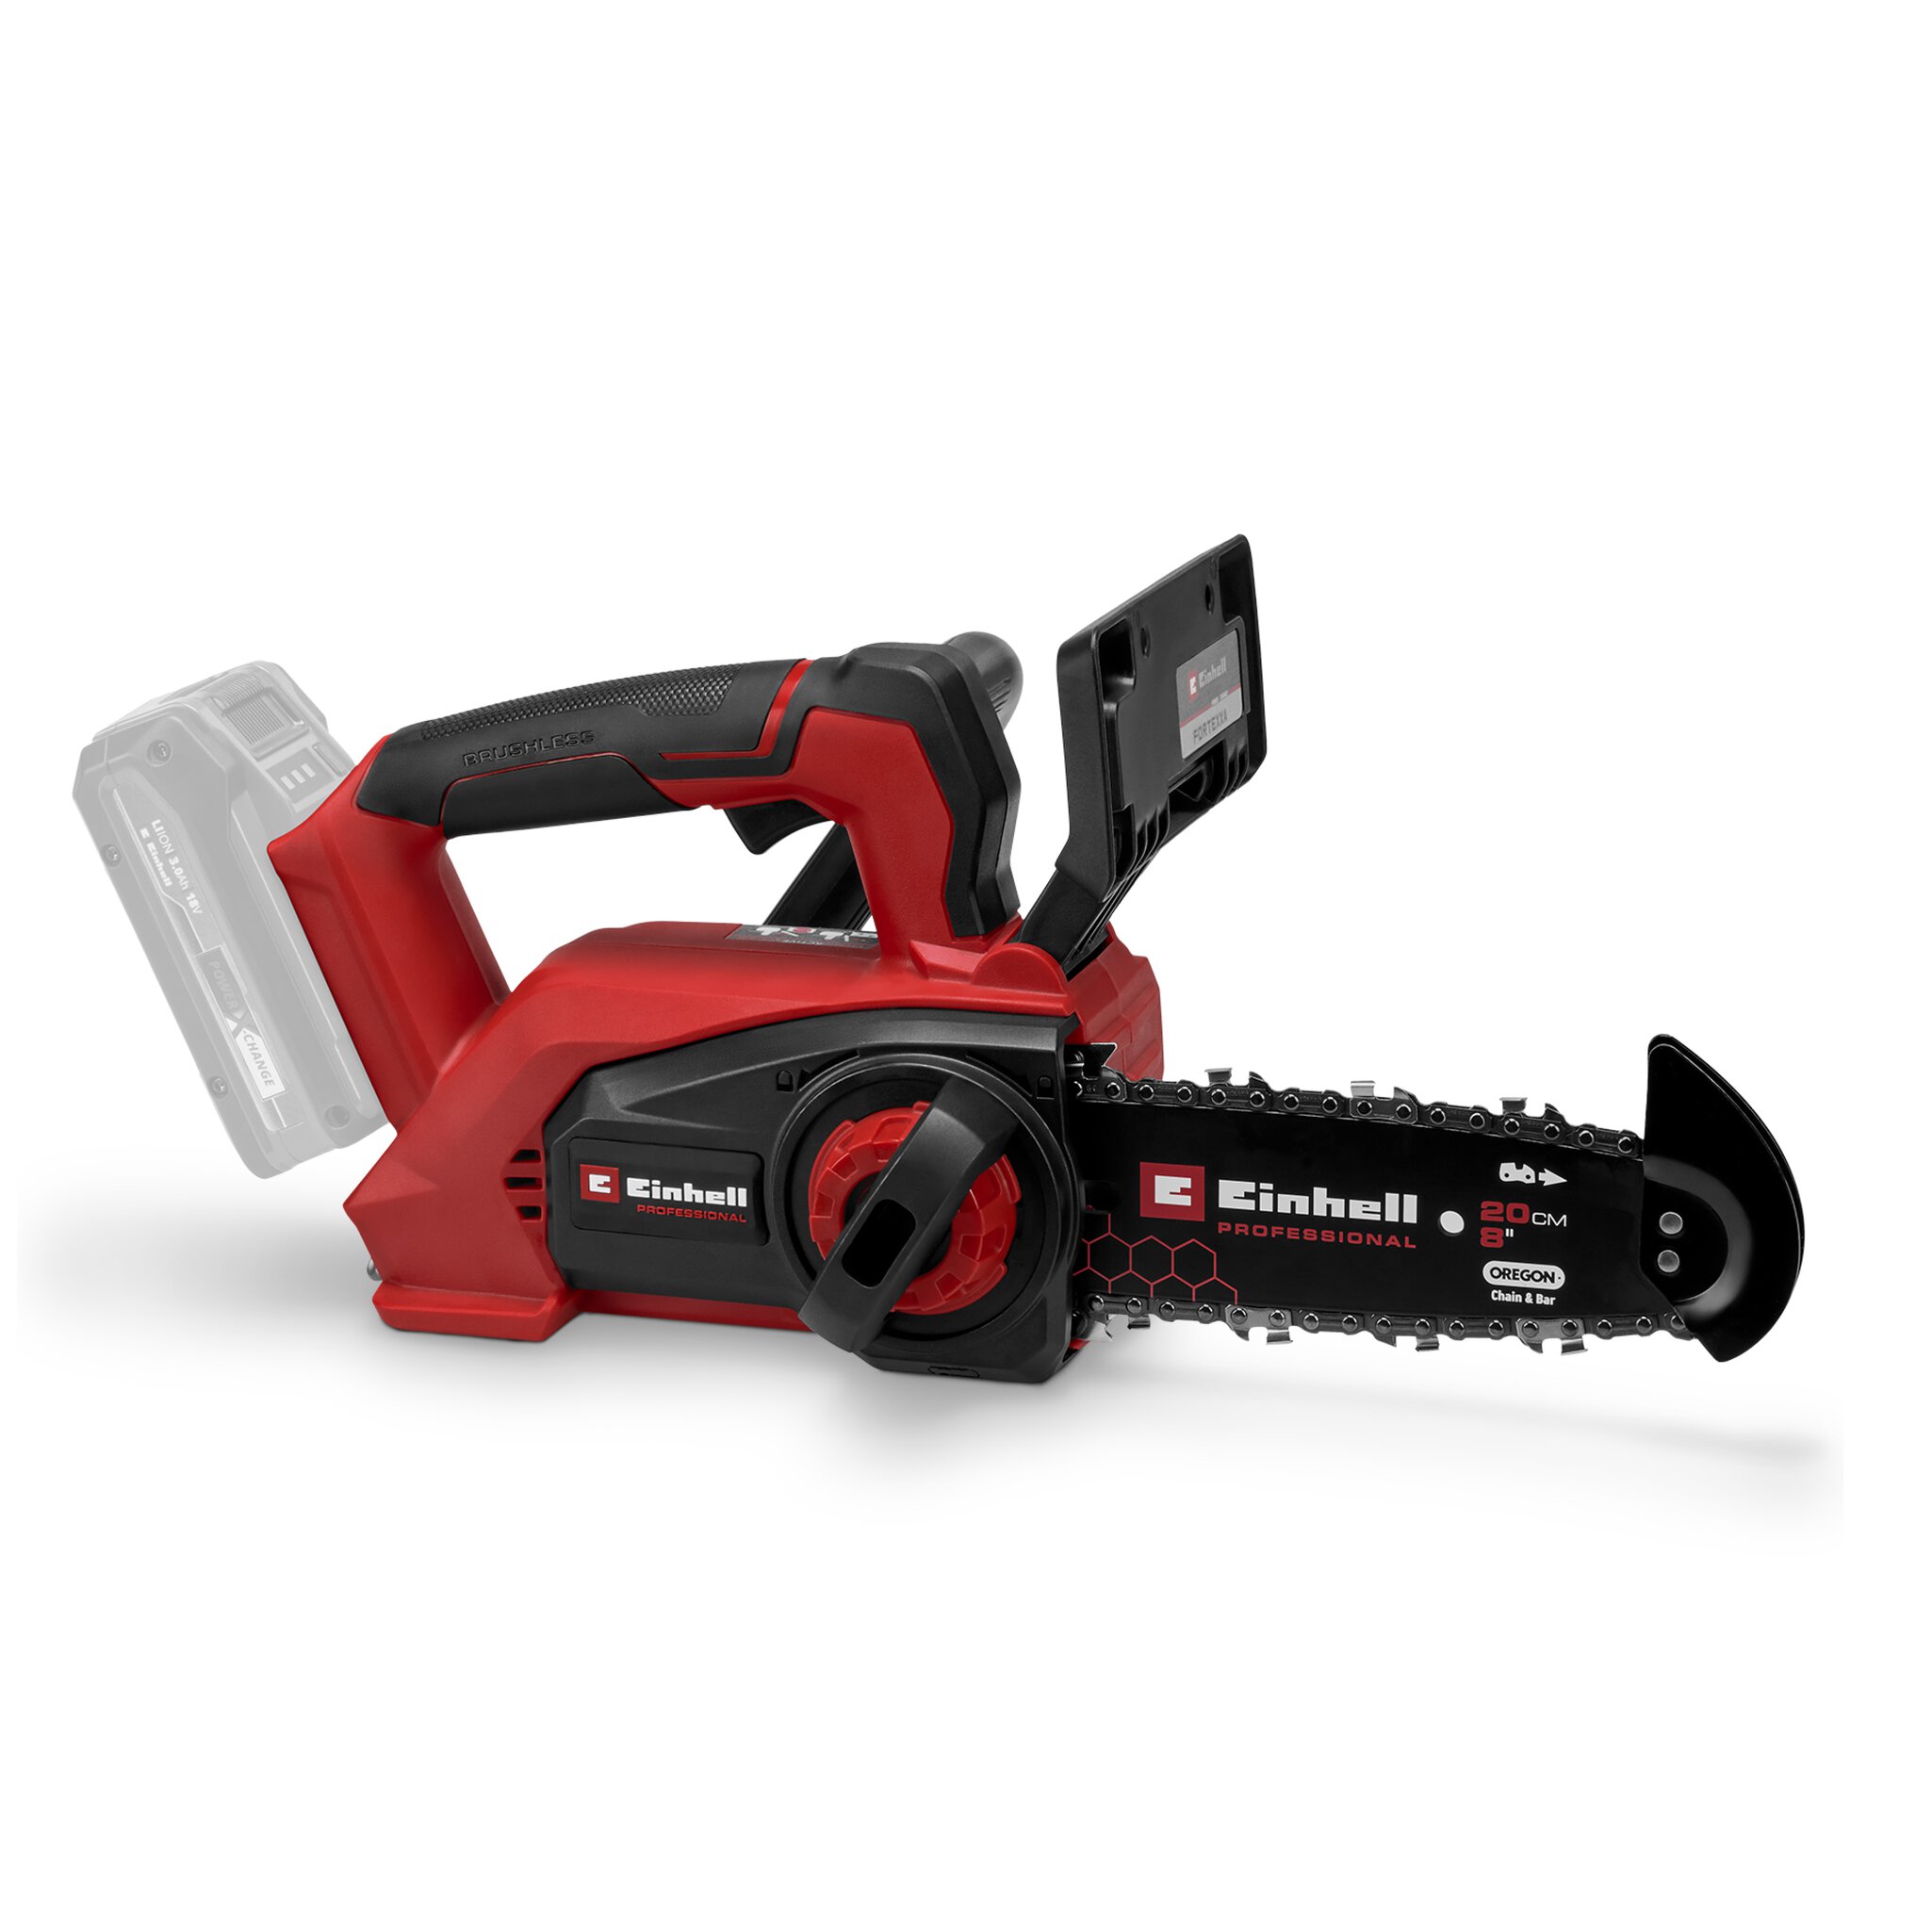
Top-handled Cordless Chain Saw
FORTEXXA 18/20 TH
Go to article
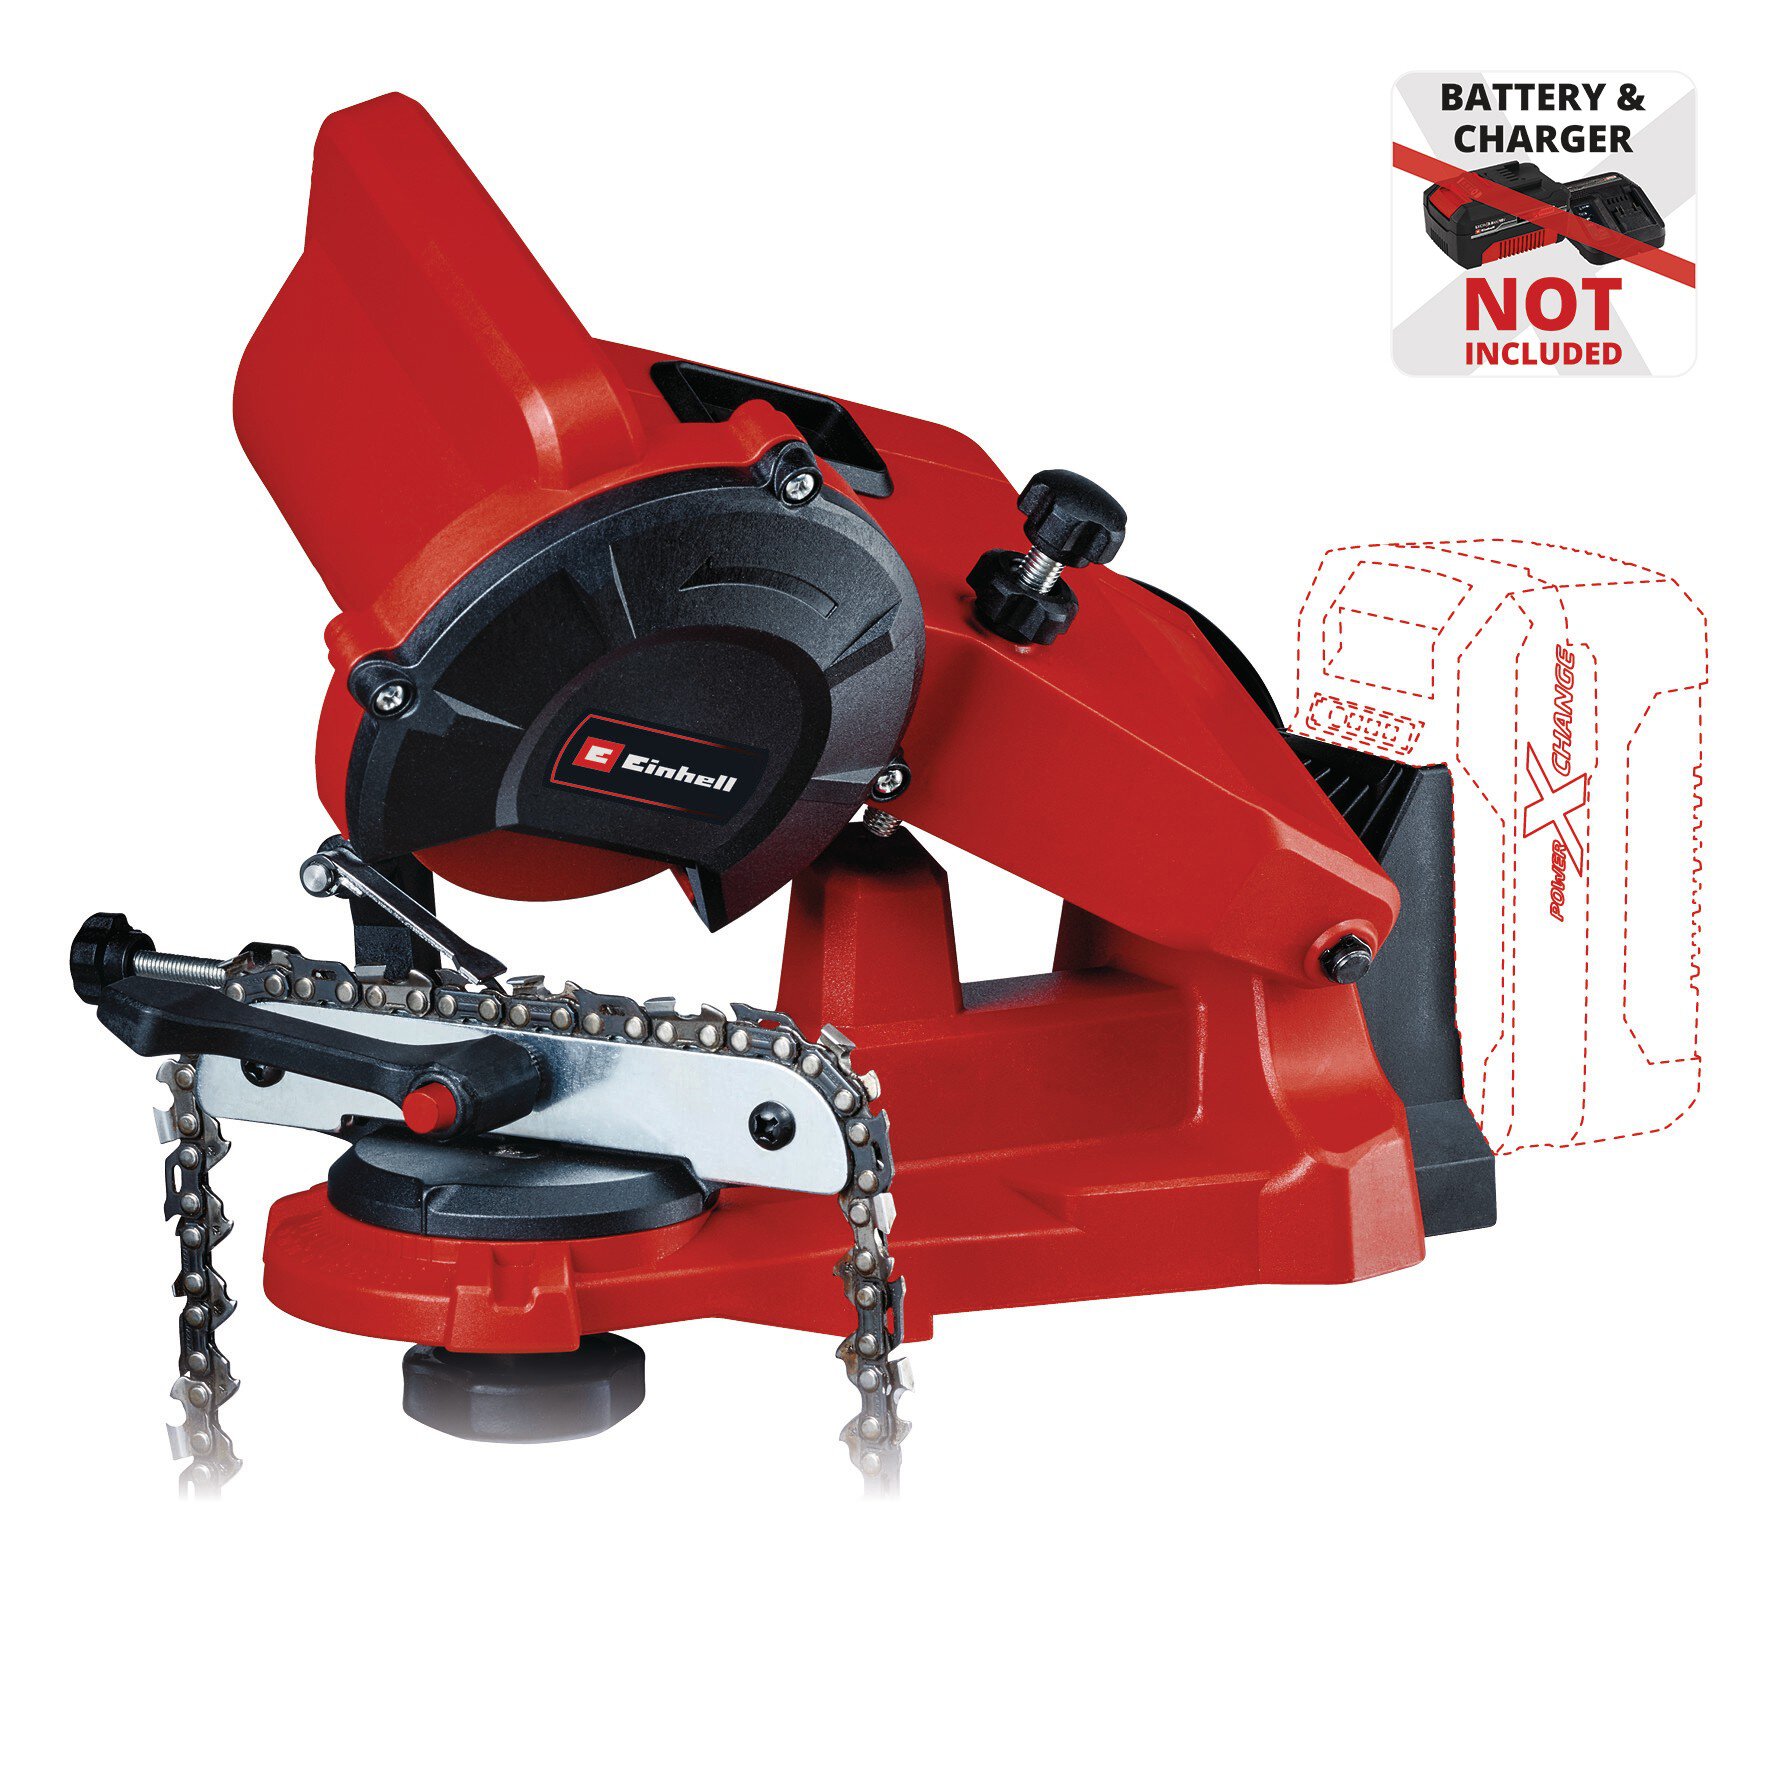
Cordless Chain Sharpener
GE-CS 18 Li-Solo
Go to article
Cordless Chain Saw
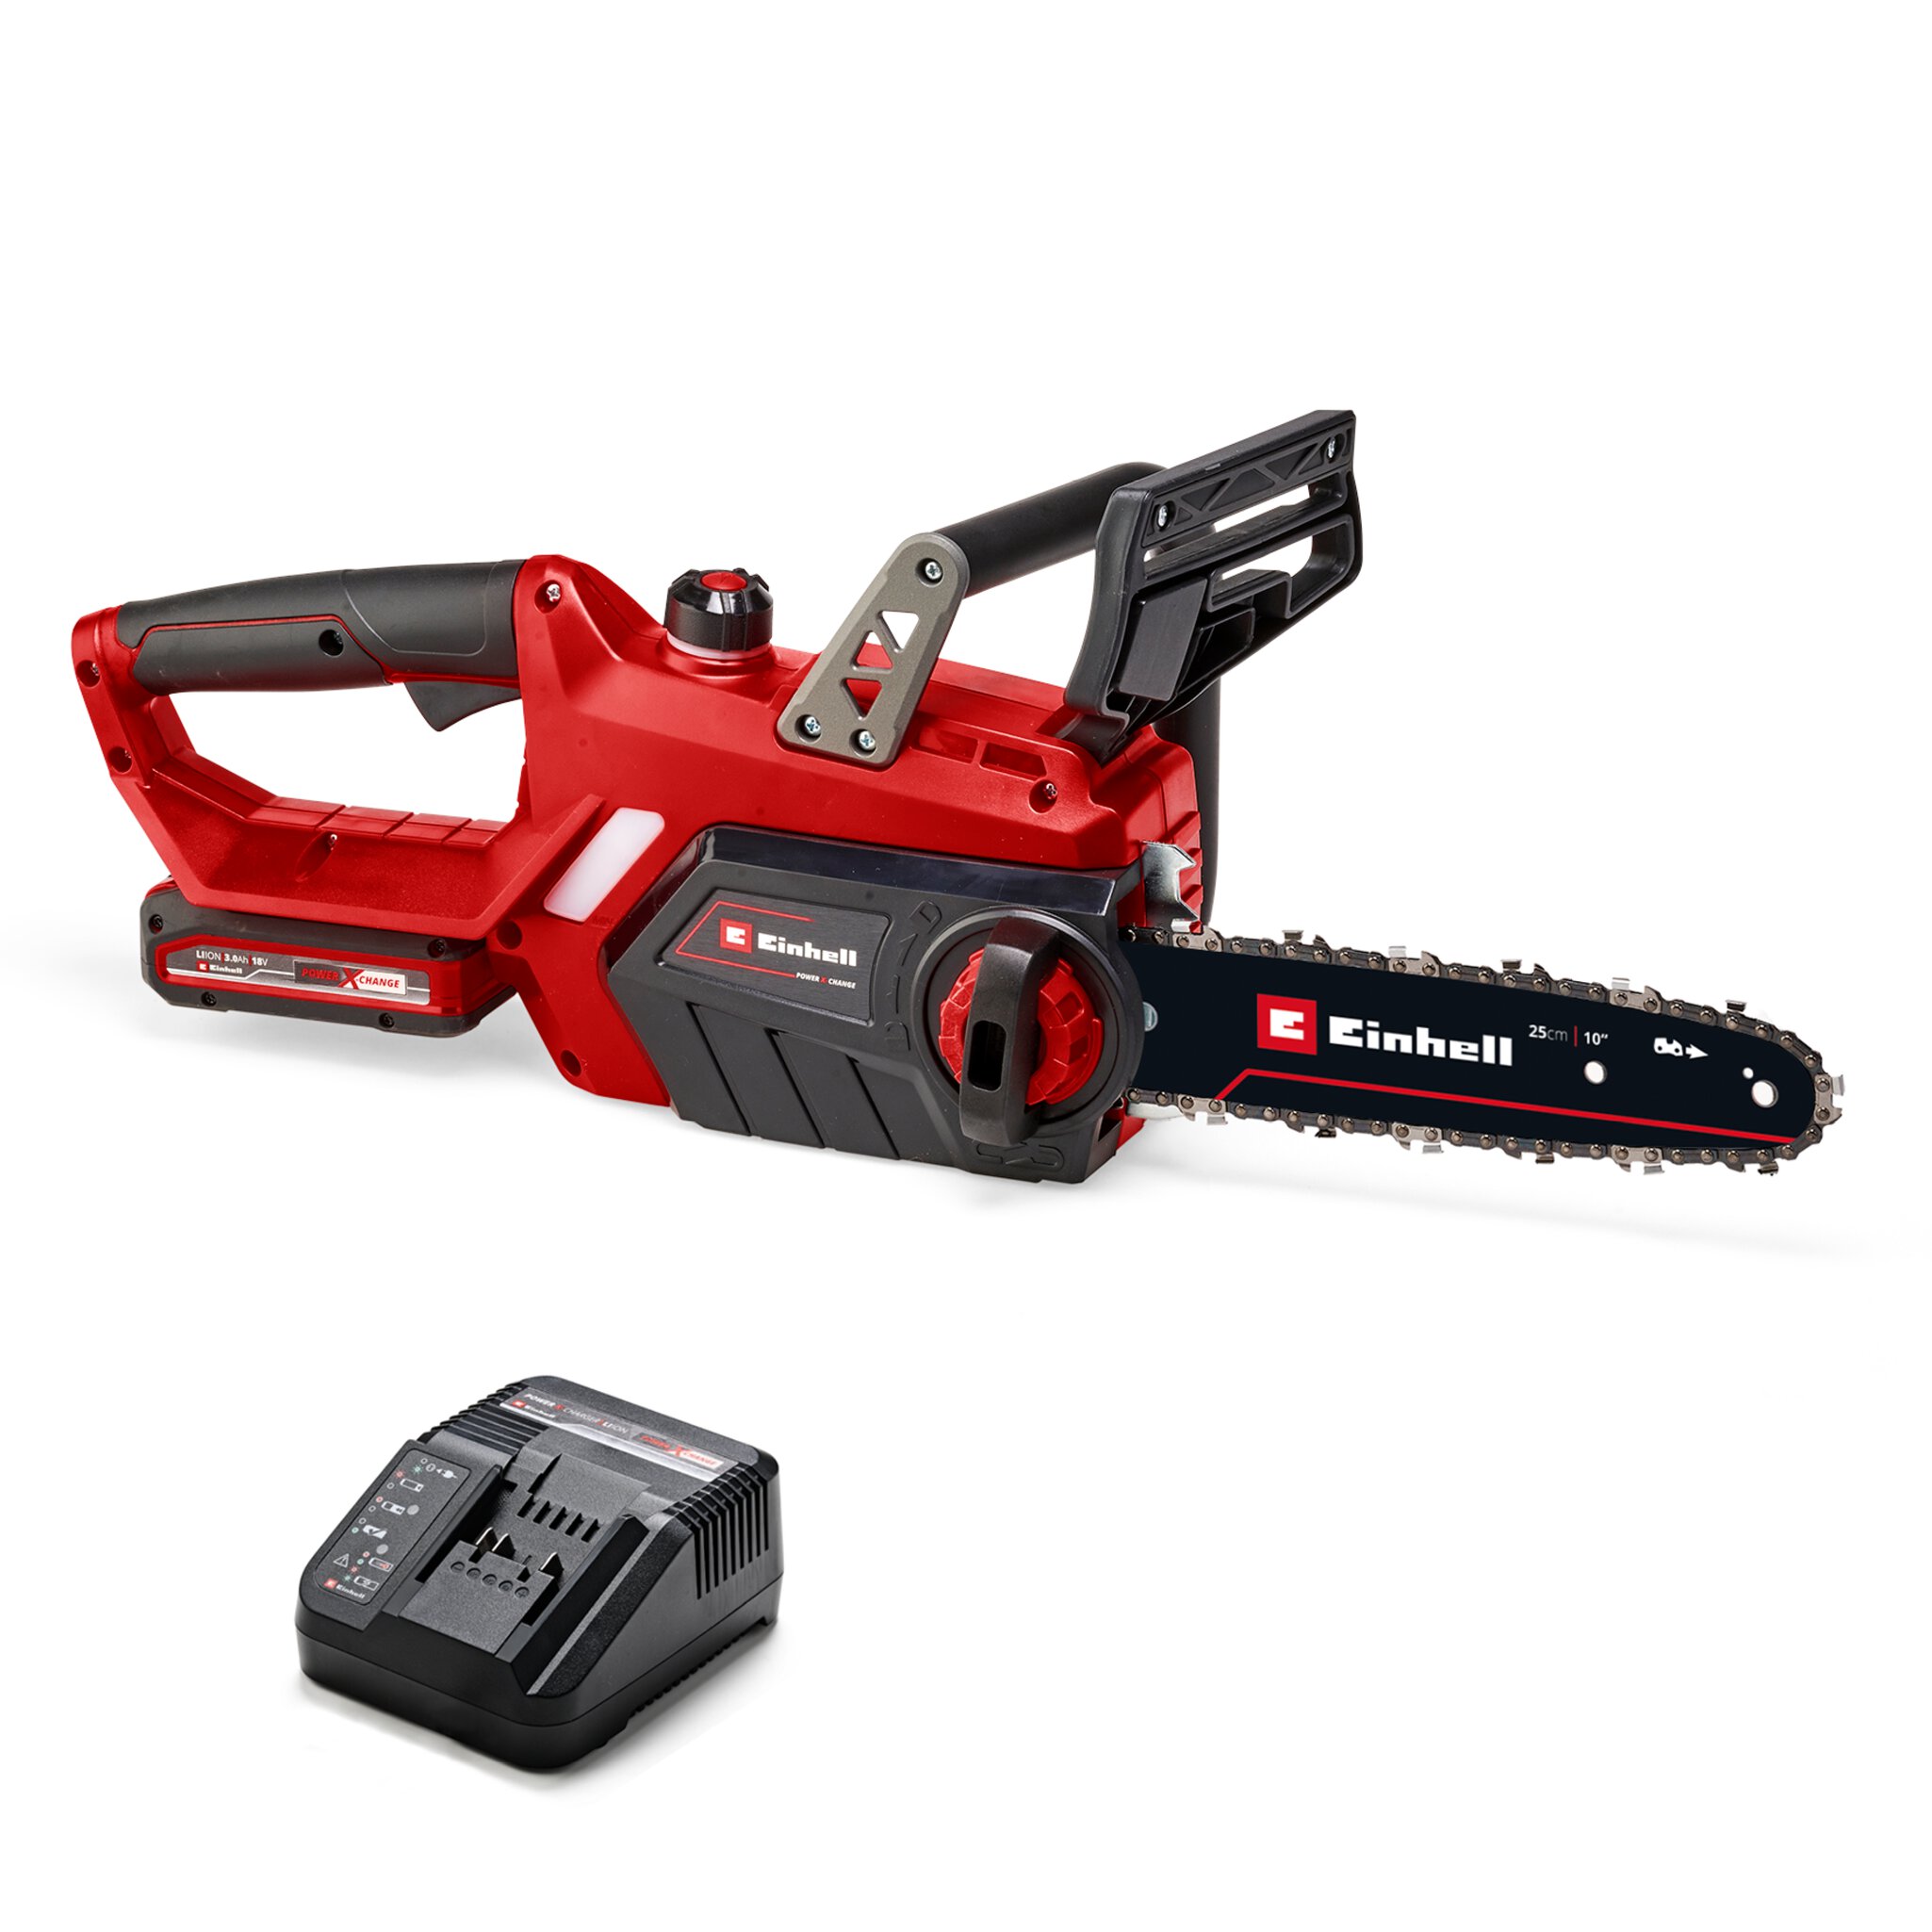
GE-LC 18/25-1 Li Kit (1x3,0Ah)
Go to article
Cordless Chain Saw
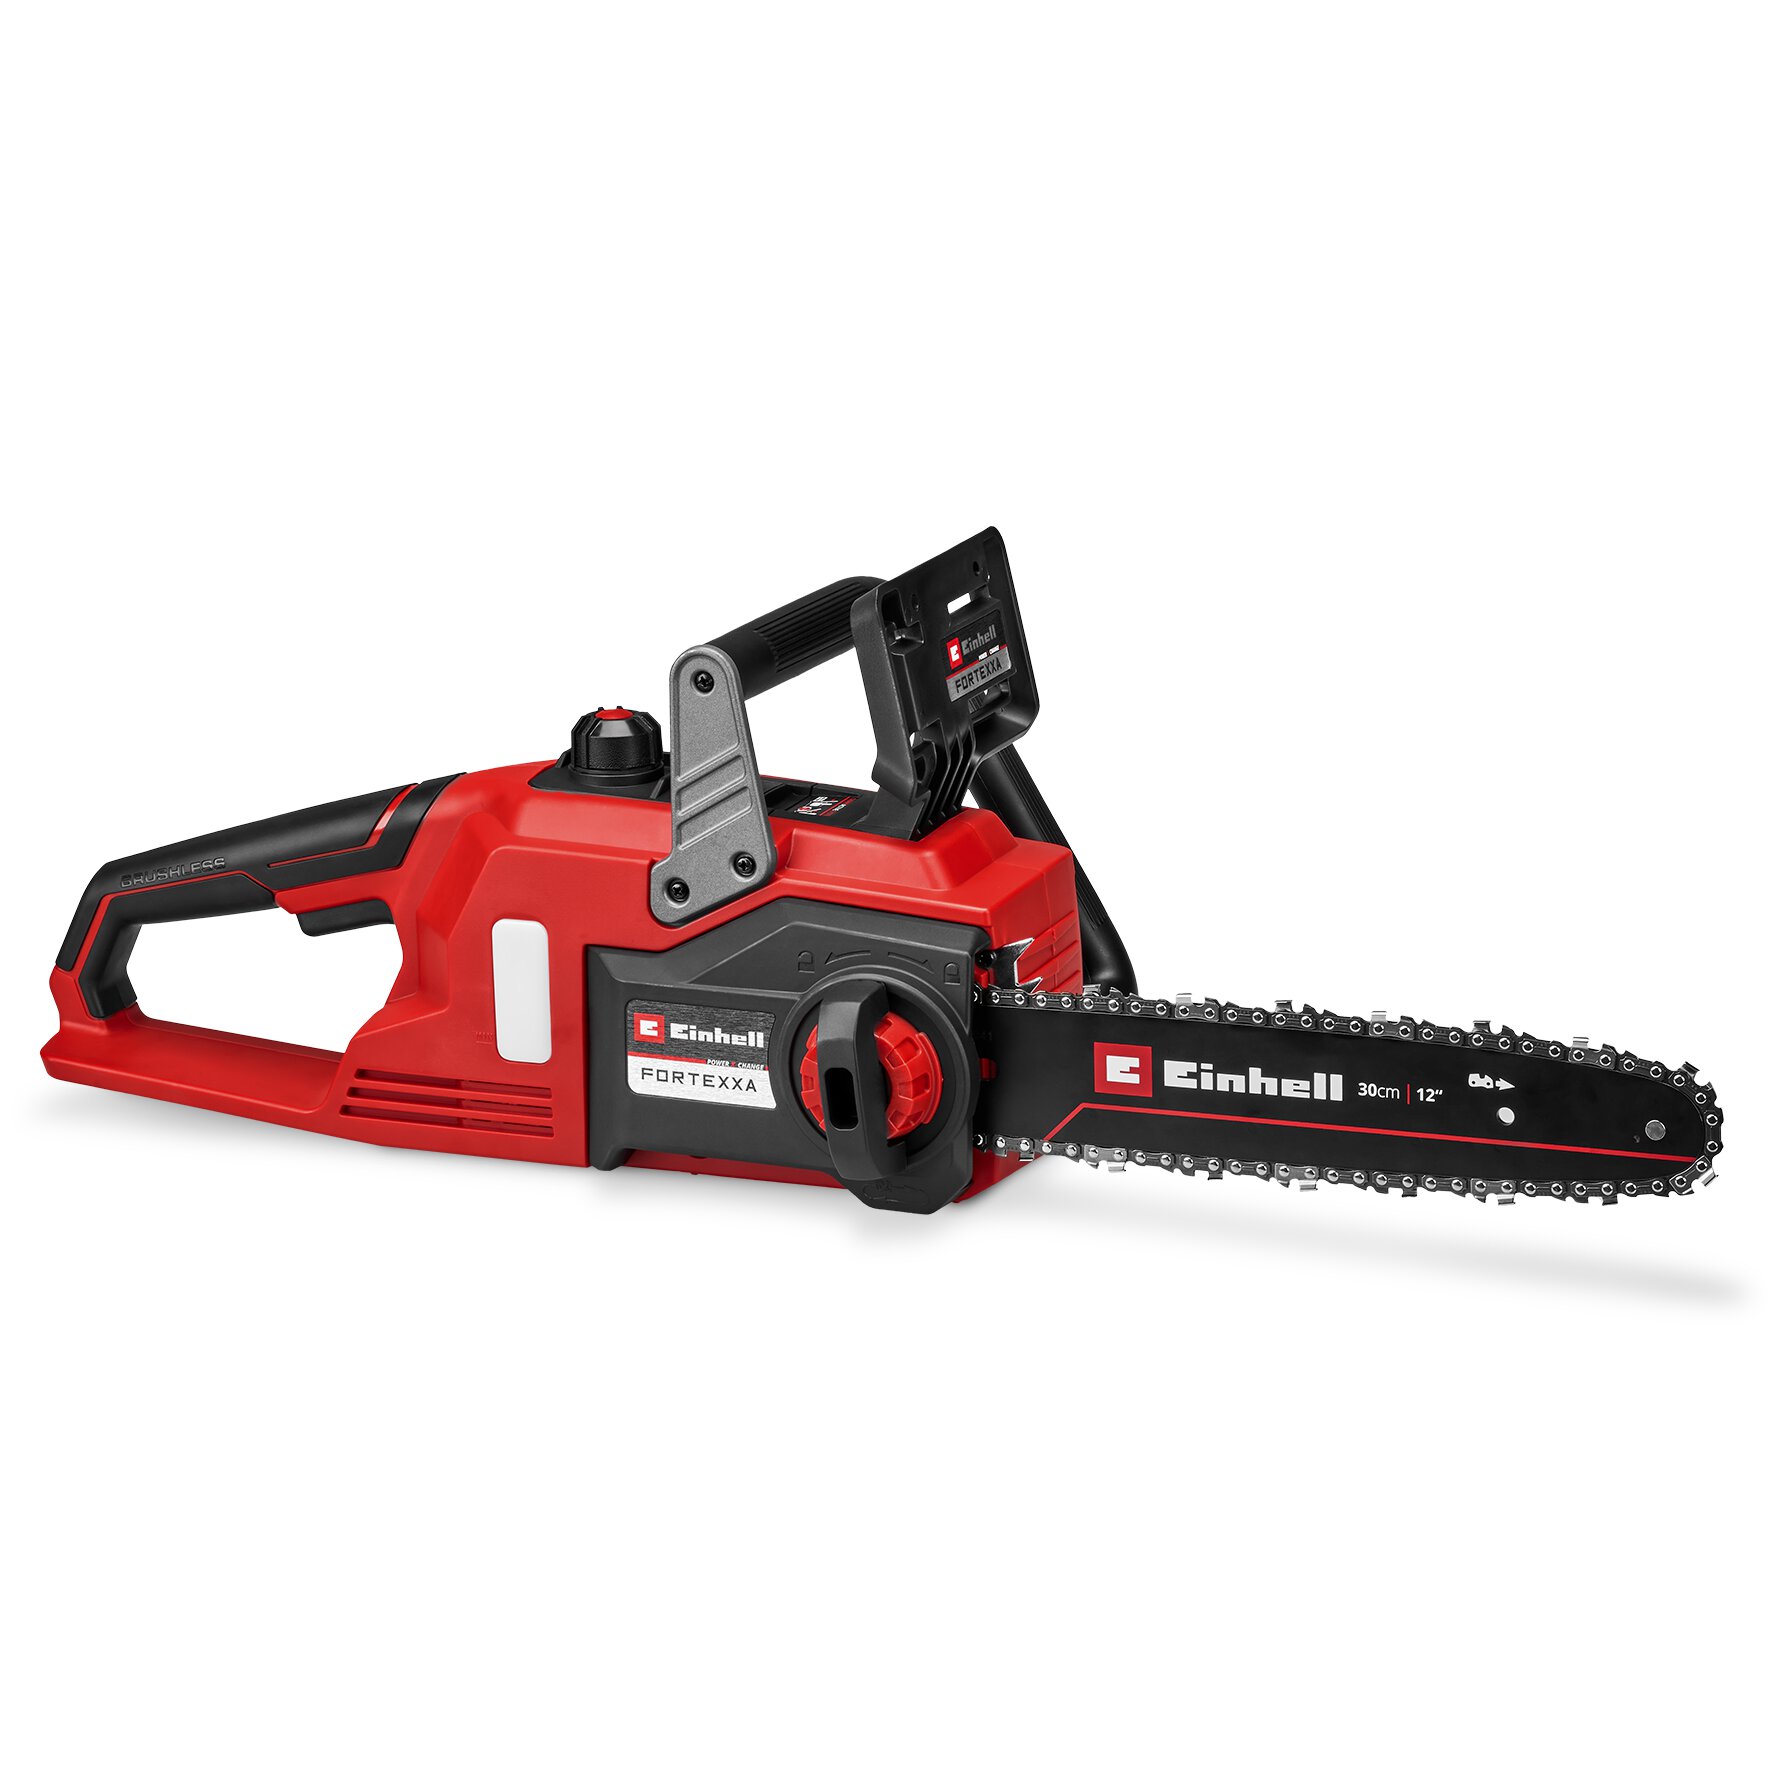
FORTEXXA 18/30
Go to article
Chain Sharpener
GC-CS 85 E
Go to article
In this article you will learn about:

Published on 19.03.2020
Marina Liefke is an Online Editor at Einhell, where she deals with virtually all texts related to tools, garden equipment, and accessories. She acquires the necessary know-how through practical product training and close collaboration with the Einhell product managers. Her favorite tool is the PRESSITO cordless compressor because when the air is running out, it pumps it right back in.