05.09.2023
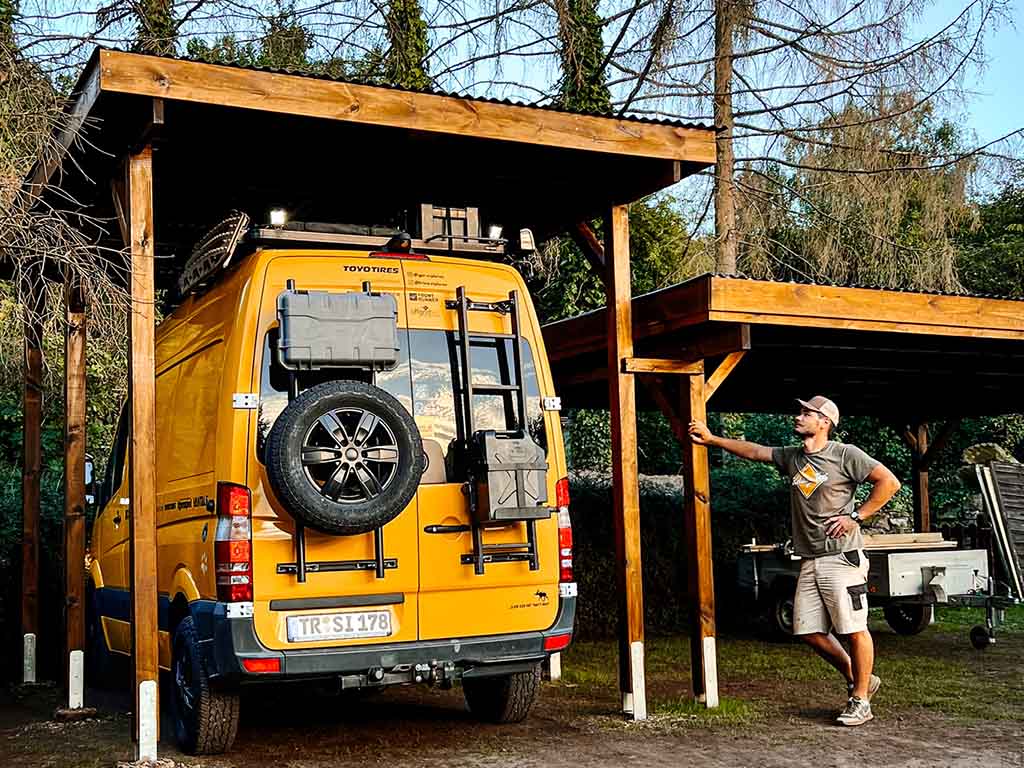
DIY: Wooden Carport
Protected from Wind & Weather: How to Build a Carport Step by Step for Your Car, Campervan & More.

Do you want to benefit from all
Einhell advantages?
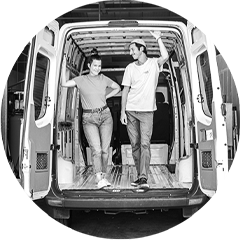
Everyday life holds you back. But deep inside, the longing for freedom is growing – for nights under the stars and life in the great outdoors. Maybe you’re even dreaming of getting your own camper van – a home on wheels that suits you perfectly.
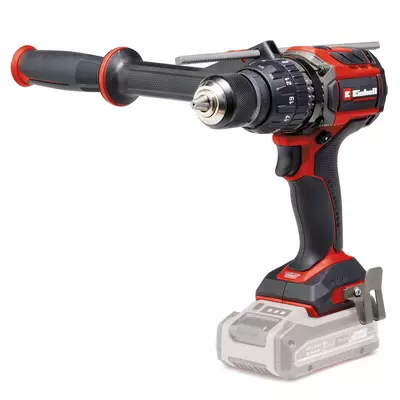
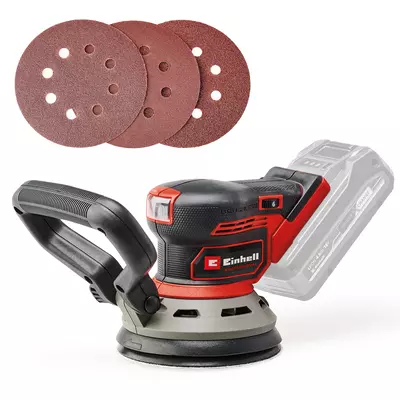
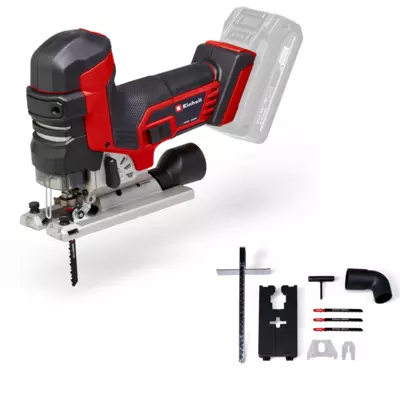
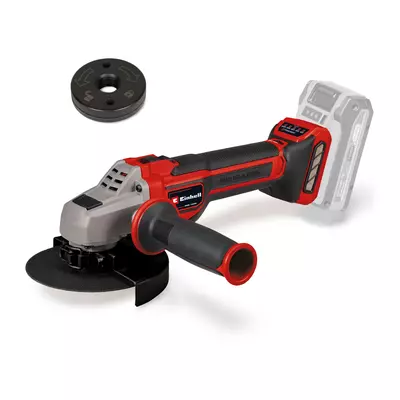
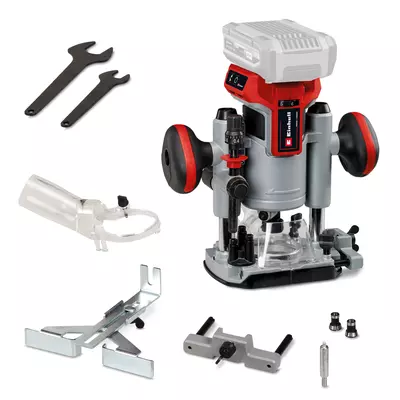
With Einhell, that dream becomes a plan: Our powerful cordless tools give you the freedom to be self-sufficient wherever your adventure begins. They’re not just the perfect companions on the road – they’re also a real help when it comes to building your camper van yourself.
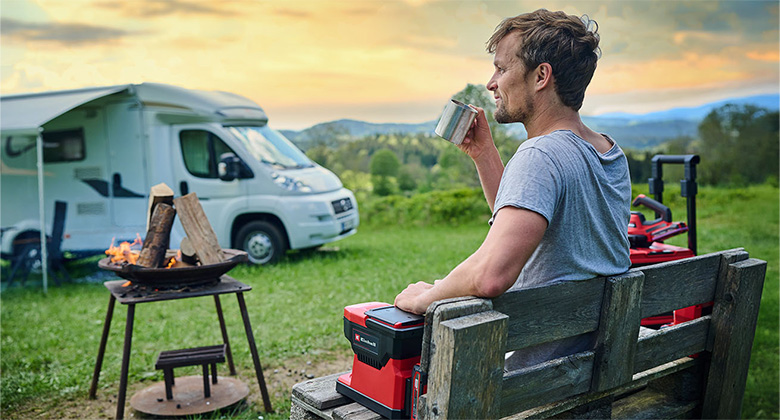
Feeling at home outdoors isn’t just a trend – it’s a way of life. More and more people are discovering vanlife for themselves: travelling independently, heading off on a whim, and sleeping under the stars. But the journey doesn’t begin on the road – it starts in the garage, with an empty vehicle and an idea.
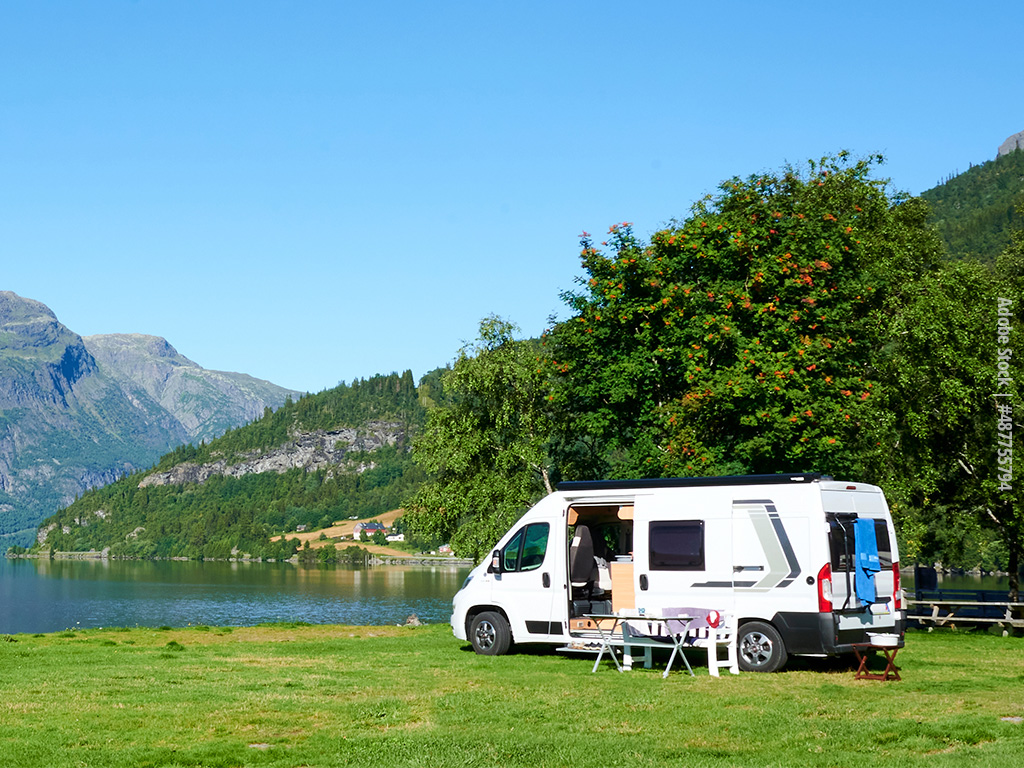
Whether you want to bring a panel van, a Sprinter or an old camper van back to life – with the right know-how, suitable camping gear and reliable cordless tools from Einhell, you can create your own piece of freedom. Whether you're planning a practical bed, a mobile kitchen, smart storage solutions or sturdy fixtures for your camping equipment – at Einhell, you’ll find everything you need to convert your camper.
Whether you’re just starting out with your vanlife conversion or already deep in the process – it’s often the little things that make the biggest difference. When it comes to camping gear in particular, DIY solutions are well worth the effort: they’re tailored to your camper, your vehicle, and your specific needs – and they’re often lighter, more durable, and more practical than many off-the-shelf products.
Discover more practical guides all about vanlife, camper conversions, and your camping equipment – easy to recreate with the right cordless tools from Einhell.
Protected from Wind & Weather: How to Build a Carport Step by Step for Your Car, Campervan & More.
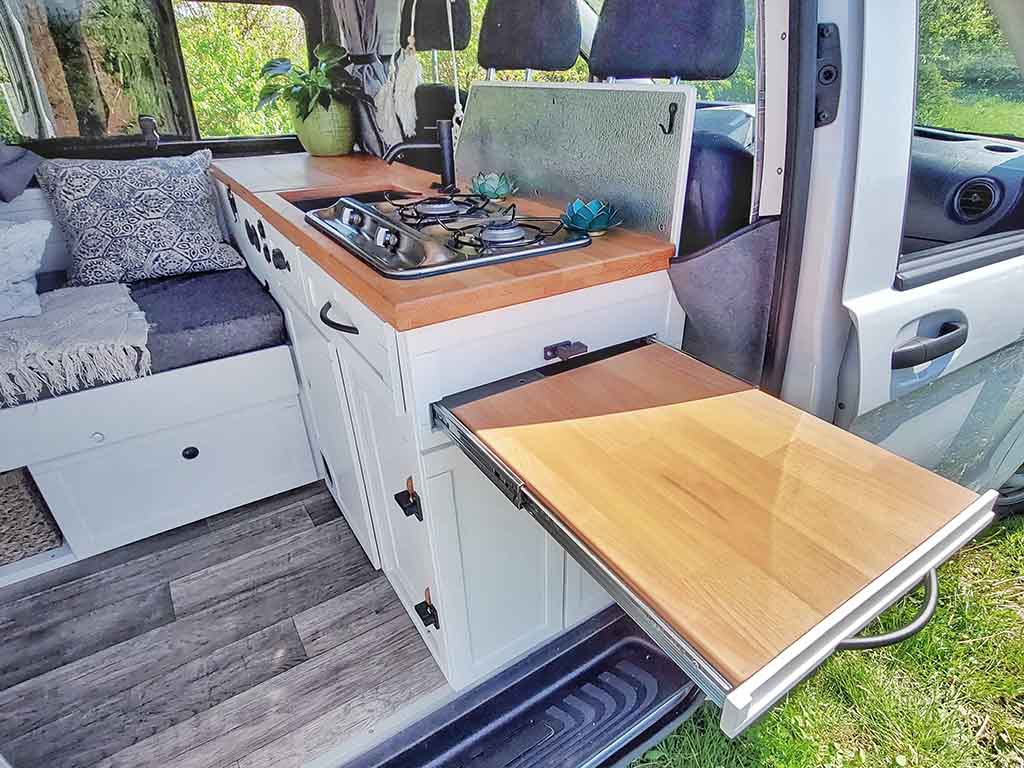
With this DIY camper kitchen, home-cooked meals won’t be missing from your travels.

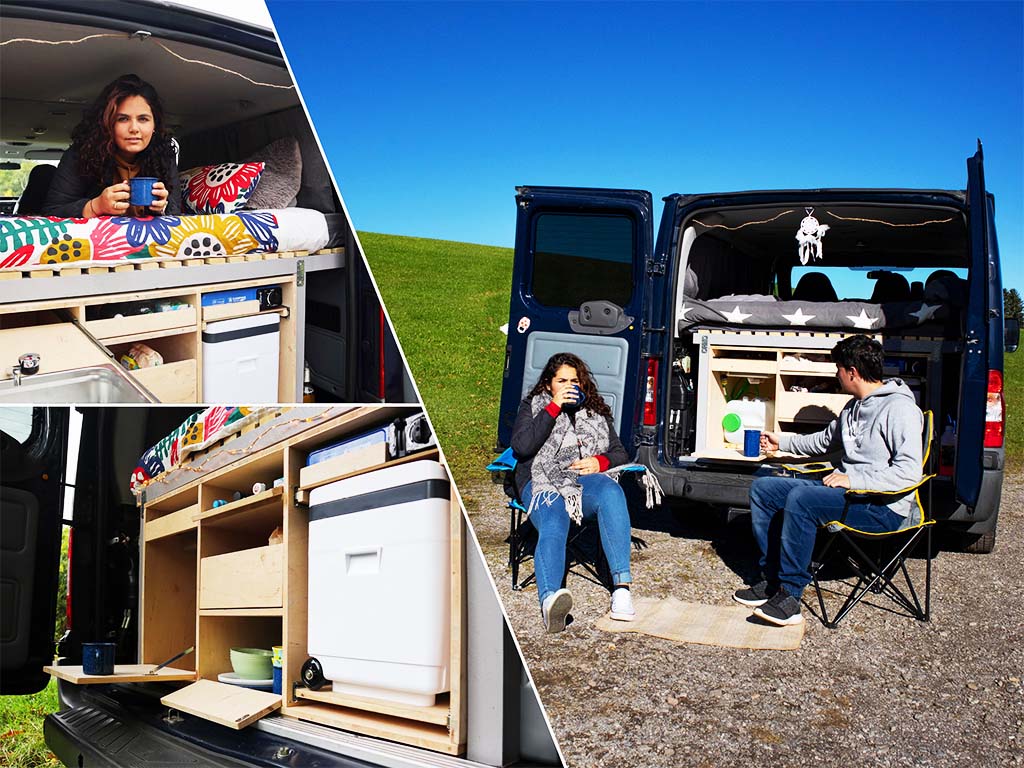
With this removable camping box, you can easily switch between everyday car and campervan – complete…

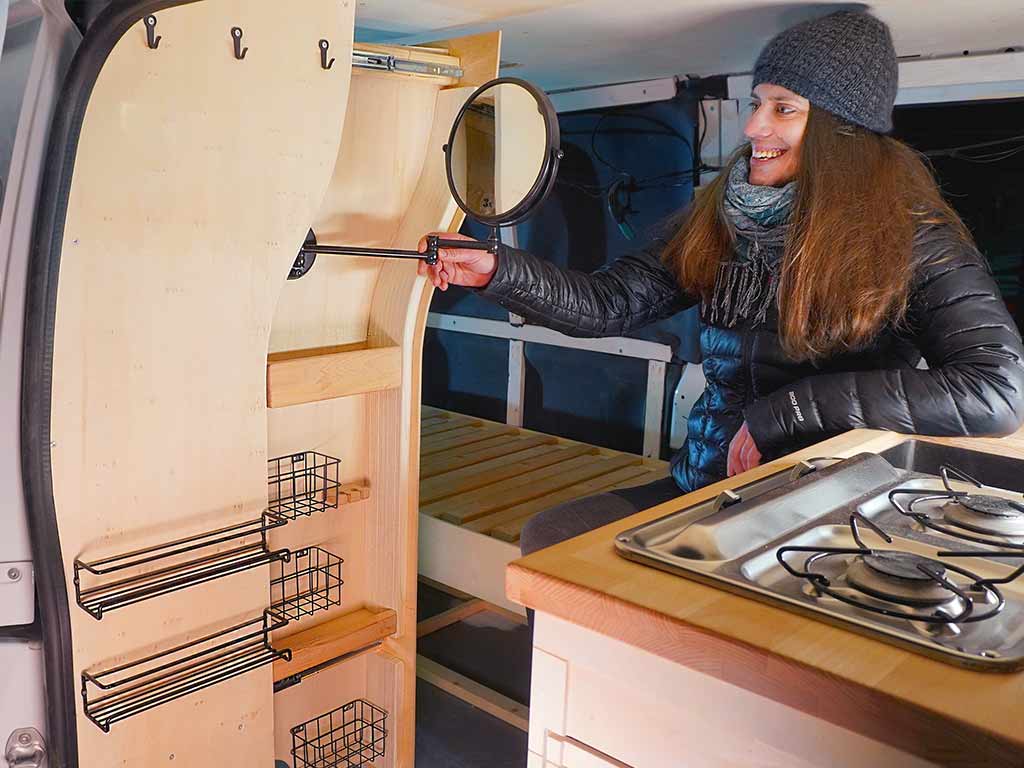
Store your toiletries in perfect order while on the road – with this DIY pull-out cabinet for your…
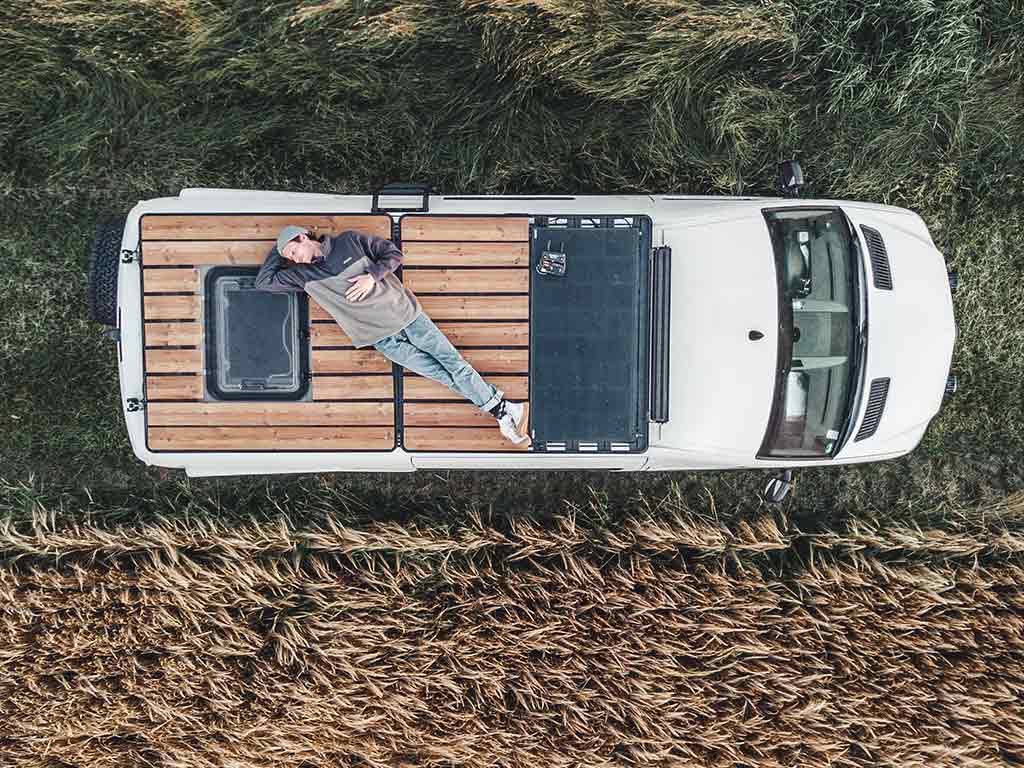
Enjoy even more freedom with a DIY roof terrace for your camper van.
On our blog, you’ll find plenty of tips, ideas and insights on the right camping gear, the best-suited Einhell tools, and everything you really need to know while on the road.
Whether camper or tent: find out here which of our battery-powered devices are ideal for camping.

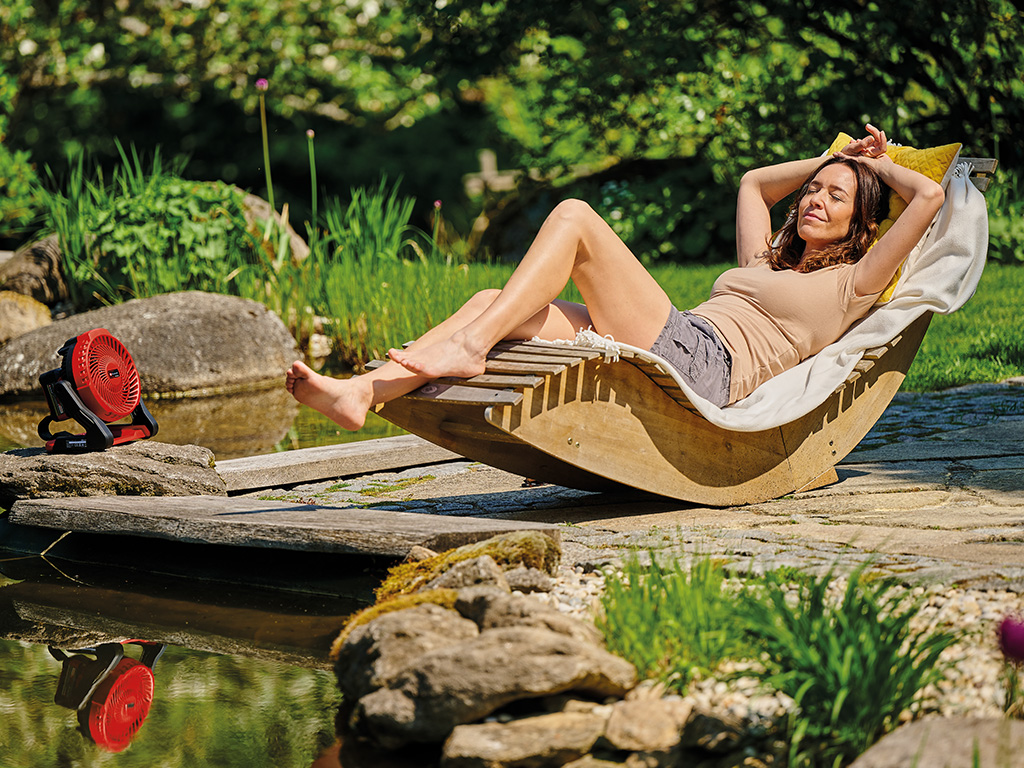
Do you want to spend your next vacation in a different way? With these tips, you can relax optimally…
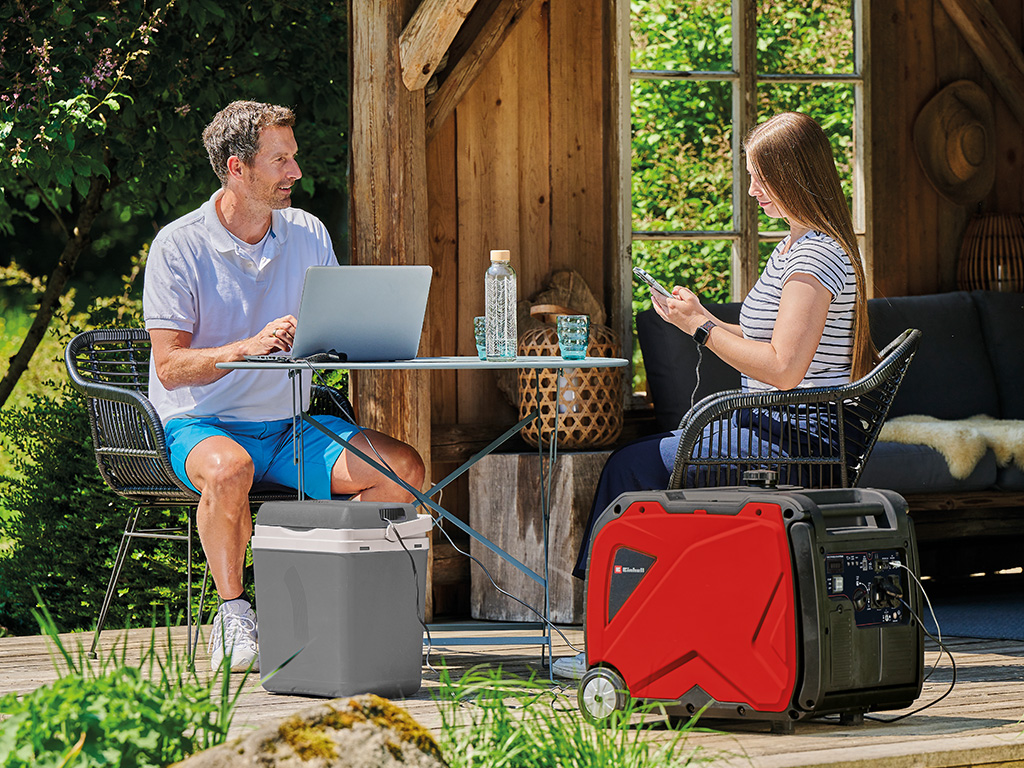
Here you can learn how to use power generators and inverters correctly and how to get the best out…