Important Key-Combinations
- Every second day mode
Press “6H” button more than 6 seconds; 6H LED will be flashing → confirm with “OK” button - Second area mode
Press the „Start“ button more than 6 seconds; Start LED will be flashing → close the cover - Reset the starting time
Press the buttons „6H“and „OK” meantime 3 seconds long - Delete CAM pictures
Shut down the mower → Press “OK” and start the mower meantime - Delete Initial driving values → mower is at lock-state
Press the buttons “10H”and “OK” meantime 3 seconds long → Main Area
Press the buttons “8H”and “OK” meantime 3 seconds long → Second Area - Delete the Map of the Mower
Shut down the mower → Press “Lock”-Button and start the mower meantime - Factory Reset ( all savings apart from initial values) only mowers with version number 21033 with last FW
Shut down the mower → Press both “Ok” and “10h” –Button and start the mower meantime
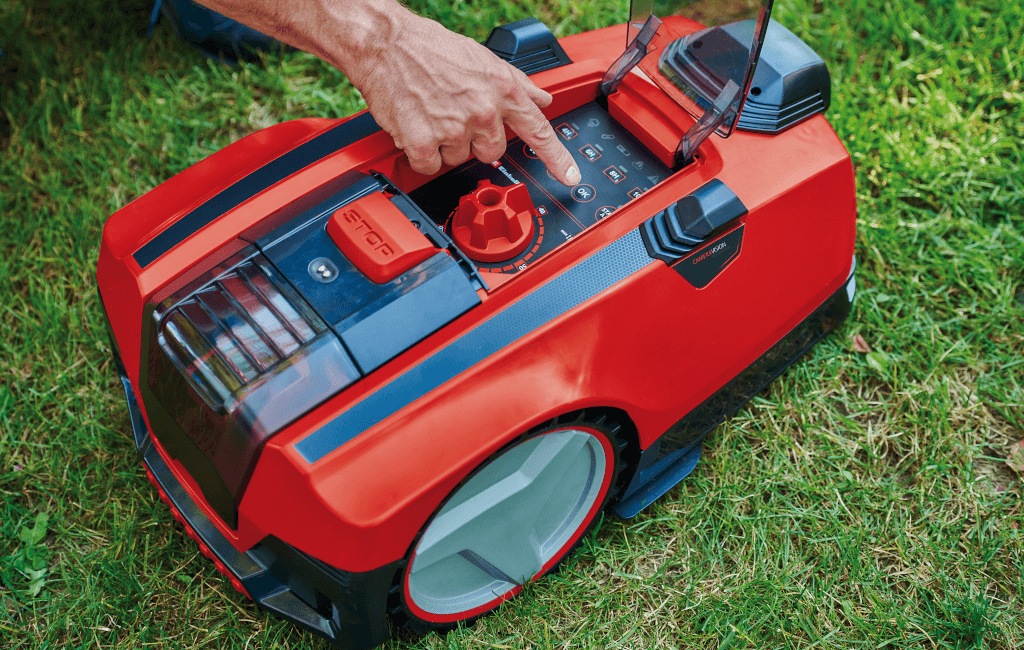
Explanation of the keypad symbols

Indication: yellow flashing
The rain sensor has triggered. After it has cooled down, the robotic lawnmower starts again, provided it is in an active working window.

Indication: red shining
No position data is received. Please restart the device and contact the service department if necessary.
Indication: yellow flashing
A weak position signal is received. If necessary, change the position of the charging station.
Indication: green flashing
The mower performs the positioning. Please wait until it is completed and the LED lights up permanently green.
Indication: green shining
Positioning completed, the robotic lawnmower can be started

Indication: red shining
The battery is empty and needs to be charged.
Indication: green shining
The battery is fully charged. The mower can be started.
Indication: red flashing while mowing
The temperature of the mower is outside the permitted range. Check the device and adjust the work window if necessary.
Indication: yellow shining while in station
The temperature of the mower is outside the permitted range. Check the device and adjust the work window if necessary.
Indication: flashing red and green
Check that the mower's main switch is on. Replace the battery and restart the mower.

Indication: green shining
The robotic lawnmower is located near the charging station and the signal from the search loop is detected.
Indication: red shining
No connection between camera and motherboard or camera broken. Restart the device and contact the service department if necessary.
Indication: yellow flashing
The outer boundary of the mowing area is deteriorating. Check the boundaries and clear the initialization value of the main area.
Indication: red flashing
The outer boundary of the mowing area can no longer be clearly identified. Check the boundaries and clear the initialization value of the main area.
Indication: The robotic lawnmower is in the charging station and the LED is off
No wire connection to the charging station, the LED on the charging station will flash green. Check the wire connection at the rear of the charging station. The wire loop must also be checked for damage.

Indication: yellow shining
- The robotic lawnmower is located outside the mowing area. Check the area as well as the camera unit and restart the device.
- The robotic lawnmower has fallen over. Check the device and then restart it again.
- The robotic lawnmower got stuck. Check the device and then restart it.
- The robotic lawnmower was tilted for more than 10 seconds. Check the device and then restart it.
- The robotic lawnmower has been lifted for more than 10 seconds. Please check and restart the mower.
Indication: red shining
The distance between the robotic lawnmower and the charging station is greater than 1000m. Return the mower to the charging station or clear the mapping of the mower. If necessary, contact the service department.
Do you have questions to the robotic lawn mower Freelexo CAM?
We give you feedback to the FAQs
What limits and obstacles does the lawnmower detect with the camera and sensors?
Grass boundaries:
- Grass boundary boundaries: The camera unit detects the grass boundary by colours; the recommended colour boundary between two green sections is at least 30 cm.
- Distance to the grass border with water: The robotic mower reliably detects the grass border, the recommended colour difference to water is about 50 cm.
- Grass border with raised edge over 25 cm: Distance sensors detect obstacles over 25 cm; the robotic mower stops about 20 cm in front of the obstacle and continues the mowing process.
- Grass border with raised edge over 10 cm: Collision sensors allow the robotic mower to collide with obstacles under 25 cm. A stable border of at least 10 cm height protects the grass border.
Obstacles:
- Obstacles with a height of more than 25 cm: Fixed obstacles with a height of more than 25 cm are detected by the distance sensors; the robotic mower stops and continues the mowing process, with an unmowed area of about 20 cm.
- Obstacles less than 25 cm high: Obstacles less than 25 cm may cause collisions; the robotic mower stops, changes direction, with an unmowed area of approx. 20 cm.
- Low obstacles under 10 cm: protection (e. g. magnetic band) is required to prevent damage to the robotic mower and the obstacle.
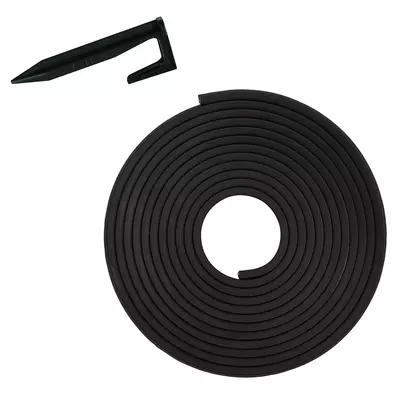
Certain areas in my garden are not well-defined. What can I do to delineate these areas?
- With the included magnetic band, which is also available as an accessory in 10 and 20 m lengths, insufficient or difficult to identify lawn edges can be delimited in order to optimally limit the mowing area in the garden.
- You can also limit the areas structurally by, for example, laying a stone edge or using flowerpots as a boundary.
How far can the robotic lawnmower maximum distance itself from the charging station?
- The robotic mower must not be more than 1000 m away from the charging station; otherwise, an error message will appear on the display, and the robotic mower cannot operate in the main area mode.
- The distance to the charging station is not relevant for operation in the secondary area mode.
The robotic lawnmower drives in the garden with switched off cutting engine. Why is this happening?
The robotic lawnmower starts with an initialisation drive when it is first put into operation, during which the quality of the lawn boundary is determined. Here, he determines a reference value for 200 boundary points in the garden (possibly another 200 points in the case of poor limits) before he starts mowing. Depending on the shape of the garden and lawn, this can take about 1 hour. If the robotic lawnmower visits the charging station during the initialization drive(low battery) or is returned, the robotic lawnmower continues the initialization at the next start. When completed, the robotic lawnmower starts the cutting engine and begins working on the lawn.
The robotic lawnmower leaves the charging station at the wrong time. why is that happening?
When starting for the first time, the duration of the working window is determined by selecting the time LED's (4h,6h,8h,10h) + "Ok". By then starting the robotic lawnmower, the current time is set as the start time - attention! ( The time window can be influenced by sunrise / sunset - the robotic lawnmower does not start before sunrise and drives itself into the station at sunset.) By changing the working window via time LEDs, only the mowing time is changed - the start time remains. If you want to delete the start time at that time, this can be done via the keys (OK+6h - press simultaneously for 3s). The robotic lawnmower now beeps 5x. Now a new time window can be set (4h/6h/8h/10h) + "ok". The current time is now used as the start time.
The robotic lawnmower remains in the station with a red flashing guide wire LED.
The quality value of the lawn boundary has deteriorated considerably. The customer should check his lawn boundaries and delete the reference value (press the "ok" and "10h" buttons at the same time for 3s in the locked state). The robotic lawnmower now beeps and is now to be restarted from the charging station. The robotic lawnmower now begins an initialization drive (mower off) and then resumes mowing operation.
The robotic lawnmower is switched off in the mowing area.
First check the battery level / restart the robotic lawnmower - if the battery level is low / start the robotic lawnmower with the mower set switched off, see (The robotic lawnmower does not find its way into the station). Observe the robotic lawnmower's behaviour at the place found - if necessary, remove obstacles that affect the robotic lawnmower's handling. If the robotic lawnmower turns frequently and stops again and again, the first step is to check the ultrasonic sensors/camera unit for contamination. Another cause could be poor lawn quality at this point, check the guide cable LED (frequent yellow flashing) - the area should be excluded if necessary.
The robotic lawnmower does not find its way into the charging station.
The reason for this may be the position of the charging station. Due to shields / trees / buildings in the immediate vicinity of the charging station, the robotic lawnmower receives only a weak positioning signal and thus has problems finding the station. The GNSS LED does not light up permanently green (even after some time) when the robotic lawnmower is in the station. The wire loop should be designed in such a way that the robotic lawnmower can easily approach the loop from all areas of the garden. Shape / size / position in the garden must be adjusted if necessary. There should be no obstacles in the immediate vicinity of the wire loop that could prevent starting. In this case, the customer should delete the existing mapping (switch off the robotic lawnmower via the main switch and switch it on with the lock button pressed) and restart the mower from the station. The GNSS LED should light up permanently green after some time, only then should the mower be started.
On the robotic lawnmower, the guide cable LED lights up permanently red.
The robotic lawnmower no longer receives a camera signal. Remove the cover of the camera unit (fixed by 2 Phillips screws) and check whether a cable on the camera unit has come loose) The robotic lawnmower should drive normally again after restarting.
Mower stops frequently, does not drive smoothly within its mowing range.
Yellow/brown lawns in the mowing area can sometimes cause the robotic lawnmower to stop, as it does not recognize them as lawn. The camera unit checks the lawn again and then decides whether the direction can be maintained or should be turned. A similar influence can occur in autumn through foliage. This must be removed from the mowing area for a smooth driving behavior and consequently a good mowing result.
The robotic lawnmower leaves an unmowed lawn edge.
The ultrasonic sensors can be used to detect obstacles in the mowing area and avoid them without collision. The camera unit recognizes different surfaces and categorizes them as mowing areas or boundaries. In both cases, an unmowed mowing edge of about 20cm remains, which must be removed manually.
The robotic lawnmower is in the mowing area and cannot be turned on.
- The battery voltage is too low.
- Bring the robotic mower back to the charging station for charging.
- Turn on the main switch.
- Contact customer service.
The robotic lawnmower stops on the guide wire and cannot reach the charging station.
- Remove possible obstacles on the guide wire.
- When laying the guide wire, ensure a sufficient distance from obstacles.
- Use a battery with higher capacity.
- Caution: When using a multi-Ah battery (e.g., 4-6 Ah), set the higher capacity.
- Due to the gentle charging and discharging of the robotic mower, using the lower capacity to extend the lifespan is not necessary.
The robotic lawnmower keeps returning to the charging station despite active working time.
- The robot may be overheated.
- After cooling down, the robot will automatically resume its work.
- During the summer months, mowing times should be adjusted to the hot times of the day.
- Early morning hours are recommended here.
- Check the LED display on the charging station to see if the battery can be charged when the mower is in the station.
- A too low charged battery triggers a return to the station.
- Check the operating time settings of the robotic mower.
The robotic lawnmower cannot drive into the charging station.
- Incorrect installation of the charging station.
- Ensure that the LED display on the charging station is green.
- Ensure that the ends of the guide wire are connected to the charging station and the front wire is positioned in the groove under the station and through the two holes.
- Ensure that the charging station is correctly positioned.
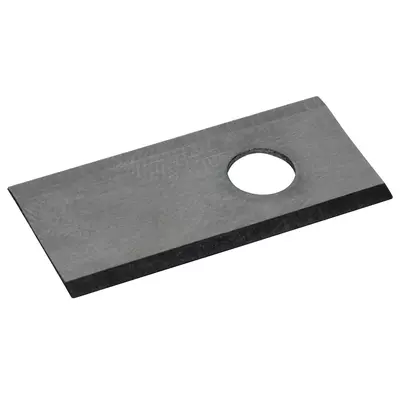
The robotic lawnmower is very loud.
- Check if many foreign substances adhere to the blades or if they are damaged, and clean or replace them.
- Always replace all 3 blades simultaneously.
- Blade drive or drive motor of the robotic mower is damaged.
- Have the motor repaired or replaced by customer service.
My lawn is mowed unevenly, the grass blades tear off, and the lawn discolors. What could be the cause?
- Check the blades.
- If they are very dull, the lawn cannot be properly mowed.
- This leads to a whitish discoloration of the lawn, as the grass blades are torn off and fray.
Uncertain Boundary vs. Clear Boundary
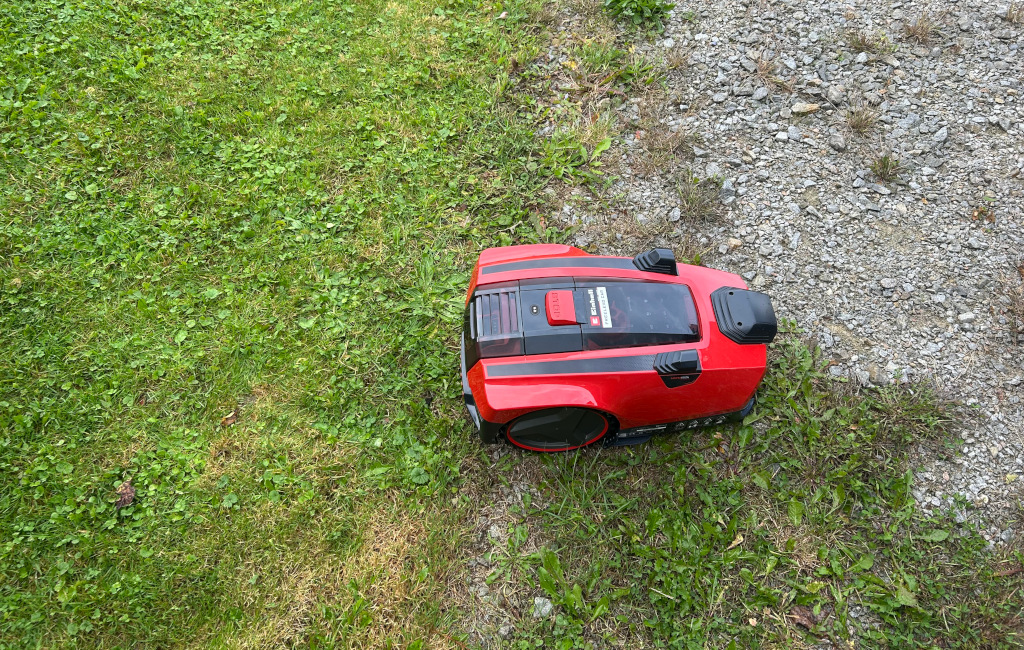
Uncertain Boundary: Gravel overgrown with weeds or grass is poorly recognized as a boundary
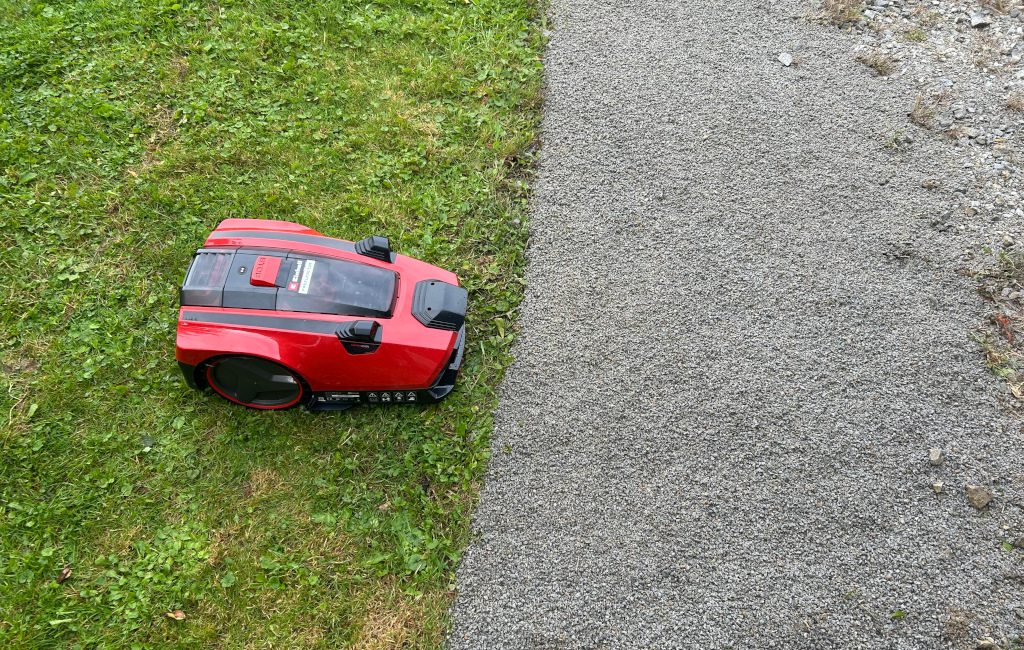
Clear Boundary: A clear boundary between lawn and gravel provides a remedy here
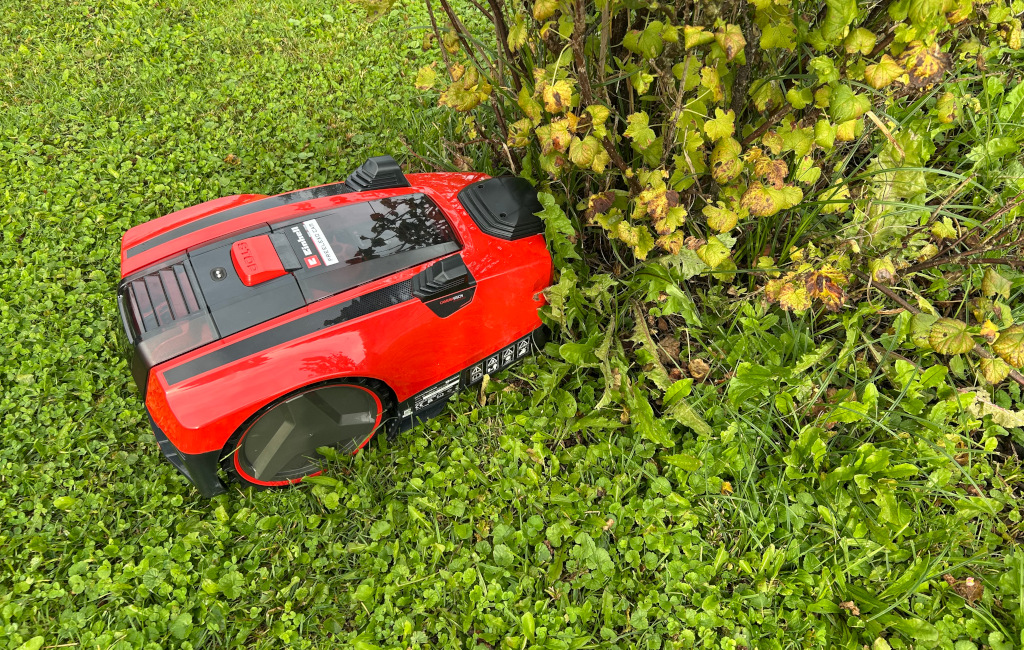
Uncertain Boundary: In the case of bushes and trees whose trunks are surrounded by weeds, the robotic lawnmower may have problems with timely detection
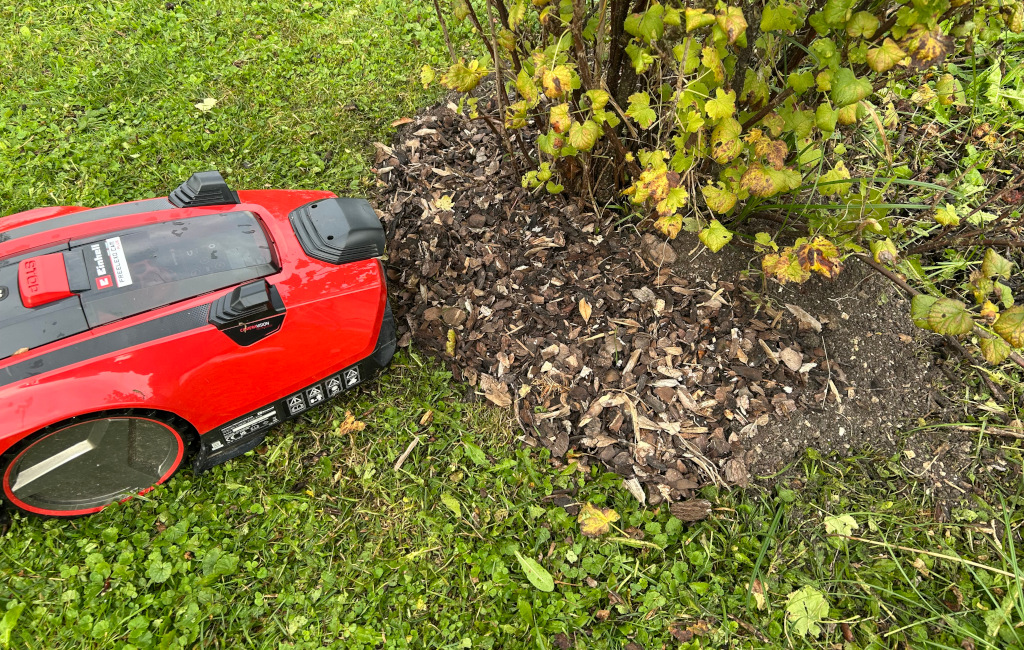
Clear Boundary: A border, e.g. with bark mulch, creates a clearly recognizable border
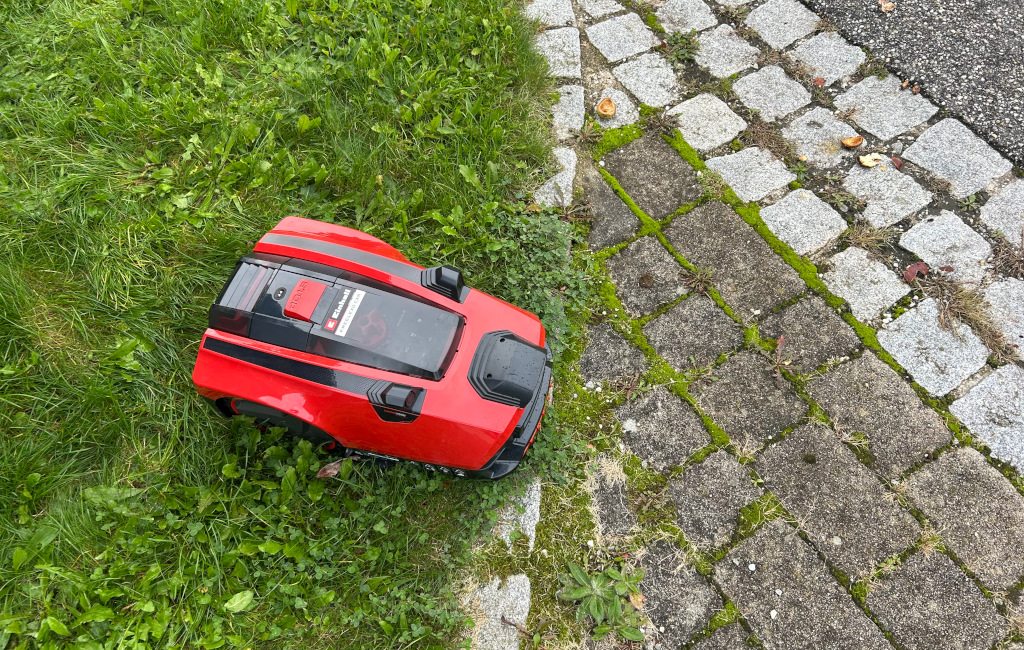
Uncertain Boundary: It is also difficult to detect lawn edges made of paving stones, etc., which are overgrown with weeds
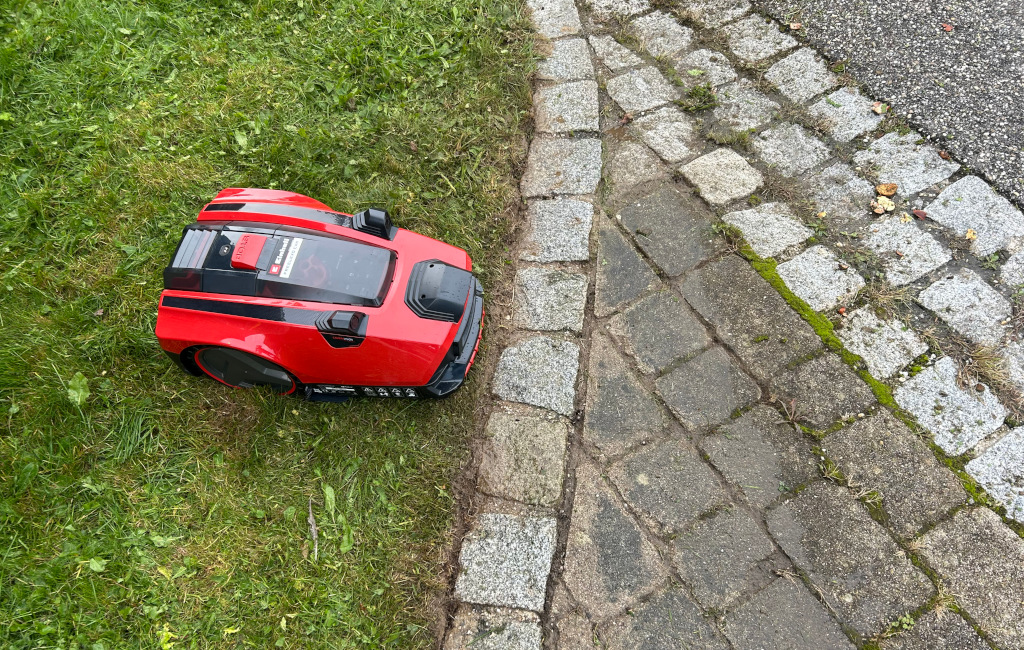
Clear Boundary: If the paving stones are free of weeds, they are a clearly recognizable border
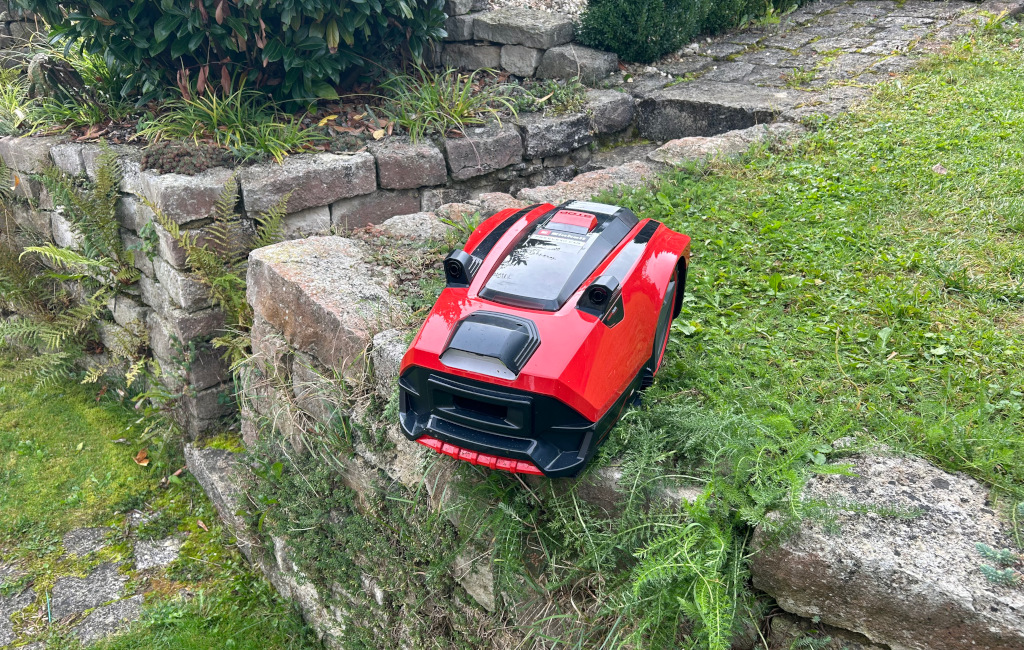
Uncertain Boundary: Particular care must be taken with walls and curbstones that are overgrown with weeds and lawn.
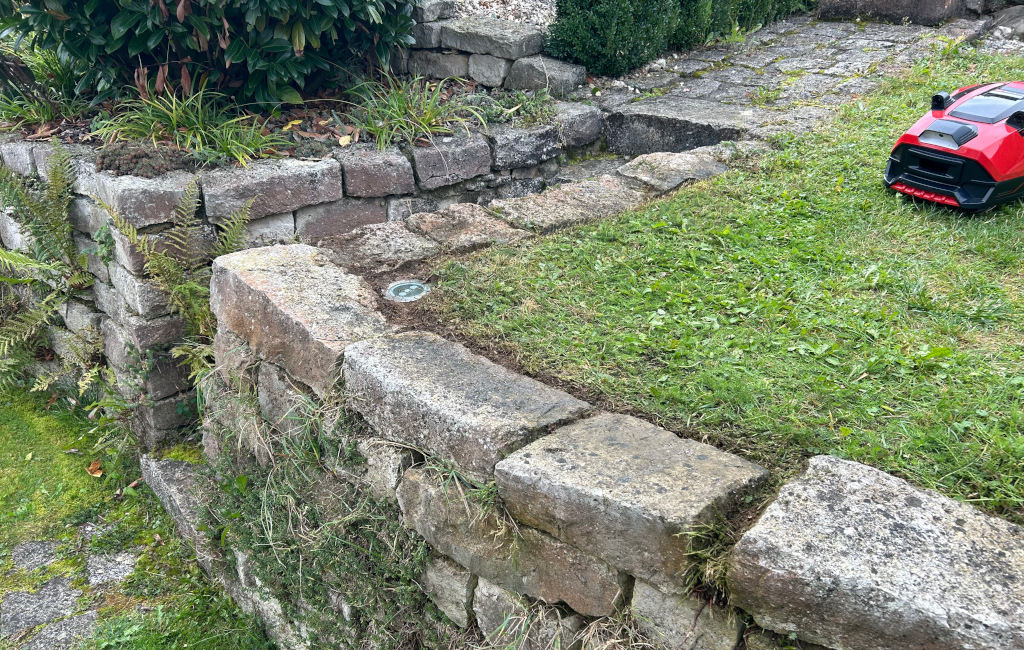
Clear Boundary: If the wall is free of weeds, it is also a clearly recognizable border
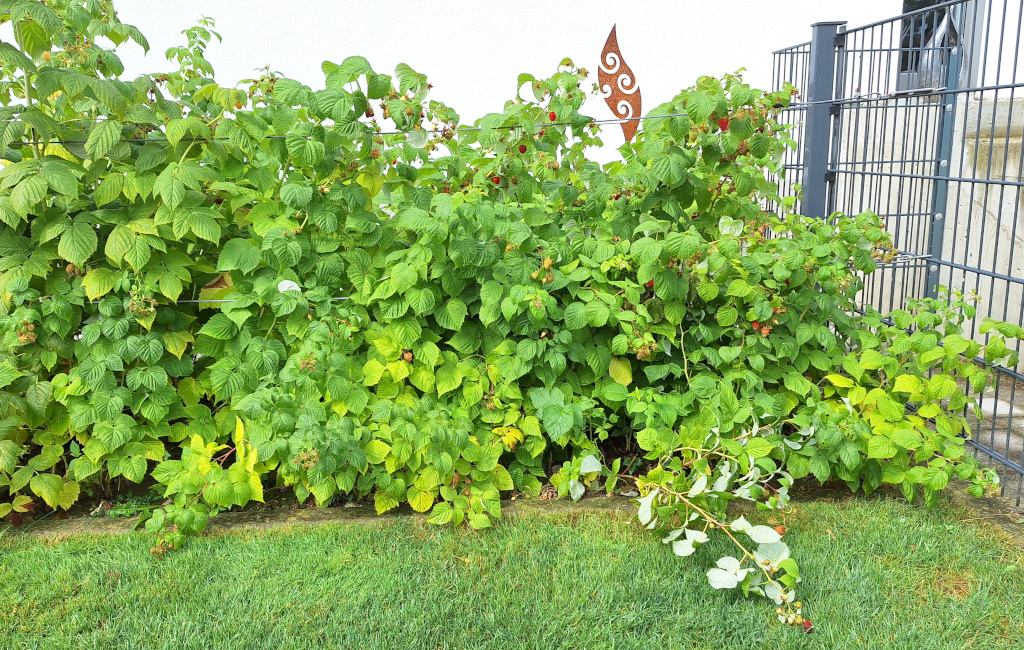
Uncertain Boundary: Shrubs with green leaves hanging in the lawn may not be detected, the robot could get stuck in them and also damage the plants
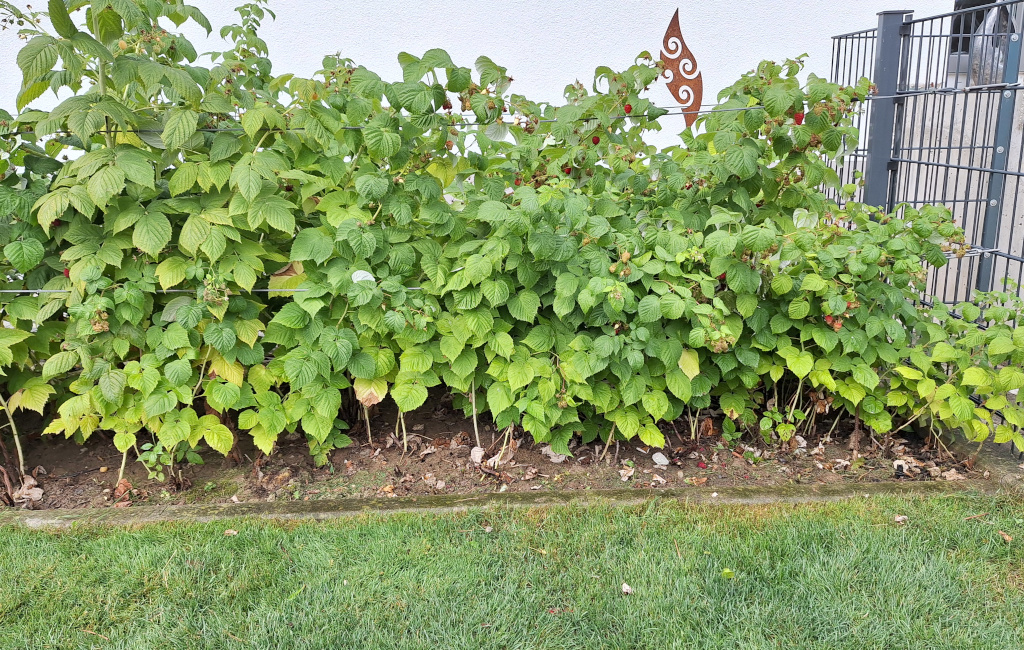
Clear Boundary: Tied up or cut back, this is no longer a problem
Videos

Installation Video