The Perfect BBQ Spot
In the garden, on the balcony or terraceFinally springtime. Finally grilling again. Finally back to your own BBQ spot. What, you don't have one? Then build one! In this article, you will find inspiration, tips, and tricks for creating your perfect BBQ spot - on your balcony, terrace, or in your garden.
The barbecue season has arrived, and your BBQ spot looks anything but a cozy grill paradise? As a true do-it-yourselfer, it's time to roll up your sleeves and get creative! That's exactly what we did. In this post, I will show you how we built our own personal BBQ spot in the boho style using lots of ideas, creativity, and our Einhell tools. The best part is that the different elements can be easily customized to your individual needs and local conditions - whether you want to build your BBQ spot on the terrace, in the garden, or on the balcony.
| Material | Tool |
|---|---|
| Wooden boards (Douglas fir 2,000 x 100 x 18 mm - as needed) | Mitre Saw |
| Wooden strips (2,000 x 50 x 18 mm width) | Cordless drill |
| Metal angle bracket with a leg length of 80 mm | Jig Saw |
| M5 round head stainless steel screws | Multifunctional Tool |
| Threaded screws, nuts, washers, and wood screws | Angle Grinder |
| Wood glue | Biscuit Jointer |
| Flat steel (15 x 40 mm) |
Materials
A BBQ spot consists of many components that contribute to creating a beautiful grilling atmosphere. However, to achieve a cohesive look, it's important not to use too many different materials. For our BBQ spot, we chose a natural wood look that fits best with the Boho style we desire. We are using Douglas fir wood for this.
Douglas fir emits a cozy character with its warm, reddish hue and is also extremely durable, making it perfect for outdoor areas. Another good option for outdoor use is larch wood. We obtained the Douglas fir as planed 2,000 x 100 x 18 mm boards from the hardware store. With a length of 2 meters, they can also be easily transported by car. For cutting them to length, we recommend using a mitre saw, as it provides a right-angled, straight, and smooth cut. For outdoor use in the garden or on the terrace, the cordless version is also a good option.
In addition to the wood, it is also important to choose the right materials for the other components. Threaded screws, nuts, and washers should be made mostly of non-rusting steel. This may affect the price, but it pays off in the long run.
Wooden border
As our perfect BBQ spot is supposed to be on our balcony, we first take care of a beautiful wooden cladding. With a cladding that can be either hung or glued, so that no damage occurs, you can also customize the balcony of a rental apartment. With the material wood, we give the BBQ spot a Mediterranean touch and also pick up on the "Boho" theme.
A border gives the BBQ spot a nice frame and can be individually attached to walls or fences in a suitable environment on the terrace or in the garden.
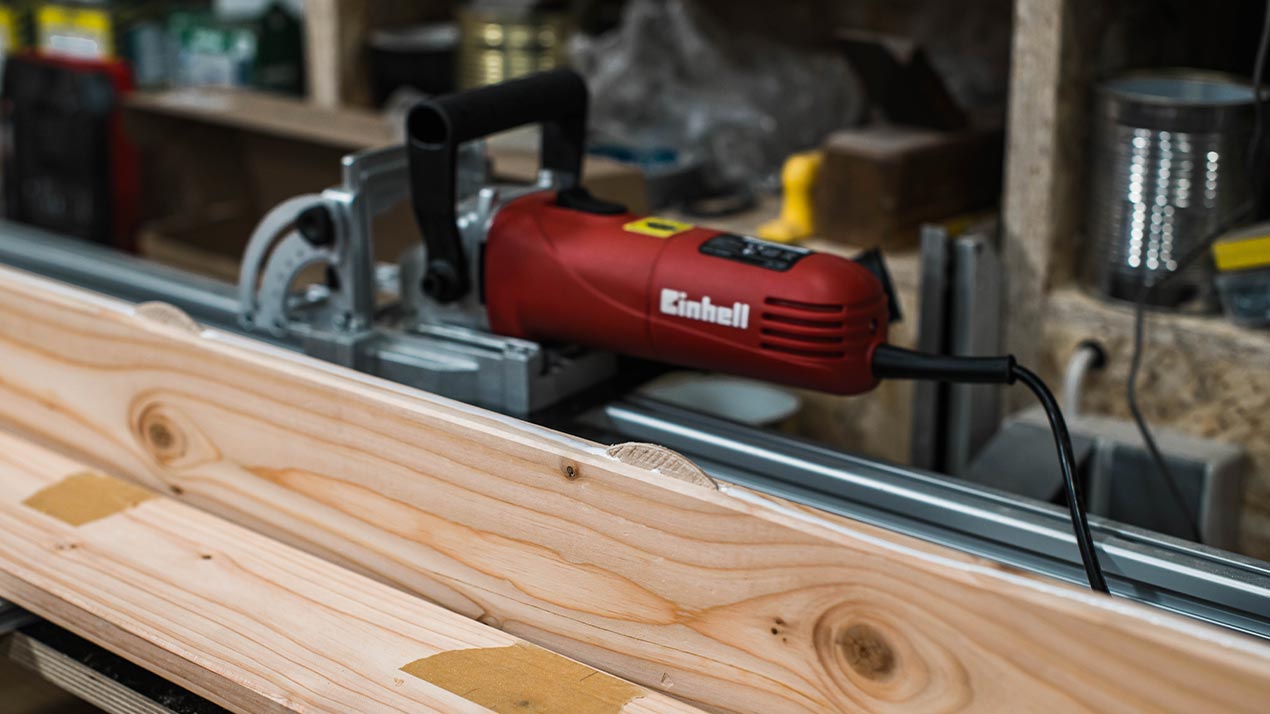
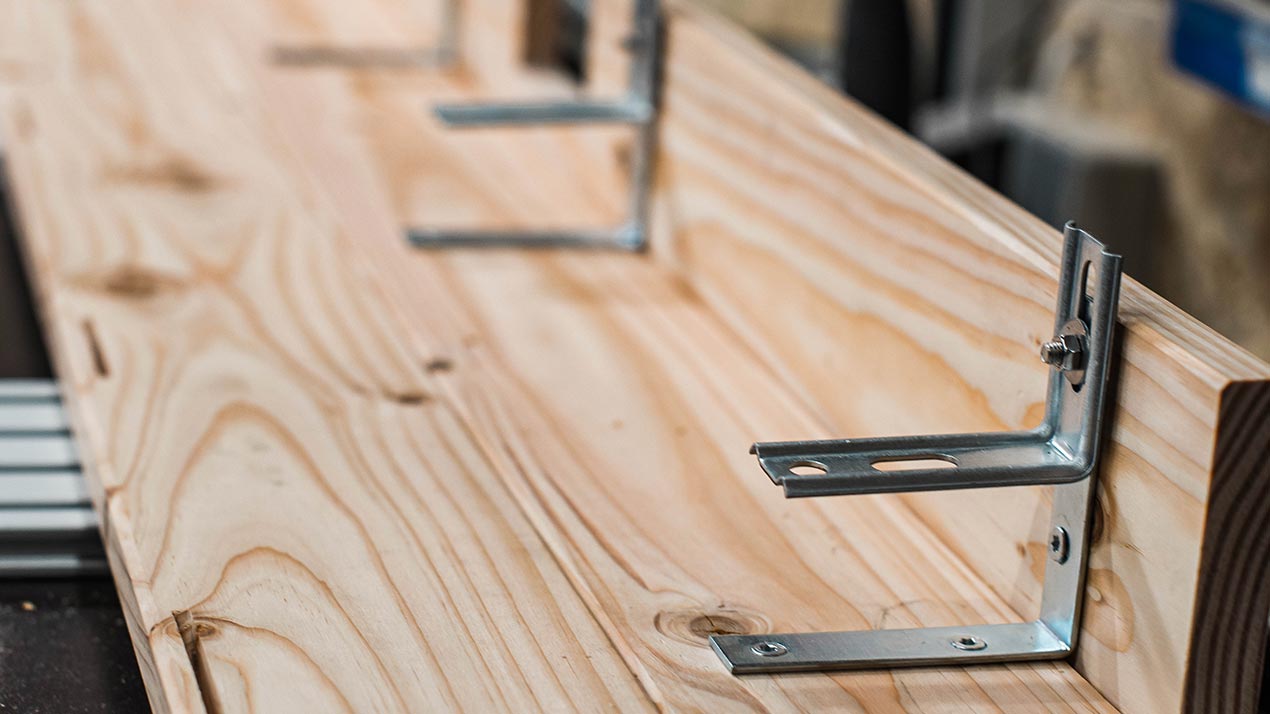
For the cladding, ready-made profiled strips, such as those used for walls, can be used. However, using a biscuit jointer, normal planks can also be connected on the longitudinal side to create an L-shaped cover. We cut our Douglas fir planks to length with the miter saw according to our requirements and then joined them with biscuits. Wood glue gives the biscuit construction additional stability. To attach the cladding, we used metal brackets (with a leg length of 80 cm). A second bracket with a slotted hole, a so-called sliding bracket, is used for clamping. To fasten, M5 round head stainless steel screws are used, which can be partially sunk into the wood. A square prevents the screw from rotating while tightening the nut, leaving only a flat, smooth round head on the top surface.
If posts or other elements interrupt the railing, you can make cutouts using an cordless jigsaw and cordless multitool. First, make a lateral cut with the jigsaw, and then make a plunging cut with the multitool. A piece of wood is used as a support aid, which is placed and clamped accordingly to the edge.
Wooden slat wall
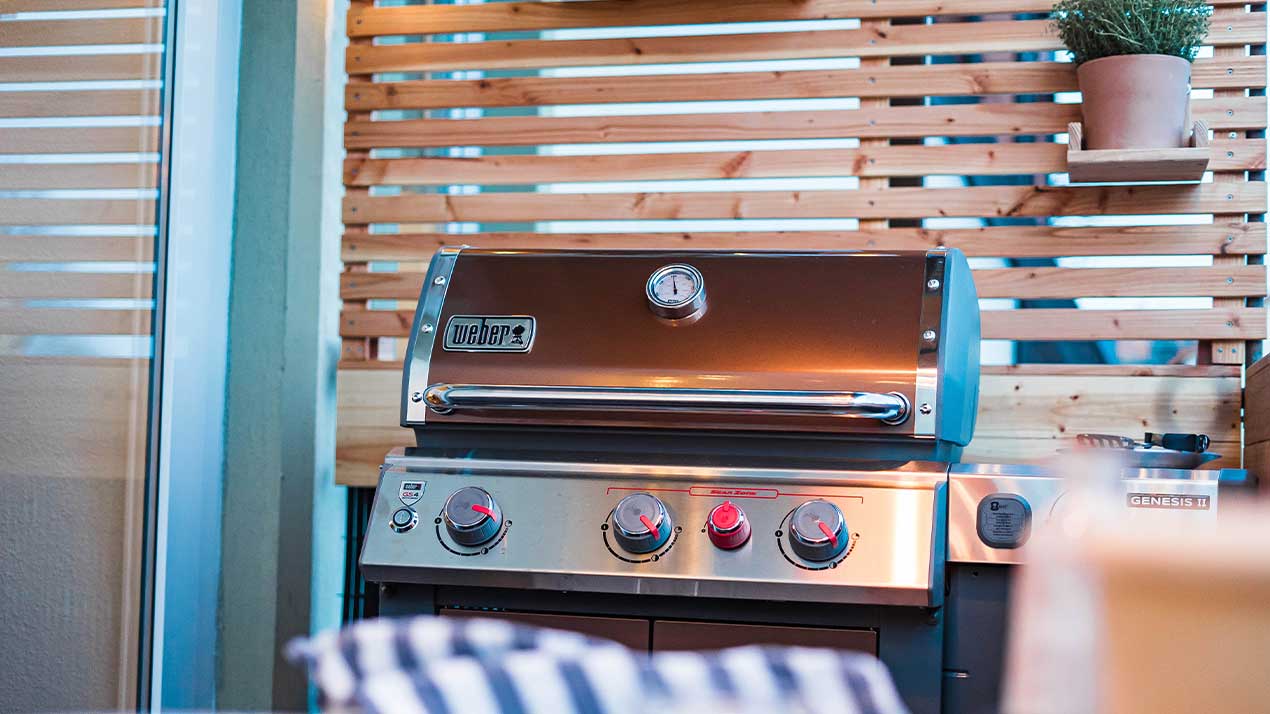
A back wall made of horizontal wooden slats combines several functions in one: whether on the terrace, balcony or in the garden, a slat wall is a practical privacy screen that protects us from the wind and also provides plenty of storage space for various grilling utensils. In addition, it makes the barbecue area cosier through the visual demarcation and highlights your grill perfectly in the setting.
We used the same 100 mm boards as for the frame and cut them in half to create 14 slats. This was done using the parallel guide of the table saw. The distance of the guide was calculated as follows:
(wood width - saw blade width): 2 = distance of guide
(100 mm - 2.8 mm): 2 = 48.6 mm
This gives the slats a cross section of approximately 49 x 18 mm. The gap between the slats was set to one-third of the width of the slats. In this case, it is 16 mm.
The horizontal slats are held together by vertical crossbars. Alternatively, metal fittings or, for a freestanding wall on the terrace or in the garden, simply wooden beams can be used. A wall element should not be wider than 2 meters, and there should be at least one crossbar with a distance of one meter.
To give the structure more stability than just screwing it together, we sink the crossbars into a groove. This also gives the construction a more delicate appearance. To do this, you can use the depth stop on the miter saw and saw out the groove. Then you should smooth the groove - a multitool or a handheld sander would be perfect for this.
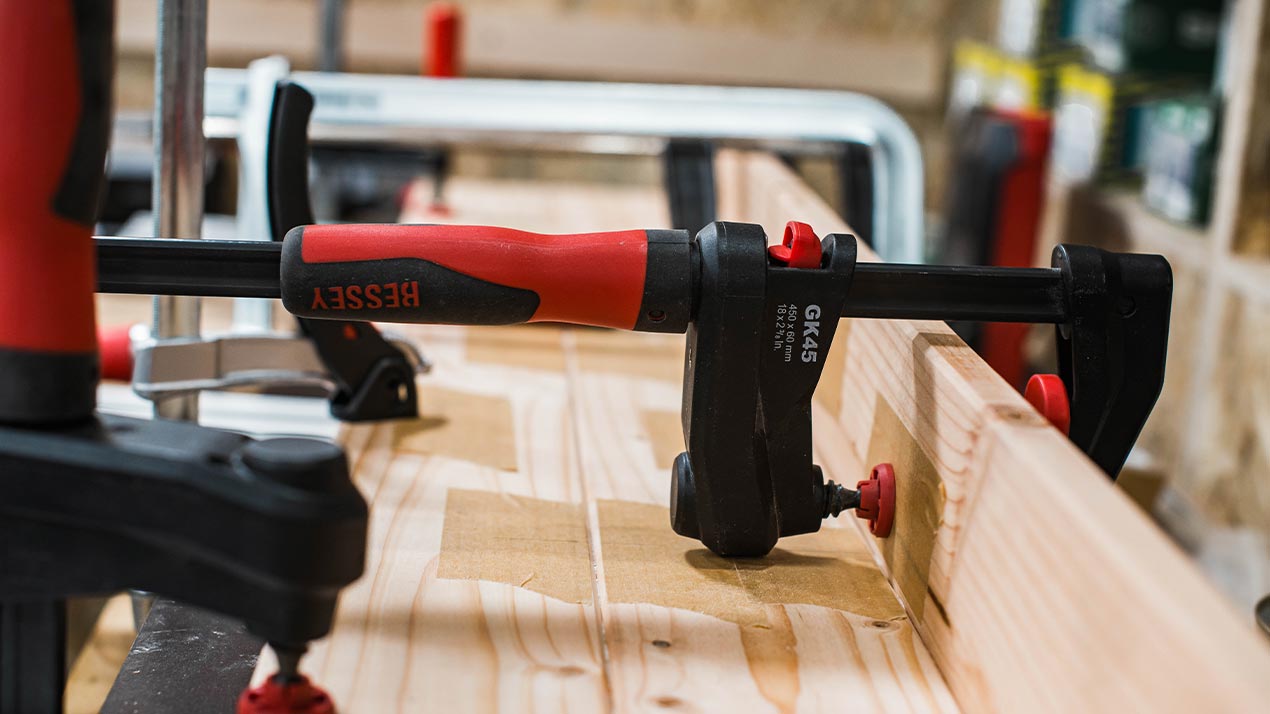
Before screwing the horizontal slats onto the crossbar with the cordless drill-driver, it's important to pre-drill the holes where the screws will go and mark the positions for the horizontal slats on the crossbar. Proper alignment is essential for the success of the project. It's recommended to use a particularly straight slat as the first one to ensure a good start. The last horizontal slat is initially clamped in place to provide a stable frame for work.
Shelves: Space for spices and more
In addition to the grill, a grill master often needs a lot of equipment at hand, be it the grill tongs, spices, or a cool drink. This requires storage space. With several variable and adjustable shelves that can be repositioned at any time, our slat wall now adds some functionality. For this purpose, leftover wood with a length of about 30 - 50 cm can be used perfectly. Cutting the ends of the wood pieces cleanly with a miter saw is very quick and improves the appearance. The shelf no longer looks so bulky and massive.
A fixed attachment of the shelves is certainly an option, but it offers less flexibility. Therefore, we came up with this solution: A small piece of flat steel with dimensions of 15 x 40 mm is used as a locking mechanism behind the back wall, attached to a metal screw. This allows for easy removal and re-locking without tools by simply turning it 90 degrees from the front.
The final touch: Decorating and enjoying
Almost done! To turn your grill area into your "perfect grill area", you can now personalize it with various accessories according to your taste.
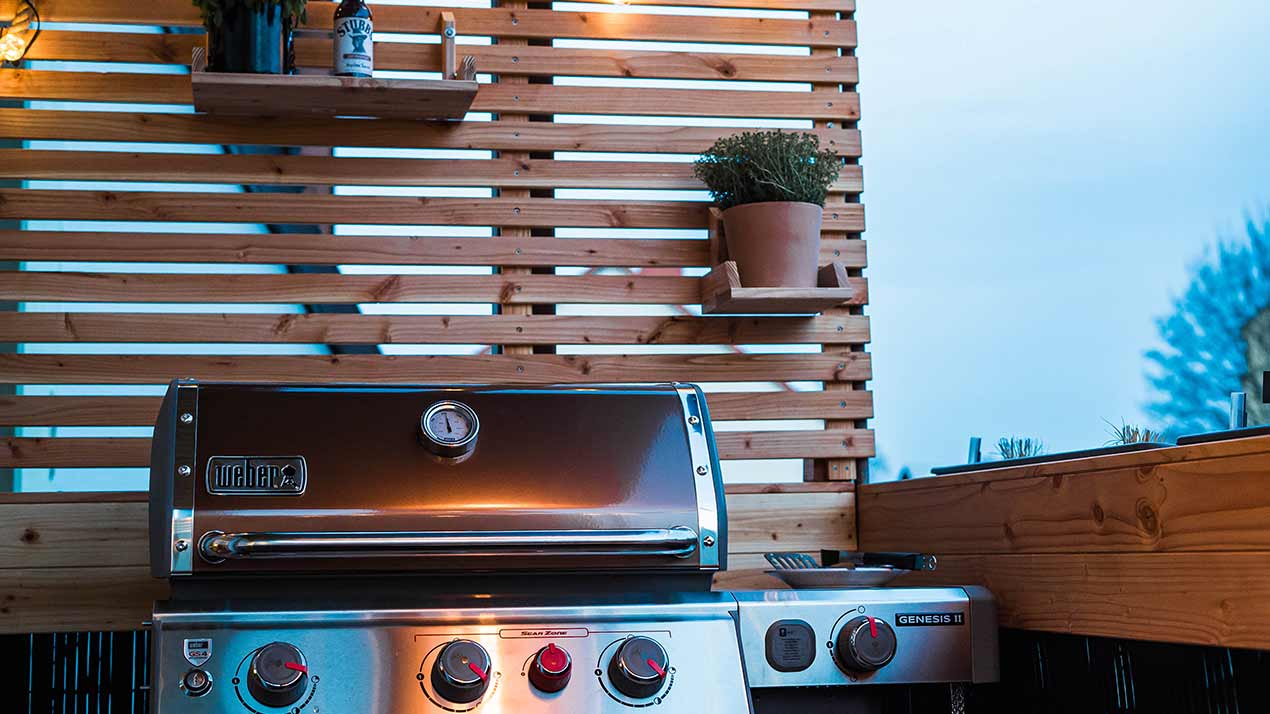
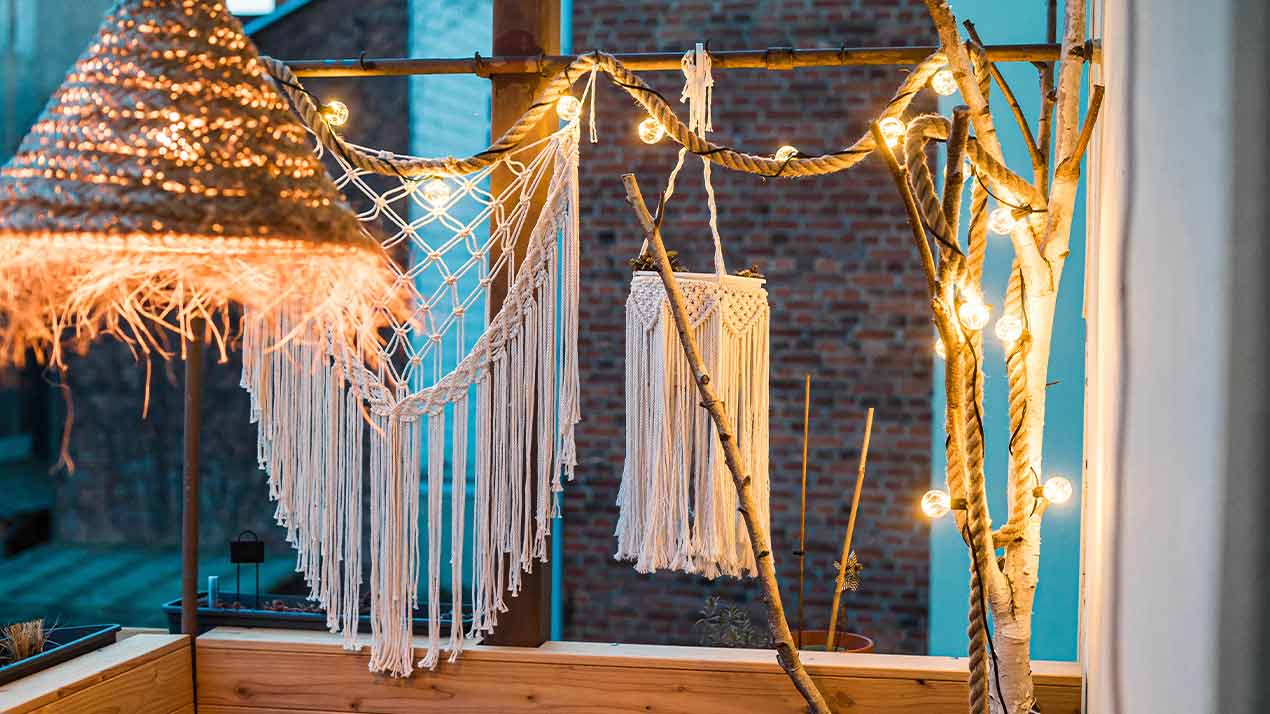

Like mentioned before, everything at our place revolves around the boho theme, therefore, we are using macrame decorations such as dreamcatchers, coasters, and matching pillows in the seating area to complement the beautiful wood look. Cool lamps made from materials such as Halfa grass, lanterns, or string lights, and a few plants complete the look and turn your grill area into your new favorite spot. For those who prefer to build their own decorations and lamps, our DIY projects provide additional inspiration.
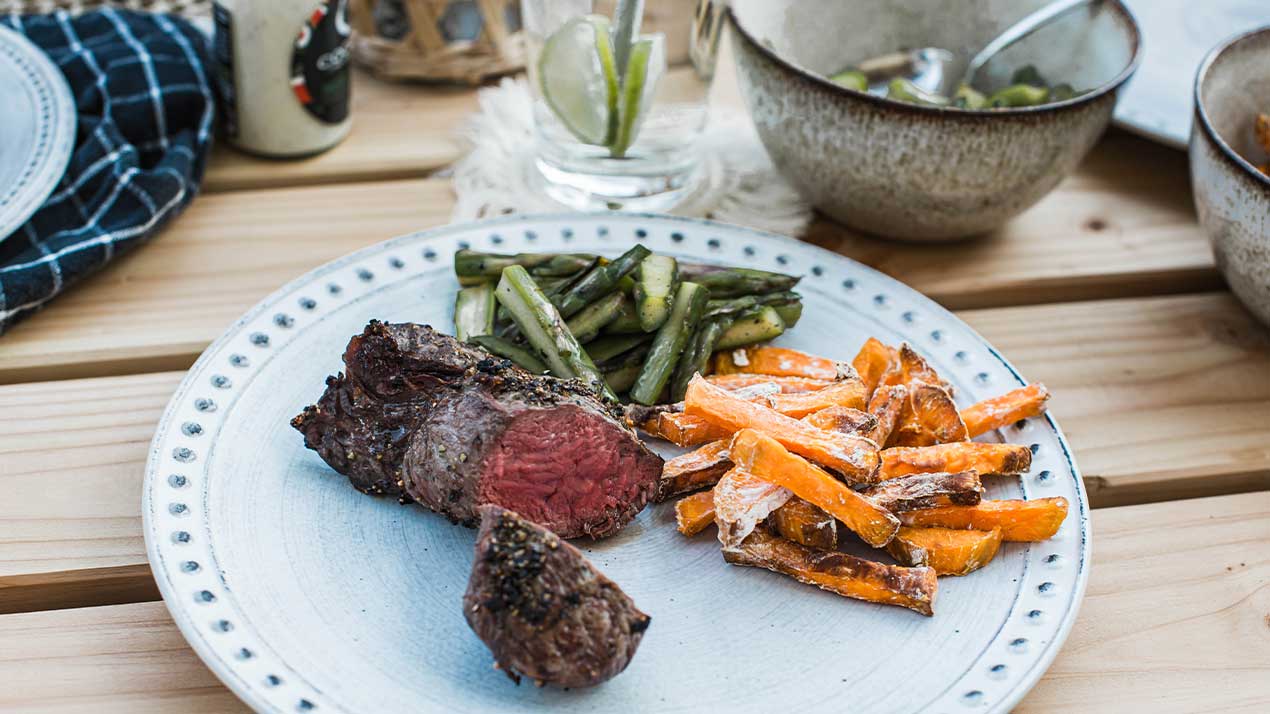
The next barbecue night can come! When will you build your perfect grill area?
In this article you will learn all about:

From professional to professional: With their expertise in garden care, our garden specialists help you create your perfect green oasis. Daniel Laqua is a freelance blogger and a passionate hobby gardener. Whether it's lawn care, hedge trimming, or irrigation – in his blog posts, you'll find all the essential information about Einhell devices for the garden and terrace.