Build a Erectable Breakfast Tray Yourself
Are you looking for a practical breakfast tray that is also suitable for a relaxed breakfast in bed? Following you will find an instruction for a tray with practical stands. So you can build a useful shelf for your cups, plates or cereal bowls yourself and enjoy the first meal of the day comfortably in bed.
The project can be implemented in just a few steps and with little material and gives much of pleasure!
| Material | Tools |
|---|---|
| Plywood Elements | Scroll Saw |
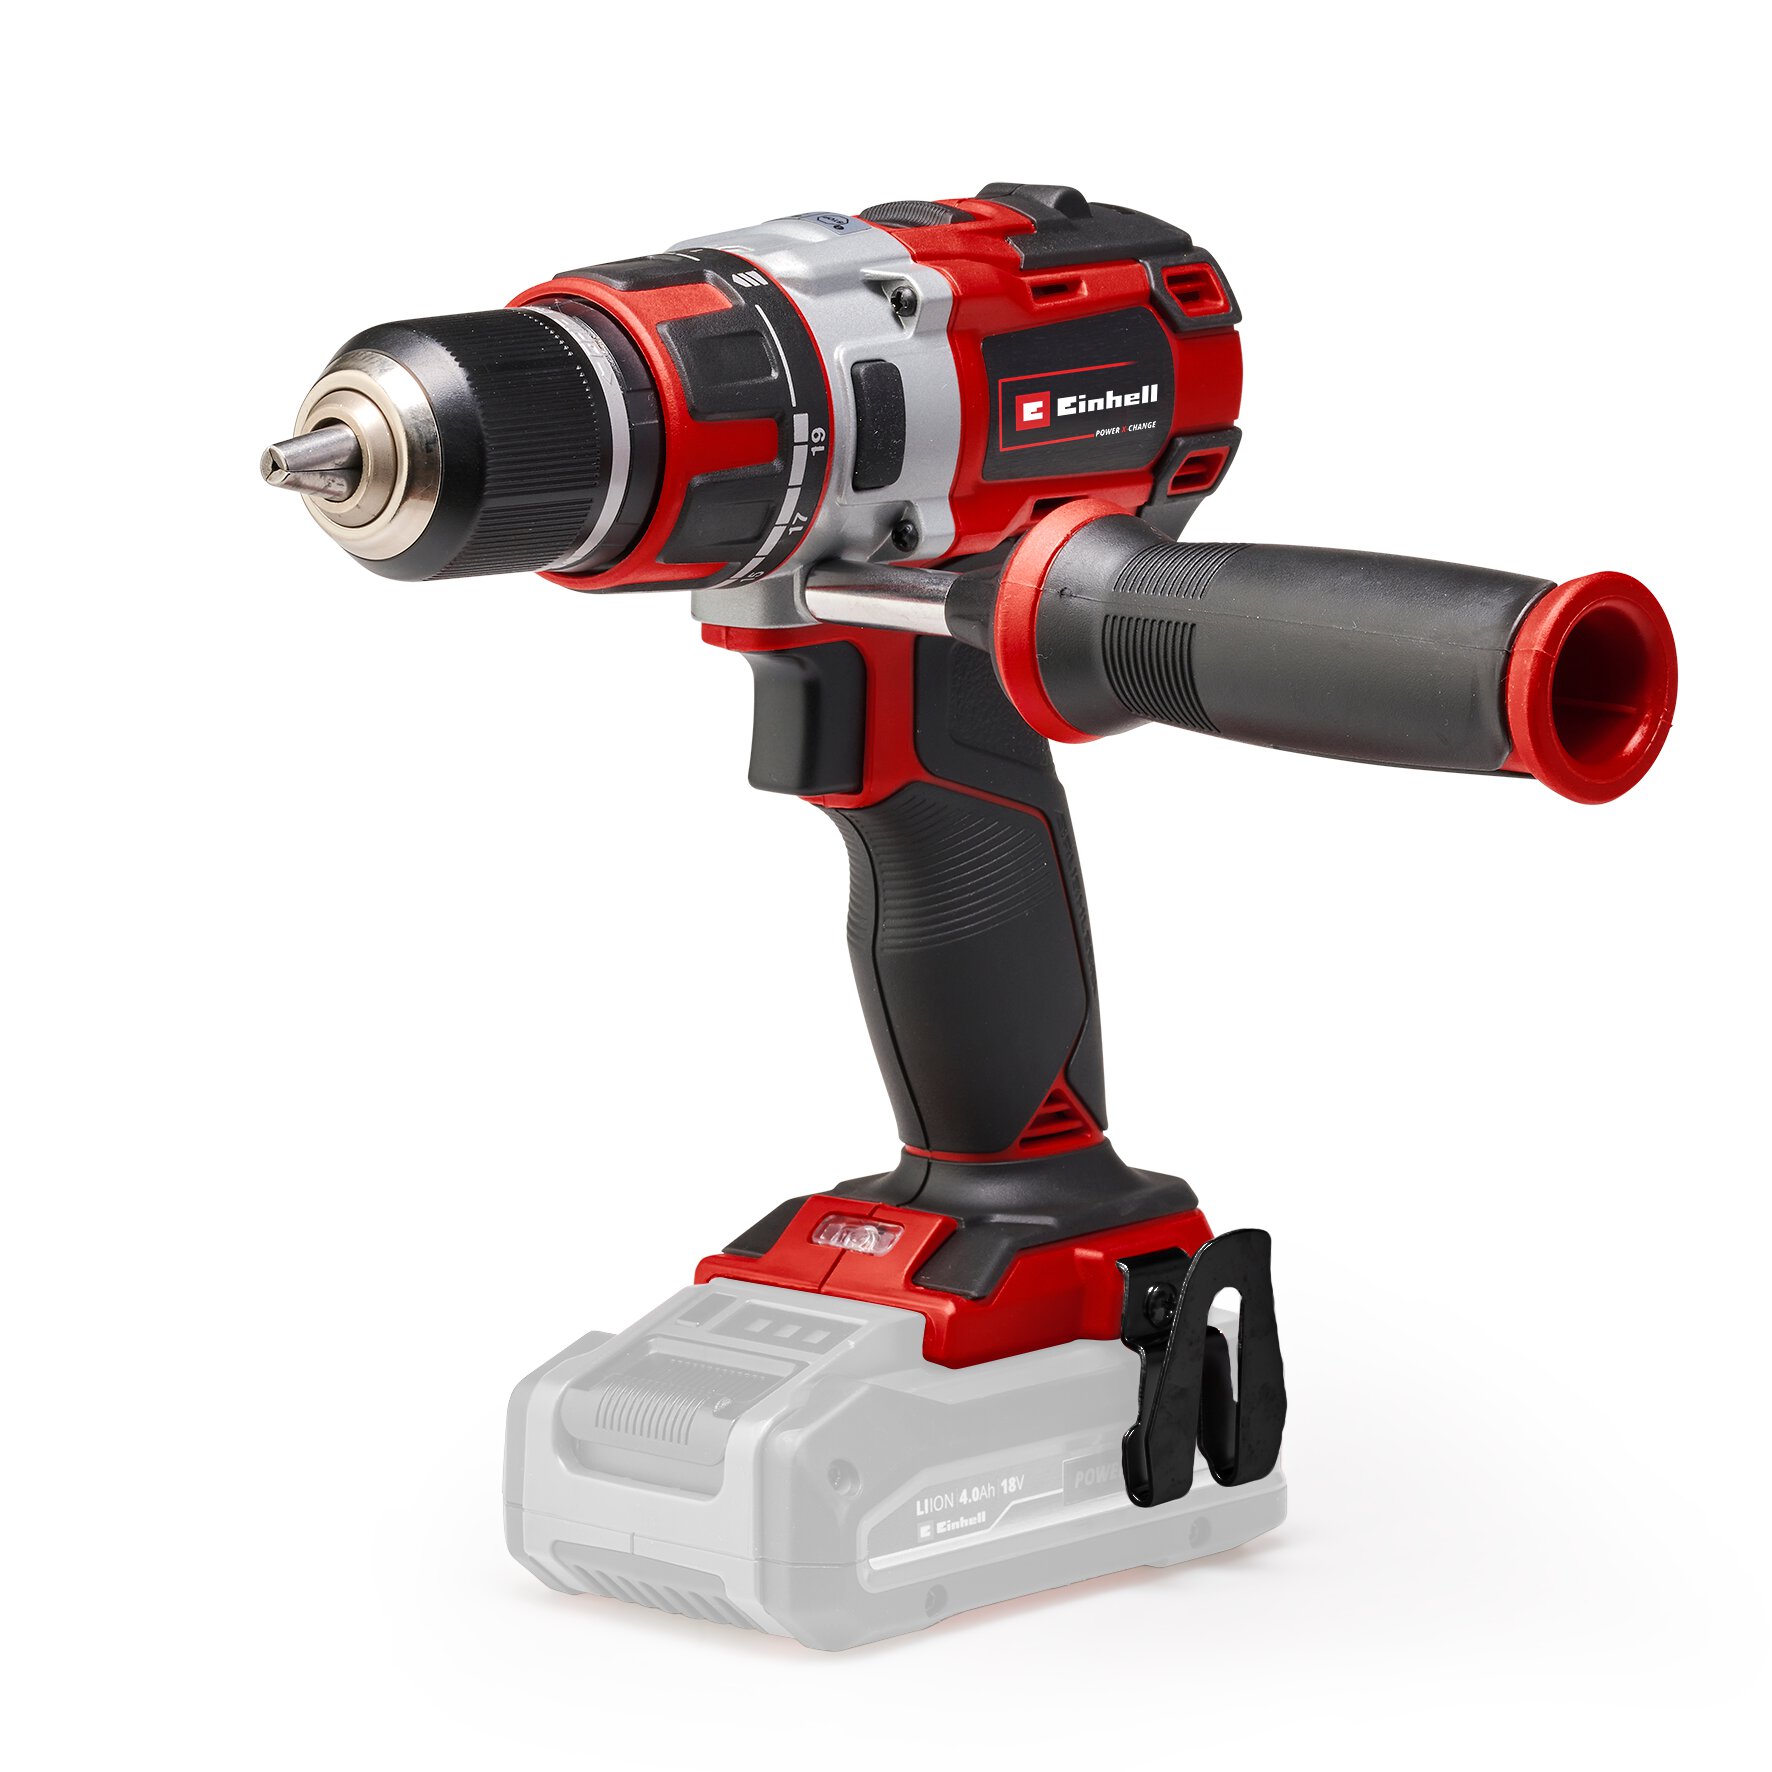
| Glue | Cordless Drill |
| Screws / Nuts | Grinder |
| Clear or colored Lacquer | Clamps |
| Ruler, Pencil, Coin |
Step 1: Making the Markings
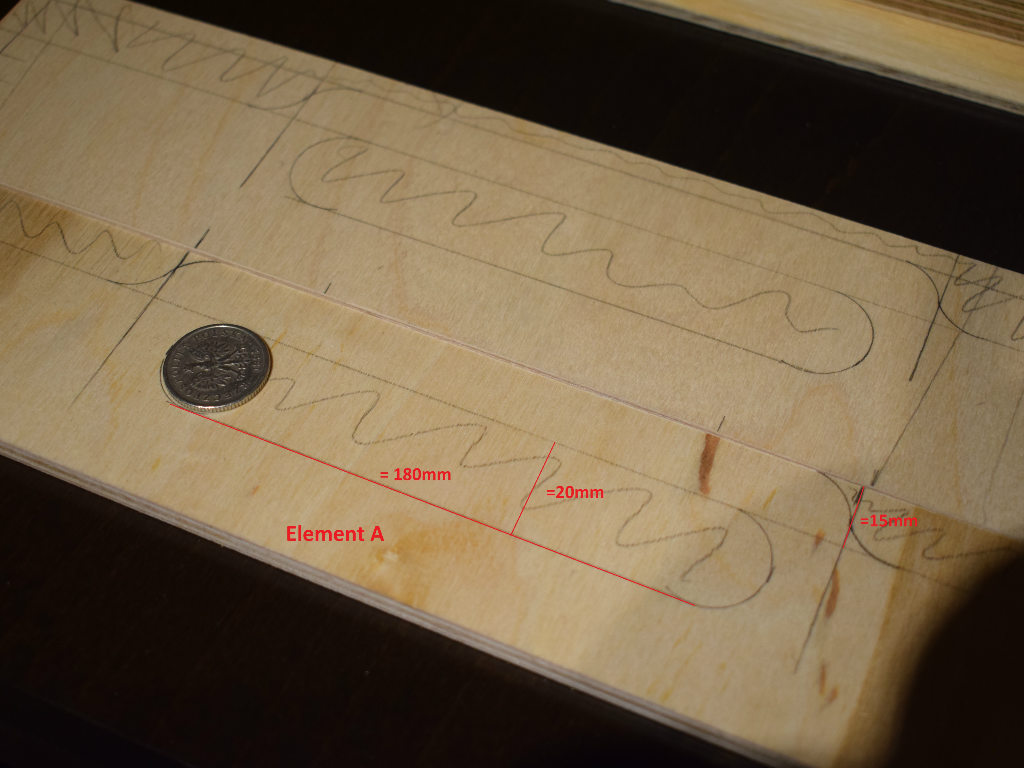
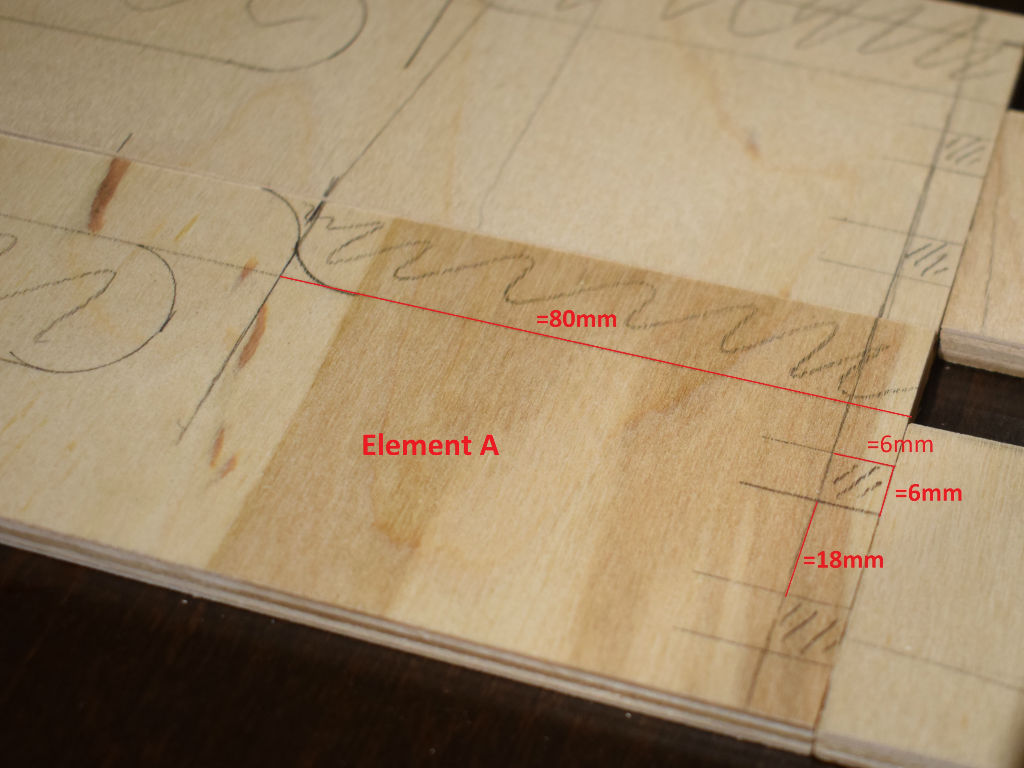
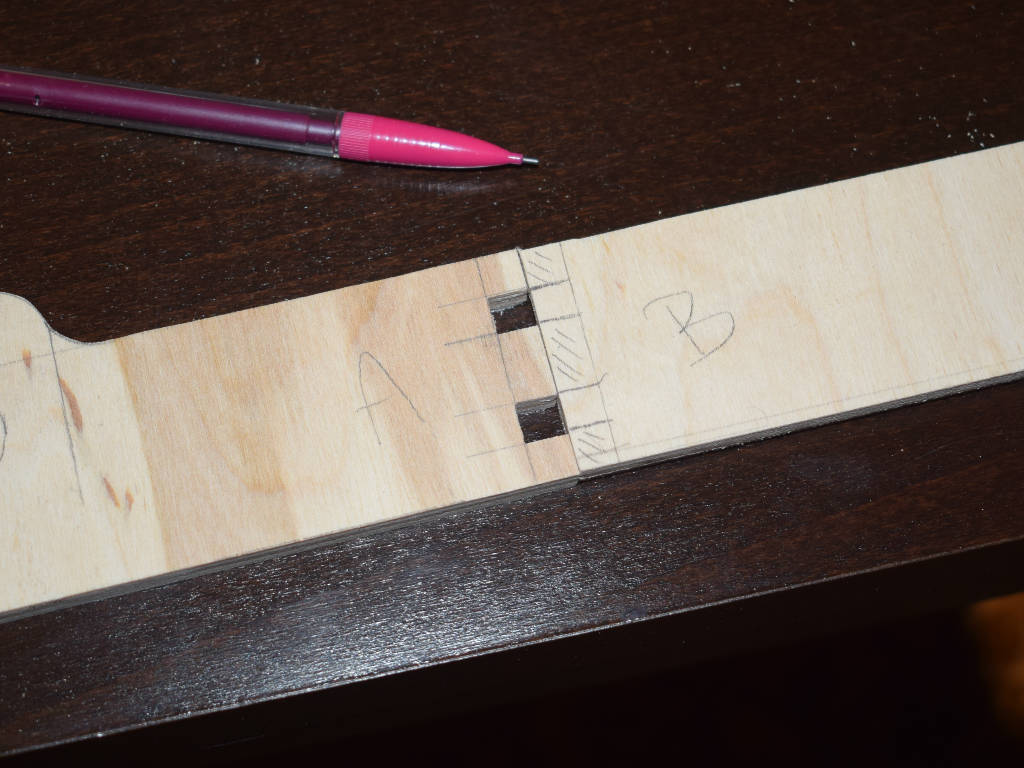
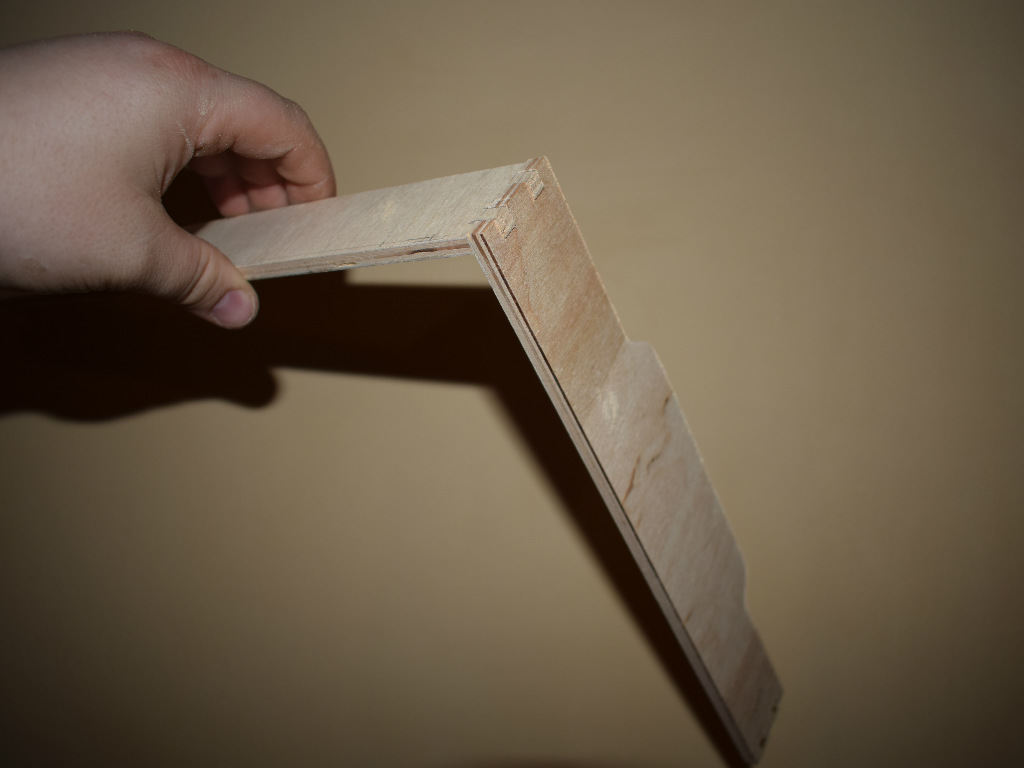
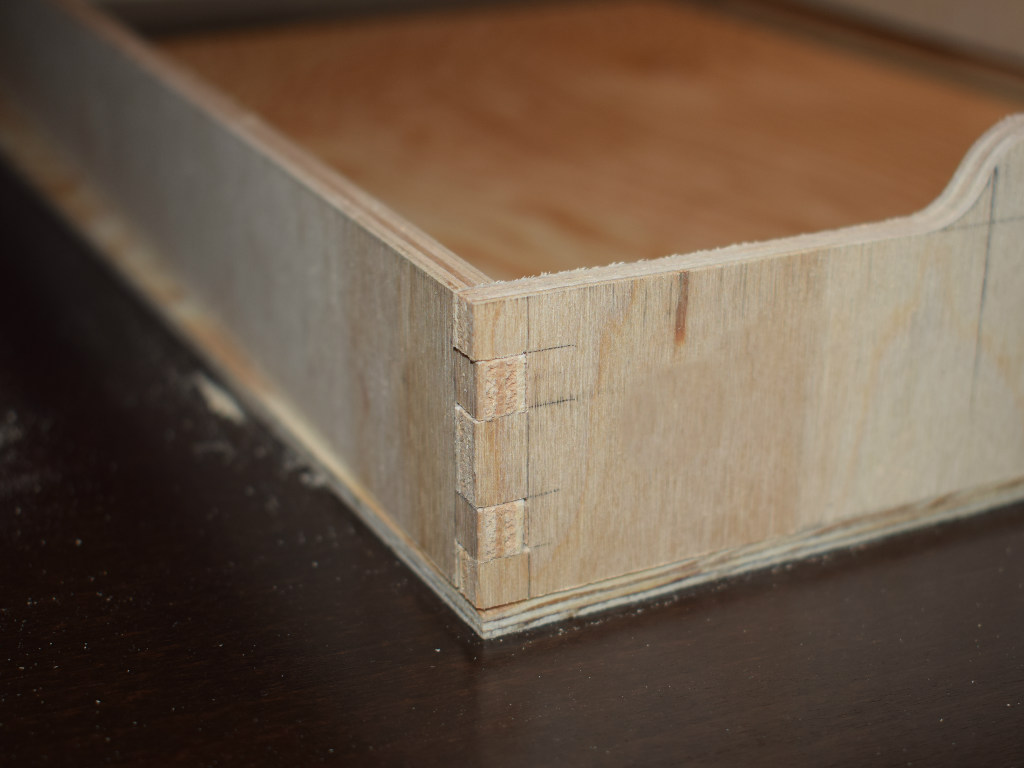
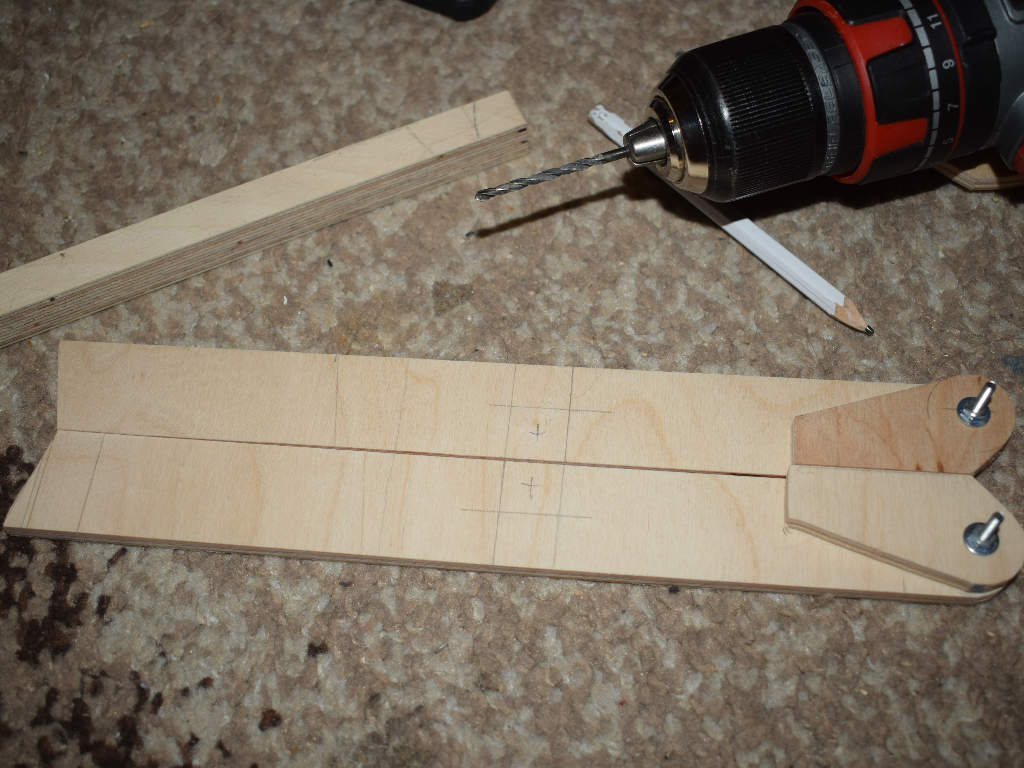
In order to bring the individual elements into the necessary forms, the markings must first be made. At the beginning we draw the handles centered on element A. With the help of a pencil, ruler and a coin, this is done in no time at all, the size of the handle can be chosen as desired. In our example we have chosen a height of 20mm and a width of 180mm. Furthermore, the side connections are drawn, which later allows the wall parts to be pushed together. The element B to be connected is then marked in the opposite direction. The corresponding dimensions are shown in the pictures for illustration purposes.
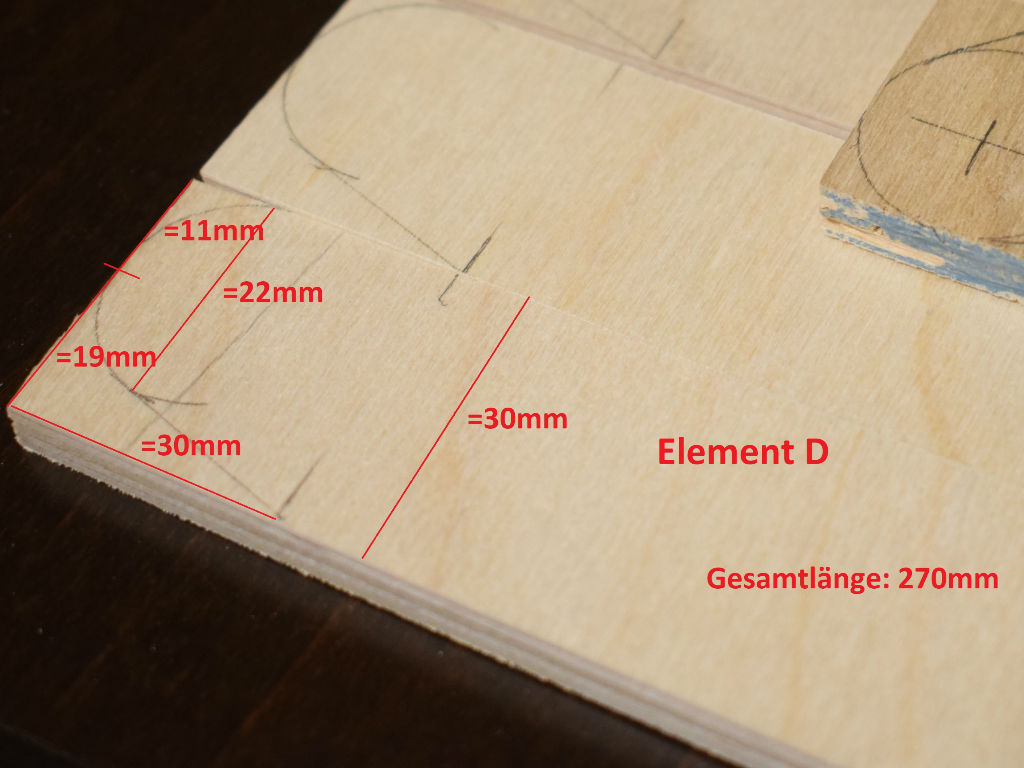
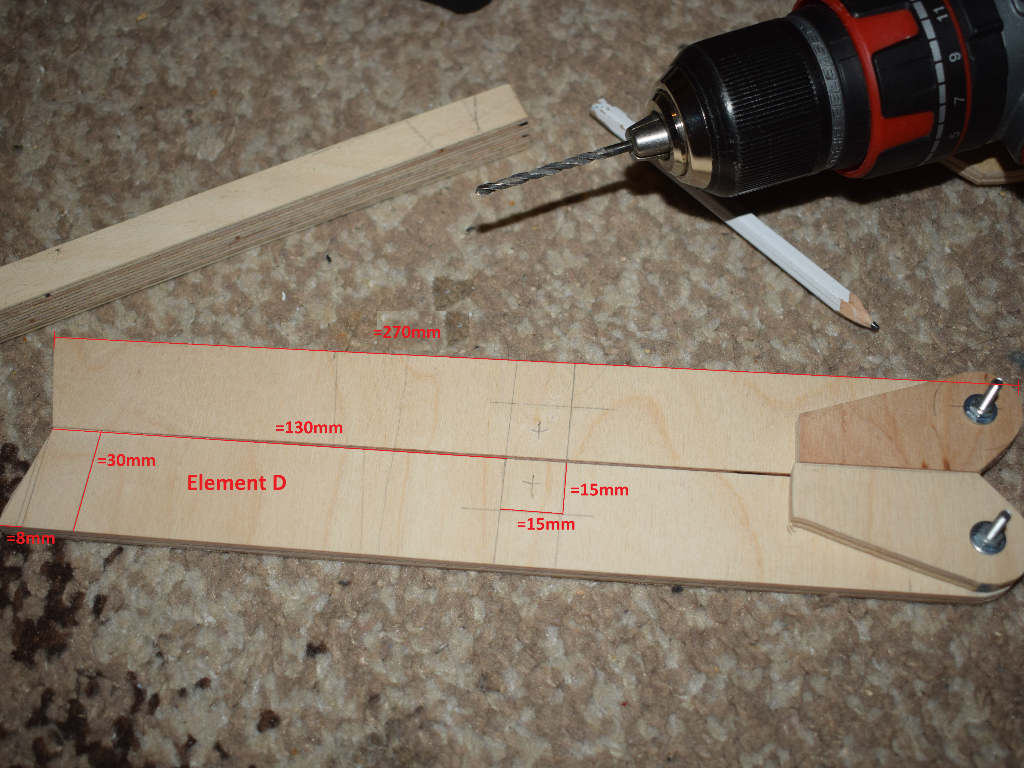
The upper side of the tray legs (element D) and the small connecting piece (element E) are marked according to the dimensions in the picture, also with the help of a coin. The markings must of course be repeated more often, according to the required number per element.

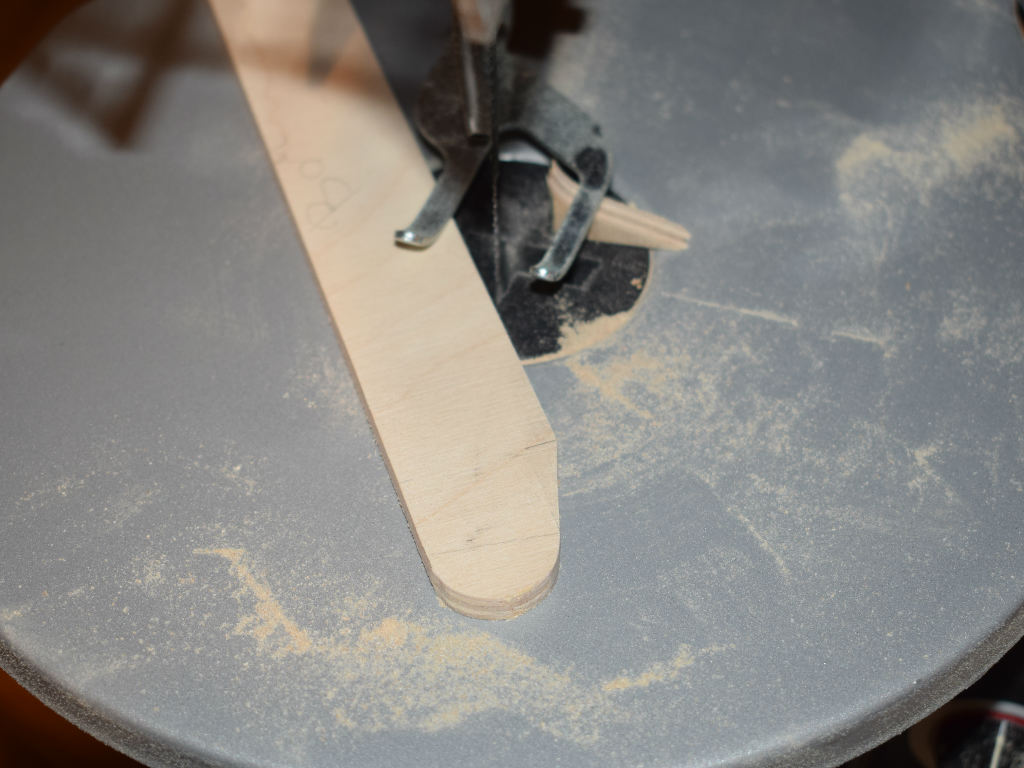
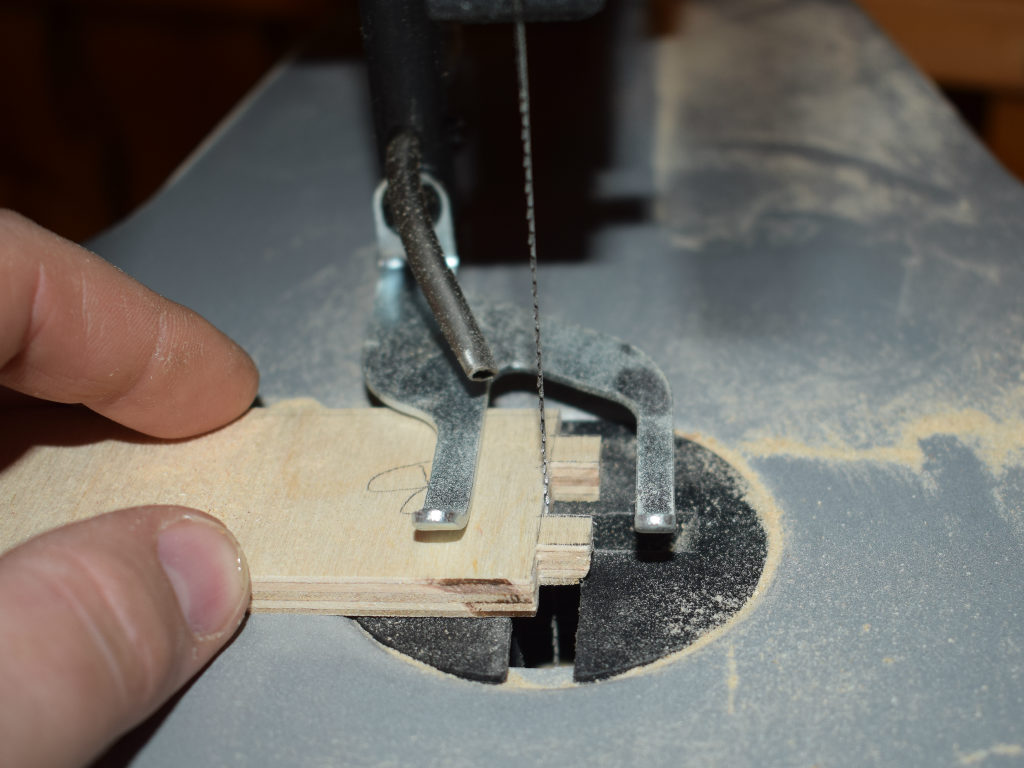
Step 2: Cut out the Elements with the Scroll Saw
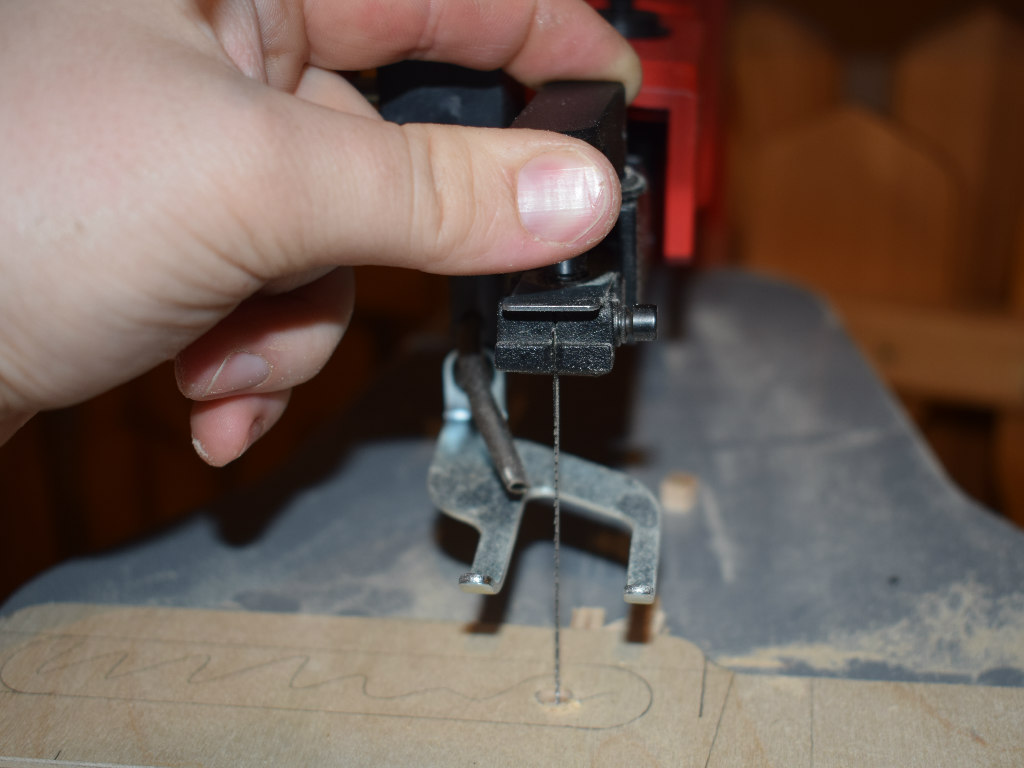
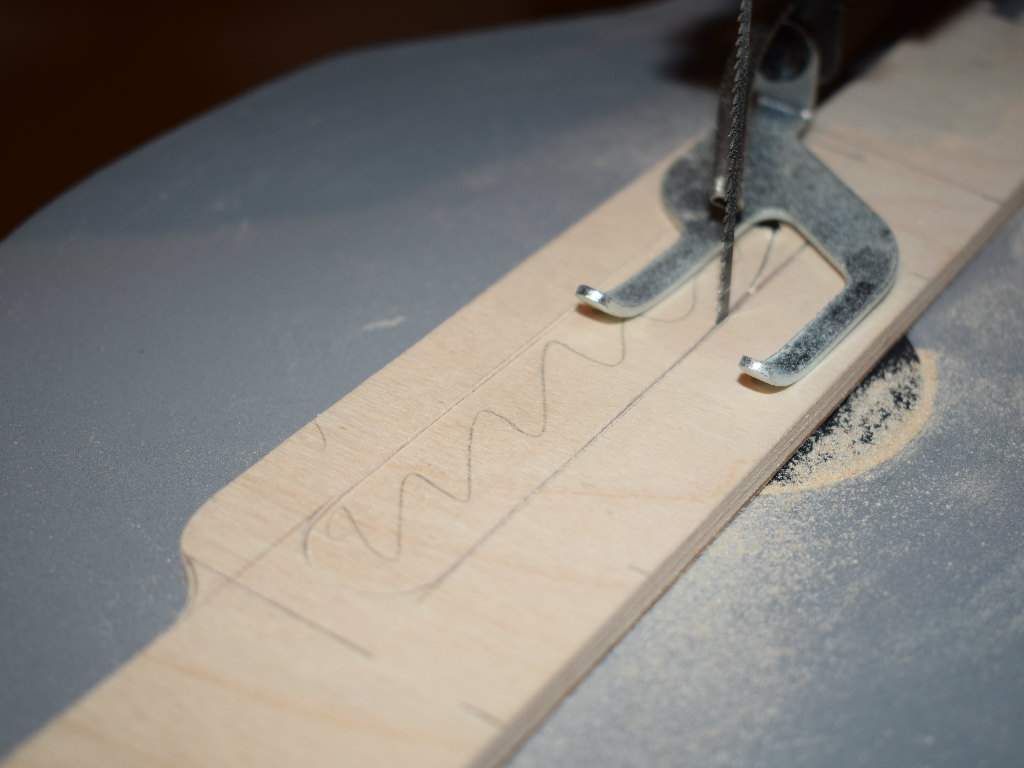
After the elaborate work with the markings has been carried out exactly, the elements are cut out accordingly with the scroll saw.
You go part by part and cut carefully and exactly along the lines. Precise work is required here, as this guarantees mobility and a fit in one another.

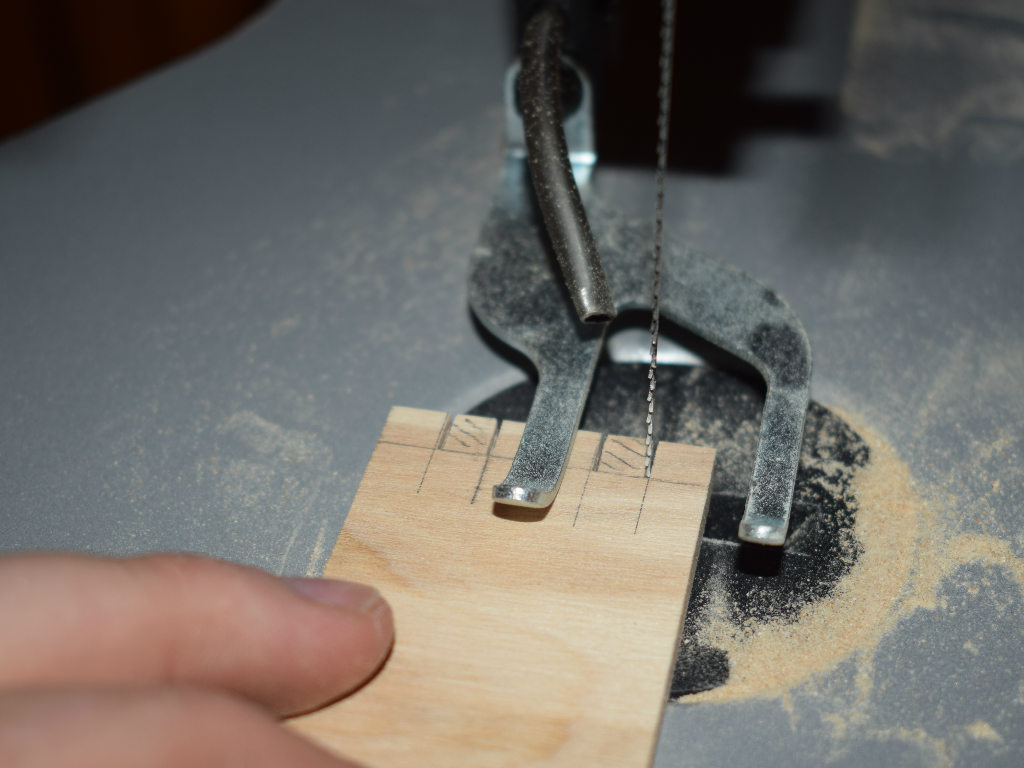
Note on sawing out the middle of the handle:
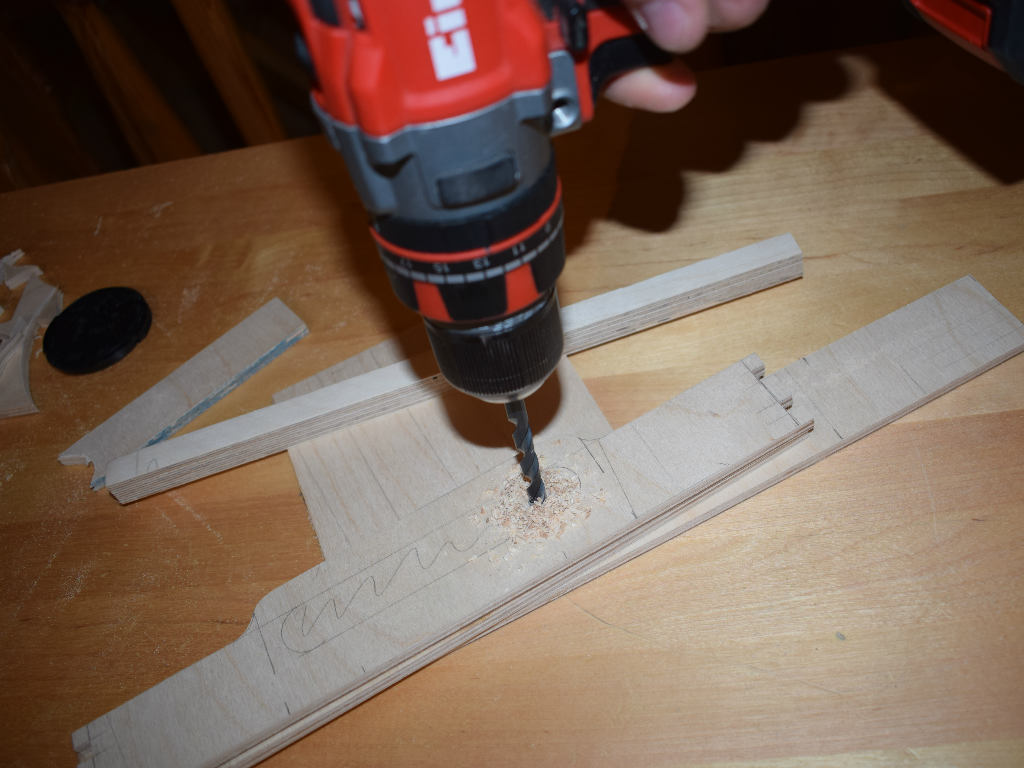
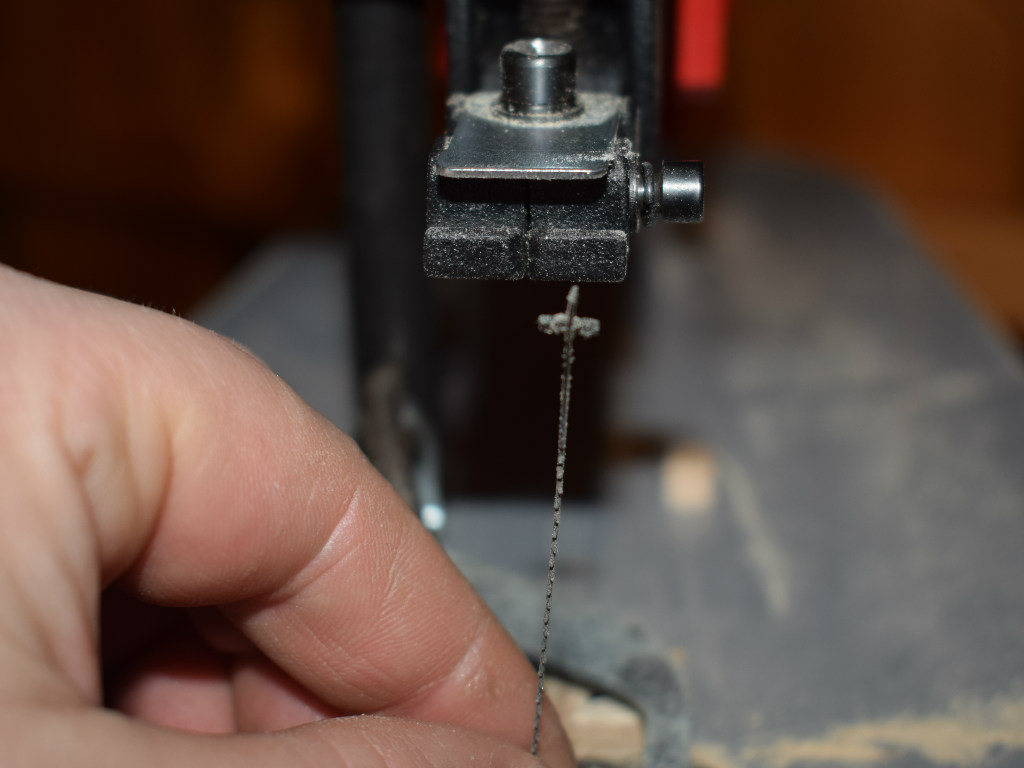
To saw the handle out of the two elements A, drill a hole in the middle with the cordless drill. Then the scroll saw blade is released and passed through the hole. Now the blade is reattached as before and brought to the appropriate tension. The middle of the handle can be cut out along the lines.
Step 3: Assembling the Individual Parts
Now after the individual elements have been brought into the appropriate shapes, the assembly follows.
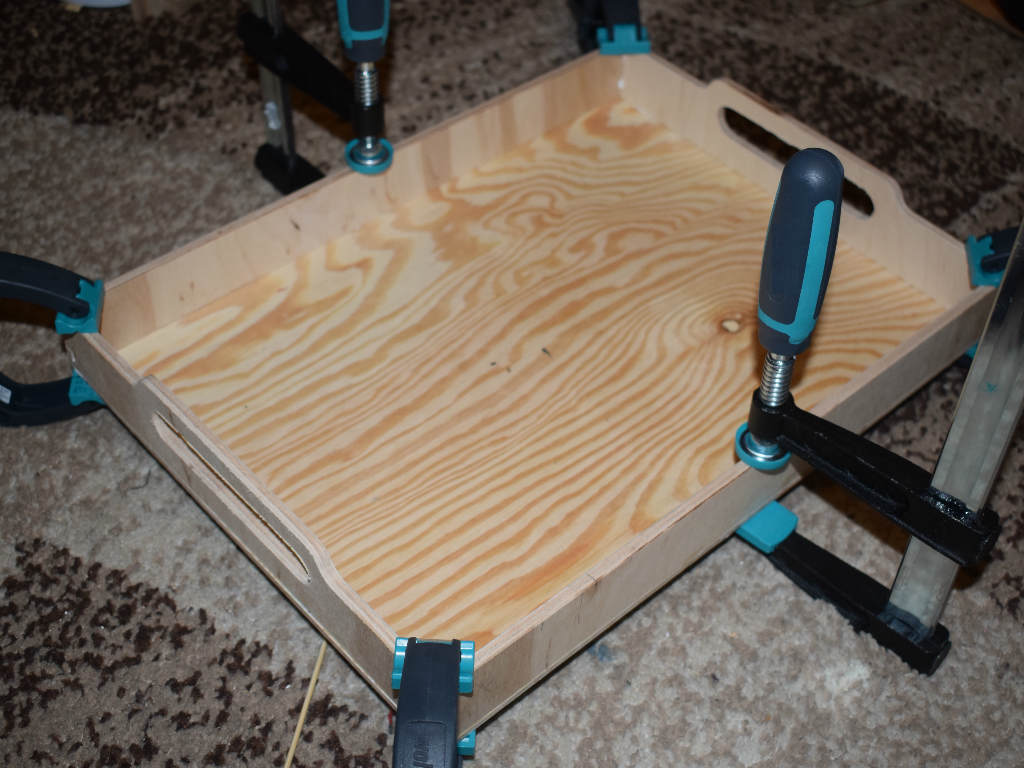
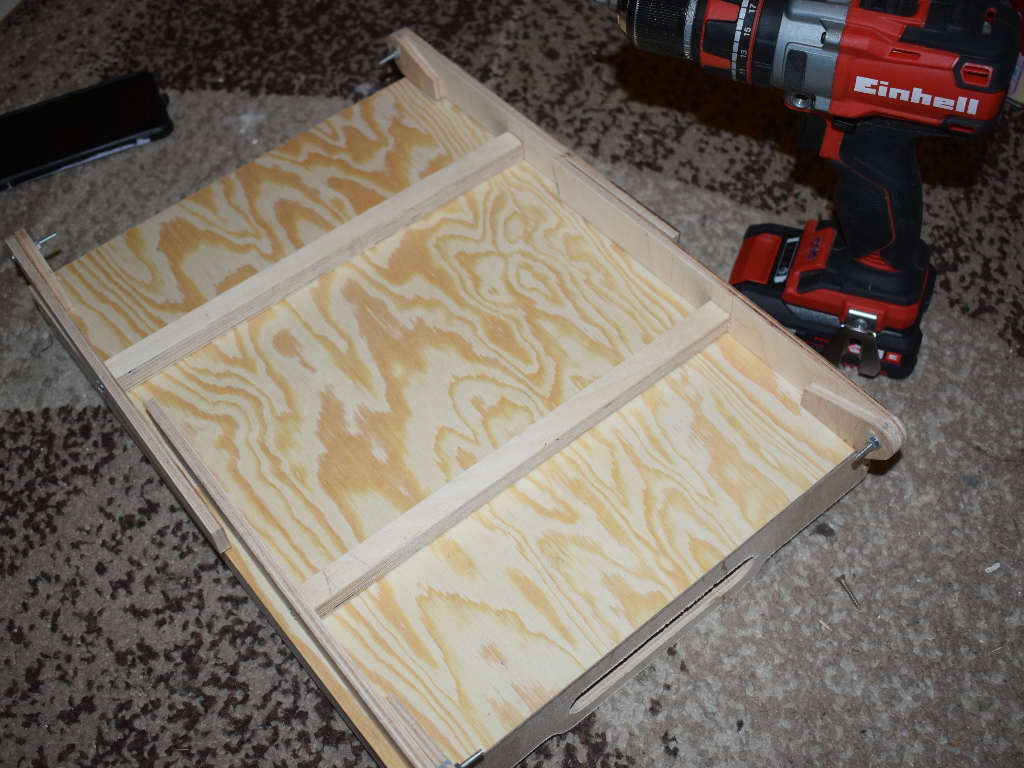
The upper frame (element A & B) is put together without glue and placed on the base (element C). The frame is attached to the base part using glue and clamps.
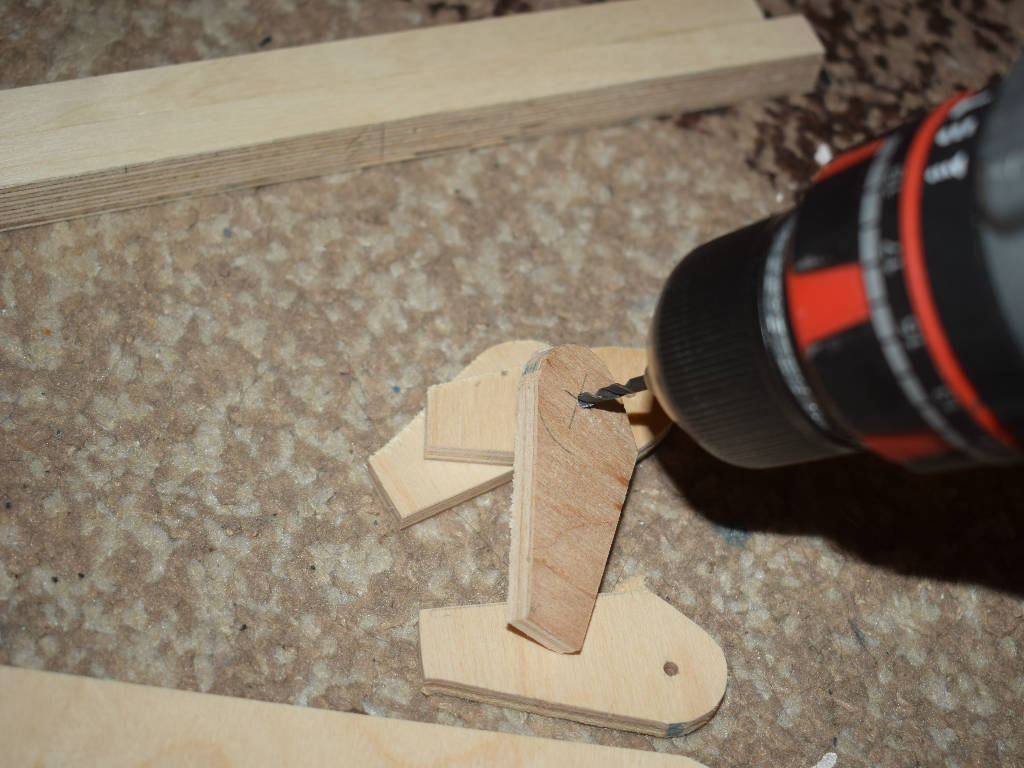
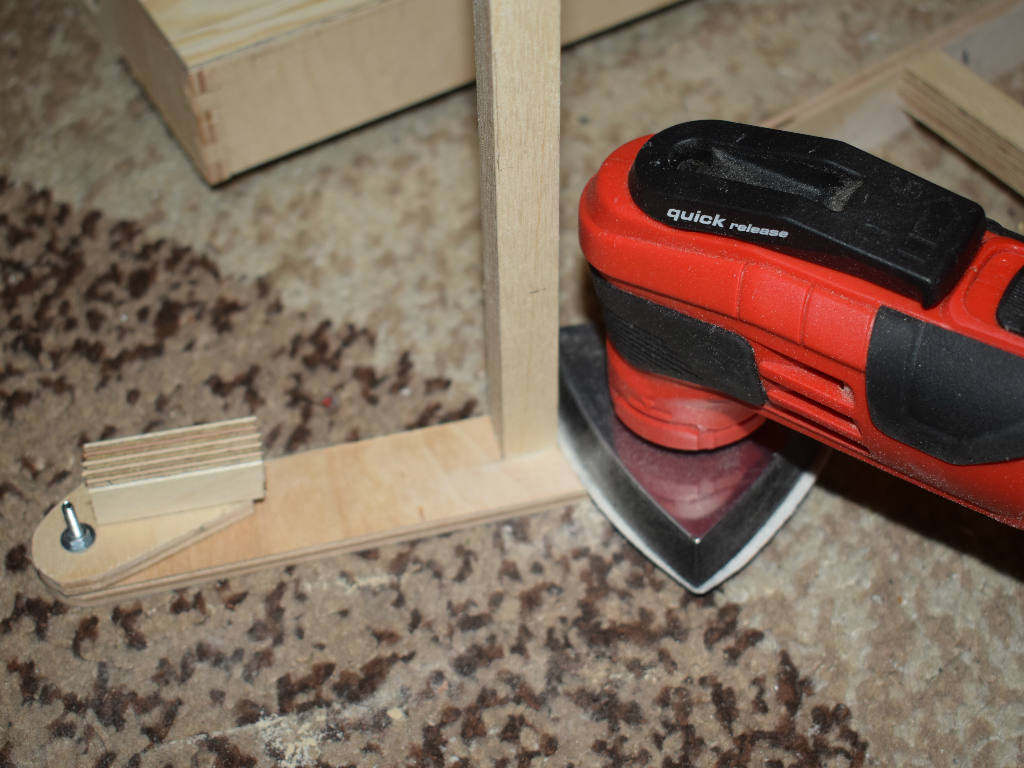
In order to get movement in the legs, the small connecting pieces (element E) are attached to the stands (element D). To do this, drill a hole centered in the rounding on both parts and guide a screw through. The screws are fixed with a nut.
For stabilization, connecting struts (element F) are attached between the stands in the marked area and fastened with wood screws.
The small element E is then fixed to the underside of the base with glue (see picture). The legs are now mounted on the tray and the assembly of the individual tray elements is complete.
Step 4: Final Subtleties
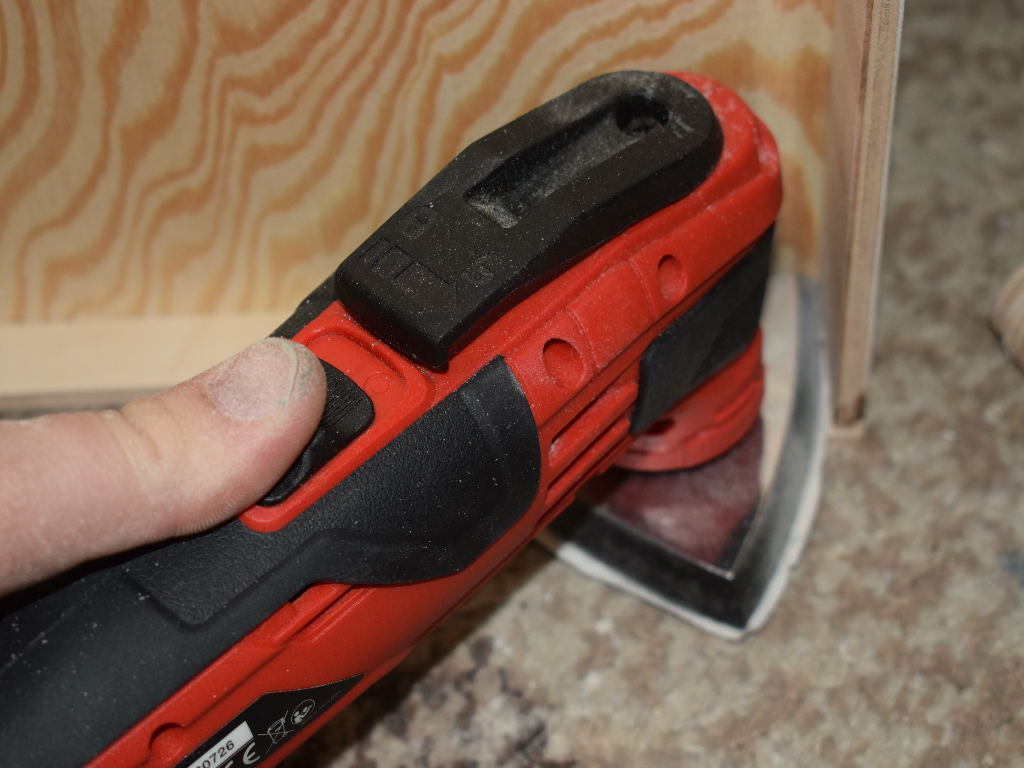
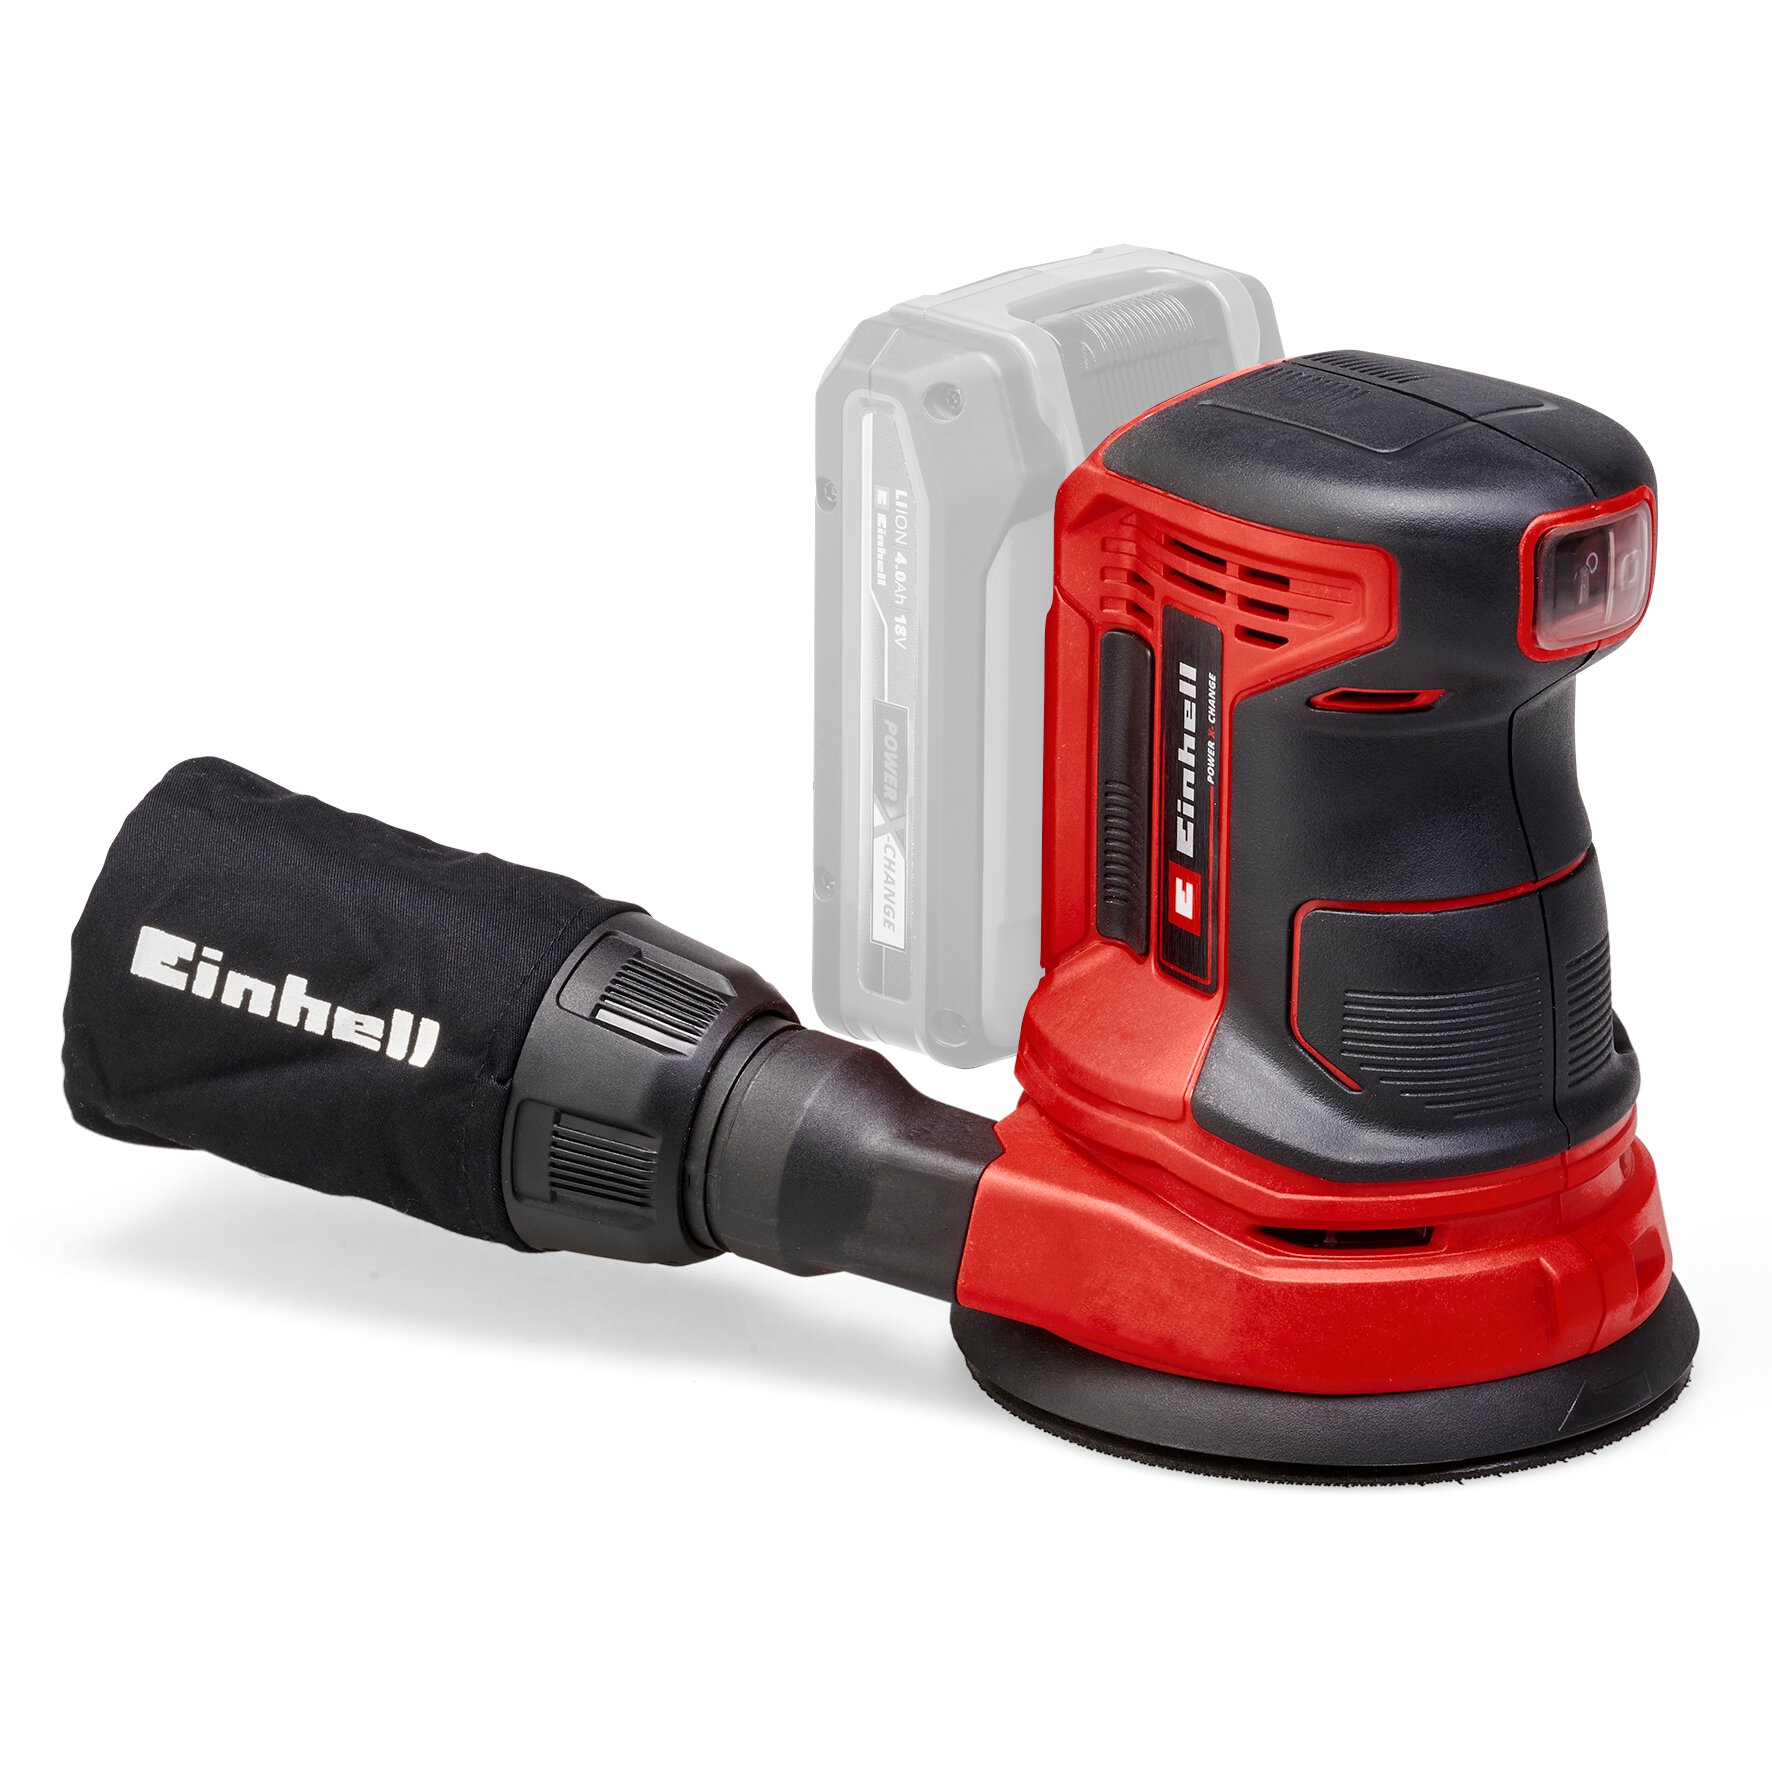
The project is being given the finishing touch so that the breakfast tray looks good in bed. To do this, simply take an eccentric, multi or delta sander and machine all surfaces of the tray. If the surface is free of unevenness, varnish is applied. You can decide whether you want to use a clear or coloured varnish. However, take care to ensure that the varnish is suitable for contact with food.
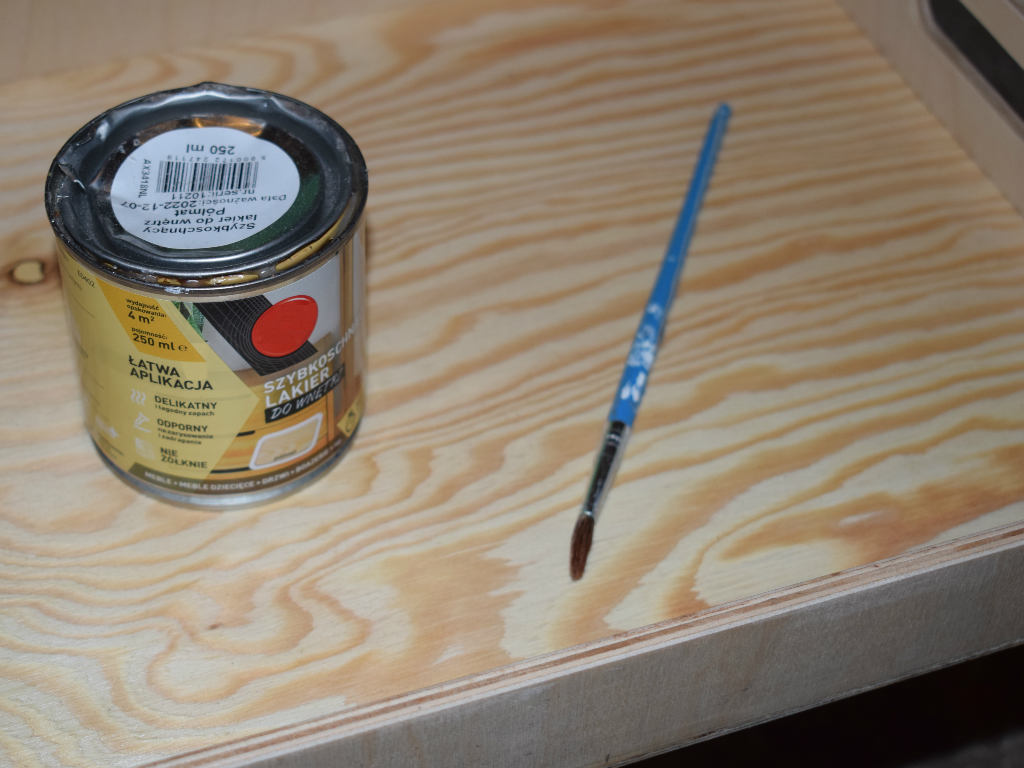
When the second paint has dried, the breakfast tray is ready for its first use.
Have fun recreating the practical project and enjoying a pleasant breakfast in bed.
Our recommendations for your project
In this article you will learn all about:

Whether it's drilling, hammering, or sanding, our professionals in the workshop and DIY field will show you how it's done. Frank Rath is a freelance blogger and a passionate craftsman. With his tips and tricks about Einhell tools, you will not only become an absolute DIY expert but also learn how to safely use each device.