Self-made wood ageing
Waste wood is often shaped by nature and coloured through time, it is thus very valuable for hobbyists. Natural „used looks“ – faded planks, old fences or old driftwood – are perfect as a stylish decoration for the interior. But what could you do if there isn´t any waste wood available or if it is just too expensive?
Today I’ll show you some tips and tricks on how to transform new into old. There are certainly many more ways to do that, but I’ll show you the methods that are easiest to realize.
Mechanical processing
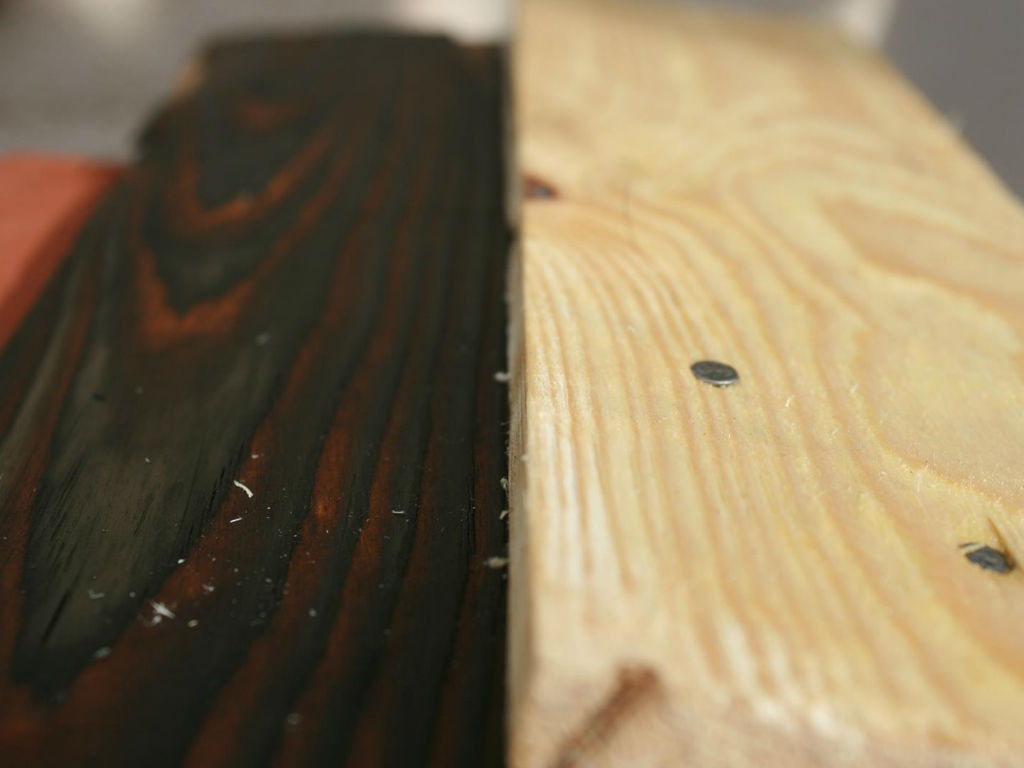
To transform boards into old, you best start with the mechanical processing. With different wire brushes you brush along the grain direction until deep grooves appear. The soft annual rings are removed by the brushes so that only the hard rings remain.
This works easy, for example with a drill with wire brush attachment. It can be found in every hardware store. There are corresponding sets with 3–4 different round wire brushes, which can be clamped in the front of the drill chuck. But 5–10 minutes you should plan for one side of a pallet board. If you use the wire brush to work the edges of your board for an extended period of time, they will later look as if they have been worn out by wind and weather. Hardwoods need much longer in this process, but that should not be an obstacle. How the result should look later is up to you alone.
Flaming wood
Flaming is a technique that makes the wood more weather resistant. This method makes it therefore possible to put the wood decoration later in the garden. When burning the wood, the soft annual rings burn. Now you take a brass brush and brush them out quite easily by hand. Flaming itself is not a difficult task, but there are a number of safety issues to consider.
- There should always be extinguishing water / fire extinguishers available
- Wood should only be flamed outdoors
- Flame equipment should always be checked for damage or leaks
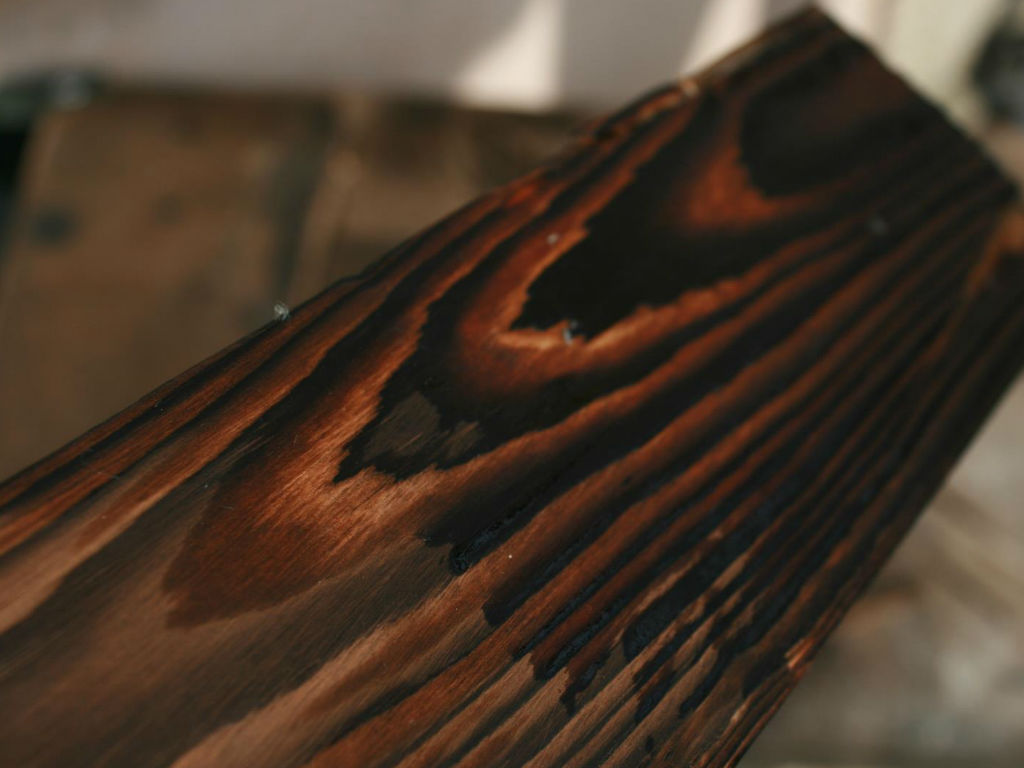
When flaming, it depends on the right moment. The wood should be black, but not burn. After charring, you take a brass brush and remove the charred fibers. Deep grooves appear again, which are also a typical feature of old timbers.
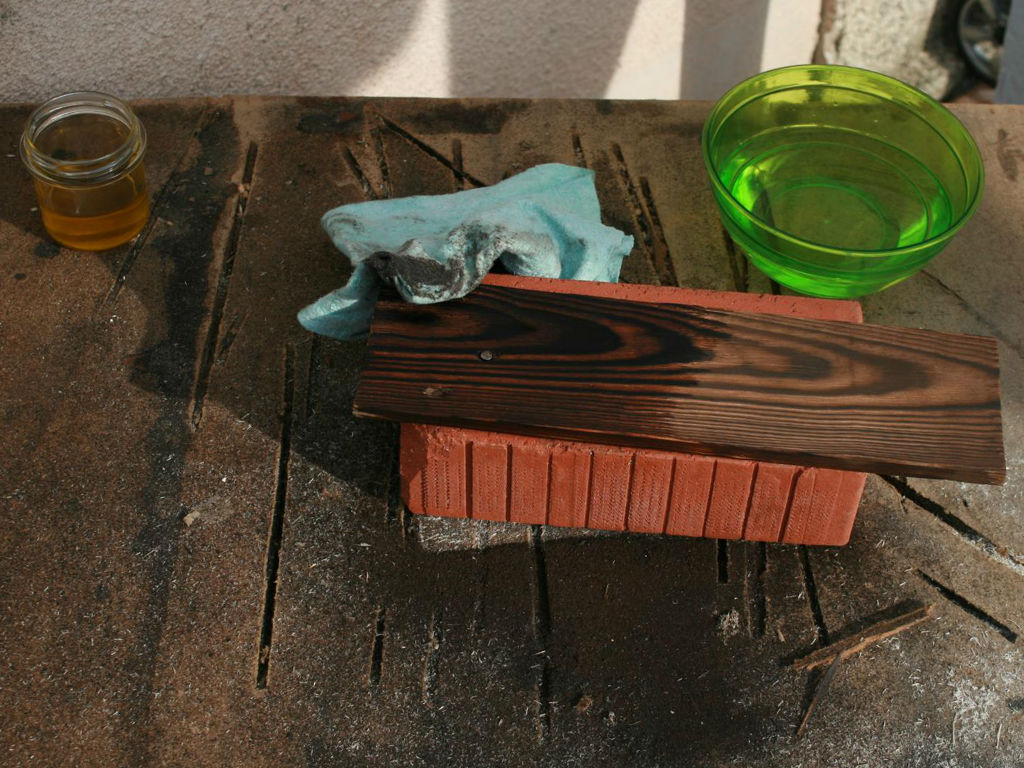
With a little bit water, the surface is cleaned. This process is repeated until you get the desired result. Then you can rub the wood with olive oil. As a result, the wood gets more robust and is now also suitable for outdoor use. Through the painting with olive oil, food can be placed without any concern on these woods.
Making pickling with home remedies
Old wood is not easy to imitate in colour. Sunlight, wind and rain often give the colour an irregular glow. In the hardware store around the corner you can buy expensive finished pickings, but I find the shades not rustic enough.
Therefore I have some recipes here for you, so you can make yourself different picklings:
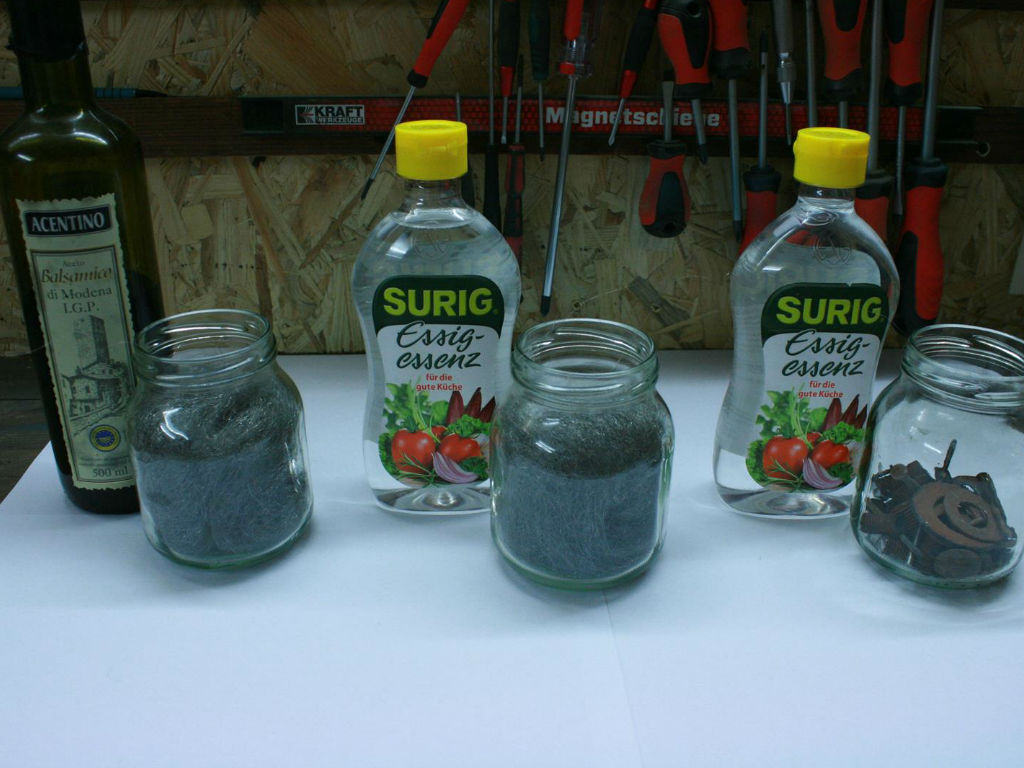
Recipe 1: 200ml vinegar essence + fine Steel Wool = bright greyish shade
Recipe 2: 200ml balsamic vinegar + steel wool = slightly brownish shade
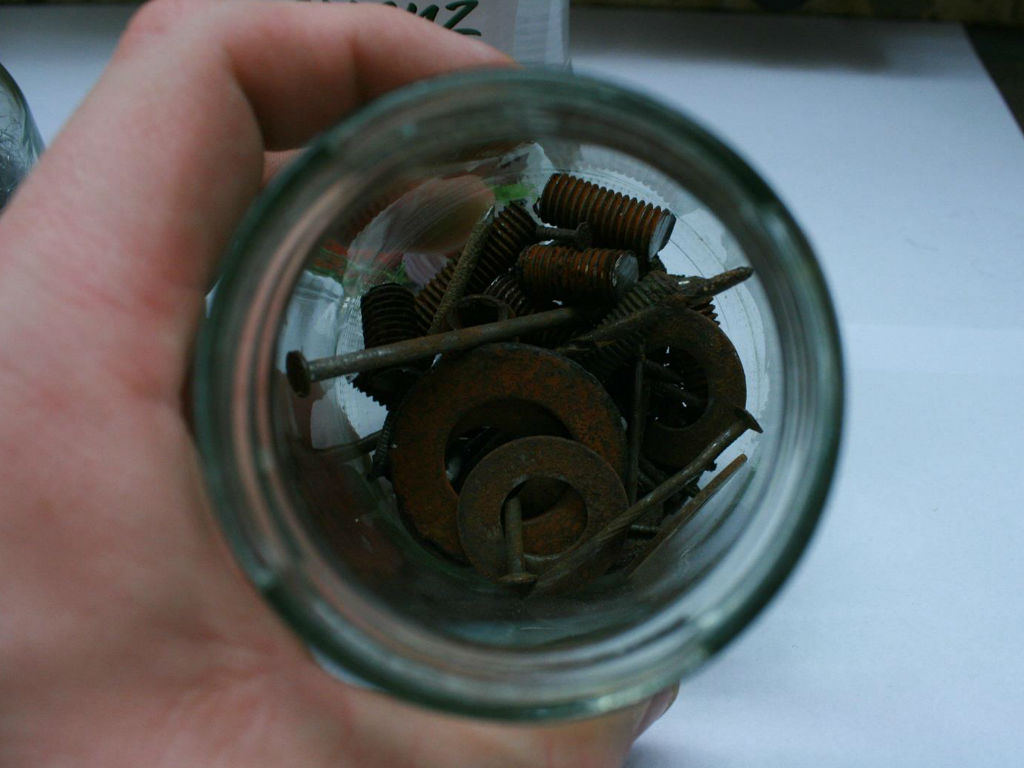
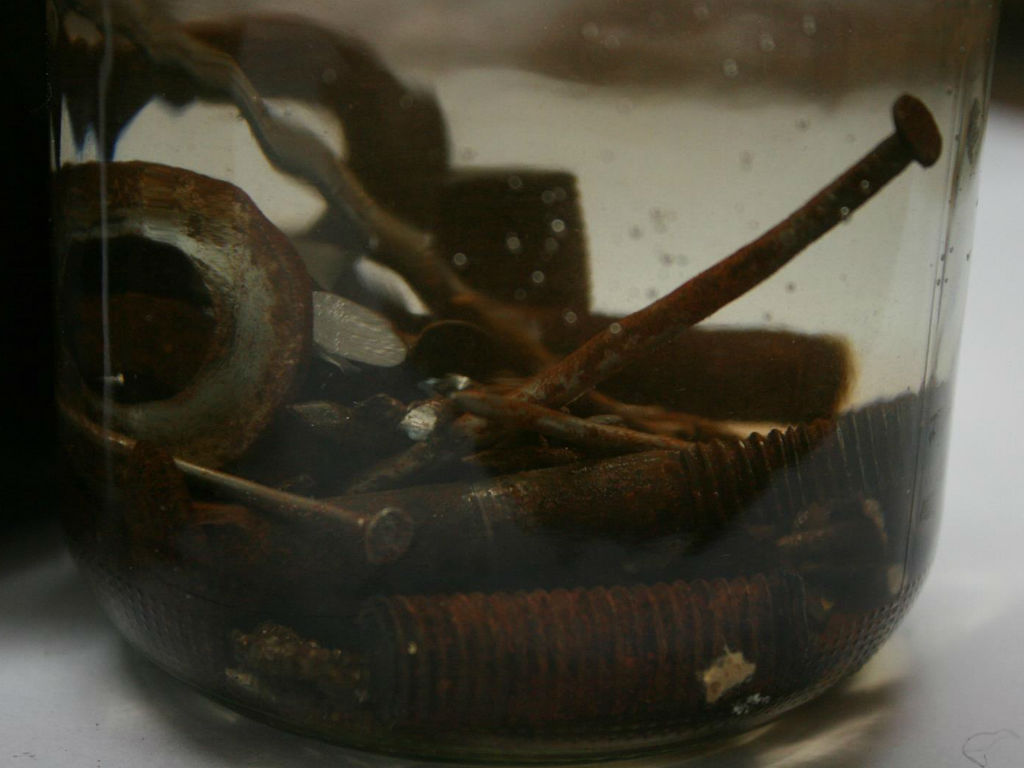
Recipe 3: 200ml vinegar essence + rusty nails = slightly reddish
Recipe 4: 200ml of hot water + 4 sachets of black tea = to add tannins
Recipe 5: 200ml of hot water + 3 tablespoons of coffee powder = dark brown
Recipe 6: 200ml cold water + acrylic paint = bleached blue
Recipes 1–3
The production is very simple. The ingredients are each put into an old jam or pickle jar. In the next 24 hours, the acid of the vinegar reacts with the metal. It is important that the glasses are not sealed, because the oxygen is essential for the oxidation process. After more than 24 hours the metal can be removed out of the glasses and the stain applied. If you wait longer, the acid will bring stronger results. It is furthermore important to test the tones in advance, as they react differently with each kind of wood.

Recipes 4-5
In the fourth and fifth recipes, the coffee and tea are each placed in a glasses and then doused with hot water. When the water has cooled, the coffee grounds / tea bag can be removed and stain remains. By reducing or increasing the coffee or tea content different shades can be created.
Recipe 6
The last recipe is a recipe from my elementary school days. I was thinking of the water, which was the result of painting with water‐colours. However, instead of using water colours, you simply dissolve some acrylic colour in water, which gives it a light shade.
The picklings 1–3 react very strong with tannic acids from the wooden boards. Every wood has a certain amount of tannic acid and this amount plays an important role in the reaction. For woods such as walnut, black locust or oak, which have a high content of tannic acid, the colour becomes particularly dark. Coniferous woods, on the other hand, have a lower proportion of tannic acid, which makes the wood look rather greyish after dyeing. If you want your softwood getting darker, you can cook a black tea with several tea bags and apply it to the wood before pickling. This increases the reaction of the pickling and makes the colour darker.
Combining
If you combine these variants with each other, you will receive a rustic used look for your project. It is recommended to produce several picklings, in order to achieve as many different shades as possible.
I wish you a lot of fun with your next waste wood project :-)