


In this article you will learn all about:
Why choose a miter saw with bevel function?
You may have wondered what kind of tasks you can perform with a mitre saw. What advantages a mitre saw with a function for cutting angles can bring to your DIY projects and what makes the saw so special. The advantage of a mitre saw is that you can not only adjust the tilt of the saw blade up to 45°, but also the angle at which you want to cut the workpiece, known as the mitre. This allows you to easily make a double mitre cut with the mitre saw. This is a cut in which you set both the tilt of the saw blade and the mitre, such as for a pyramid with any angle of inclination on all sides.
How to find the right mitre saw for you and your project.
The right use: Which mitre saw is the right one for me?
To help you choose the right mitre saw, we'll show you the different models of mitre saws available and which saw is suitable for which project. Whether it's a basic mitre saw, a cross-cut mitre saw, a sliding cross-cut mitre saw, or a mitre saw with upper table, there's now a wide range of mitre saws on the market. However, not every model is suitable for your needs. For simple cutting of wood and molding, a basic mitre saw is sufficient. With a compound mitre saw, you can also cut precise angles and bevels to size.
A sliding mitre saw, on the other hand, offers you all the functions of both saws in one device and additionally has a sliding function. With the sliding compound miter saw, you can pull the saw blade towards you and then cut in the opposite direction away from your body. This is particularly advantageous when cutting very wide workpieces, such as when cutting wood for floorboards. The compound miter saw with slide is therefore the ideal assistant in the workshop and for interior design. Another particularly versatile saw is the miter saw with upper table. You can use the saw either as a classic compound miter saw with height and angle adjustment or switch the function and adjust the saw to a table saw.

Einhell offers cordless and mains-powered mitre saws.
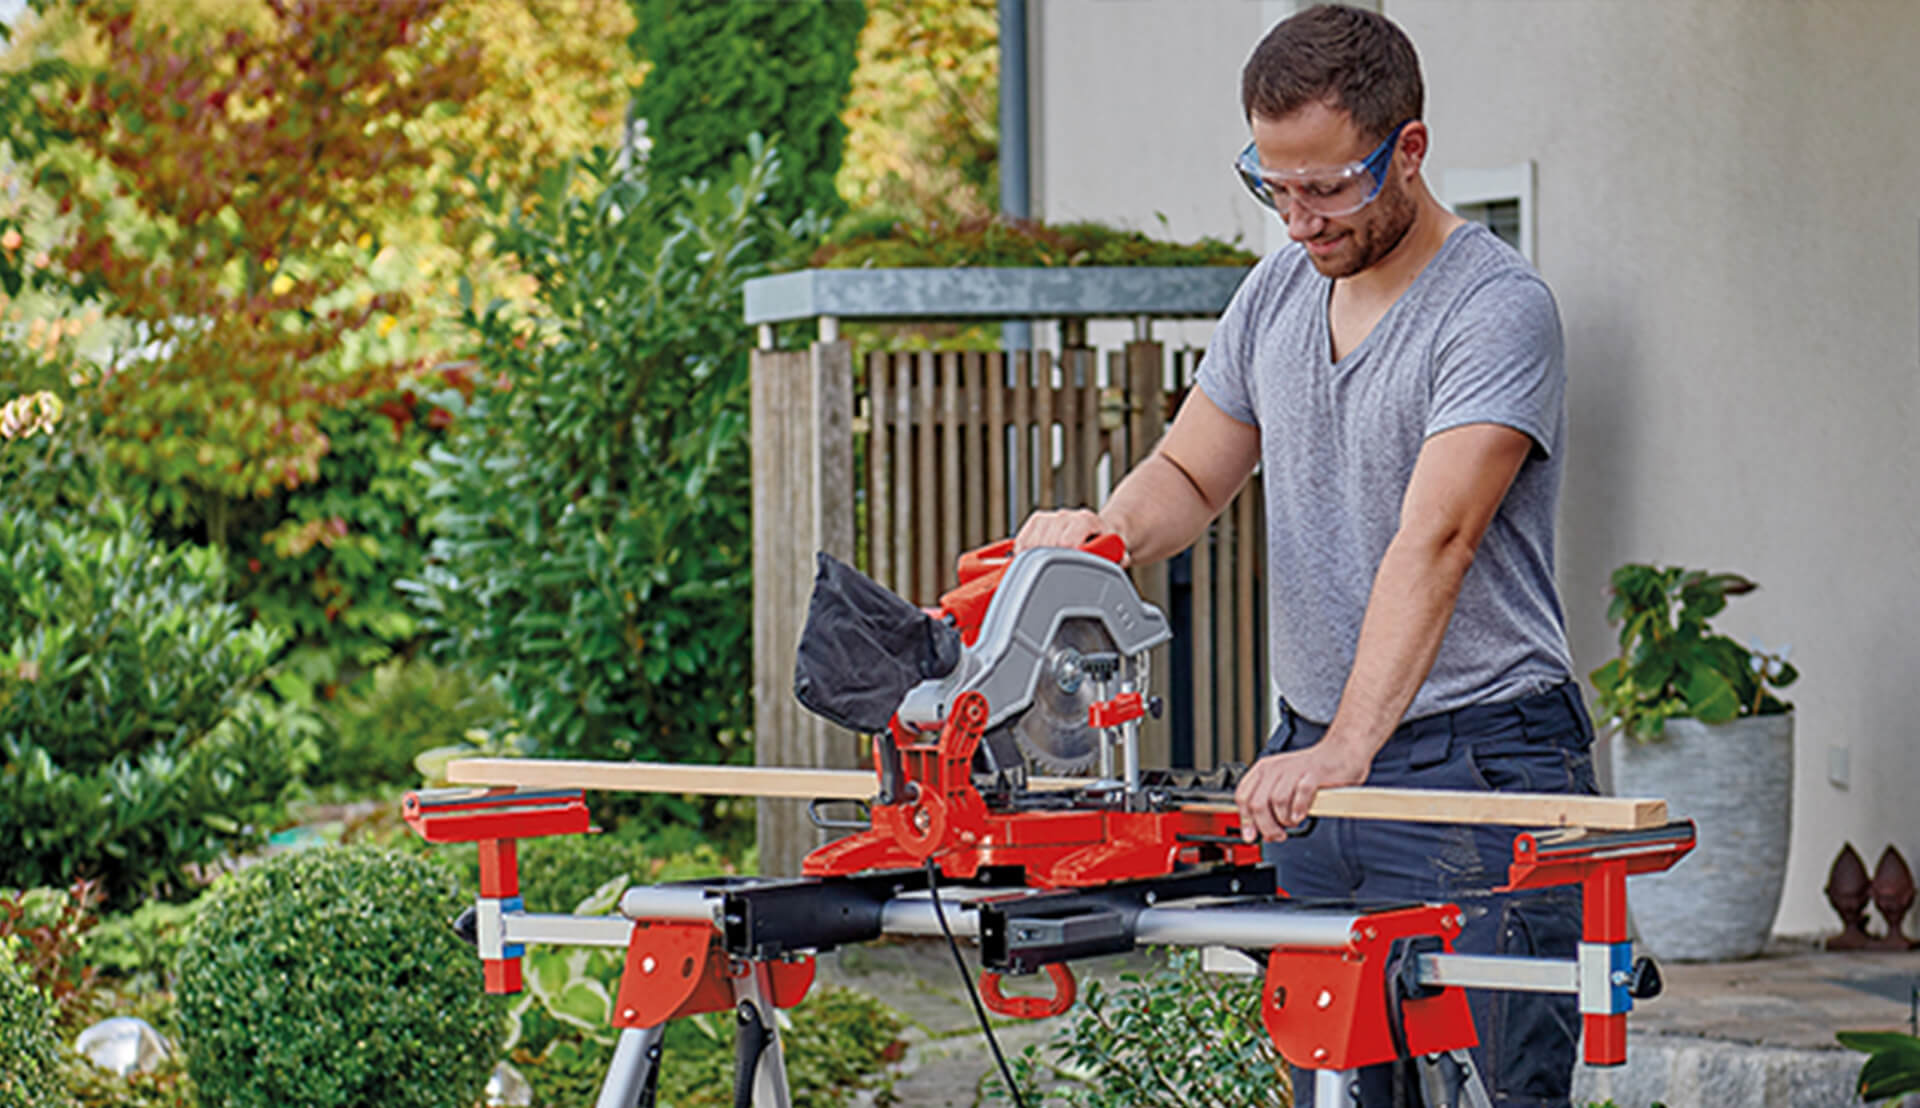
In addition to the different types of saws, you can also choose between cordless battery-powered miter saws and corded miter saws. While you can saw and cut almost continuously with a saw with a cord, with the battery-powered version, you may need to change the battery during longer projects. However, a significant advantage of this cordless battery saw is that you benefit from maximum flexibility and mobility while working with the saw, as you can transport the saw anywhere and start sawing immediately without having to search for a power outlet first.
The main advantage of a sliding mitre saw is the extensive cutting width and versatile usability when cutting.

Find tips on how to use a mitre saw correctly here.
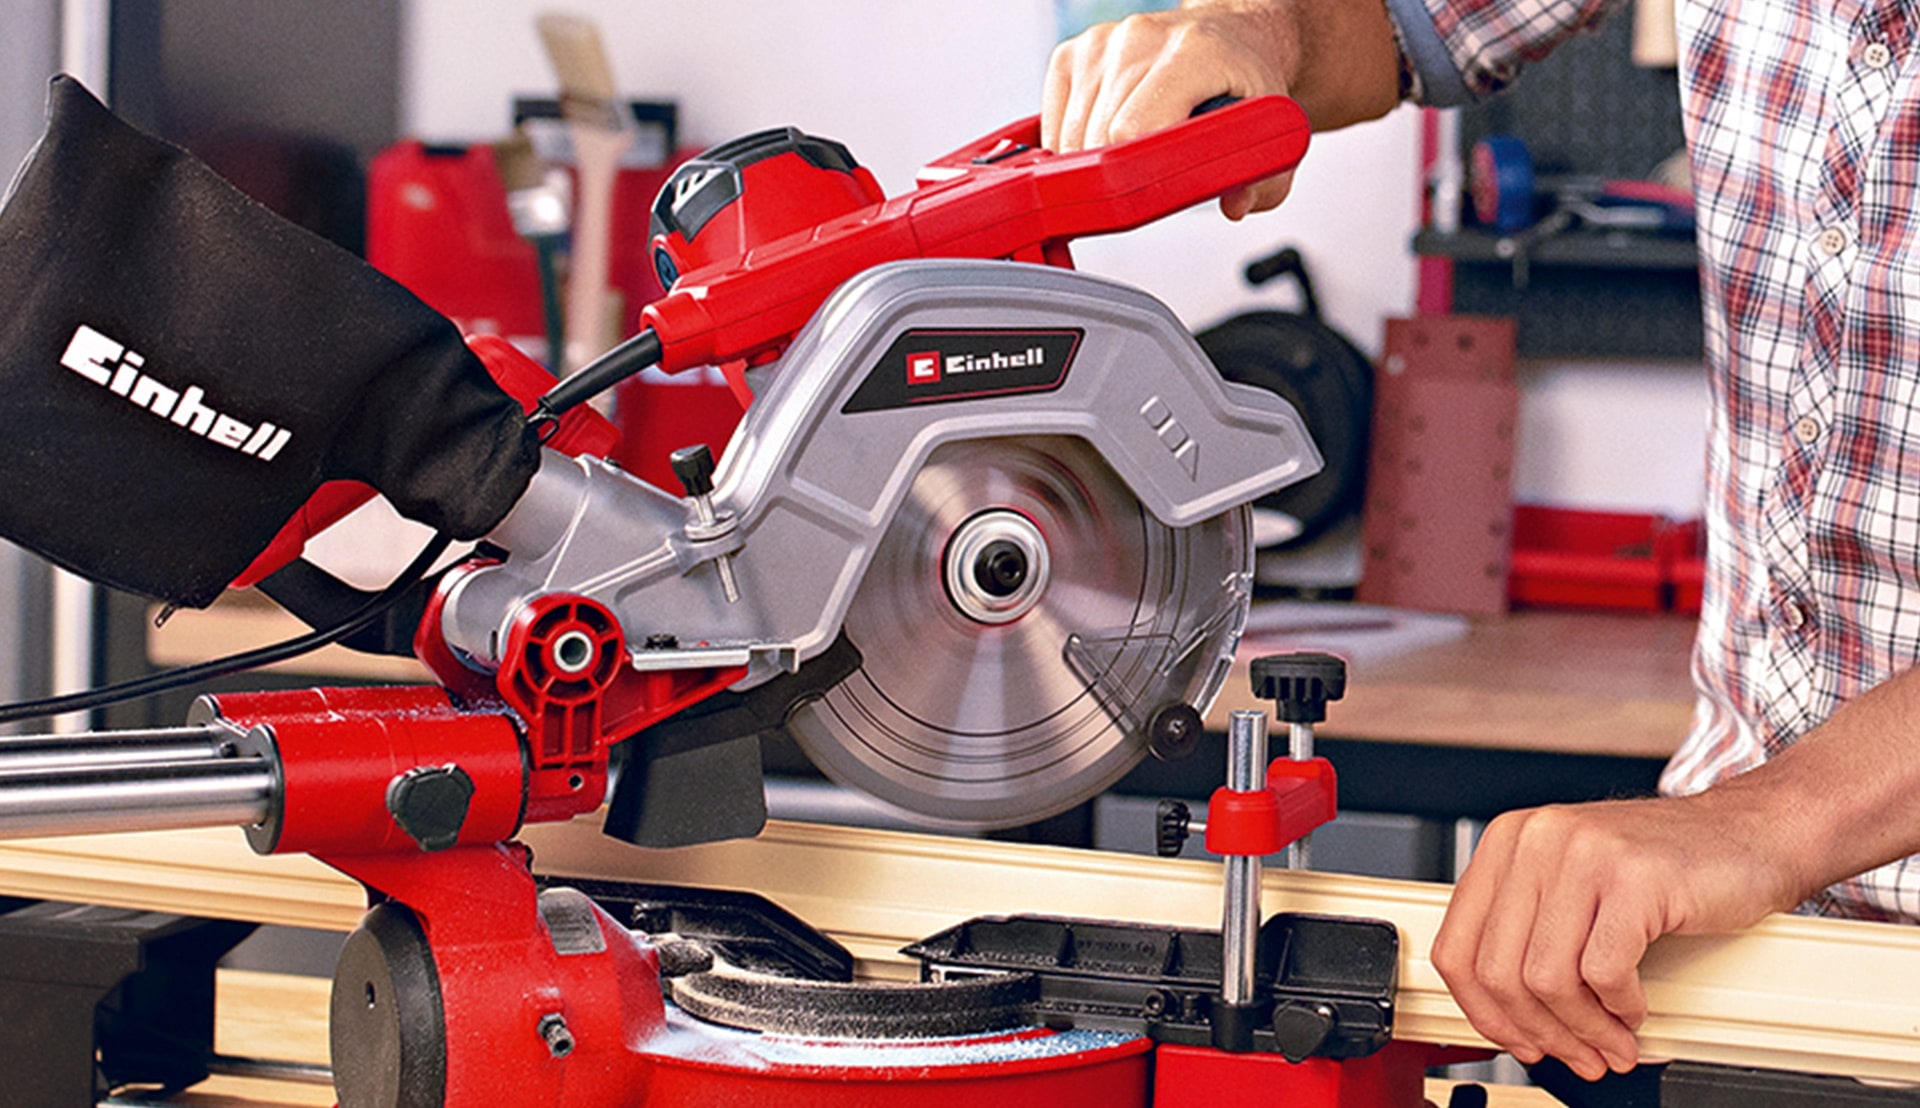
Proper use of a compound miter saw
Once you have decided on a model, your saw will soon be ready for use. However, working with a mitre saw also carries some risks. In the following, we will show you what you need to pay attention to when working with the saw.
- Before starting to work with the miter saw, you should always check if all covers and safety devices are correctly mounted, and if the saw is set up in a stable position. Pay particular attention to ensuring that all functions are correctly adjusted and that the saw blade is free of defects. Additionally, make sure that the saw blade can run freely and that all moving parts are easy to move.
- Remove all jewelry and clothing that could be in the danger zone during work and do not wear gloves that could get caught in the saw blade, causing serious injuries.
- If you have long hair, always tie it back into a ponytail or use a head covering like a hat or cap when working with the compound miter saw.
- When working with a mitre saw, it is also important to always wear safety goggles, hearing protection, and a dust mask. Even though the saw may have a dust collection feature, dust particles still fly through the air while cutting. Individuals with allergies or respiratory conditions should especially wear a dust mask.
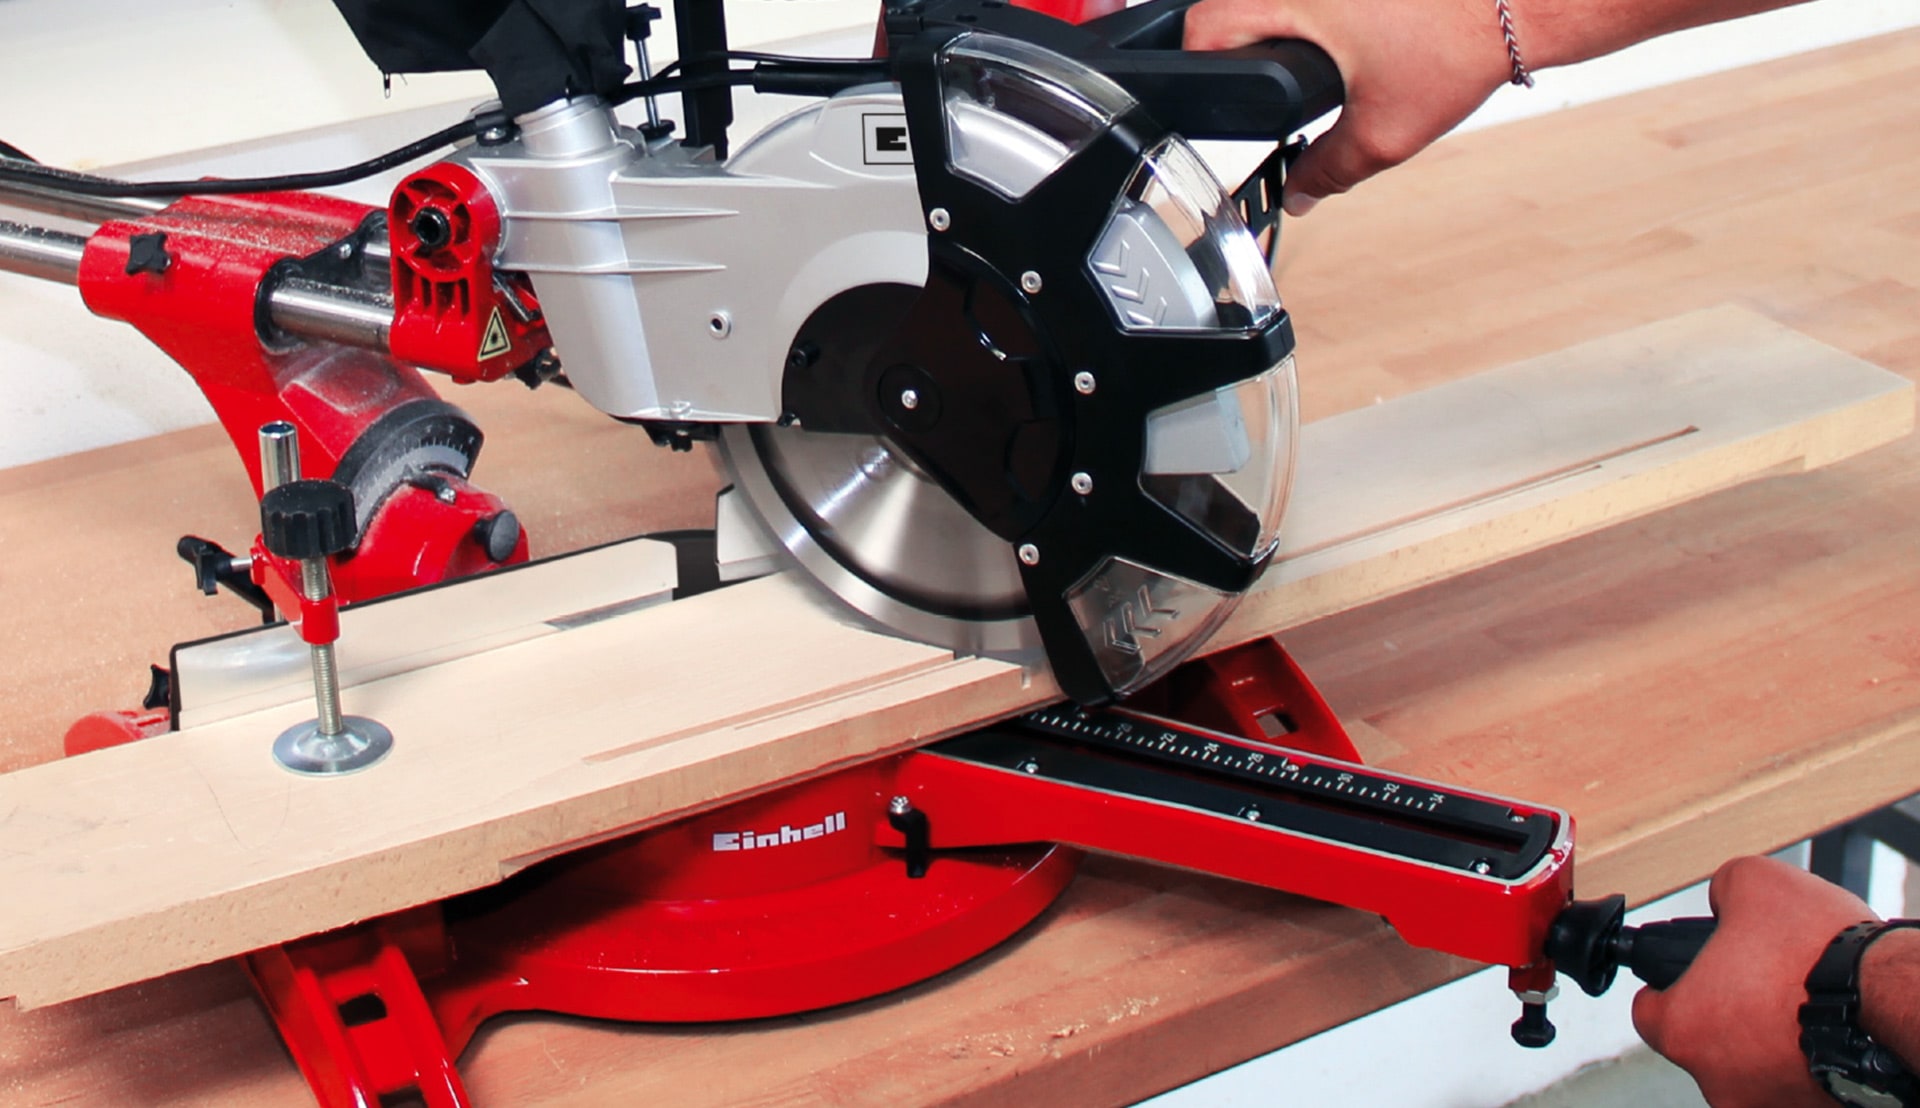
- Always secure the workpiece firmly in the clamping device so that it does not shift during the cutting process. Never feed the workpiece towards the saw blade by hand. The cutting force generated by the saw blade is always greater than your hand's force, which can cause the workpiece to be ripped away from you. This can result in your hand getting too close to the saw blade and cause serious injury.
A stand for your mitre saw helps ensure stable and secure support.
The adjustment of the saw
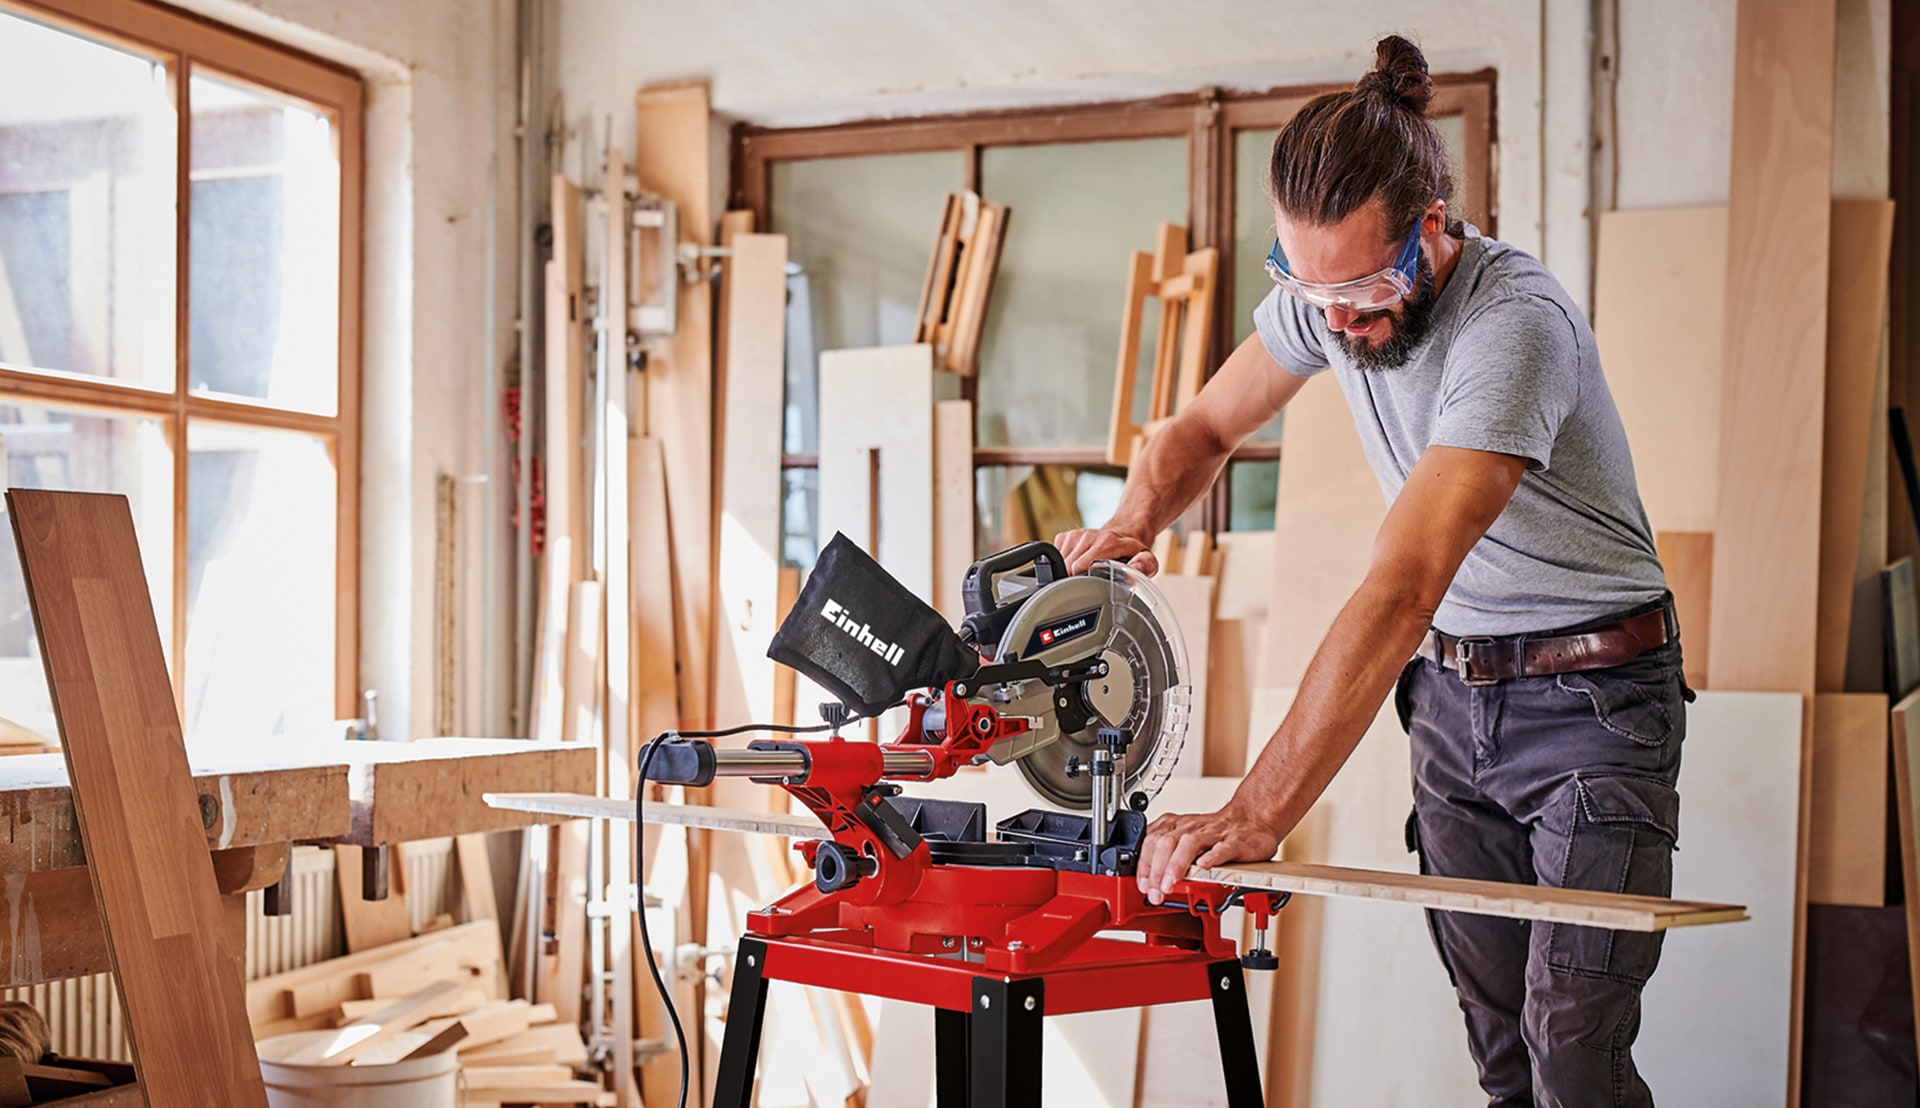
After learning what you must consider when working with a mitre saw, you can begin adjusting your saw to make precise cuts for your DIY projects. Here are the step-by-step instructions on how to adjust your compound miter saw.
Before starting to adjust your saw and begin cutting, it's important to calibrate the saw. For example, a board can shift the saw's zero position, which can be restored by calibrating the saw.
The right setting for an accurate mitre cut
To set the zero position or the 90° angle of the saw blade to the saw table on the mitre saw, you can adjust it using a stopper with an attached adjustment screw.
- To adjust the mitre angle on your mitre saw, first release the locking mechanism and position the saw blade against the back fence at a 90-degree angle. Then, tighten the locking mechanism again. Use a square to check the perpendicular position.
- Now, perform a test cut on a piece of wood. Make sure it is flat and clamped securely. Cut a few millimeters from the edge of the wood to achieve straight cuts and prevent the blade from running off course.
- Remove the cut-off piece and check the cut surface with an angle. If the cut angle is not accurate, you need to readjust the stop screw. It is helpful to place the wood piece on the saw and mark the cutting line on the material. This way, you can easily adjust the stop in the right direction.
- After adjusting the mitre angle, make another test cut to check the accuracy of your adjustment. Keep adjusting the angle until you achieve the desired results. This will ensure that you make accurate and precise miter cuts.
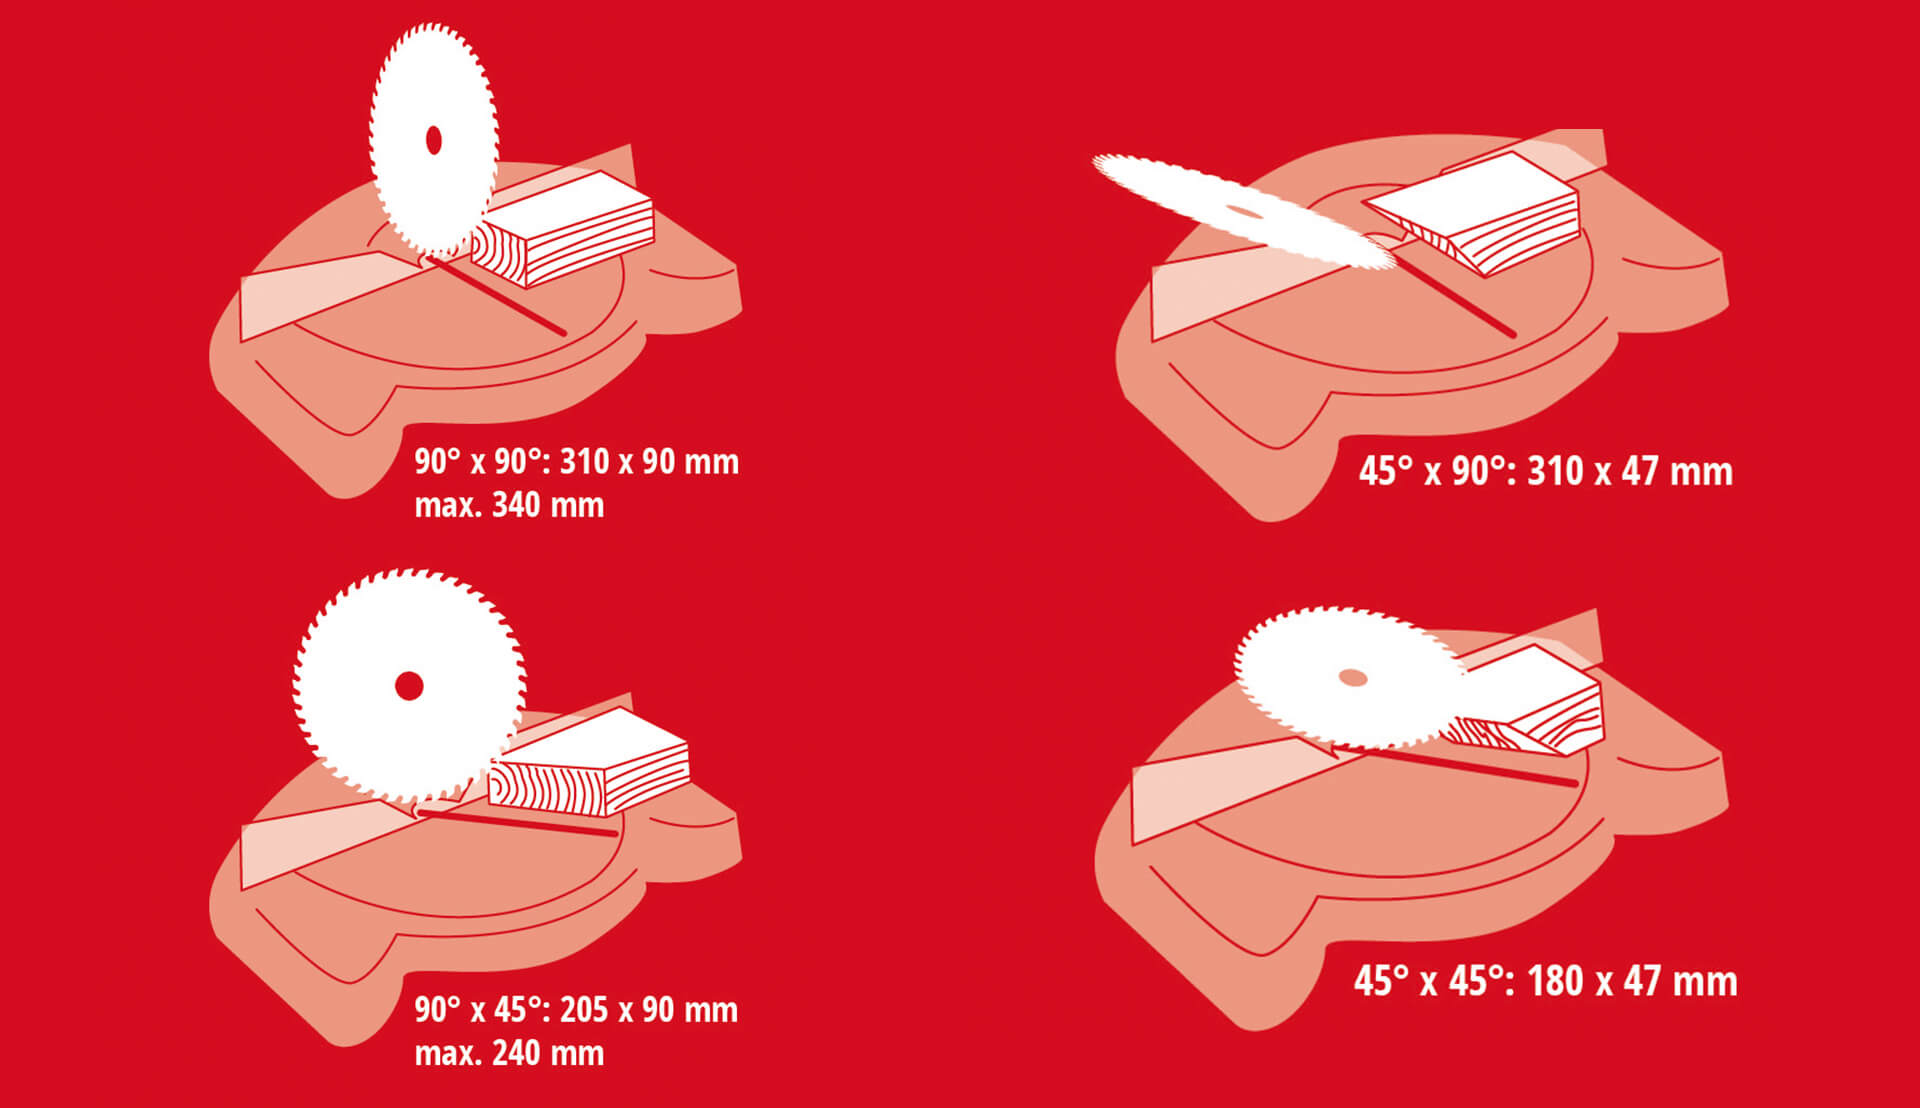
The Einhell mitre saw enables precise cuts at various angles – from classic 90° cuts to 45° mitre cuts.
The right setting for an accurate angle cut
To adjust the angle, there are locking points which, depending on the model, are available at multiple angle positions and click into place. To check the angle position, lock the rotating table of the saw at 0 degrees. If the table cannot be moved, it can be securely fixed in position. In addition, you can also choose free angles, but you should note that no locking points are available for them.
- Perform a test cut now. Laminate is particularly well suited for this, as the panels of the laminate are precisely angled and very straight, which makes them optimal for guiding the cut.
- You should now make a test cut. Laminate is particularly suitable for this as the panels of laminate are exactly angular and very straight, which makes them fit perfectly to the guide. Afterward, check the cut with an angle gauge. To do this, release the test piece and check the cut surface from both sides. Also, mark the position in which the material was clamped. If the cut does not correspond to an angle of 90° to the side surface, you must readjust the saw, reset the stop screws and make another test cut.
Always check your cutting line from both sides.
Comparison of Mitre Saw and Table Saw
Mitre saw, sliding mitre saw, and mitre compound saw - you've probably heard many terms by now. The mitre saw test is as diverse as the saw itself. But what makes the mitre saw with sliding and cutting function so special compared to the stationary table saw? To illustrate the difference from the stationary table saw, we will compare the two saws.
Table saw
The table saw is definitely one of the classics in the DIY garage. The saw scores mainly due to its high efficiency and flexibility. With the saw, you can work on the workpiece to be processed particularly safely. In addition, the saw allows you to work efficiently with easy handling and convinces with its stability and load capacity.
A table saw is particularly suitable for quick and easy sawing work. However, as soon as you want to cut angled cuts and miters, the table saw can no longer help you. In addition, you are bound to your workshop with the stationary device and cannot transport and use it mobile.

The table saw is the efficient and sturdy classic for fast, safe sawing work in the workshop.
The sliding mitre saw
Cutting angles, miters, and simple cuts on large boards, narrow strips, or battens - the sliding mitre saw is a real all-purpose tool. With this saw, you can quickly and easily cut connecting pieces, pipes, and cable ducts. You can perform simple cutting tasks and have a variety of options for adjusting the cutting angle. And that's not all!
The sliding mitre saw is characterized by its high precision, cutting capacity, and cutting quality. Even delicate work such as clean mitres on bulky workpieces is no problem with the mitre saw. Moreover, the device offers you safety and stability in all your DIY projects. A true all-rounder.
You can't decide or don't want to do without either of the two models? Then the mitre saw with upper table is the right choice for you. Although the saw does not have a sliding function, it can be used as both a table saw and a mitre saw.
Conclusion: The chop saw is a must-have for every DIY enthusiast!
As you can see, the saw is the ideal helper for your DIY projects. Whether it's cutting precise angles and miters or simply cutting trim, the mitre saw makes your projects a breeze. However, working with a mitre saw with a bevel function also carries risks and challenges in the correct use of the saw. But if you follow our tips and information, you can achieve accurate and straight cuts at various angles and mitres with any model. For more information on the tool, what to consider when purchasing a mitre saw, and what should be included when the saw is delivered, click here.

Published on 22.01.2021
Monika Aigner is a Project Manager for Media & PR at Einhell. Through regular internal product training, she possesses extensive knowledge of the functionality and application of various Einhell tools and garden equipment. Combined with clear instructions, she imparts this knowledge in her blog posts.